Over the Summer I decided that I wanted to make my kids’ Halloween costumes this year. So, in July, my daughter Riley (6-years-old) and I started looking for inspiration online. She decided that she really wanted to be Tinkerbell, so we started looking at as many Tinkerbell costumes as we could to get some ideas.
We decided on coordinating sibling costumes. Riley would be Tinkerbell and her baby brother, Hendrix (20-months-old), would be her Peter Pan! I didn’t want to make just any ‘ol Tinkerbell and Pan costumes, though, I wanted their costumes to be as authentic to the original Peter Pan Disney movie as possible. So I started slowly buying and collecting materials and tools to make their costumes.
Making the Tinkerbell Costume
In October I began making their costumes. I started with the wings by bending some wired coat hangers to create the shape for her Tinkerbell wings, as well as the hook fixture that would ultimately slide into the back of her dress. I then used some jewelry wire to make the inside design of the wings. When the design was finished, I spray painted the wings white.
I then used a specialty film called Fantasy Film to wrap the wings in. The wings were by far the biggest challenge for me, because the glue (Crafter’s Pick) that I had purchased to bond the wire to the film was taking FOREVER to dry. Luckily, I purchased more than enough of the Fantasy Film, so I was able to start over and re-wrap the wings to achieve my desired look. After the wings were dry, I cut the excess film and used a heat shrink gun to shrink and tighten the film, so that it would hug the wires.
I then burned the edges down with a lighter. When both wings were wrapped, I used Sakura 3D Lacquer to trace the inside design of the wings and then I applied tons of glitter to highlight the design and I let it dry. For the final step, I applied two coats of the Sakura Lacquer to further strengthen and seal the wings.
Creating Tinkerbell’s Shoes
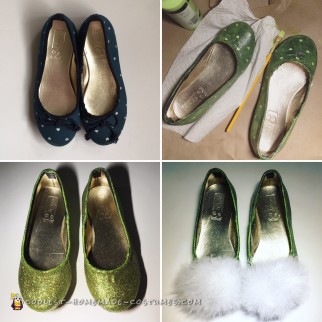
I bought some used flats for my daughter at a consignment store and I cut the bow off of them. I bought some lime green fabric paint from JoAnn’s and started painting the shoes. I applied several coats and it wasn’t giving me the full coverage I wanted, so I just decided to add a coat of the Crafter’s Pick glue and added a bunch of glitter until the shoes were fully covered. I had originally wanted to fully rhinestone her shoes, because I thought it would be cool, but the rhinestones that I ordered were way too small. So, I improvised and took some assorted craft glitter packets that I had and I mixed them to achieve the light green look. I applied two layers of the Sakura Lacquer to the shoes to seal in the glitter and make the shoes nice and smooth. Then I used hot glue and cut up a feather boa to make the big poofs.
Making Tinkerbell’s Dress
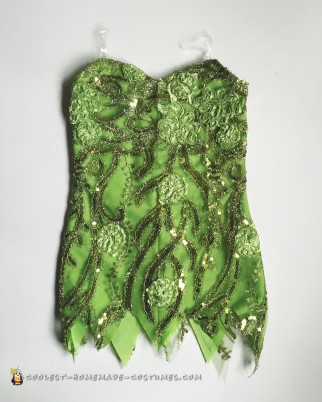
I took my daughter’s measurements and drew out a pattern for the dress. When I finished the pattern I made an initial rough draft of it to see how the fit was on my daughter. It was a little tight, so I adjusted my pattern accordingly. Then, I started working on the final draft of the dress. I had previously purchased this amazing olive green net overlay that had a floral vine-like design all over it and I paired it with some lime green cotton.
I designed the dress to be strapless with clear straps since Tinkerbell has a strapless dress. I needed the dress to be form fitting as well, because I needed it to help support the wings. I created two deep pockets out of felt and placed them on each side of the zipper and I sewed them into the lining only, so that you wouldn’t be able to see the pocket outline from the back of the dress. I sewed in four little loops to hook the straps to and finished by basting the two fabrics together at the bottom to keep it kind of wispy-looking. Dress complete!
I was so nervous that the dress wasn’t going to fit her, because I had compared it to the first rough draft and it really wasn’t any bigger. But, amazingly, the dress fit her perfectly!!!
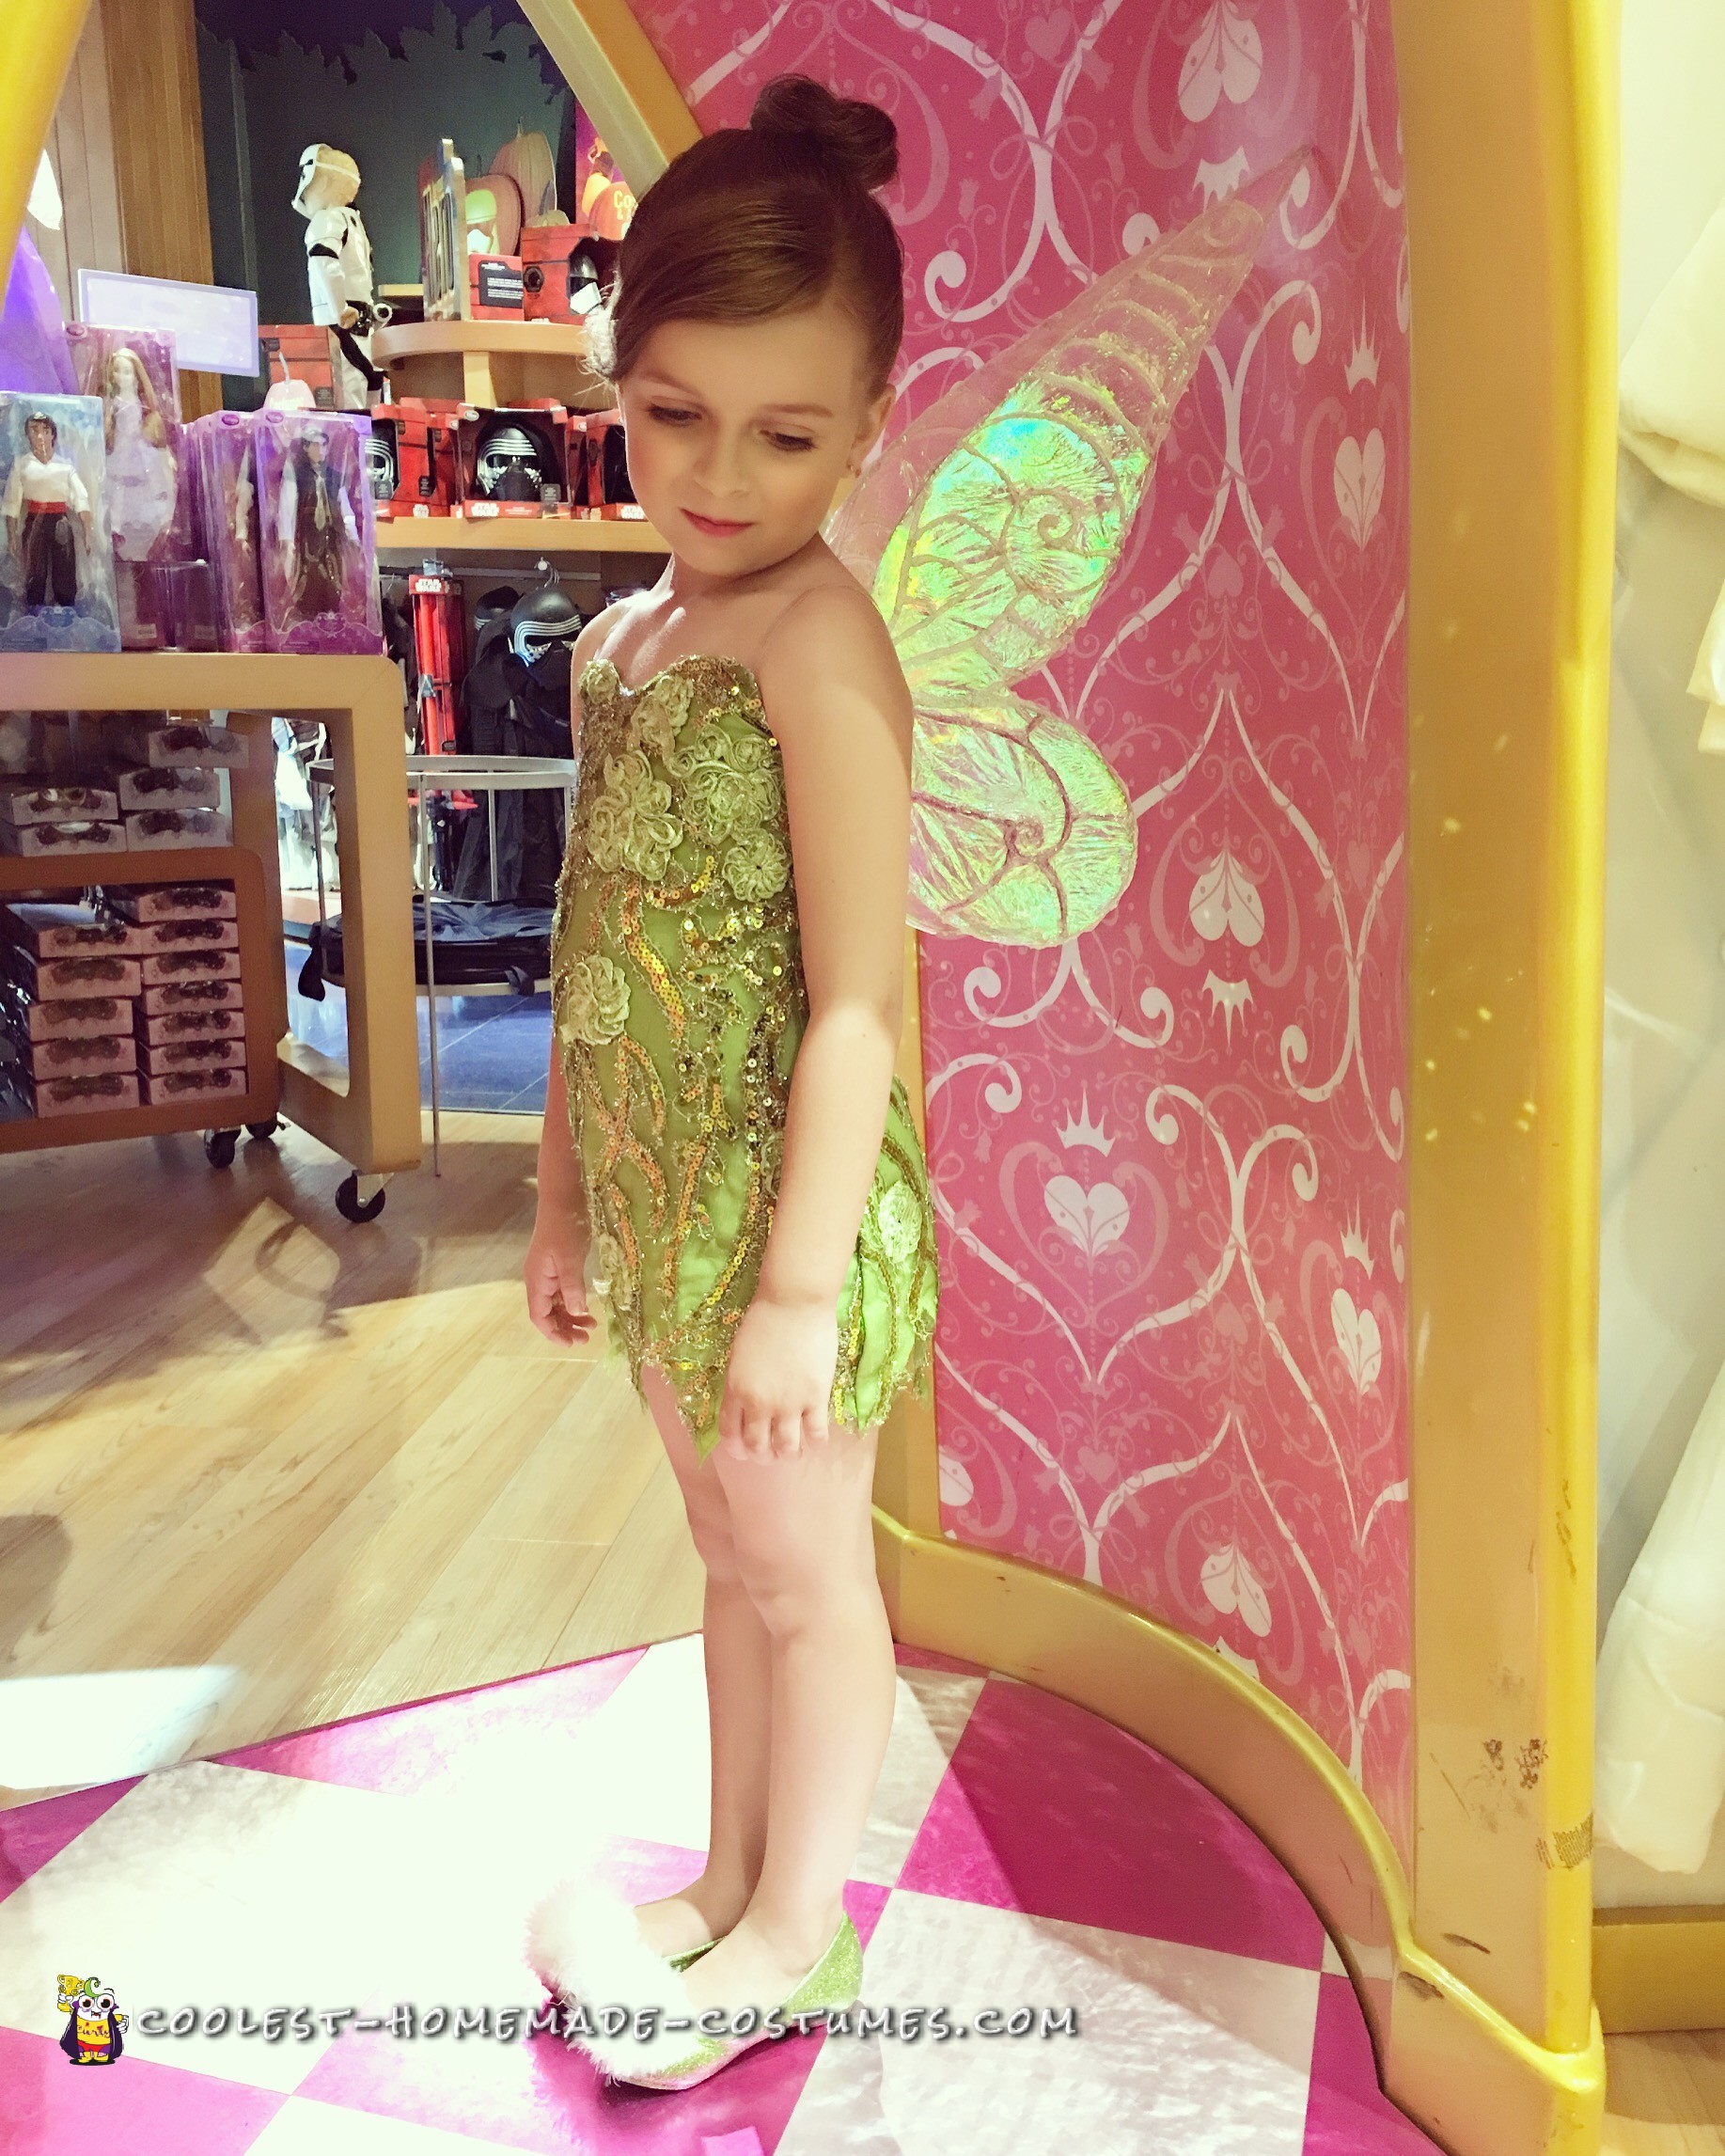
Finally, we decided to test out the complete look by going to the Disney Store’s Halloween Dress Rehearsal. I styled her hair and added in some blonde spray color that I found online, which actually worked out perfectly and had a very natural look to it.
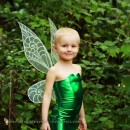
I applied a little bit of makeup and then we were ready to go! Everyone was so amazed by her costume and people were even asking to take pictures with her. She said she felt like Tinkerbell and that it was her favorite costume ever!! It is certainly my best work and I am so proud of how it turned out!! I had hoped that we would be able to afford a Disneyland trip this year, so that she could meet Tinkerball and Peter Pan while in her costume, but it just wasn’t going to work out this year. All in all, I’m so impressed with myself and my skills, as I have only been sewing since April of this year! I plan on upping my game next year and every year thereafter!!
I hope you guys enjoy my version of Tinkerbell and that it helps inspire others to create and design their own Halloween costumes!


Related costumes:
 Coolest Tinkerbell Toddler Costume
 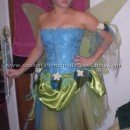 55+ Coolest Homemade Fairy Costumes
 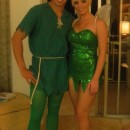 Best Peter Pan and Tinkerbell Couple Halloween Costume
 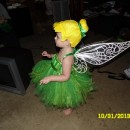 Cutest 100% Handmade Tinker Bell Costume
  Coolest Homemade Tinkerbell and Captain Hook Couple Costumes
  Coolest Homemade Peter Pan Family Costume
 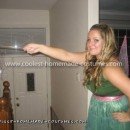 Coolest Tinkerbell Costume
 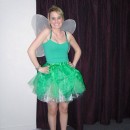 Feisty Tinkerbell Homemade Costume