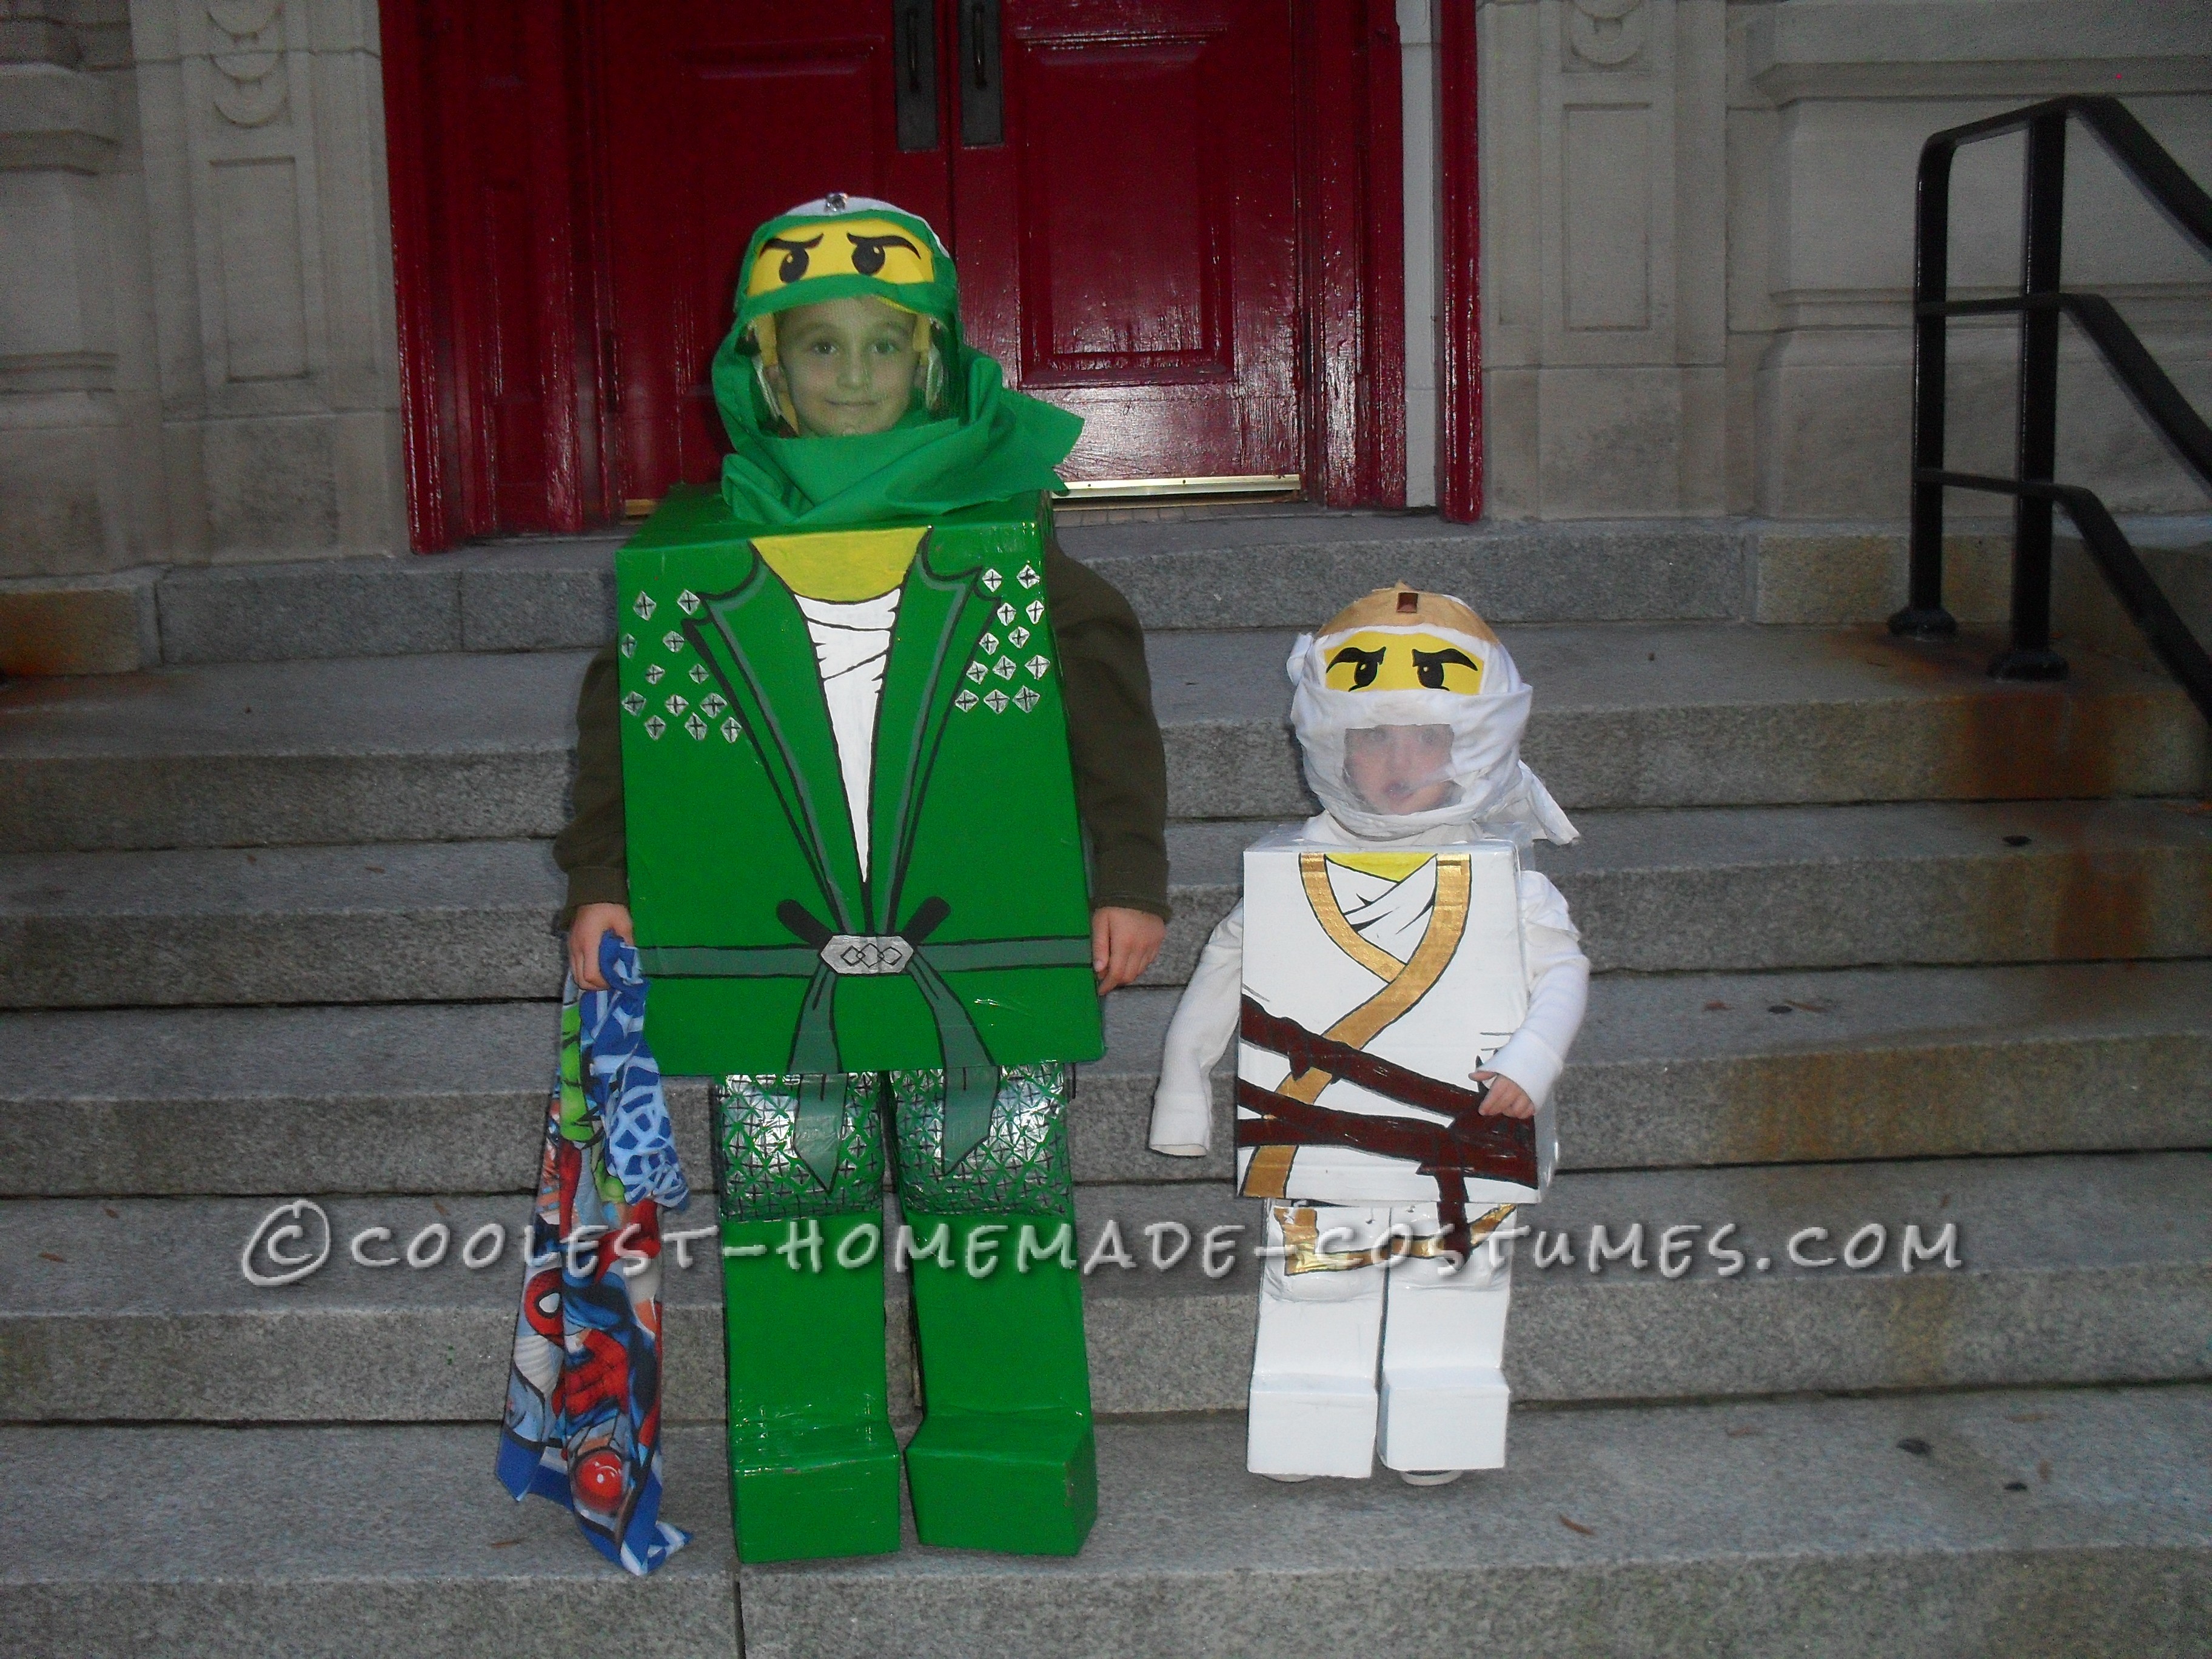
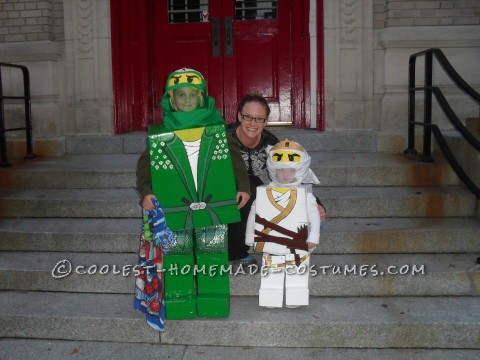
I had an absolute blast this year making my son’s costumes. At first when my oldest son asked me to make him a Lego ninjago I was like” I’m so in trouble”. I didn’t even know where to start! So I started with YouTube videos, Pintrest and Google. You pretty much don’t go wrong with any of these. From what I had seen with a bunch of Lego costumes they had all pretty much been made of Cardboard. So I picked up lots of big boxes from my local recycling bin.
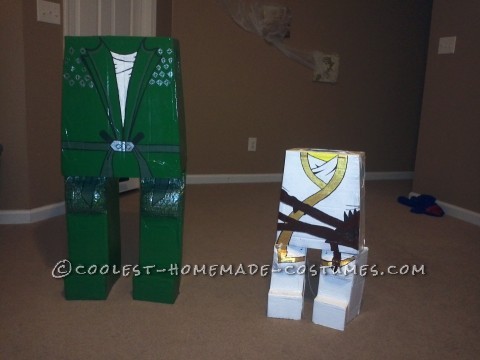
I started by measuring my oldest son’s legs up to his mid thighs and also the width of his thighs and added about 4 inches or so (to his width). I then used the boxes bends and cut out one half of a leg so it would be easier. I did 4 pieces altogether (2 pieces each leg). Next I duck taped them and cut a slot out of the bottom of the legs for his shoes. I had to make the legs with feet so I cut a three sided square shape and taped them on to the legs( 2- 1 for each foot).
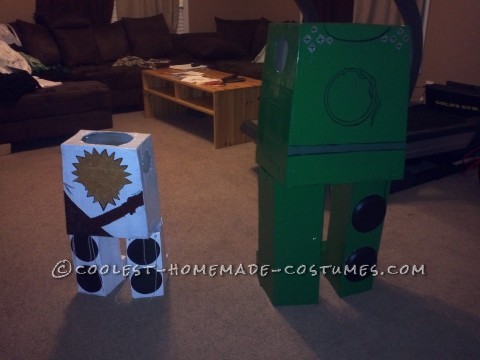
Ok, so now to the chest piece. I first measured my son’s shoulders to his mid thighs. Once done I cut one piece at a time. I made the bottom to the top a little angled so it would actually mimic the Lego appearance. When I was done I taped them together and cut out the arms circles and the head circle. I made my youngest costume the same. So now that I was done with both basic pieces to both costumes I was ready to spray paint them. I used my husband’s weights to anchor them while spraying them. This took all day to dry! I was so relieved when they were finally dry.
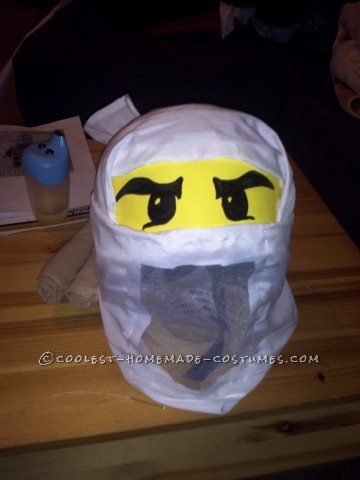
I started with the outline of the costumes designs. One son was the white Lego ninjago and the other was the green Lego ninjago. After the outline was finished I then hand painted both the costumes. This process took me two days. I got pretty detailed. So now that the costumes where done I needed to make the head pieces. I waited till last with these because I could not ponder how to make them. So I started to think about what I could possibly use around my house. I probably wasted half the day thinking about what to use. Mind you this was two days prior to Halloween. All of a sudden like a light bulb went off in my brain….. I thought Hockey helmets!
So I got started. First I made me youngest’ head piece using his brothers helmet (my oldest son used my hockey helmet). I bought yellow poster board, cut out the rectangle that I needed and drew the white Ninja’s eyes. Then I took some really heavy duty double sided tape that I got from Germany and taped the eyes to the front of the helmet (I took the helmet screen off first). Next I took a white twin bed sheet and cut it in half and then one of the half’s in half again. For the half piece I folded it in half and cut a rectangle for my son’s face so that he could see out.
When I was done I took white tool and sewed it to the face piece so that it looked better. I was finally ready to assemble the material to the helmet. I put some random double sided tape everywhere on the helmets outer edges and in the middle of the helmet. I did the head part of the helmet first and then tied the front piece on. I did the same process with my son’s except I used green material and green tool. For the top pieces above the eyes I cut out gold and silver pieces and finished them off with jewels. I dressed my kids in sweat shirts for their arms and black gloves for their hands. I was finally done! It all paid off on Halloween when my son’s loved their costumes and my oldest told me I was the best mom ever. Also we got stopped over and over and over again to get pictures with others or let them take pictures of my kids. We all had a blast! All that work had paid off! We had a wonderful Halloween!

Related costumes:
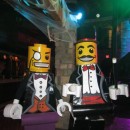 Coolest Lego Minfigure Costumes: LEGO Magician and Lego Sir
 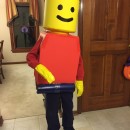 Cool Lego Minifig Costume
 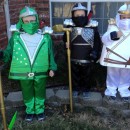 Awesome Lego Ninjago Minifigure Costumes
  Amazing Lego Men Horror Villians Group Costume!
 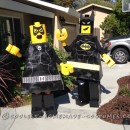 Homemade Batman Lego Couple Costume
 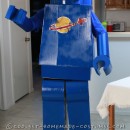 Awesome Lego Benny Costume from the Lego Movie
 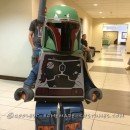 Coolest Lego Boba Fett Costume
  Prize-Winning LEGO Minifigure Costumes
Your comment has been sent successfully.