
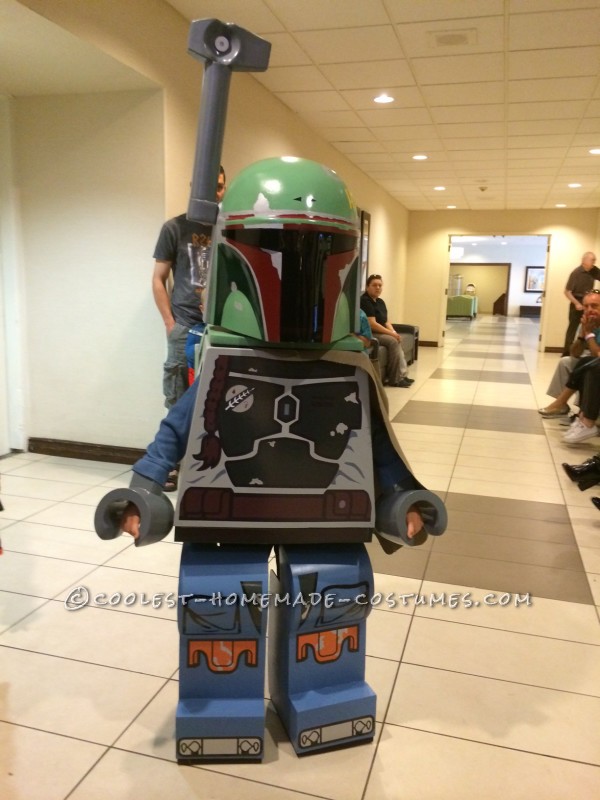
As a huge Star Wars/Lego fan, my son decided that he wanted to be Lego Boba Fett. His mini figure costume was modeled after Lego set 9496 – Desert Skiff.
This costume received a lot of attention online, appearing on many sites and blogs. It was also a published article in The Daily Mail UK.
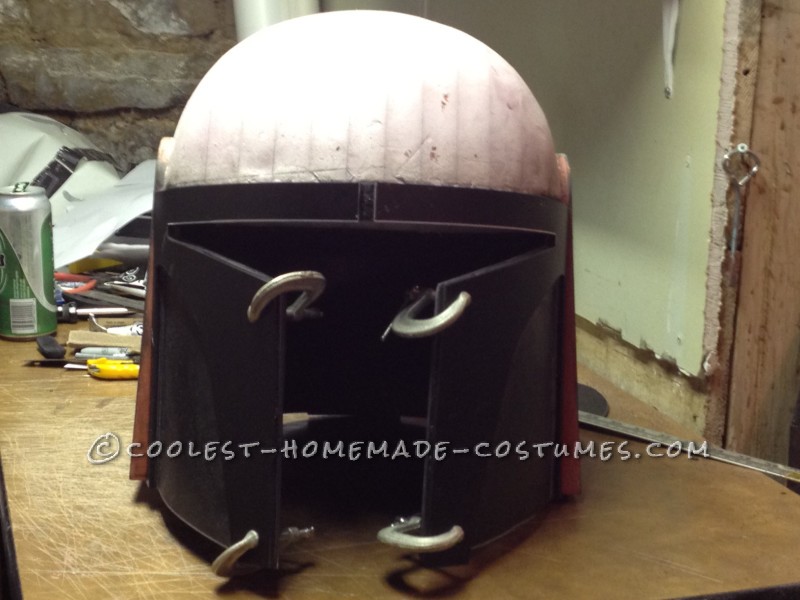
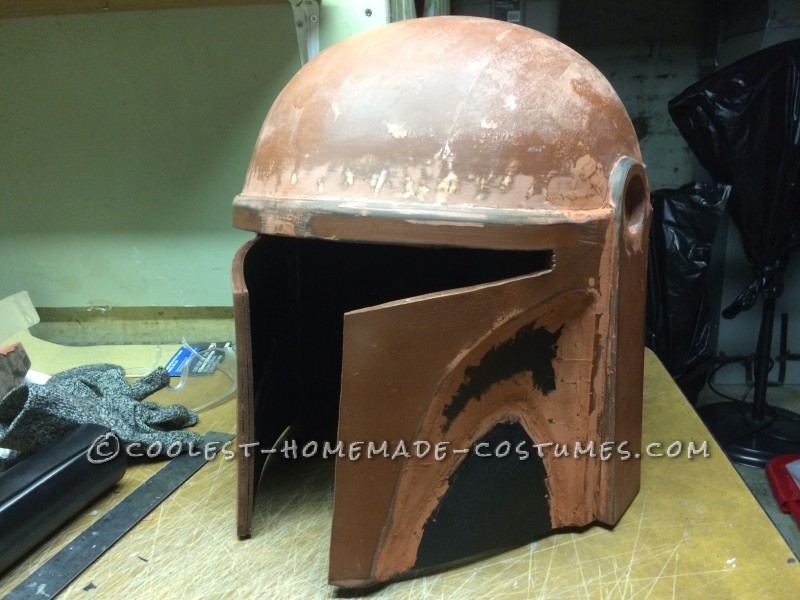
THE HELMET
All elements of this costume were approached the same way – photos,
measurements, 2D drawings, scale, proportions. I used Adobe illustrator to hash out linear drawings of the helmet. Once I had the correct size of the dome, I was able to start. After a couple failed attempts at creating the dome with plastazote foam (making wedges to form the dome) I decided to carve it the old fashion way and simply used pink insulation foam from Home depot. Once I completed the dome, I began building the helmet using the antenna mount as my anchor point. I used a heat gun to shape and form the sintra, and glued layers to create the details throughout the helmet. After a few revisions (the dark green concave section wasn’t deep enough and I had to redo it) the helmet was ready for bondo glazing putty. I use this to fill the seams and rough spots in order to achieve a seamless plastic molded look, much like a Lego minifigure.
Next, it’s on to priming and sanding. I tried a filler primer for the first time which I found nice. It helped fill small imperfections. However, I sanded and primed over it several times with Krylon Rudy red, not much of the filler primer was recognizable. I also flexbonded the insulation foam on the dome in order to allow for painting. Flexbond is basically a glorified white glue and acts as both a sealant and smoothing agent. It’s brushed on and then wet smoothed with your fingers.
The T-Visor was created using 1/16″ plexiglass and was nothing short of frustrating. Unlike Boba Fett’s helmet visor from the trilogy which is mounted from behind, the Lego Boba Fett Visor is flush with the helmet. Fitting the visor into place was lengthy and required a lot of fine-tuning. I created tabs that were set 1/16″ below the surface of the helmet and both glued and double sided taped the visor into place.
The range finder stalk / Antenna was created using sintra with a cylindrical styrofoam tube underneath. I built it in three pieces; head, pole and base, then glued it all together with E-6000.
The antenna is pressure fitted to the helmet and is removable.
Painting: I wanted to colours to be accurate – especially the helmet and jetpack. After having little success finding a good spray paint match, I decided to have the colour customized. My local paint store will transfer latex house paint into a spray can. I chose a green that was almost perfect and had it compressed into a spray can. This was expensive and the paint delivery was thick and heavy. I needed two cans as the paint didn’t go very far. I had planned on doing the same for the legs and arms but after using it, decided to find a close match from an available brand.
I started with the base coat of light green and then masked off the area for the dark green. I then masked off and painted to crimson pattern on the helmet. Next, I painted the silver and finished with the yellow kill stripes on the side of the helmet. I used automotive masking tape and found that it created a nice tight seal and little to no bleeding between colours.
The helmet was clear coated with a gloss finish.
I created the base of the actual Lego head as it is visible beneath the helmet. I stacked and glued plastazote foam together prior to carving the shape. It was sanded with a dremel and by hand before adding the neck – also made out of sintra. The Lego head base was painted and glued to the inside after the helmet was complete.
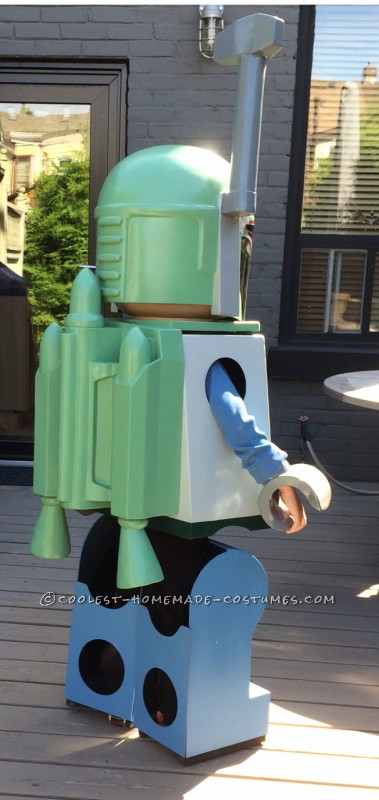
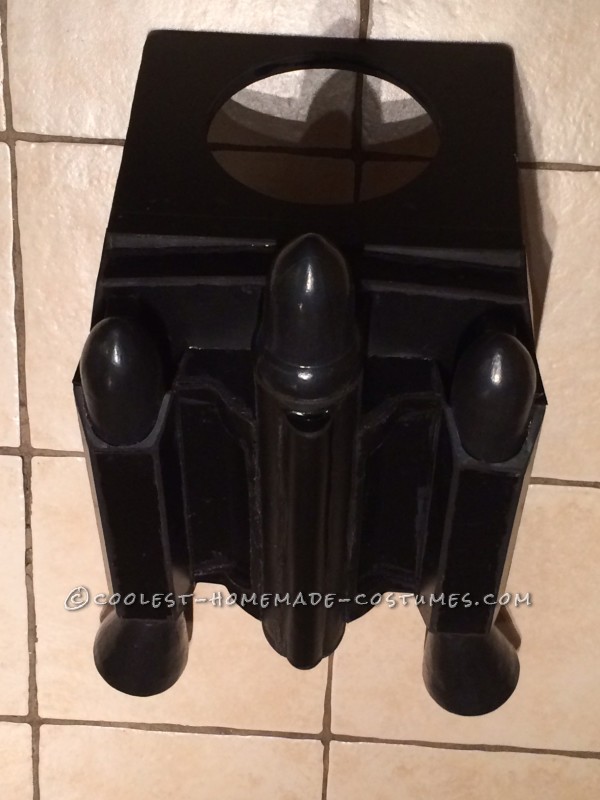
JETPACK
I wanted to replicate the minifigure as much as possible and did so by making the jetpack removable.
It possesses it’s own neck hole and slips over my son’s head.
I approached the jetpack the same way as the helmet. I photographed the side, back, top and bottom of the Lego jetpack using my iPhone. I then opened the images in Adobe Illustrator, traced key elements of the design, scaled the drawing to the appropriate dimension and printed out the 2D drawings. Using the actual size drawings, I measured each panel, piece, rocket etc. to help establish the process of building. I started with the mount that attaches to the top of the torso and worked my way down. Each piece is cut, and glued like you would a model, until the jetpack was formed. I carved the rocket tips and exhausts using plastazote and coated them with flexbond for painting. The jetpack attaches to the torso using two clips I created that sink into torso and hold it in place.
The jetpack was painted with he same green as the helmet and clear coated.
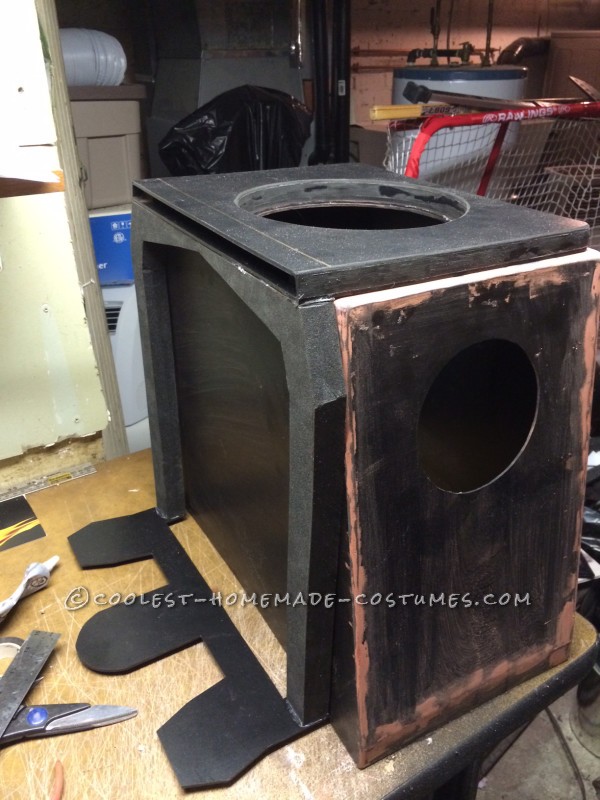
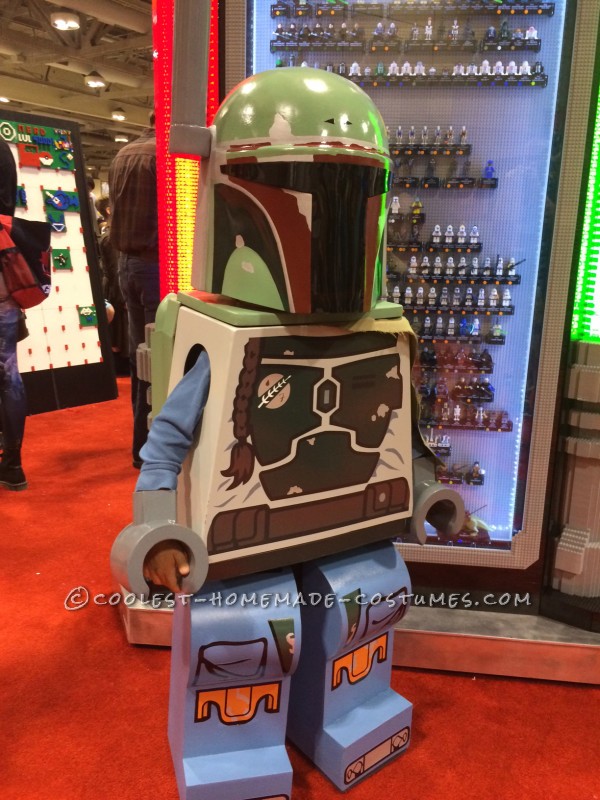
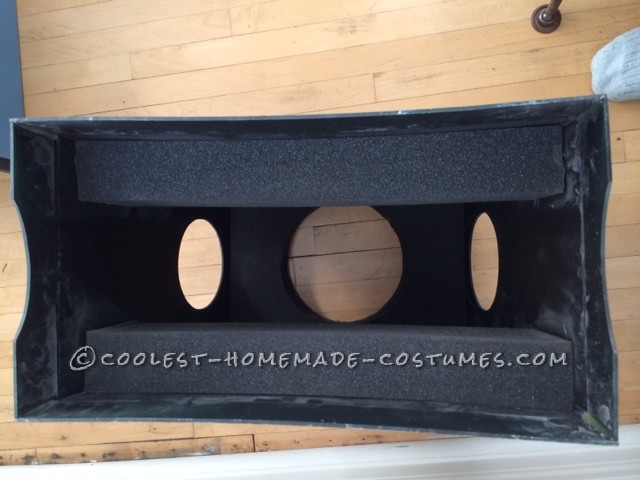
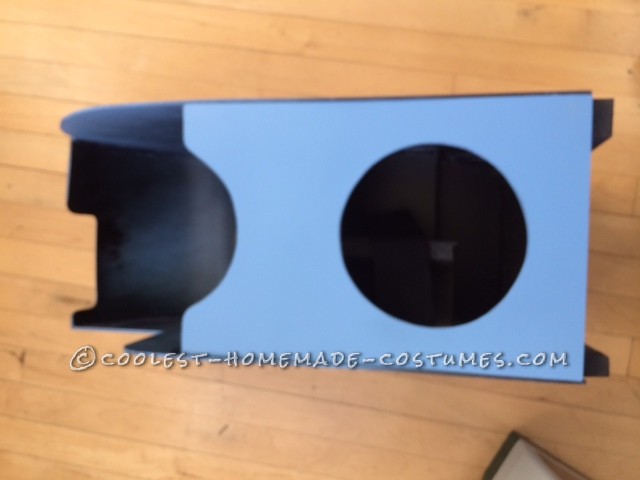
TORSO
Paper templates were created for he front, side and top of the torso. Sintra was cut and glued using E-6000.
I cut a slit on either side of the top of the torso that held the jetpack in place.
Because of the proportions of the minifigure being quite large and awkwardly fitting, I added two strips of foam inside the torso, front and back, that would keep my son tightly fitted inside the costume’s body. This kept the torso form swinging like a bell. There is also foam padding on the underside of the neck hole area for comfort. Keep in mind, any padding added changes in the height in which the torso sits on the body and could affect overall vision as the head will move upwards.
Graphics for the torso were drawn in Adobe illustrator from scans of the actual minifig. I had the graphics printed on vinyl adhesive and had the areas where there were silver scratch marks punched out. Once I laid down the base coat of grey for the torso, I applied silver spray paint to any area where a scratch would appear. When the graphics were applied, the silver showed through where there was no vinyl.

LEGS ? Hands
Paper templates were first created to scale, and each panel was cut and glued using E-6000/
I added a back plate mimicking the peg holes on the minifig. I attached them with Velcro so that I could access and fasten the legs straps easily.
On the bottom of the leg, I trimmed the opening with high density plastazote to act like a cushion/shock absorber. It also protects the leg from damage suffered from pavement etc. and hides my son’s shoes as they sometimes like to peak out.
The photo shows how I attach the child’s leg to the minifigure leg. It uses a calf brace that fastens with two elastic straps and Velcro. The brace is mounted to the inside front plate of the leg. Legs are strapped below the knee.
The graphics were created the same way as the torso and same technique was used to for the silver/metal paint scratches.
The hands were created using paper templates that were transferred to Sintra. The sintra was heat formed, glued filled with glazing putty and sanded before painting.

Related costumes:
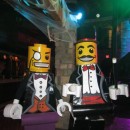 Coolest Lego Minfigure Costumes: LEGO Magician and Lego Sir
  Coolest Homemade Lego Spiderman Costume
 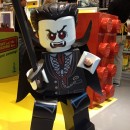 Awesome Homemade Minfigure Costume: The Awakening of Lego Lord Vampyre
 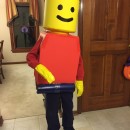 Cool Lego Minifig Costume
 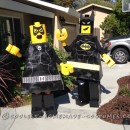 Homemade Batman Lego Couple Costume
  Amazing Lego Men Horror Villians Group Costume!
 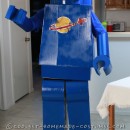 Awesome Lego Benny Costume from the Lego Movie
 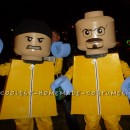 Original Homemade Lego Couple Costume
Your comment has been sent successfully.