
We originally wanted to have a family costume theme in which all four of us would be a Lego-themed family. As it turned out, only two participated in the Lego family which was probably a good thing because we completed the execution of the project within three days. The collection of the items on our list was the hardest part as that took three days to complete and then we had several other trips between the construction steps of the characters.
The total project took six or seven days to complete from obtaining our list to the execution of the project, but the work was well worth our efforts.
The reactions to our costumes were awesome as we won first place in a friend’s costume party. This annual costume party always has top-notch costumes, food and fun; and to have won first place was an honor. We also received a lot of attention from our neighbors when we were finally able to take pictures of the costumes outside. Our neighbors were taking pictures of us and the kids on the block were actually scared and thinking that Lego people were actually alive!
Our creation of Batman and Catwoman would not have been possible without the instructions from several websites that gave instructions on how to create the Lego bodies, heads and hands. What we did differently was to construct different characters to the whims of our own creativity and to better some of the instructions in getting different materials to help with the execution of the project and the practicality of actually walking in the costume.
The costumes would have cost less if we had enlisted our whole family in the project, but time was slipping away and those that were not really “into it”, did not participate. One has to have a plan and stick to the execution of the character. Another thing that was hard was moving in crowds with the costumes. Outside was the best place for these costumes as parents of neighborhood kids were slapping their knees and pointing their fingers with sounds of contagious laughter. We were the Batty Lego Superheroes of our neighborhood!
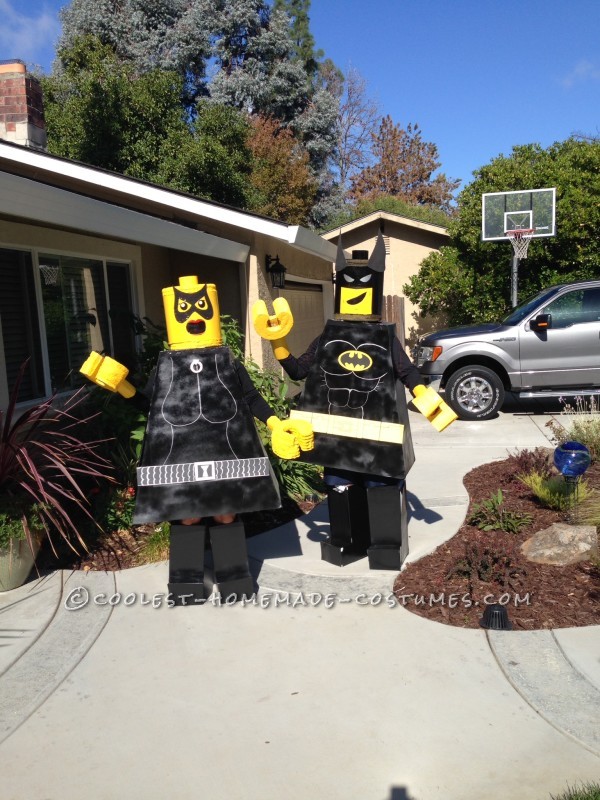
The Batty Legos
The Lego Construction List
- 12″ cement tube ($12)
- 3/4″ Styrofoam sheet (Home Depot in 4′ X 8′ sheets) ($7)
- 1″ Styrofoam sheet (Home Depot 4′ X 8′) ($11)
- Gorilla Glue ( 8 fl. oz. $12)
- Sandpaper (320 grit –4 sheets in pack) ($4)
- Electric knife to cut Styrofoam
- Hand-saw (straight and long) ($10)
- 3 Black gloss spray paint ($.99/each)
- 2 Sunburst Yellow gloss spray paint ($4.50/each)
- 2 black foam non-adhesive sheets — glittery (1 sheet) and plain (2 sheets Michael’s/Hobby Lobby) ($.99/each)
- 1 Yellow peel-adhesive foam sheet ($.99)
- 3 Extra Large cardboard boxes from Home Depot (larger than Lowe’s) ($3/each)
- 30 Black Poster board sheets to cover body and legs (approx. 10 for each body, 1 1/2 for each leg–Dollar Store –$30, I bought extra!)
- 3 Black poster Styrofoam boards (Dollar Store–$3)
- Yellow Poster board sheets for Batman belt (1 needed –$1)
- Sharpie pens (red, black, silver) ($7)
- Small white Acrylic paint (cheaper to buy a small kit) ($5)
- Exacto knife ($2)
- 2 cans spray adhesive for cardboard/crafts ($3/each)
- 1 black plastic tablecloth for capes (Dollar Store –$1)
- Set of 4 large elastic head bands for Lego legs (Dollar Store –$1)
- 1 pack of round absorbent flower foam (3 1/2″ rounds– /Dollar Store–$1)
- 3 Black masking tape (Dollar Store–$3)
- 1 pkg. Permanent glue dots (Dollar Store – $1)
- 1 roll of black tulle ($2)
For Each Lego Head
1. Cut the 12″ cement tube to the size of your head from top of forehead to chin and then round to the nearest inch. If for children, get the smaller tube size, i.e., 8″?
2. Cut four Styrofoam circles to the size of the 12″ tube. Be mindful that the 12″ tube is not always 12″. Ours was 11 1/2″.
3. Top and Bottom of head — Gorilla glue two circles together for each top and bottom of the Lego head and compress each set of two circles together overnight or for several hours. Sand one side of the two circles to have a rounded edge for the top and bottom of the head. We found out later that the 1″ Styrofoam stood up to the spray paint a lot better than the 3/4″ Styrofoam in that, it didn’t “eat” the 1″ Styrofoam as much.
4. Cut a circle of black poster board for Batman and a yellow circle for cat woman to be placed on the top of the head (measure first); this will also reduce the pock marks in the Styrofoam when spray painted.
5. For the Lego connector piece (round absorbent flower foam), cover the foam piece in poster board, and then Gorilla glue the connector piece in the middle of the top of the head piece.
6. Sketch your faces on white paper to the dimensions of the 12″ tube. Cut the mouth and eyes/mask out of your white paper sketch for a template.
7. Using the template of the mouth from #5 above, cut the mouths of your Lego head so that you can see out – this is where your eyes will be (after cutting, tape paper over the covering from inside so that the paint in step 11 doesn’t go inside your head piece).
8. Cut out the Styrofoam (bottom of the head) to the circumference of your head using the electric knife. Check to see if your entire head can fit through the hole and that the Styrofoam rests on your shoulders.
9. Glue the top and bottom pieces of the Styrofoam circles to the 12″ tube.
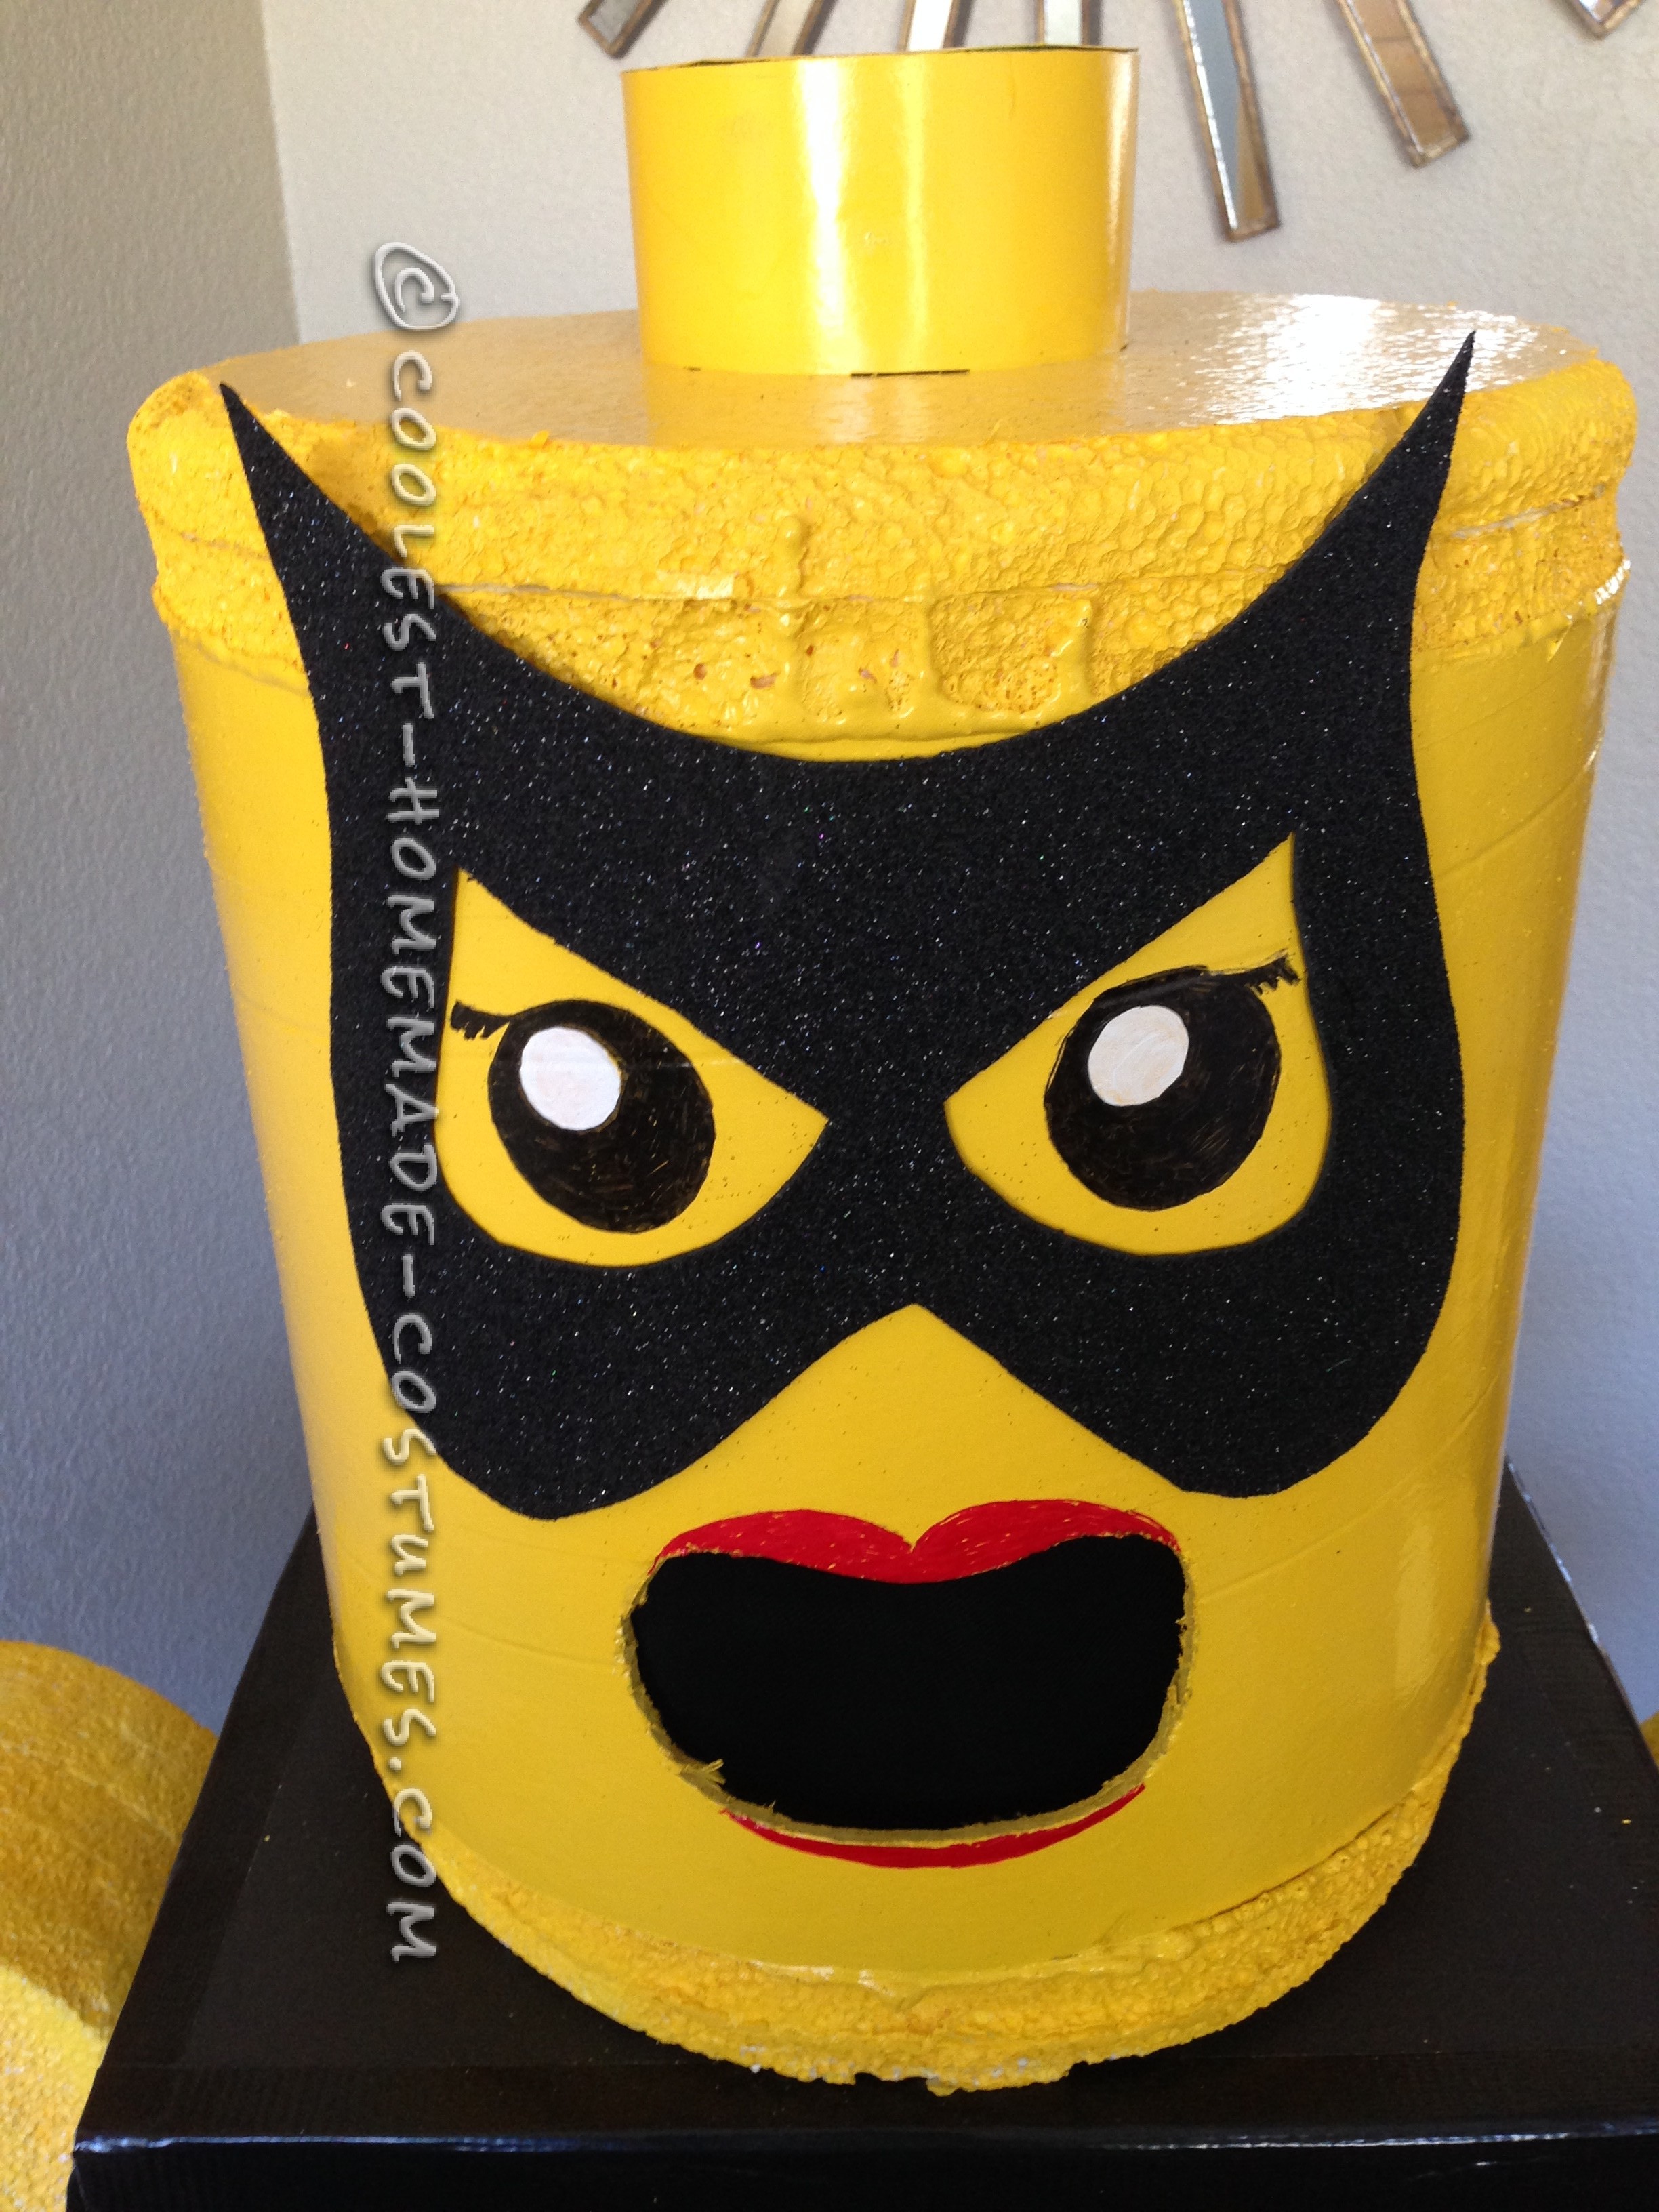
10. Spray paint the Batman head only on the cement tube, several coats of yellow. Spray the entire head of the cat woman yellow. (Dry overnight)
11. Cover the Batman face with paper and tape off with precision the shape of your mouth (square shape for our Batman).
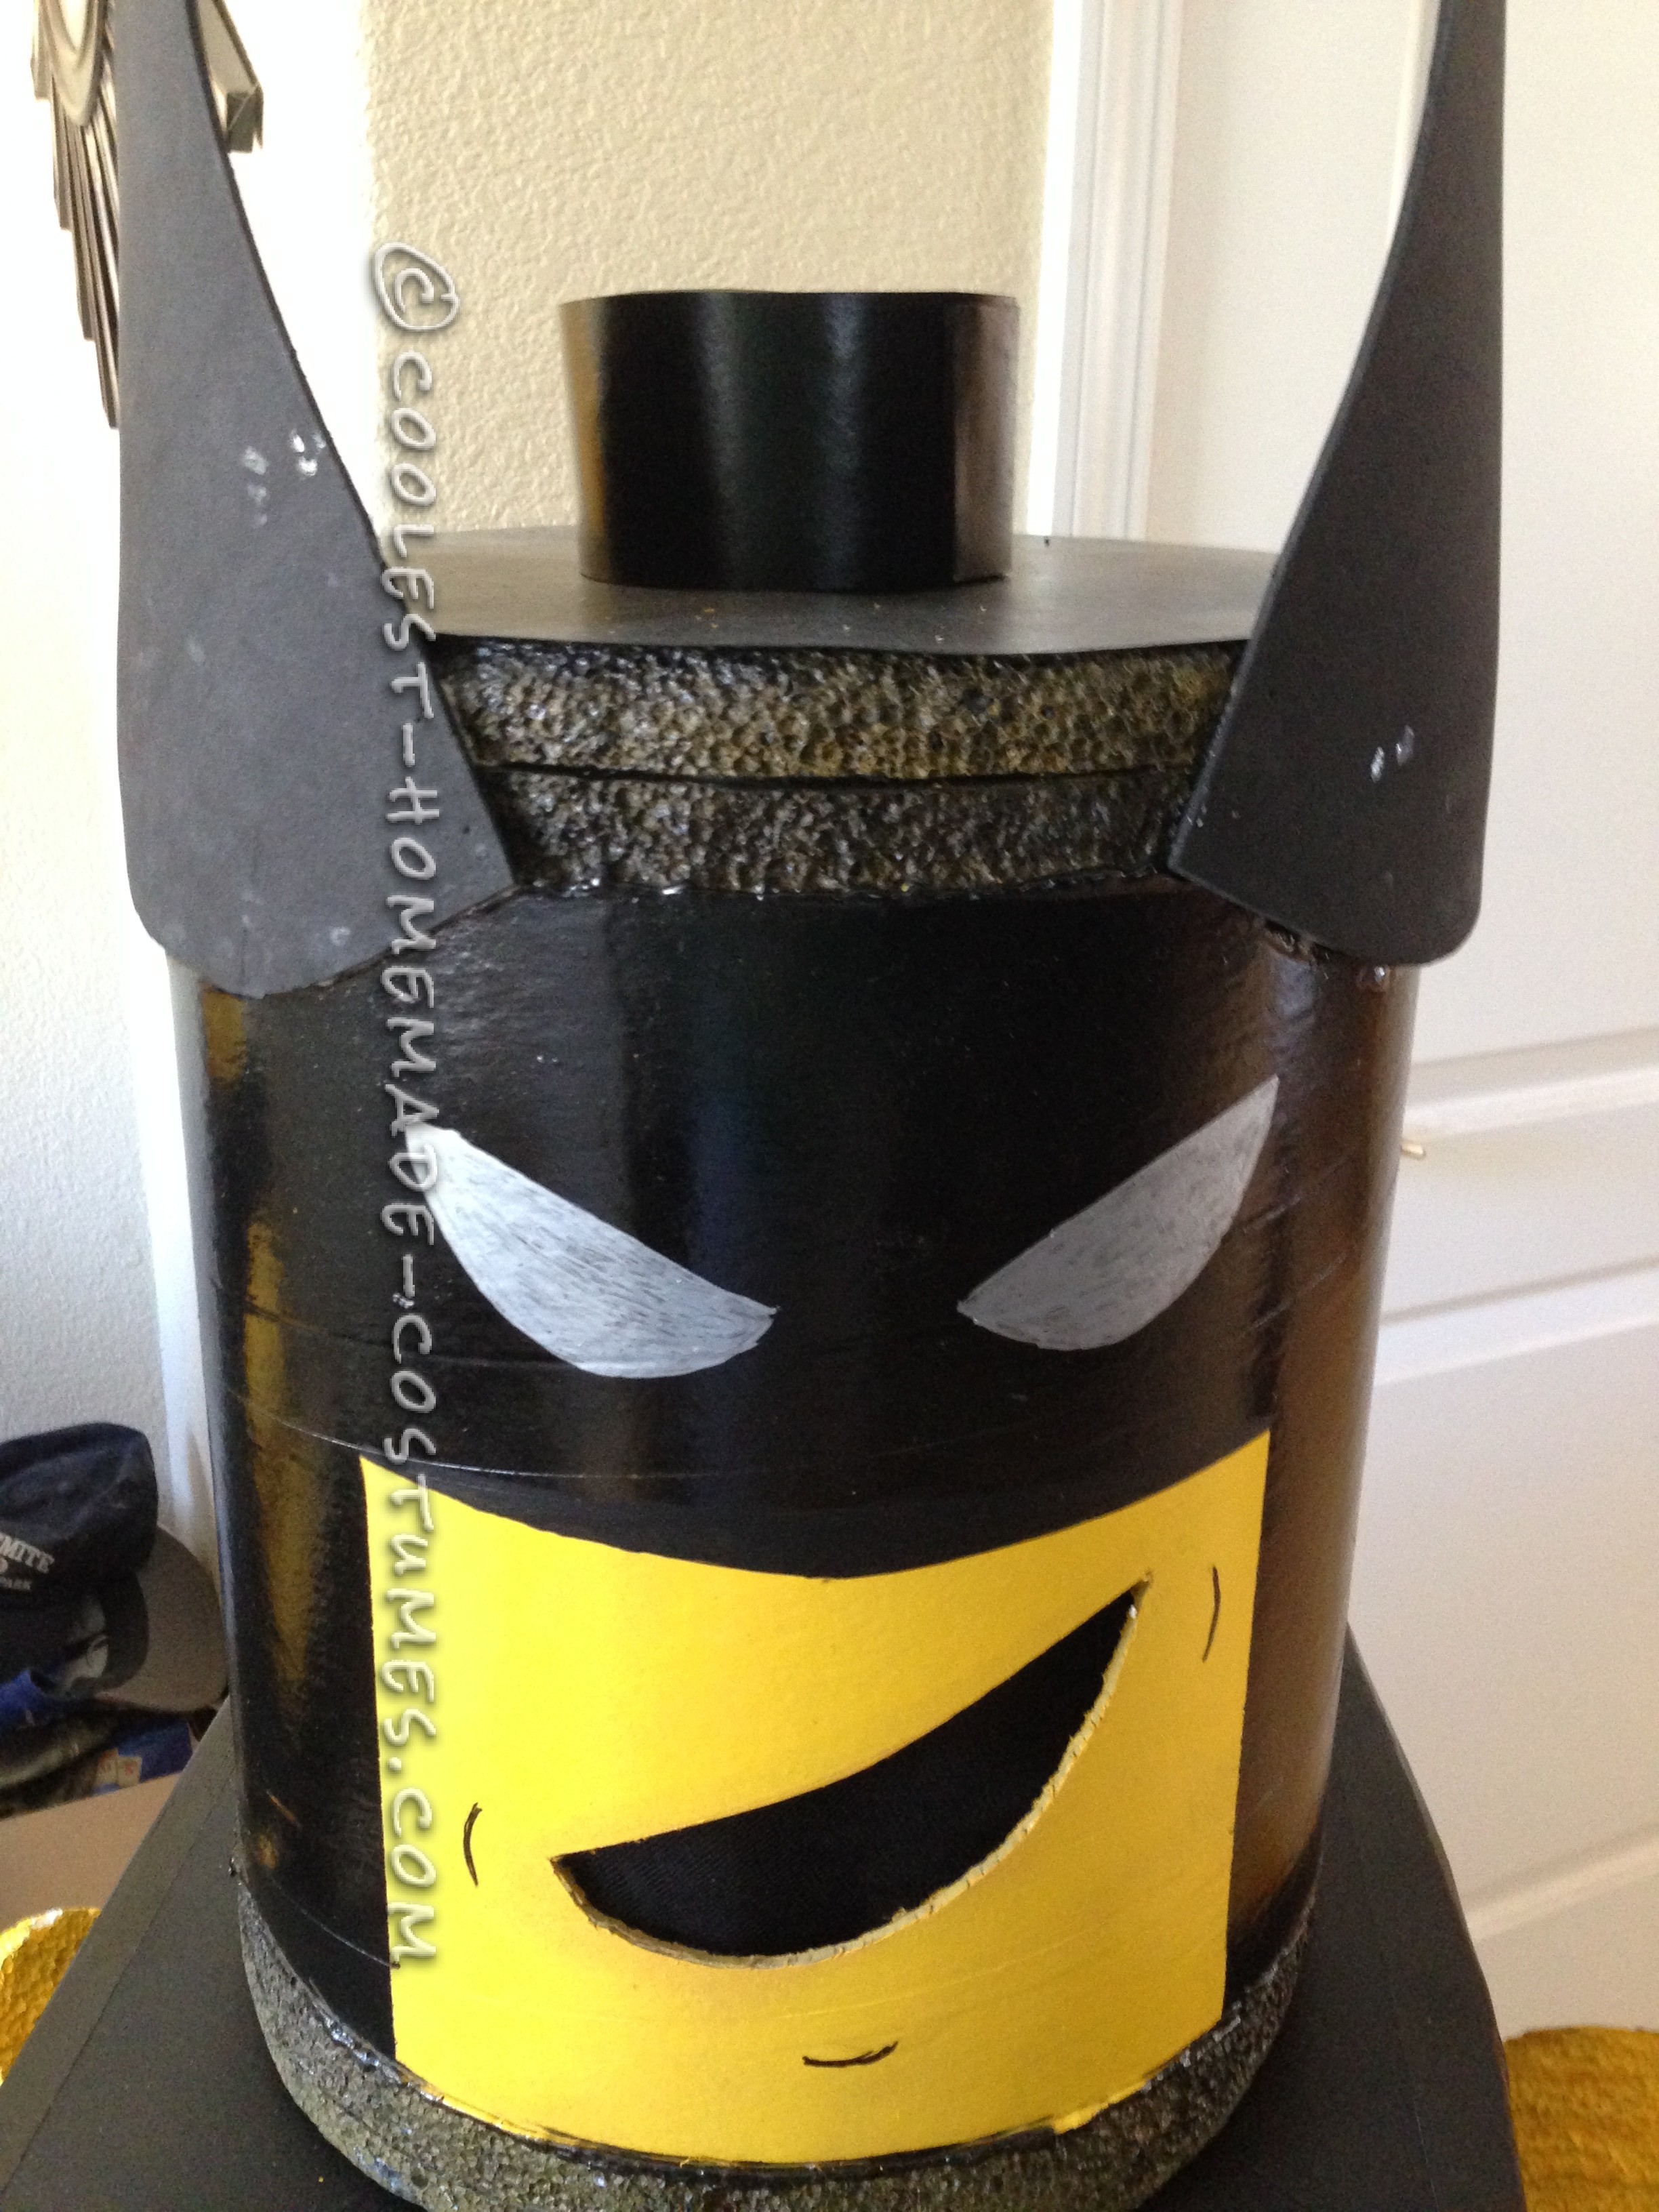
12. Spray paint all of batman’s head black
13. Use templates of what you wanted for the faces in step 5 and paint your face/eyes/mask on the head (I added a triangle to Batman’s mask on the topside of the mask by the mouth to make a nose).
14. Line your mouth with multiple foldings/layers (6 -7 layers/folds) of tulle to cover hole in mouth. Tape to the inside of the head over the mouth.
15. Attach ears to Batman’s head a little forward so you can see the shape of the ears from the front. Attach sparkly mask to cat woman, then paint eyes inside mask with Sharpie and white acrylic paint (for irises). Paint red lips on cat woman with Sharpie. Silver Sharpie the eyes for Batman.
For Each Lego Body
1. Ensure that each cardboard box body side is equally folded as you will cut two (front and back) at the same time. Tape over any slits or holes that may be part of your front or back.
2. Cut a trapezoid shape body in the cardboard box, measuring the width of your shoulders minus 1″ for the top and about 31″ for the bottom (16″ at shoulder’s width X 31″wide at bottom X 35″tall)
3. Put front and back pieces up to your body and measure for the side pieces. Ours was a trapezoid 13″ at top and 19″ at bottom and 35″ tall.
4. Cut side pieces and then piece body together with Dollar Store black masking tape inside and outside of the corners.
5. Measure where the arms should be and cut holes for the arms (we used a nine inch circle for a template)
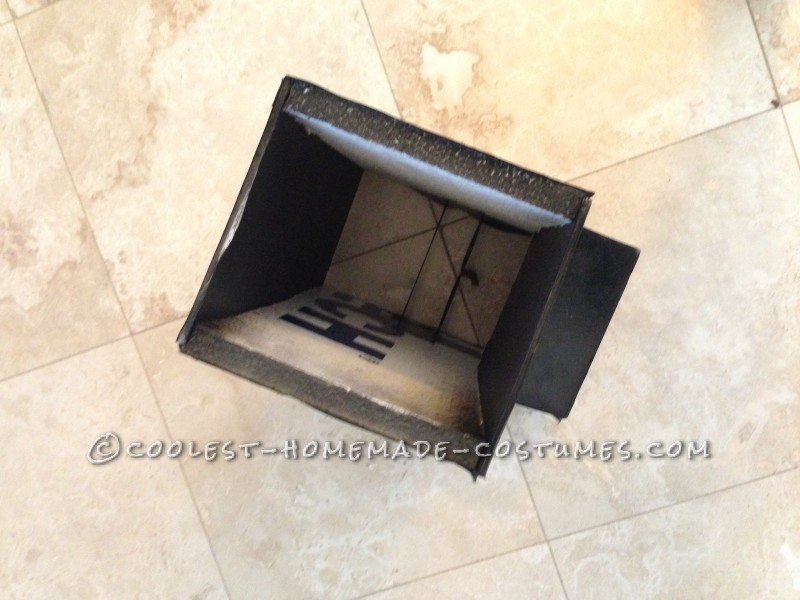
6. Cut and fit the top of the trapezoid body and cut the hole for your head. Make sure your entire head can fit through! We used the Styrofoam black poster board.
7. Tape the top piece inside and out to the top of the trapezoid body.
8. Place and piece together the poster board over the cardboard body using the spray adhesive. Cover the all sides of body entirely in poster board; no cardboard should be showing. I used an Exacto knife to cut off excess and used the straight line of the paper to cover the edges as much as possible. There will be overlapping on the body, however, when spray painted and with the belt placement you won’t notice the overlapping as much.
9. Spray paint the body black. Use several coats and let them dry between coats (don’t saturate the body on first coat) as you don’t want the paint to run on the body.
10. Reinforce the width of the front and back body pieces by taping leftover stiff cardboard (so cardboard body won’t collapse and fold in half).
11. Cut out Batman emblem (bat out of black foam and then cut yellow circle that bat sits on). Piece together the bat and circle with adhesive, then peel yellow foam adhesive backing off to stick in middle of Batman’s chest.
12. Make belt for Catwoman out of black poster board, 4″ X 28″, then color with silver sharpie a design on the belt. Use Glue dots to adhere belt to Lego body (the bottom of the belt should rest at the same width as the body; tops of belt will be larger than body by 1/2″ or so).
13. Cut out cardboard 2″ ring and triangle for zipper on Catwoman and color silver. Adhere with Glue dots to middle of chest, 3 – 4 ” from top of Lego body.
14. Make belt for Batman out of yellow poster board, 5″ X 28″, then color with black sharpie the design you want. Use Glue dots to adhere the belt (same as 12 above for Catwoman)
15. Sketch the bodies of the Lego figures several times with the belts and Batman logo as centers, as it is hard to see on black poster board. Then trace the body sketches in silver Sharpie.
16. Cut the cape out of the black plastic tablecloth tapering the cape from top to bottom of the Lego body and scalloping the bottom of the cape like bat wings. Tape to back of Lego body
17. Print Lego logo and adhere to back of Lego body underneath the cape.
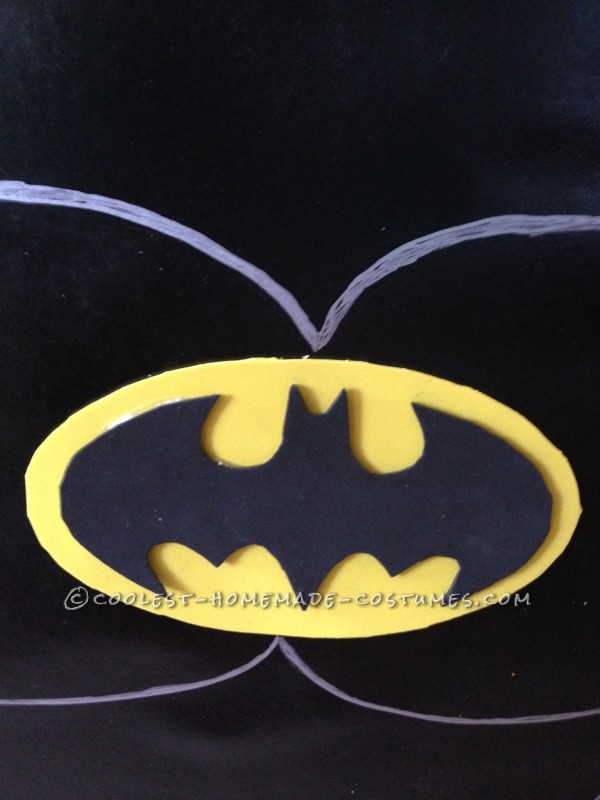
Batman Logo
For Each Lego Leg
1. Cut Styrofoam for the sides of the legs (2 each) in “L” shapes. Measure from bottom of knee to floor, measure the length of your foot plus 2″ for shoes, and then for the the width, measure your calf plus 1″ – 2″ clearance.
2. Make 3D blocked leg by cutting Styrofoam poster board for front and back of legs and taping all pieces together inside and out.
3. Cover entirely in black poster board with spray adhesive.
4. Spray black paint on 3D blocked legs (same as instruction 9 above for body)
5. Tape slightly-stretched head band in parallel lines 2″ apart, very close to bottom of Lego leg (tape to sides of calf width on bottom of Lego leg). The elastic will keep your lego leg resting on your ankles while walking; should not drag or fall.
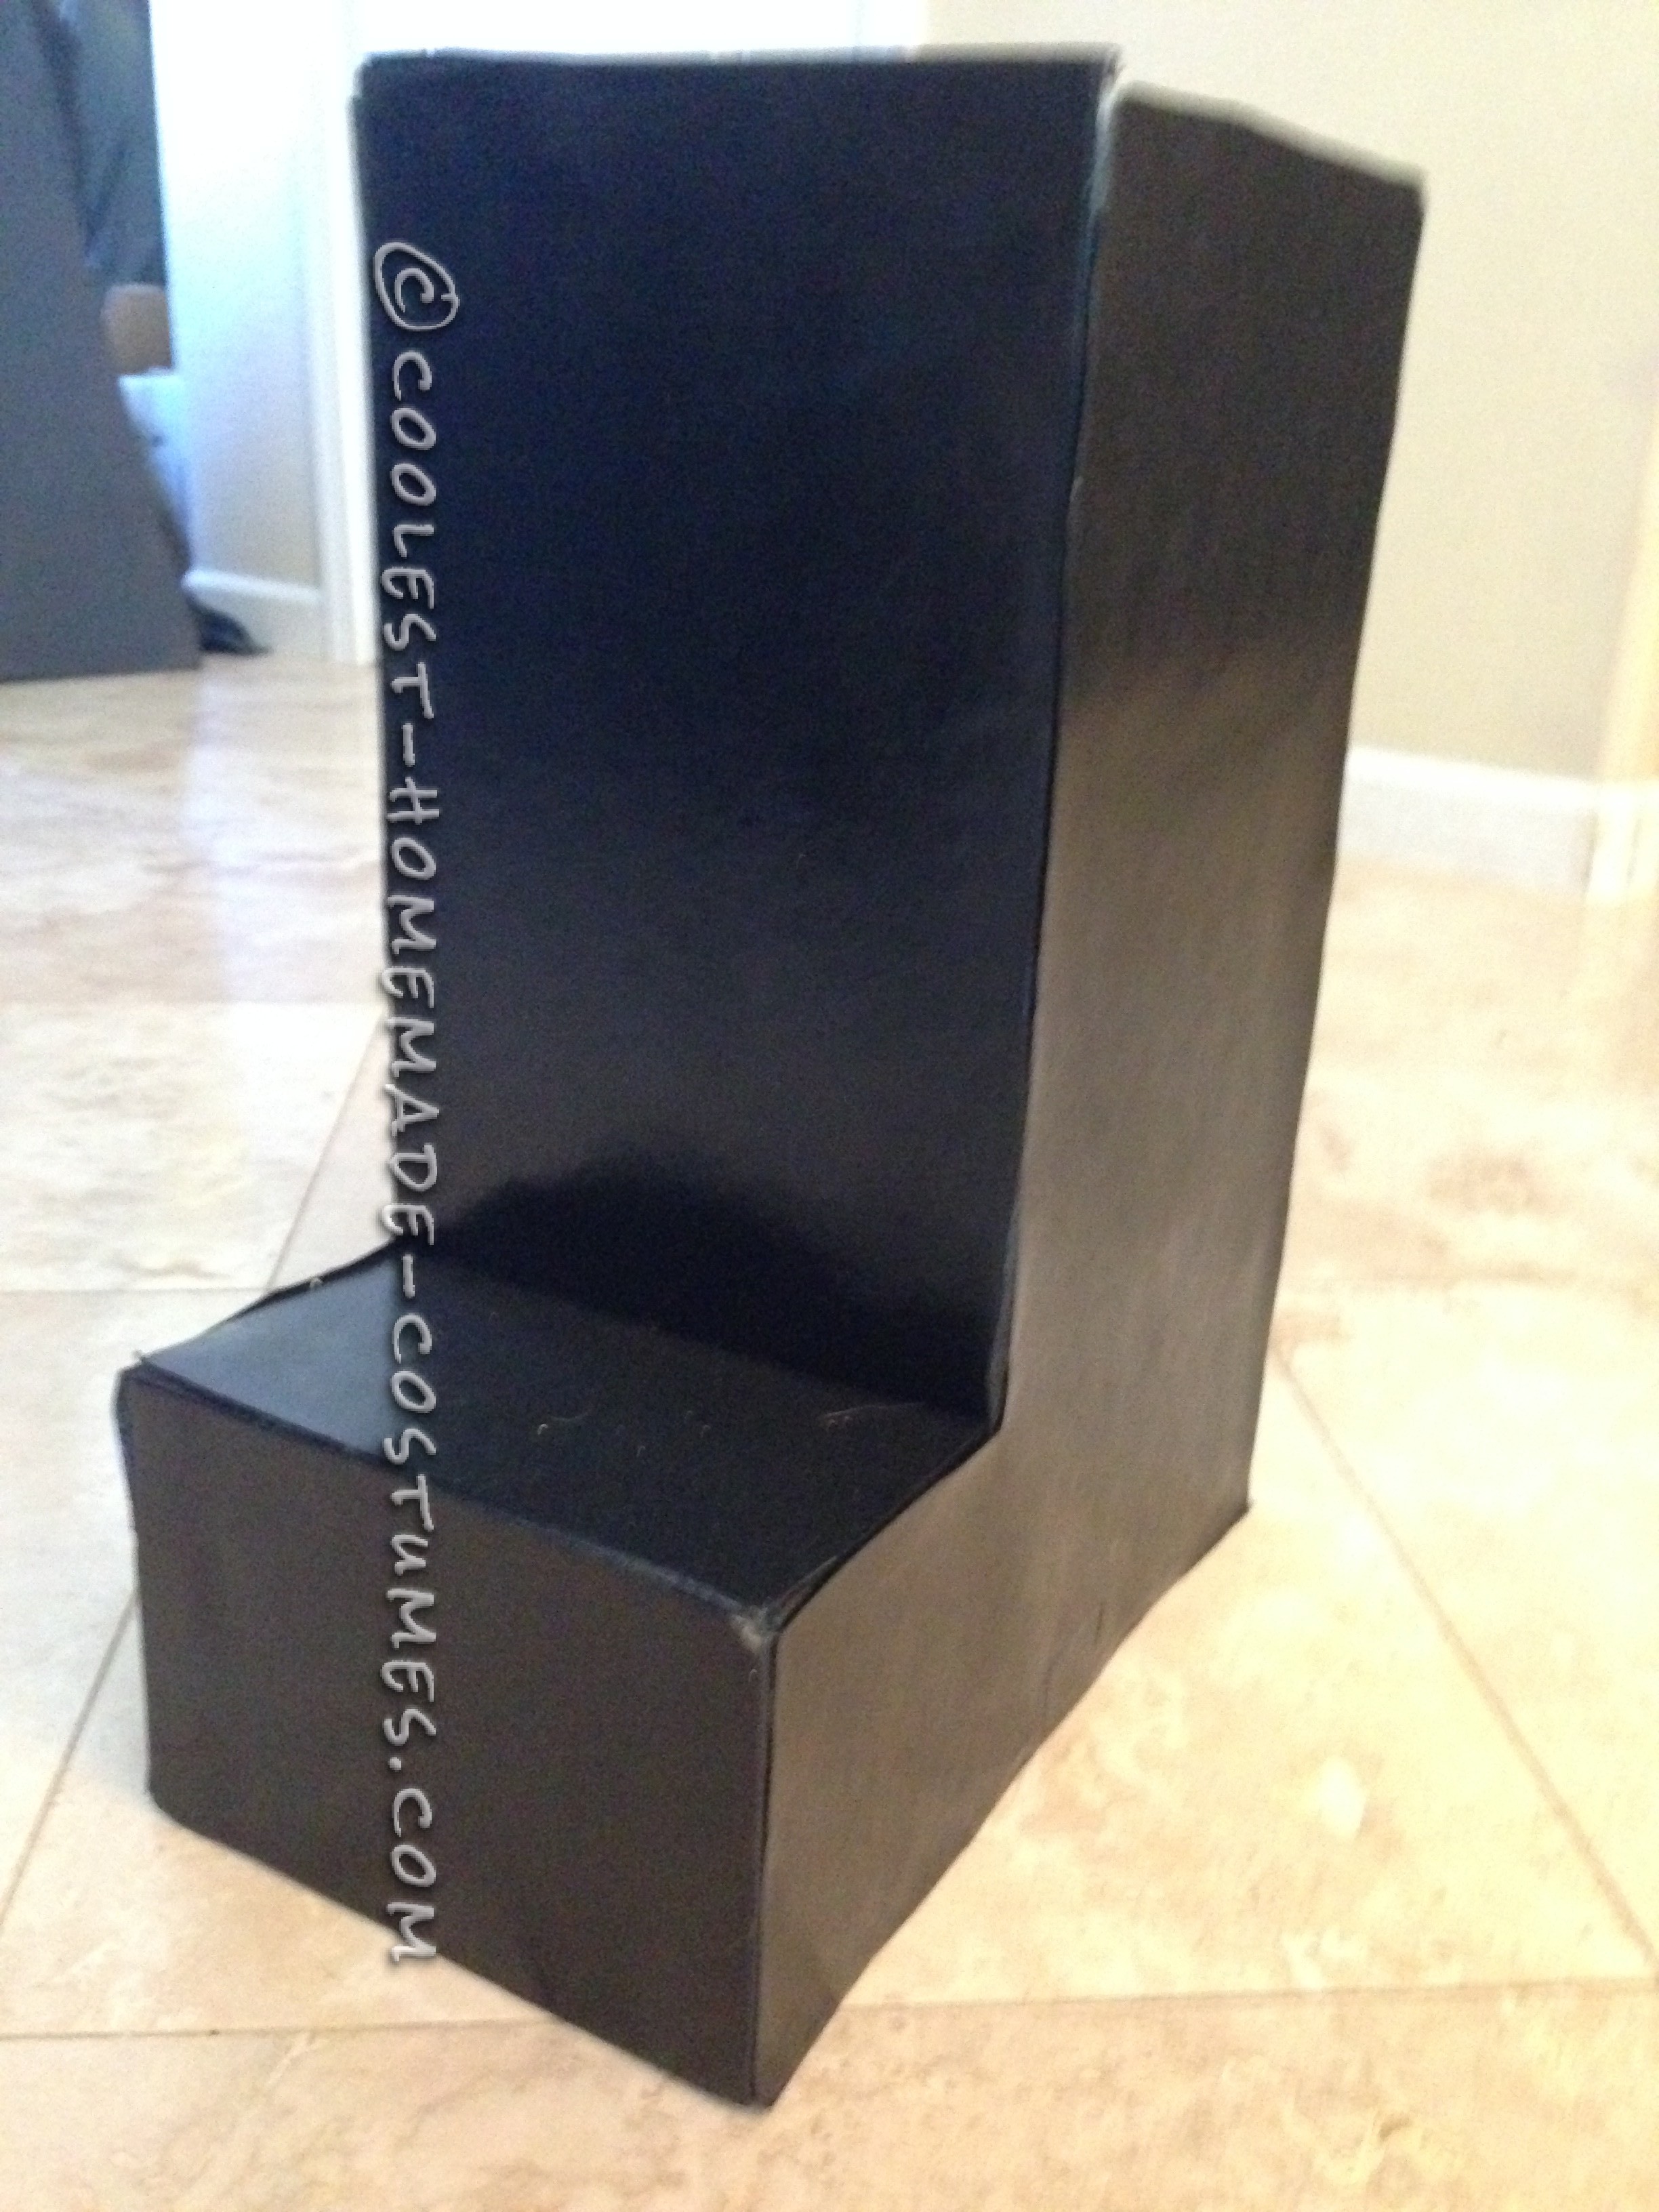
Lego Leg
For Each Lego Set of Hands
1. Cut 10 9″ Styrofoam circles out of 1″ Styrofoam (fared better than the 3/4″ Styrofoam), Catwoman was 3/4″ and Batman was 1″.
2. Gorilla glue five circles together and compress glued circles together overnight or for several hours (two sets of five circles for each hand).
3. Make a “C” template on each set of glued circles about 2″ wide.
4. Cut the inside of the “C” out with a hand saw and electric knife.
5. Cut a hole in the middle of the “C” for your hand to fit into.
6. Sand and round each “C” hand.
7. Cut 9″ X 7″ cardboard rectangle (or the measurements of your hand with cardboard encircling it )and tape a circle out of the cardboard piece to fit into “C” hand.
8. Gorilla glue the cardboard circle into the middle of the “C” from the back of the “C”.
9. Spray paint first coat of yellow.
10. Spray paint 2nd coat of yellow.
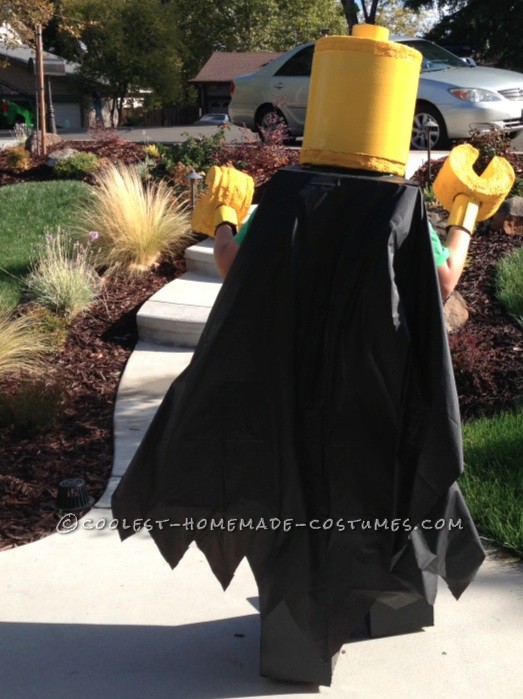
Backside view of Lego
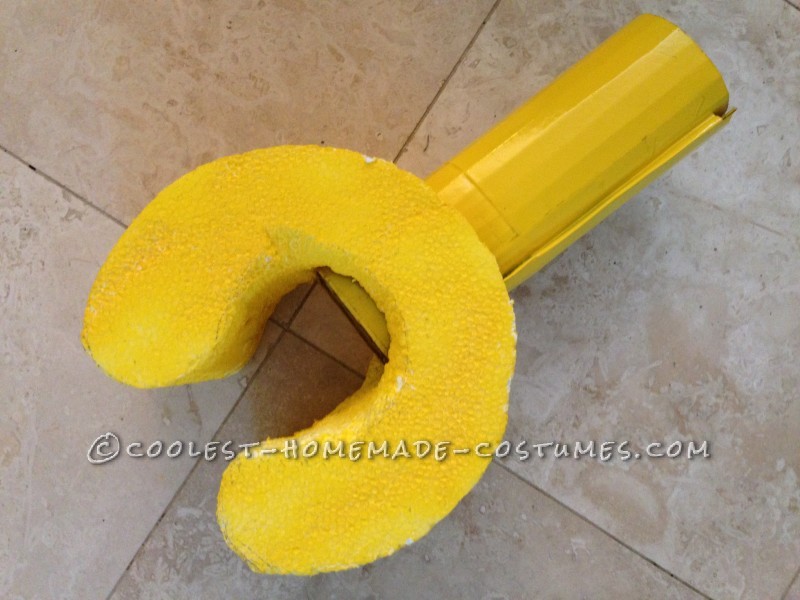
Lego Hand

Related costumes:
 Coolest Lego Minfigure Costumes: LEGO Magician and Lego Sir
 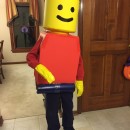 Cool Lego Minifig Costume
  Amazing Lego Men Horror Villians Group Costume!
 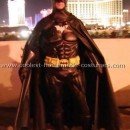 55+ Coolest Homemade Robin and Batman Costume Ideas
  Coolest Homemade Lego Spiderman Costume
 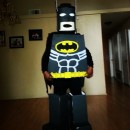 First Try DIY Lego Batman Halloween Costume
 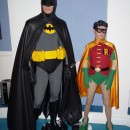 Awesome Homemade Batman Characters Costumes For Stage Play
  Fun Adult Lego Minifigure Costume
Your comment has been sent successfully.