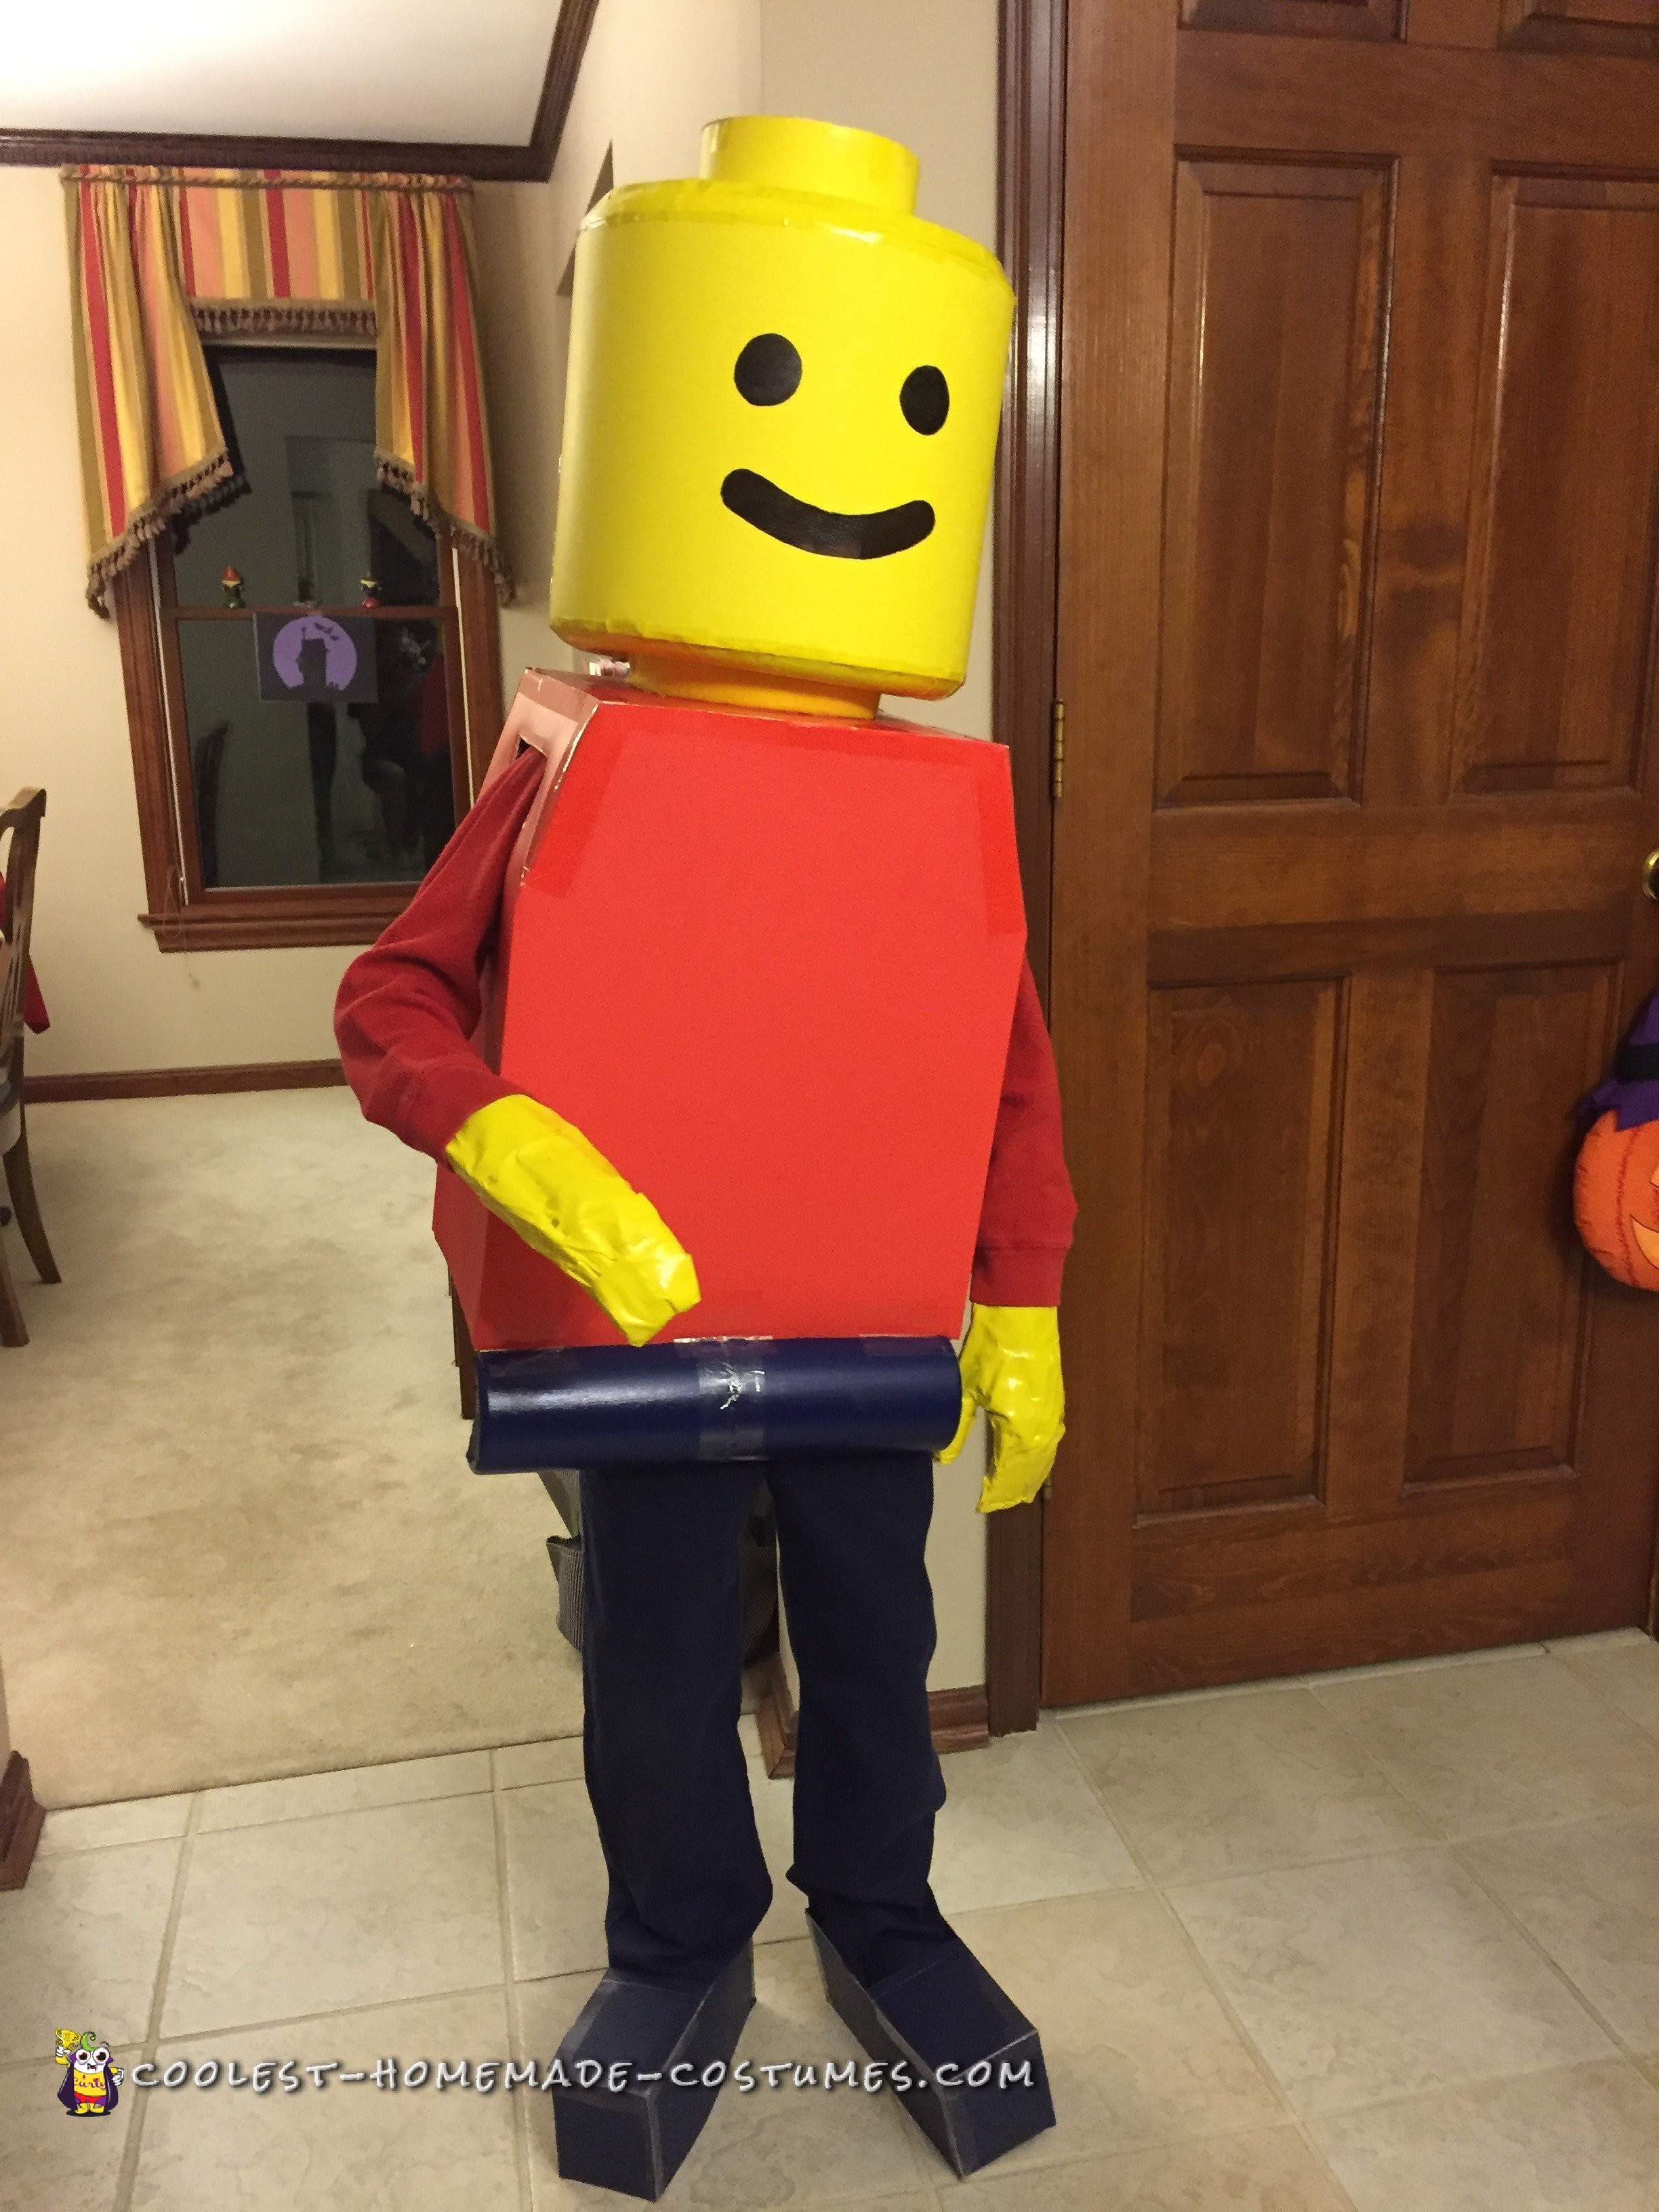
My 7-year-old son is really into Legos. We’d previously had a Lego-themed birthday party and decided to go with that theme for Halloween this year. Rather than a Lego brick, we decided to really challenge Mom’s skills and go for a Lego man minifig. I spent a lot of time looking online (this site included, of course) for inspiration and used a compilation of several ideas as well as my own trial-and-error method to come up with this costume. Rather than a specific character, we decided to go with the classic red and blue minifig.
I worked on it here and there, so I can’t really say how long it took, but it was definitely a bit of work, the head being the hardest part. But I love figuring out what materials to use and how to make it work, so, for me, making homemade costumes is enjoyable too. And my son was really excited to see the finished piece and the overall effect. He won first prize at a costume contest at our local park, and everyone (kids and adults) was excited to see Lego man walking down the street. I think my son felt pretty cool and special, and really, that’s why I do it. Sure, I appreciate the compliments that my homemade costumes get, but seeing my kids get excited about something special I’ve made for them is worth so much more.
Body and Neck:
We chose red for the upper body and navy for the legs, so we used a red sweatshirt and navy pants as the base.
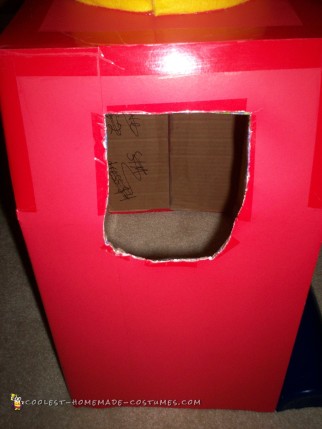
We found a box that was the width of his body – a Luvs diaper box. I cut open the rectangle for his legs and reinforced the box edges with clear tape. I measured the circumference of his head to find the diameter (C=3.14d). I used a box cutter to cut a circle that size from the top center of box. I had to continue trimming until it fit over his head. It was tight to get on, but I didn’t want the opening too large that the body would be wobbly.
I wanted the top sides of the box to be angled in like a minifig, rather than straight and boxy. From all four top corners of the box, I cut straight down about 5 inches. Then at the front top edges and back top edges, I cut in from each corner towards the center about 1 inch, and then cut diagonal to connect the other two cuts, basically cutting a long triangle out of the two front corners and two back corners. Then I folded/bent the sides in and taped them to the top of the box.
I estimated where the arms would need to come out the sides and cut a U shape almost 2 inches from the top edge of the box. I had my son try it on, putting his arms up to put it on like a shirt. I trimmed the arm holes a bit bigger until it was comfortable for him to get on and be able to move his arms adequately.
You could paint the body. I chose to cut red posterboard to size and attach it with spray adhesive, making the “seams” meet on the sides of the body. I cut out the head opening before attaching the piece of posterboard to the top, but I cut the arm holes out of the posterboard after it was attached to the body. I reinforced around the edges with clear packing tape.
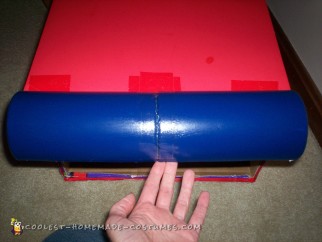
I decided not to make full Lego legs – too hard to walk in – but we did want to have the piece where the legs meet the body. I had a white plastic cylindrical container (Benefiber) that was the right size. I used a box cutter to cut it in half longways, and painted it with a navy colored, satin-finish acrylic paint to match the pants. I painted it inside and outside. I hot-glued the two pieces end-to-end with the open sides together. I used clear packing tape to secure it to the box on the inside/underside. I wanted it to be able to flip up so he could sit down with the box/body on.
I didn’t want a visible gap between the head and the body (and I knew I didn’t want my head sitting directly on the body), so I created a neck. I used two pieces of yellow/goldenrod felt. I folded it over lengthwise until it was about 2 ½ inches high. I hot-glued a pipe cleaner inside of the top edge to keep it sturdy. Then I hot-glued the pieces to the inside of the head opening, keeping the “seams” at the sides.
Head:
This was the hardest part to create. Here’s my basic list of supplies:
- (2) 11.8 inch Styrofoam floral wreaths, rounded, not flat edges
- Plastic top hat from party store
- Yellow posterboard
- Yellow duct tape
- Cooking skewers
- Styrofoam pieces for sizing
- Cardboard
- Black window screen
Measurements were the hardest part. I didn’t want to sand and shape Styrofoam, so I used the floral wreaths. That size wreath was what I found that fit over his head, so I based the dimension off that and also used this listing of dimensions to make comparisons.
After calculating the dimensions based on the circumference of my wreaths, I ended up with the posterboard I used for the head being about 10 inches high. I wanted the head to turn when my son turned his head, so I put the top hat inside to keep the whole thing tight on his head. I needed to add some height to the hat so that the head sat on his head at the right level. He would see out the mouth.
Basic Order of Construction:
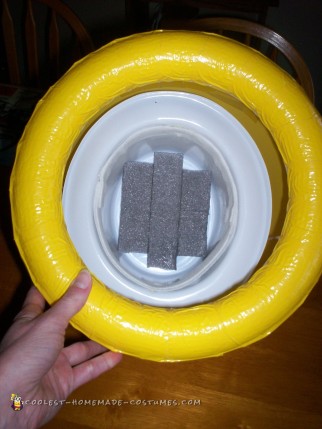
I hot-glued 1-inch high pieces of foam (packaging from a computer monitor is what I had) to the inside top of the hat. I hot-glued 1 ½-inch high pieces of foam to the outside top of the hat. The hat was just a bit too wide for my son, so I had to hot-glue felt strips at points front, back, side, side in order to size the hat to his head.
Wedge the Styrofoam on top of the hat into one of the Styrofoam wreaths. Hot-glue at some points to secure.
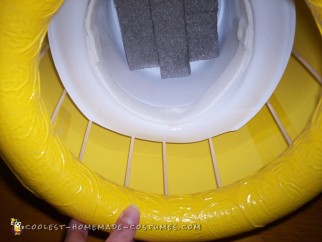
Insert skewers into the top wreath, making sure to only place them around the back half of the head. Measure 10 inches down from the top wreath and insert skewers into the bottom wreath, making sure the wreaths are just a little bit more than 10 inches apart.
Cut yellow posterboard to 10 inches wide. I had to use two sheets of posterboard to go all the way around the wreaths. Lay out the posterboard on a long table. Roll it around the wreaths to test fit. The edges of the posterboard should come to the middle of the height of the wreath, allowing a little bit of wreath to still be seen. Make sure “seams” of posterboard are towards the back; use clear tape on the seams. Lay the posterboard back out again. Put a short line of hot glue along top and bottom edges of posterboard and roll the Styrofoam wreaths over it to attach. Continue doing this, bit by bit, checking fit as you go until posterboard is all the way around the Styrofoam wreaths.
Apply strips of duct tape to cover exposed edge of bottom ring.
Cut a circle out of cardboard to fit inside top Styrofoam wreath. (I cut mine bigger because I thought I’d have to secure the cardboard to the top of the wreath for it to be sturdy. Thus I lost a bit of the rounded edge look at the top. It would still have been secure enough if I’d put the cardboard circle inside the wreath.) Cut out circle of yellow posterboard of same size and glue or use spray adhesive to attach it to the cardboard. Glue it to the Styrofoam on top of the hat.
Apply strips of duct tape to cover exposed rounded edge of top wreath.
I thought about applying yellow duct tape or clear tape all the way around the head to give it the shiny look of plastic, but we were afraid the tape lines would then be too visible.
Peg:
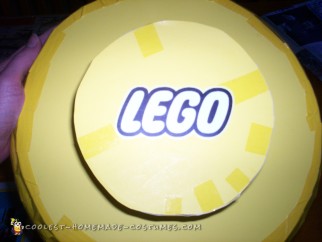
Size based on my dimensions was 2 inches high and 6 inches in diameter. If you have a plastic container this size, great. Glue yellow posterboard to it and use it. I had to create mine out of cardboard and posterboard and then glued it to the top of the head. Print a Lego logo and glue it to the top of the peg.
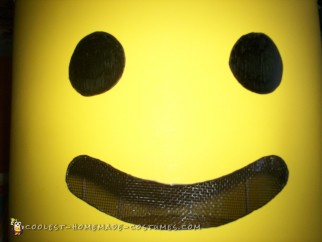
Face:
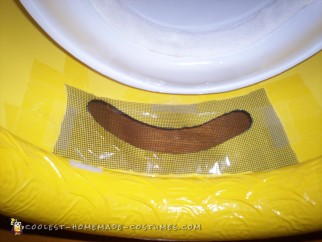
Make a template on paper. For my dimensions, the eyes are about 1 5/8 inches in diameter and about 2 5/8 inches apart (inside edge to inside edge). The mouth is about 6 inches wide, 1 inch high with a slight curve. The outside edges of the mouth are just a little bit wider than outside edge of eyes. Top of eyes were about 2 ½ inches from top edge of posterboard. Bottom of mouth was about 2 ½ inches from bottom edge of posterboard. Base the placement on where your child’s eyes are. I had my son put on the head and hold a little light-up keychain inside the head at the level of his eyes so I could mark on the outside approximately where his eye level was.
Cut the eyes and mouth out of your template and place it on the head at the right level. Draw eyes and mouth onto posterboard. Color eyes in with black marker. Cut out the mouth with box cutter or exacto knife. Tape a piece of black window screen (we happened to have some) inside the head to cover the mouth. Kid can see out, but it looks black from the outside. We tried black pantyhose, but they weren’t see-through enough.
There is no peripheral vision, so your child will need guidance when walking around, especially navigating steps.
Hands:
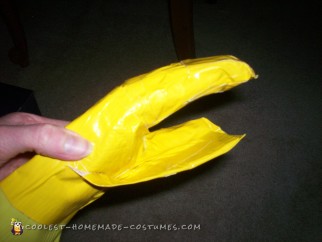
I used dollar store yellow rubber kitchen gloves, size M. While the glove was on his hand, I put yellow duct tape (Walmart or hardware store) around his fingers, all four fingers together, and around his thumb and also down the wrist a bit. After removing the glove, I cut a small square of cardboard and attached it to the thumb to make it similar length/height to the fingers and taped around that. The hand was worn with the wrist part of the glove tucked up under the sweatshirt sleeve. He was able to close his hands together well enough to hold his trick-or-treat bag, but he could not pick his own piece of candy out of the bowl when offered. If you’re doing this for a party where there will be games or you need more hand dexterity, you could just use the gloves without tape.
Feet:
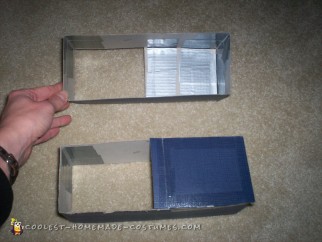
I had a blue cardboard shoe box, but you could also paint cardboard. I cut the box to the width and height of the shoe (two sides, front, back) and taped them into a rectangle shape to slide over the shoe. I cut a top piece of the same width, but only half of the length front-to-back, and attached it as well, taping to the sides and front. To put on, I had him put his socked foot through the box opening and pushed it up his ankle. He put his shoe on and then pushed the box down over his shoe. This worked for pictures and a costume contest but was somewhat awkward to walk in, so we abandoned it for trick-or-treating night.
Bag:
I used red construction paper in a rectangle. I had a template from online from a previous Lego birthday party of the Lego logo in a circle. I glued six of the circles to the red rectangle and taped that to a trick-or-treat bag.
Finished!
I think that’s it. Surely there are some steps above that could be done an easier way or with more technical skill. But I think the largeness of the overall effect compensated for any flaws in craftsmanship. I hope this has been helpful and you can take some of these ideas for your own Lego minifig.
After all that work, we don’t want it to be over after Halloween. We plan to use the head as a decorative piece on our Lego storage unit (once we organize a Lego storage unit, that is!).

Related costumes:
 Homemade Batman Lego Couple Costume
 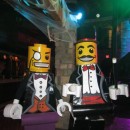 Coolest Lego Minfigure Costumes: LEGO Magician and Lego Sir
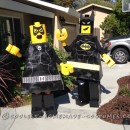
  Amazing Lego Men Horror Villians Group Costume!
 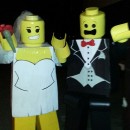 Prize winning DIY Lego People Costumes
 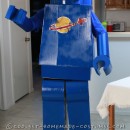 Awesome Lego Benny Costume from the Lego Movie
 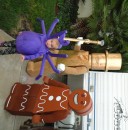 Prize-Winning LEGO Minifigure Costumes
 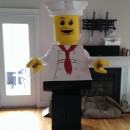 Fun Adult Lego Minifigure Costume
  Coolest Homemade Lego Spiderman Costume