The Lego craze hit our household hard when my son turned six last year. This meant I had to come up with a unique idea for Halloween since all my son’s costumes are handmade for Halloween. Boy, did I have a large task in front of me.
I went to Pinterest and found several DIY Lego Spiderman Costume ideas.
I scoured the net trying to search for the best tips and tricks that worked since this was a labor intensive and hands on project.
This DIY Lego Spiderman costume is very labor intensive. I dedicated more than 10 hours to create this costume over the course of 2 months. It’s not for the faint of heart. I’m not trying to sway anyone away, but I want you to be aware this is not a 10-minute project and it’s over :). For me, it took some trial and error to see what would work.
After all was said and done, my son won a costume contest and received hundreds of compliments!
So, if you’re ready for a challenge like I was, here we go!
Lego Spiderman Costume Step-by-step

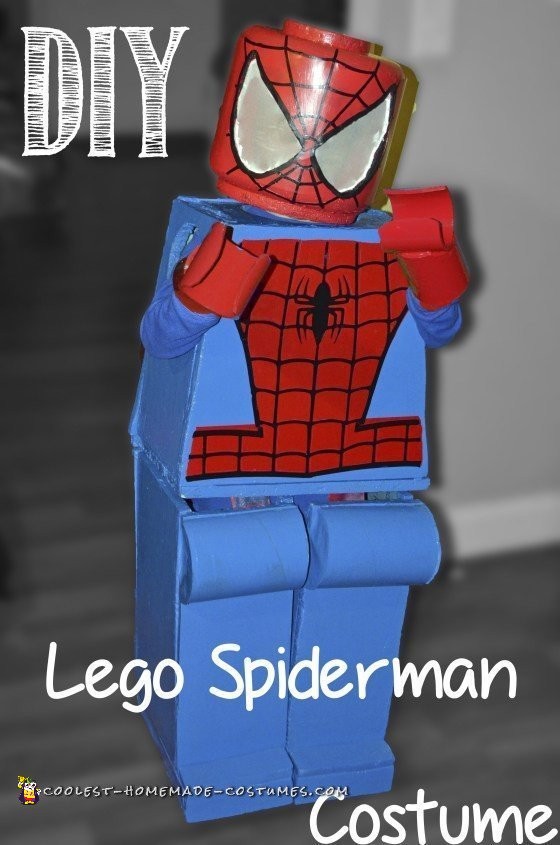
DIY Lego Spiderman Costume
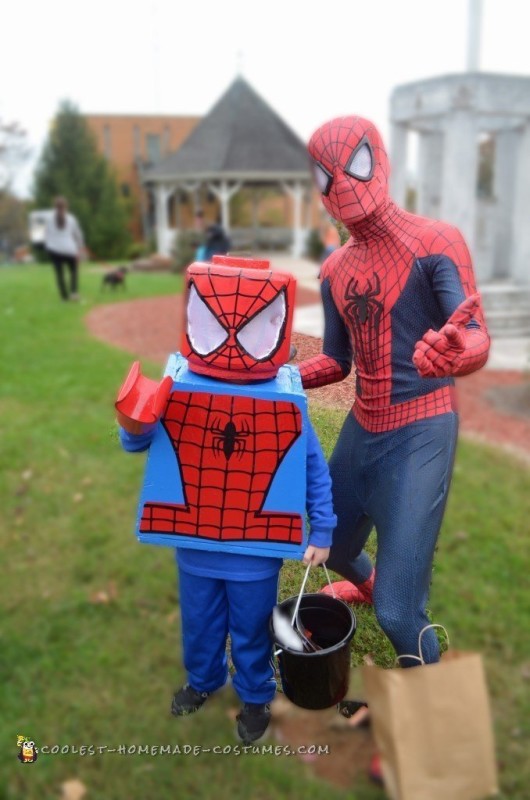
Posing with Spiderman!

Trick-or-treat!
Planning and Mock up
Planning & Mock Up
Materials:
- Cardboard
- Box Cutter or Xacto Knife
- Ruler
- Measuring Tape
I started out with an actual Lego man for my Lego Spiderman costume. THIS. IS. CRITICAL. I cannot stress enough. I used this Lego man throughout the process of designing and creating this costume. Without it, I wouldn’t have been able to match up the angles and dimensions.
First I started out by taking measurements. I measured his head (width & height), shoulder width, hip width, & leg width. I had to continuously play with this measurement in order to make the sizes right.
I used cardboard to create a mock up before actually cutting it out on the Styrofoam. Do not skip this step, you will go through a lot of Styrofoam if you do and it’s not cheap.
Once I had my lines drawn out on the cardboard, I cut it out and placed them together with duct tape to hold. I trimmed and tweaked until I had the sizes I wanted/needed.
Torso
Materials:
- Foamboard (you want to use something VERY dense)
- Cutting tool (I use a handheld saw blade with a handle)
- Ruler
- Vinyl/Vinyl Cutter (optional)
- Elmer’s glue or Modge-podge
- Spray Paint
- Caulk & Caulk gun
- Gorilla wood glue
Next step is to cut it out your mock up on foam board.
I used a box cutter and a handheld saw blade with a handle.There is probably another tool out there that works best – I just used what I had on hand.
Once I had all my pieces of the torso cut out I taped them up with duct tape to hold them in place to make sure they fit correctly and no other modifications needed to be made to the Lego Spiderman Costume.
I used Gorilla Glue and glued the Styrofoam together. I laid the torso down and laid boards (2×4’s) on top of the torso to hold everything tightly in place. Be careful, when you place the 2×4 on top of the torso, it may move a little. It’s okay, just position it back in place and hold it for a few minutes.
Let the torso dry completely. I let it dry a full two days before I started any more work on the Lego Spiderman costume. Next, I used a caulk gun and caulked the sides for an extra “hold”.
Once dry, I used Elmer’s spray glue and put a liberal amount all over the Torso. This is another critical step or the spray paint will eat the Styrofoam. Again, let dry completely.
Again, once dry you can then begin painting the base. When spray painting, use thin even coats or the paint will run. This step took DAYS to thoroughly dry. I used a primer first.
Meanwhile, I used my vinyl cutter and cut out the decals for the front torso and the back. I probably have these files somewhere saved on my computer. If you would like these files for your cutter, please send me an email. I had to cut out the front in pieces because my mat wasn’t big enough to cut out the entire torso in one cutting session, but it pieced together so well!
Once COMPLETELY dry I gently placed the vinyl decals on the torso.
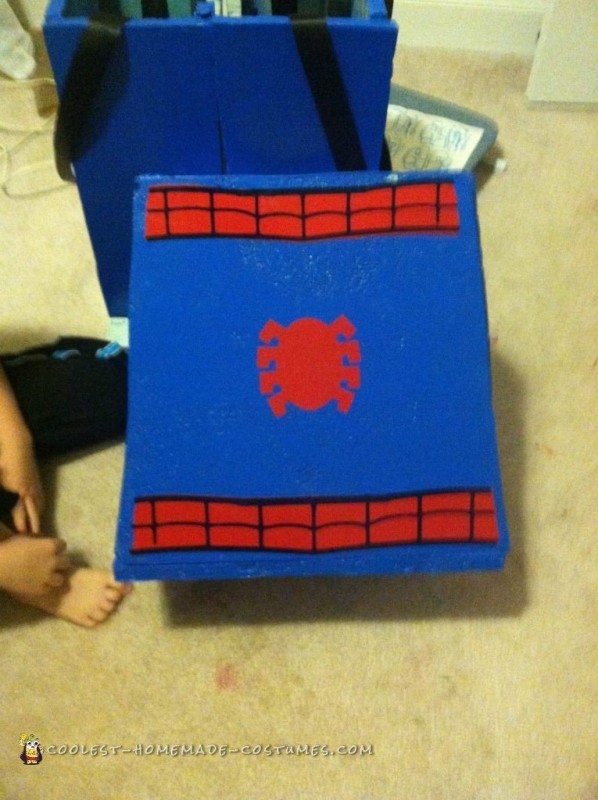
Vinyl decals on the back of the torso
Torso taped up and ready for gluing
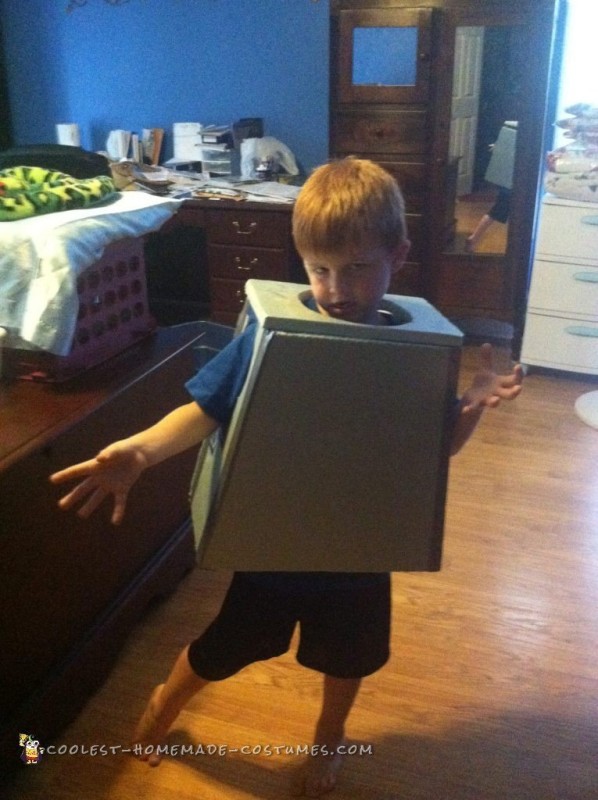
Trying on the Torso
Making the Head For the Lego Spiderman Costume
Materials:
- Foam board
- Chop Saw
- Handheld saw blade with handle
- Modge Podge or Elmer’s Glue
- Gorilla Glue
- Spray Paint
- Black craft paint
- Vinyl (Vinyl Cutter optional)
- Stockingette
- Small finishing nails
- grinder with fine grit sanding pads
- Poster board
This is the most time-consuming part of the entire Lego Spiderman costume.
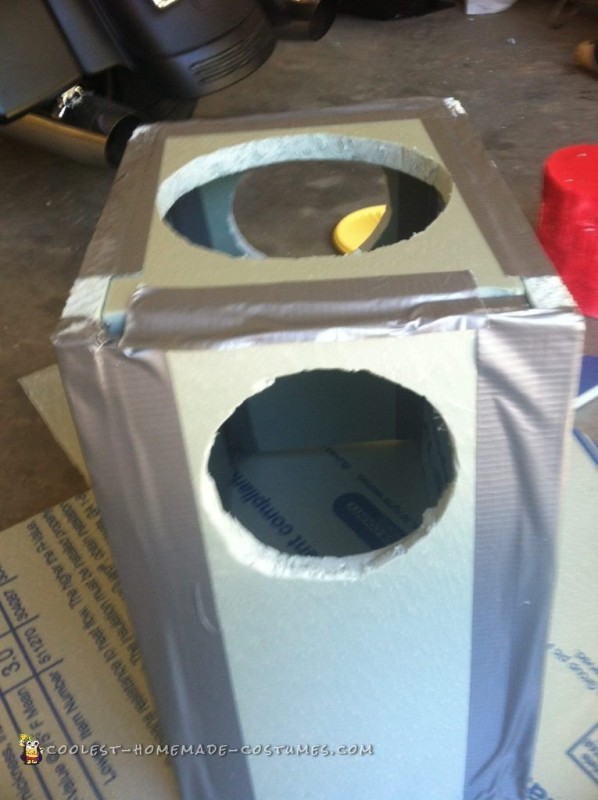
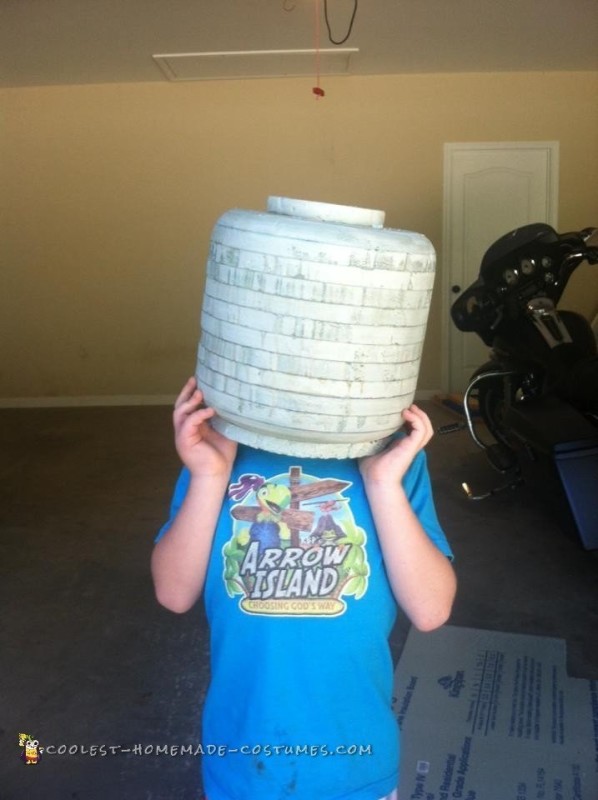
Cut the circles out of the foam board. I believe mine were 9″ at first but I went up a little to make sure he had enough breathing room. We used a chop saw which made the cutting A LOT easier!
Next, you’ll place the circles on top of one another and use the Gorilla Glue liberally (ONLY AROUND THE SIDES, YOU’LL CUTOUT THE CENTER). Place 2×4’s on top of the circles to let them dry completely and securely.
Cutting out the inside. This was a hard part for me. I used a handheld saw and worked the inside until it came out completely. Once I had the core out, I had to make adjustments and cut more off to have his head fit correctly.
Once that was completed, I took a sander to make the outside smooth and to round the edges.
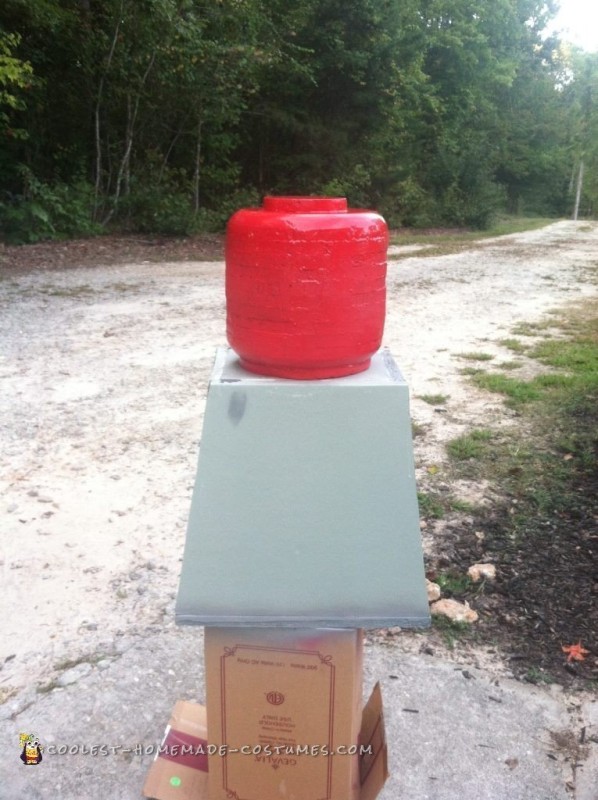
Time to spray the head with glue (or Modge podge) and get it prepped for painting!
For the red, I had a spray paint and primer combo and I used thin, even coats. The spray paint ate away a little at the head, but I used liquid nails and filled in the holes. Worked perfectly.
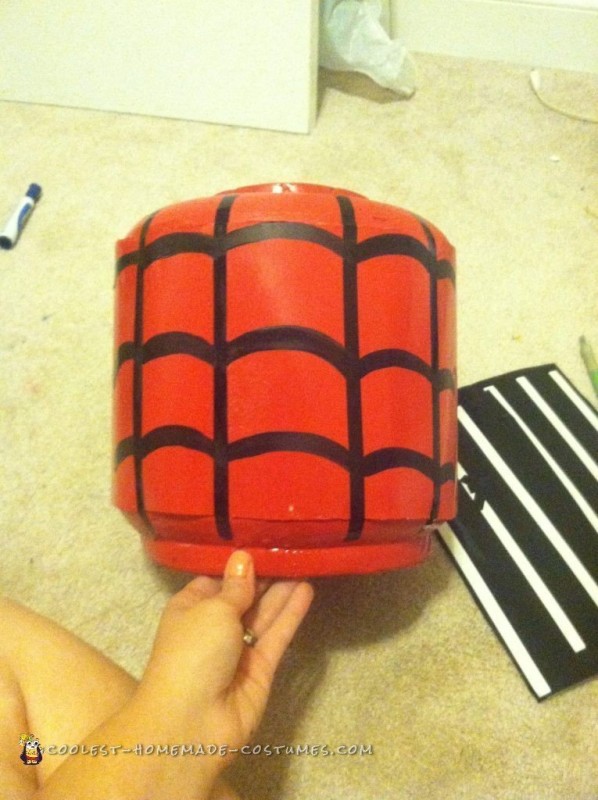
I wasn’t happy with how choppy the head looked here so I bought some poster board, measured the size I needed, and glued to the head. This made more of a finished look for the head.
For cutting out the eyes I used my vinyl cutter as well as my actual Legoman (to reference) and cut out a template to use for the eyes. Once the eyes were cut out I used craft black paint and trimmed around the eyes.
Next, I used my vinyl cutter again and cut out the lines for the head. In the back, I only cut out straight lines and filled in the gaps with black craft paint and a paintbrush. Then I used stockinette and finishing nails and made the eyes.
The Head

Using Liquid Nails to fill in the holes of the head
Working on painting!
Lines on the back of the head
Hands
I didn’t take pictures of this part because my father-in-law helped me with these. I purchased PVC pipe and he had a tool at his house that rounded down the PVC pipe for the “C” part to recess in the wrist part. He also added a wooden dowel so Hunter could hold on to the hands without them slipping off. I actually spray painted these hands blue instead of red at first and had to re-paint
Legs
(This part didn’t work out well for me, Hunter wasn’t able to actually walk with these legs, I only used them for photography and costume contest purposes).
I’m not going to go into great detail here since this didn’t work out well.
I measured and cut out foam board just like in the previous steps for the head and torso. I assembled them with glue and Gorilla Glue tape as before. I cut out a part at the top for the legs to move ( U-shaped at top of legs). I also cut out foam board for the “feet”. I used ribbon and attached to the inside of the legs to go over the shoulder.
I used a concrete form to do the circle part at the top of the legs and filled the sides in with leftover poster board.
Hunter had very restricted movement.
And that is all! No doubt you’ll have to do a lot of tweaking and trial and error for this costume, but the finished product is more than worth it!

Related costumes:
 Coolest Lego Minfigure Costumes: LEGO Magician and Lego Sir
  Cool Lego Minifig Costume
 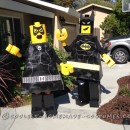 Homemade Batman Lego Couple Costume
  Amazing Lego Men Horror Villians Group Costume!
  Fun Adult Lego Minifigure Costume
  Coolest Lego Boba Fett Costume
  Awesome Lego Benny Costume from the Lego Movie
  Awesome Homemade Minfigure Costume: The Awakening of Lego Lord Vampyre