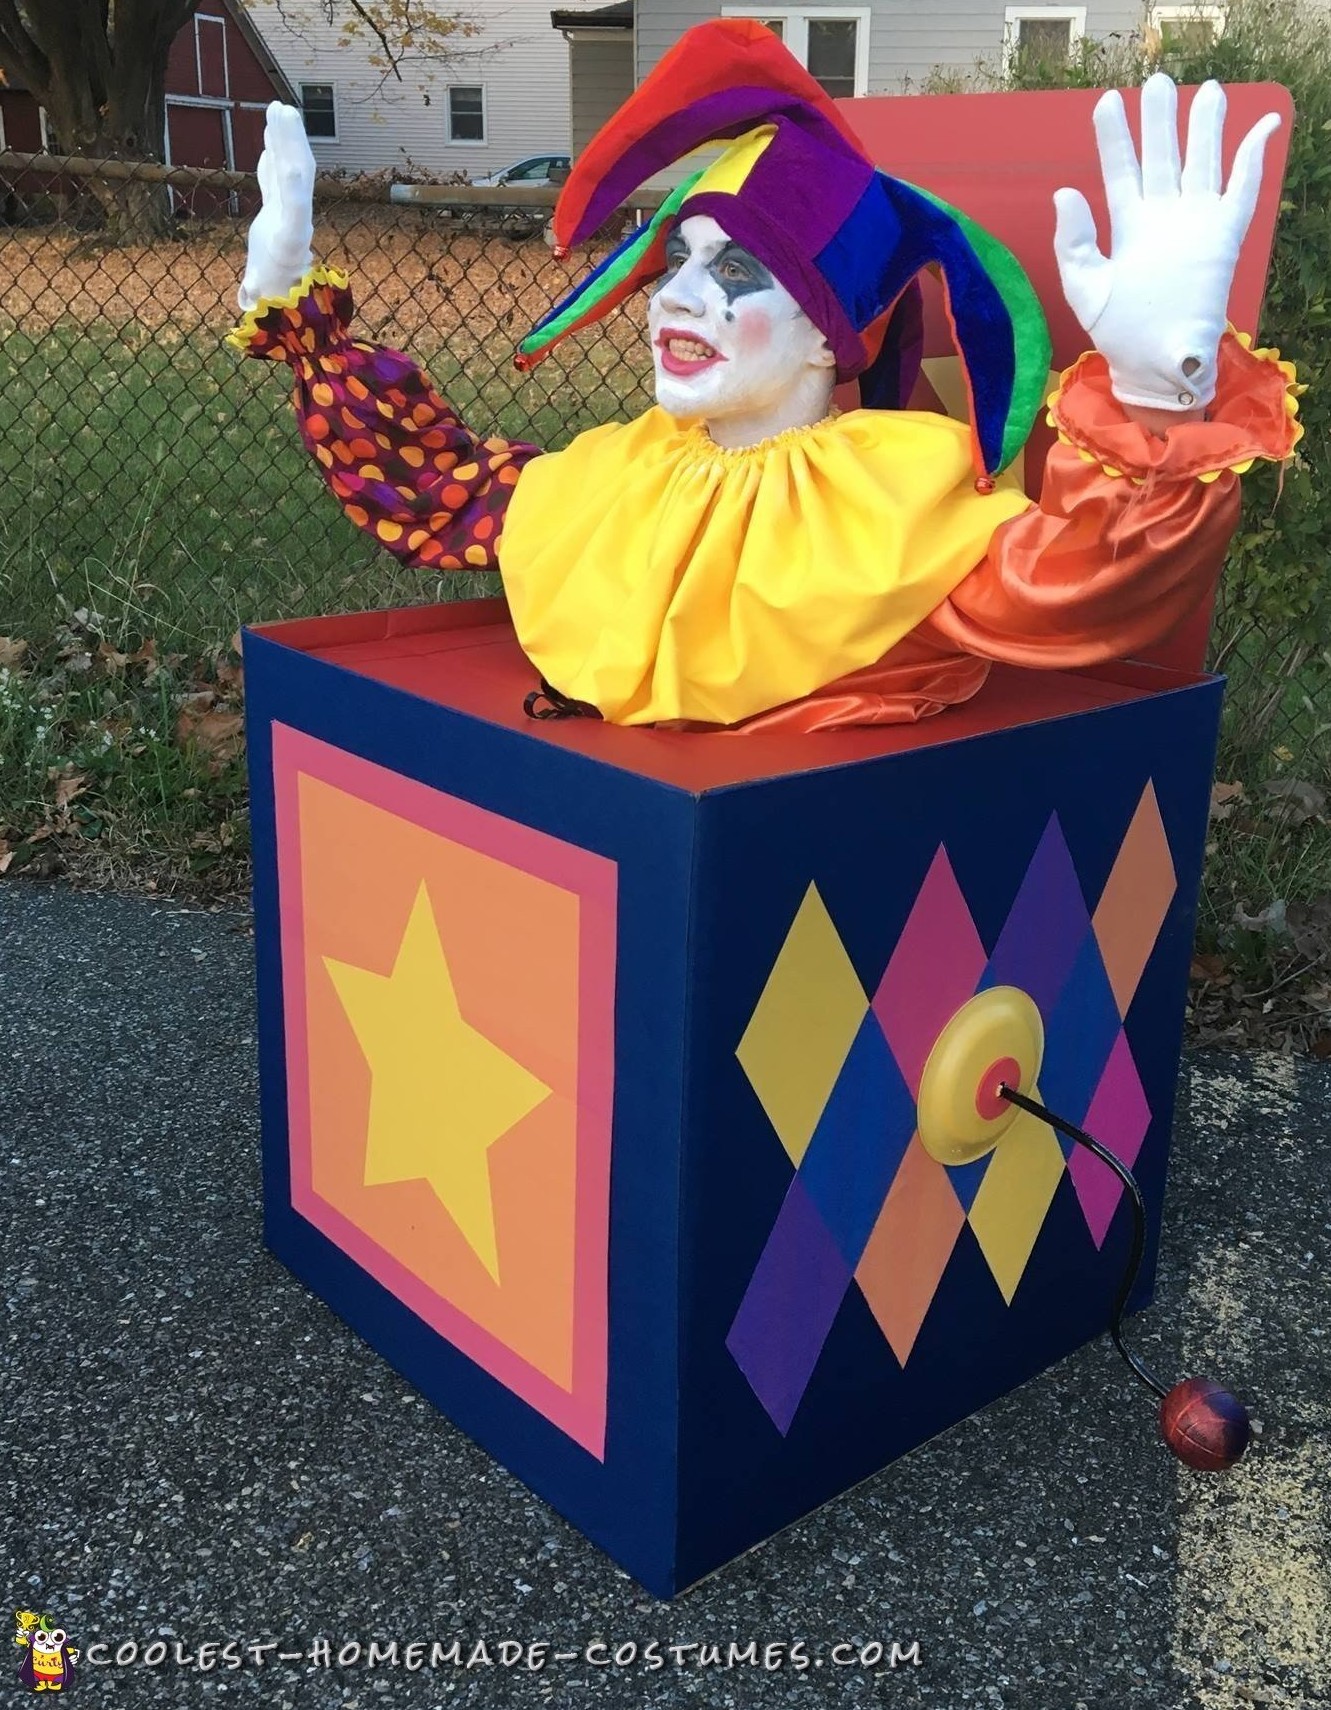
My 15 year old Autistic son Zach hates store bought costumes and challenges me every year with his ideas. This years was the biggest undertaking yet. He wanted to be a Zack-In-The-Box! He wanted it to have a lid that closed and an actual working handle. I explained to him that I was not an engineer and this was not a REAL Jack-in-the-Box, but would do my best to make it fun and realistic. Also, I explained that this homemade Jack in the Box costume would have to be VERY big in order for him to be able to fit into the hole completely. And therefore would be too large for Trick-or-Treating.
I have 20 month old twins (that’s another submission), so Zach-in-the-Box was created over many nap times, late nights and a few runs to the print shop, hardware store and craft store. The whole project went smoothly and I enjoyed every minute of it. It took about 14 hours to design and build.
Wearing the Costume
When it was complete and my son slipped into it, we couldn’t sop laughing! It was so hilarious! We had no idea how funny it would be. Finally Halloween day had arrived. After school, he did his makeup. We live in a rural area, so everyone drives into town to Trick-or-Treat, We had to dress him once we arrived because there was no way he could sit in the car in that box!
Amazing Homemade Jack in the Box Costume Reactions
Trick-or-Treating was amazing. People were stopping us everywhere. Kids were shouting “look at the Jack-in-the Box”. A few people asked if they could take his picture. The reactions were awesome. My son loved the attention and received a lot of praise and admiration. Moving around the crowds was a bit difficult, only because of the handle sticking out, but it wasn’t as bad as we anticipated. Every once in a while, he would squat down in his box for people to see and a crowd would gather! It was a wonderful experience.
Homemade Jack in the Box Costume Construction
Brainstorming ideas
We decided that Zach would be a Jester style clown. We wanted to make it as realistic as possible. I wanted him to to be able to squat down in the box so you wouldn’t see his legs, but it be not too cumbersome to walk around in.We chose a color pallette and got to work.
Gathering Materials
I purchased a 24″x 24″x 24 cardboard box. A also purchased a large sheet of cardboard for the lid and opening panels. Electrical wiring, paper plate, foam sheet and a stress ball for the handle. Rolls of red and blue craft paper. Material for the costume consisted of yellow decorative edging for the sleeves, yellow buttons, yellow material for the ruff and two types of material for the costume. I borrowed white parade gloves from my fireman husband. The jester hat was purchased, but a few of the panels I re-covered in different colors. The box graphics are large format print outs. And of course lots of hot glue, spray glue and duck tape!
Building the box
After cutting off the top and bottom flaps of the square box, I measured and cut out the top panel with recessed edges to create a “lip”. A circle was then cut out for “Jack” to pop out of. A cover was also cut out. I covered all of the panels with red and blue paper. Diamond and star graphics were created using a design program on my mac, then sent to the print shop to get printed out large format. They were then cut out and spray glued into place. I also drew in the bevels you would see on the metal box top and cover. The box panels were then assembled.
Sewing the Homemade Jack in the Box Costume
The costume was only created from the waist up. After it was sewn together, it was attached around the circumference of the circle underneath with hot glue and duck tape. The ruff was elastic and could easily be pulled over the head.
Creating the Handle
Thick black electrical wire was bent to create a handle shape. A foam ball was attached to the end. The other end of the wire went through a painted paper plate, a red foam circle and into the box. The wire was spliced and the copper wires inside were spread out to form spider legs and taped down so the handle would stay in place securely. The ball was painted red.
Putting it all together
Zach had to put the box on over his head and slide into the costume. We quickly realized the weight of the box was pulling heavily on the shoulders of the costume. I fixed this by adding “suspenders” from two old fabric belts glued underneath the costume and box for support. It fixed the problem and gave the costume some looseness at the base of the circle. In addition, I made a “catch” from a black plastic clip I found at the last minute. Hat and gloves on, makeup done and voila! Zach-in-the-box was born!

Related costumes:
 Cool Lego Minifig Costume
 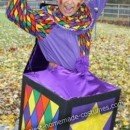 Coolest Homemade Jack in the Box Costume
  Coolest Jane In the Box Wheelchair Costume
  Original Homemade Halloween Costume: An Adult View Master!
 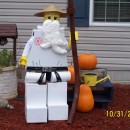 The Happiest Ninjago Sensa Wu Costume
 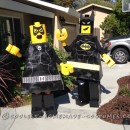 Homemade Batman Lego Couple Costume
  Coolest Operation Game Cavity Sam Costume
 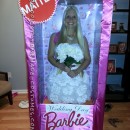 Look-a-Like Wedding Day Barbie-in-a-Box Homemade Halloween Costume