
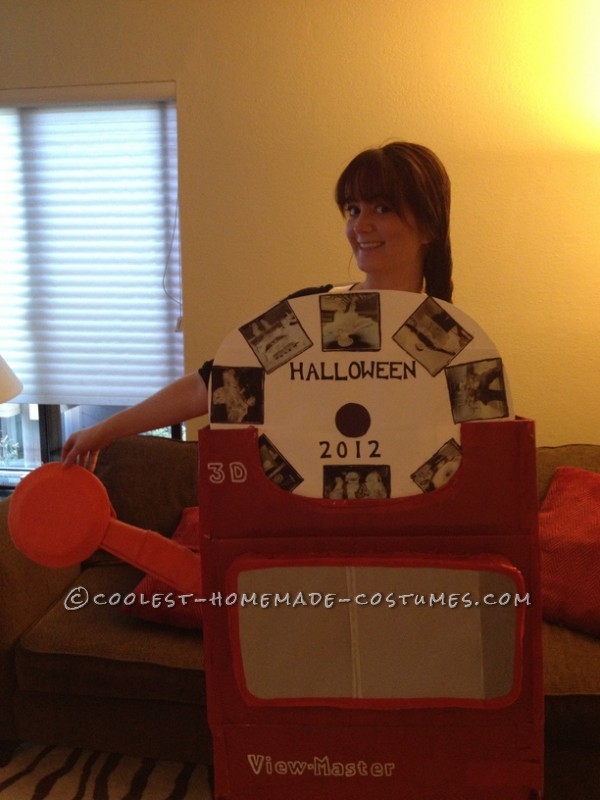
This View Master costume is being worn by myself. Every year I try to come up with creative recognizable costumes of characters, objects or toys from when I was growing up. Throughout the year I come up with a list of possible Halloween costumes that I can home make and begin to narrow it down to two or three options around August. This year I chose to be a View Master. The idea came about while playing with a friend’s son and he had an old View Master. After playing with the View Master for a bit I realized that it would be an amazing Halloween costume and very easy to make.
How to Instructions:
Materials Used:
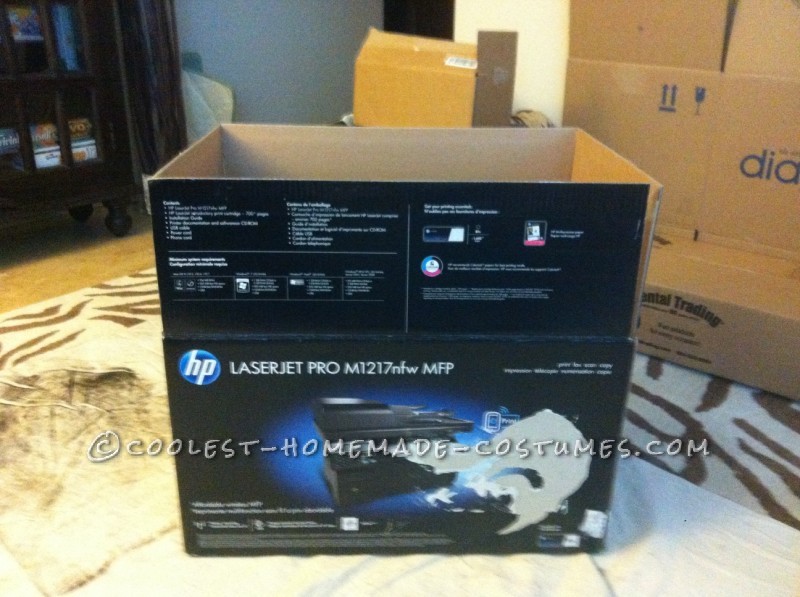
-1-Large rectangular cardboard box (I used a computer printer box)
-2- Poster boards
-2- Small cardboard boxes (I used PopTart boxes)
-2- Paper plates
-6- Pieces of orange colored felt
-1- Foam #1 Fan Finger Hand
-1-Roll of Paper Tape
-3- Cans of Red Spray Paint
-1- Square Piece of Cardboard about 24 inches long
-8 -Pieces of Translucent Paper
-1- Medium Cardboard box (I used a Costco Family Size Pepperidge Farm Goldfish box)
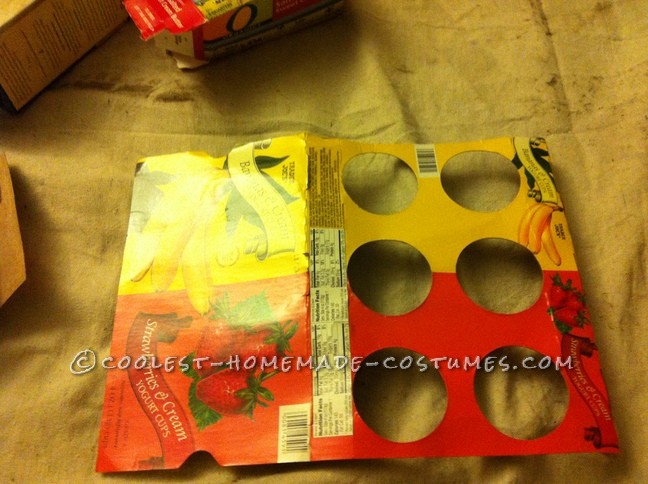
-1-Trader Joes 6-pk of yogurt cups cardboard packaging –minus the yogurt ;)
-1- Package of Letter & Number Stickers
-1- Tube of touch up red paint
-20- Bamboo BBQ Skewers
-1,000- Sticks of hot glue (maybe not that many but I used a lot)
-Set of Costume Suspenders
-Scissors, Black Sharpie, Small Paint Brushes, & Hot Glue Gun, Box Cutter
Even though it seems like a lot of materials, this was a very simple costume to make out of every day items at home.
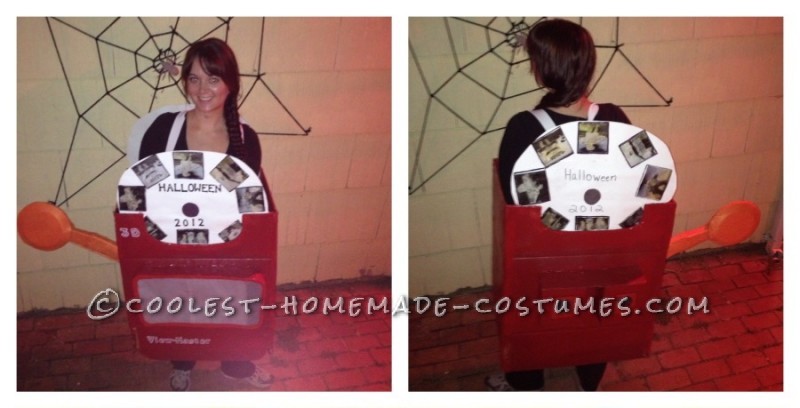
Front/Back View
First Cut is Always the Deepest
Step 1: I took my 1 large rectangular cardboard box (I used a computer printer box) and cut one of the seams so that I could invert the box to use the inside of the box since it didn’t have any logos or paint. By inverting the box it is easier to spray paint with less coatings. After I inverted the box, I proceeded to take my roll of Paper Tape and taped all the edges, corners, and seams to make them all smooth and also to make the box sturdier. If you want you can also then tape the inside of the box too for extra sturdiness.
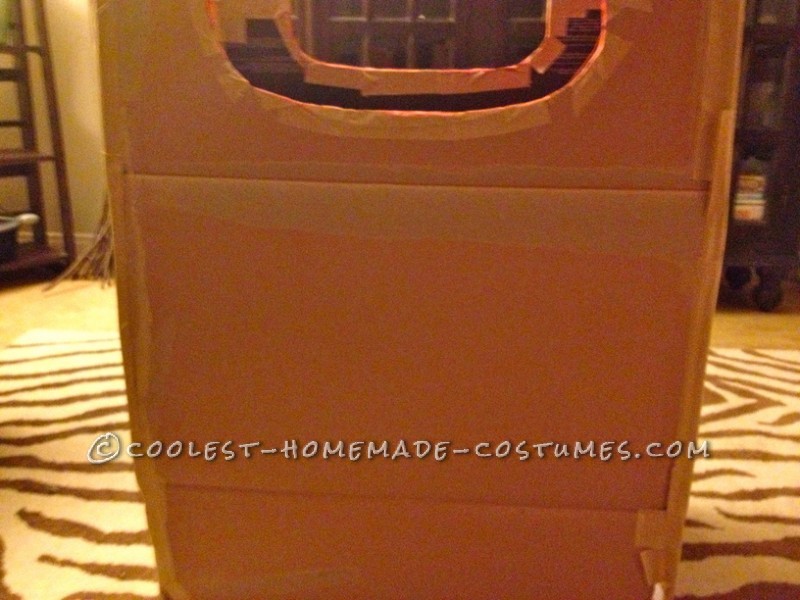
Step 2: I used a box cutter to cut two half-circle shapes (1 in front & 1 in back) in the top middle of the long edges of the box. (This was for the effect of the View Master Slides)
Pop Tarts and Yogurt Are Yummy
Step 3: Once I was done with the large box, I decided to make the smaller pieces of the costume. I first took my two small cardboard boxes (I used PopTart boxes) and taped the sides and tops to make them sturdier.
Step 4: I then took Trader Joes Yogurt Packaging and cut long ways four of the holes to make two strips with two holes each.
Let’s Build a Trapezoid
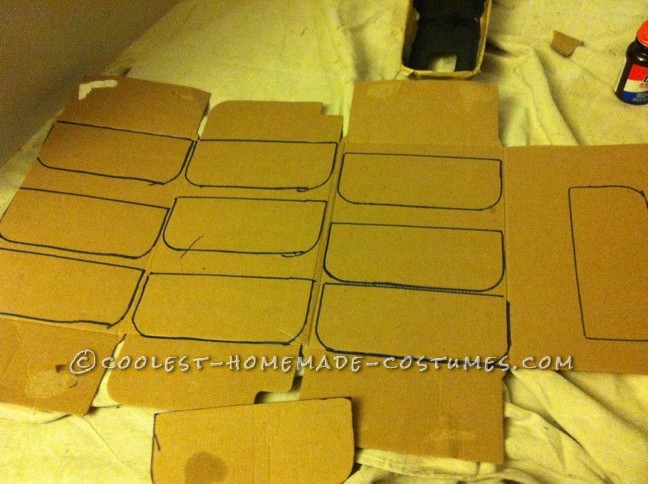
Step 5: Next I made the outer shell of the front piece of the costume (the lens). I took my one square piece of cardboard and cut it into upside down trapezoid with rounded corners. I then took the Medium cardboard box and started cutting half oval shapes out of the box. I made about 12 pieces. I then used the hot glue gun to glue these pieces to the trapezoid shaped cardboard piece. I glued the flat straight edges of the half oval pieces to the edge of the trapezoid piece.
Step 6: Spray Paint the all these pieces and let dry (It took me two coatings to get the color just right to my liking)
It’s Like Watching Paint Dry
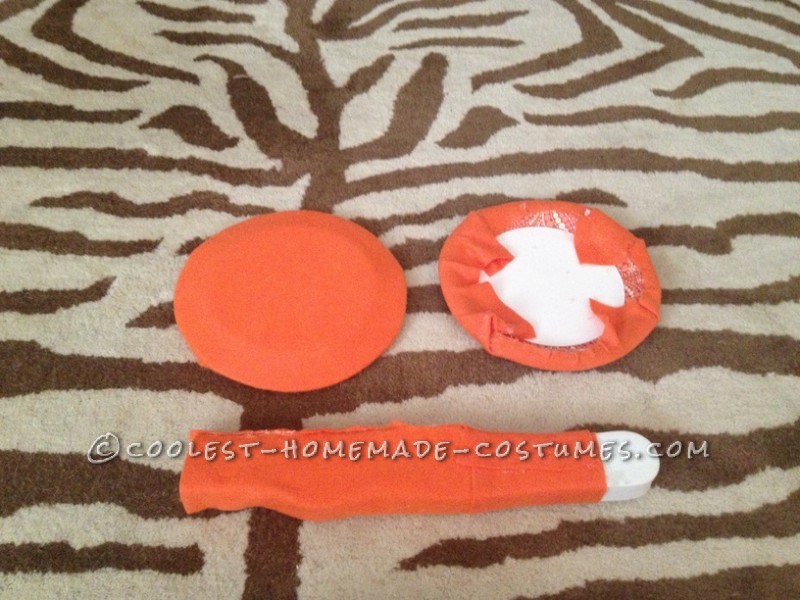
Step 7: While waiting for the spray paint to dry, I decided to put together the other parts of the costume. The lever was made with two paper plates, felt, and the finger part of a foam #1 Fan Hand. I cut the finger off of the hand and covered that in felt. I then covered the two paper plates with felt and glued them together, leaving just a little room at the bottom for the foam finger to fit into it. I inserted the tip of the finger between the two plates and then used tons of glue to keep it together.
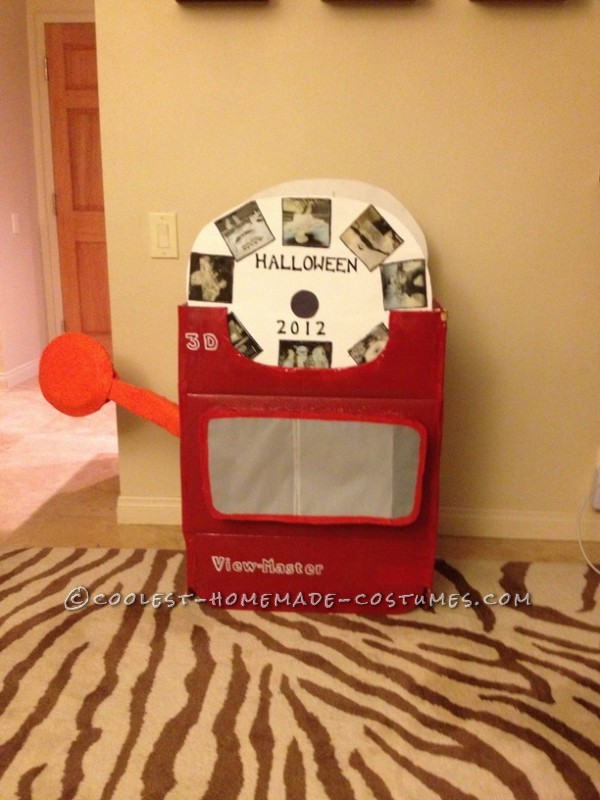
Step 8: Next I decided to make the film reels. These were made out of two poster boards, which I cut into half circles. The pictures are pictures of me from past Halloween costumes printed in black & white on translucent paper. I then used the sticker letters to name the reel and a black sharpie to outline the photos. I glued bamboo BBQ skewers to the back of each of the poster boards so that they stayed firmly in place. I then used tons of glue and glued the poster boards to the rest of the costume once the spray paint was dried.
Glue, Glue, Glue, Glue, & More Glue, Glue, Glue
Step 9: After the paint on the lens structure was dry, I glued translucent paper to the front of it. I trimmed off any loose edges and then painted the frame of the paper red with my touch up paint so that it blended with the outer shell of the frame. I then glued the lens to the front of my costume.
Step 10: I put two-circle cut outs of translucent paper in the middle of the yogurt hole strips and glued them together. Next I glued them onto the small (pop tart) boxes to make the eye holes and then glued both of those to the back of the main frame of my costume. ** After I was done with the costume I decided to add a strip of cardboard to connect the two small boxes to make it look more like a View Master.
Final Touches
Step 11: To add the lever to the costume I cut a small hole in the side of the costume and inserted the end of the lever into the hole. I used a lot of glue ( about 10 tubes of hot glue) on both the inside of the hole and outside (lining both the whole and edge of the lever with glue to make sure that it would hold strong.
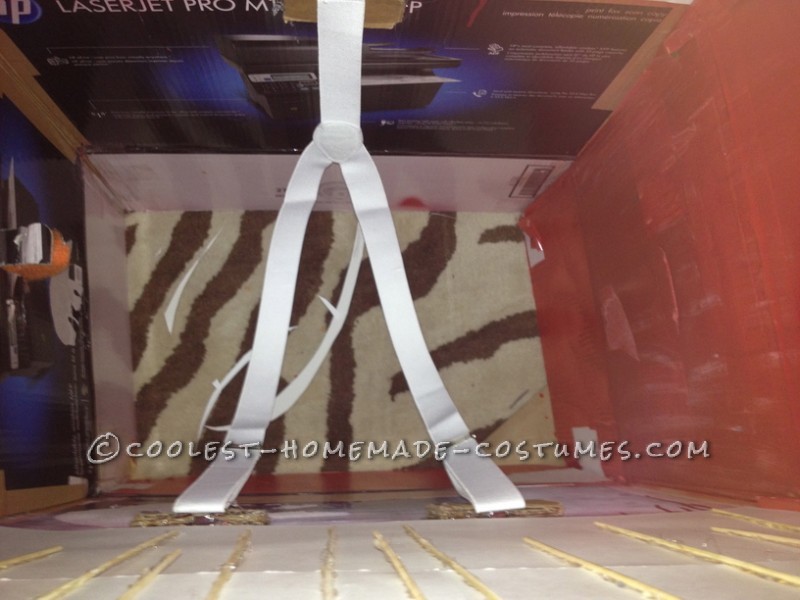
Step 12: I did the final touches of the costume. I added letters to the bottom that I painted red and outlined in white with a paint pen. I used the touch up paint to fill in any areas missing red and then finally I glued suspenders to the inside of the costume so that I could actually wear it comfortably.
The Suspenders even made it easy to Dance!

Related costumes:
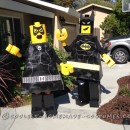 Homemade Batman Lego Couple Costume
  Fantastic Barbie and Ken (in the Boxes!) Costumes
 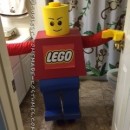 Best Costume for a Lego Master Builder
 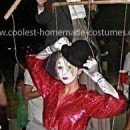 Coolest Puppet Master and Puppet Couple Costume
 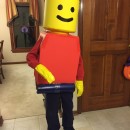 Cool Lego Minifig Costume
 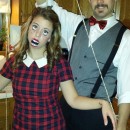 Fun and Unique Marionette and Puppet Master Couple Costume
 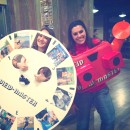 Awesome View-Master Couple Costume
 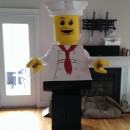 Fun Adult Lego Minifigure Costume
Your comment has been sent successfully.