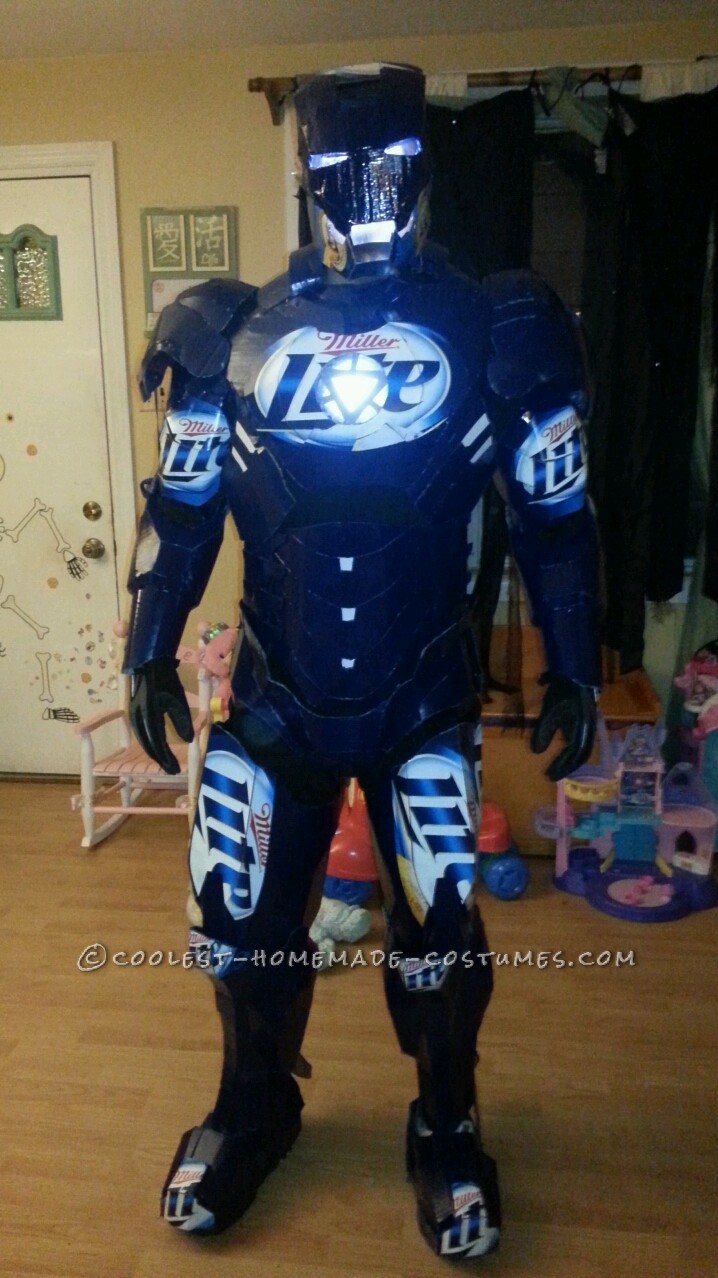
While watching Iron Man 2 with my wife a few months back. I started thinking how cool it would be to have the Iron Man armor for myself. I mentally slapped myself back to reality not by realizing the suit is scientifically impossible but by thinking “I’m not a Billionaire so it will never happen”. My internal monologue continued and I thought “I’ll just get sponsors” Thus The Iron Can suit was born.
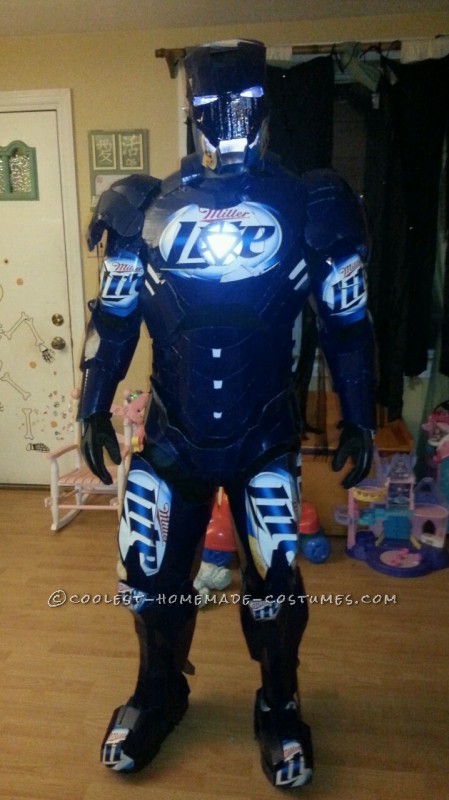
I am Iron Can
Step 1 Layout and Design And Step 2 Learn Pepakura
Step 1: Layout and Design
One of my favorite parts of this costume was just drawing up the images and plans and giggling to myself the entire time. I’ve seen the Iron Man movies enough to know there were different versions o the suit so I looked through them and found my favorite one. The Mark 4 Armor
Step 2: Learn Pepakura
I initially intended to build the armor from scratch drawing up designs myself. While doing research online I found a site called http://www.therpf.com. If you are looking to make a replica costume from any movie or video game I highly recommend checking out their site. I learned about a program called Pepakura and how to print 3D images.
I found some great Pepakura Files from people like: xRobot, Stealth, robo3867, and Sharkbeetle. These files still needed a lot of manipulation to compensate for my size and build (I have a big head). Also I had to consider that I was making this suit out of cardboard and hot glue.
Step 3 Gather Supplies & Step 4 Print Your Templates
Step 3: Gather Supplies
I spent weeks collecting empty beer boxes and other card board boxes. Also you’ll need hot glue (LOTS of it), razor blades, scissors, tape, paper, Velcro, nylon straps, clips.
Step 4: Print Your Templates
Print your Pepakura sheets. After you manipulate the Pepakura files, in some cases drawing completely new templates, cut out each of the pieces and file them away. This is a VERY tedious step. I marked each one with location and page number for reference and organized all of my templates in manila envelopes (very Helpful later on).
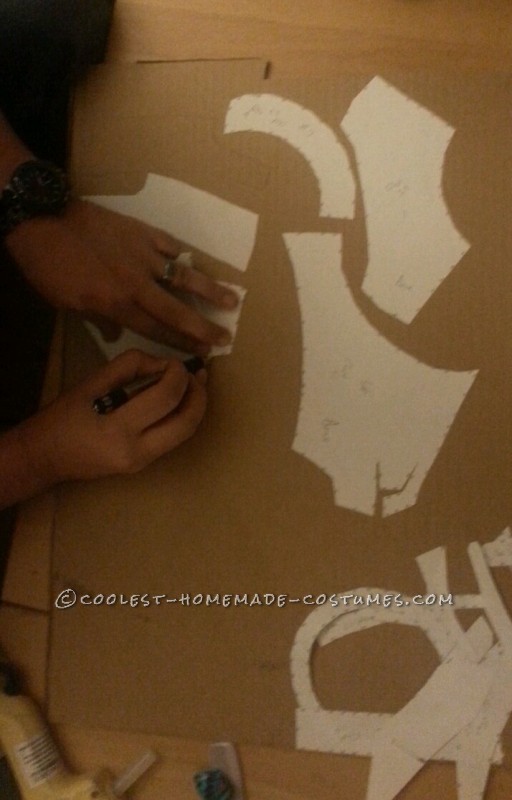
Tracing the template on Cardboard
Step 5 Cut out all of your pieces & Step 6 Glue it all together
Step 5: Cut out all of your pieces
Another Highly tedious step but one with the greatest learning curve. Recommend doing this in batches as my hands tended to cramp up easily. The hardest lesson to learn for me was curves and point. It wasn’t until I got to the calves (and I worked from the head down) that I really got a feel for cutting the cardboard on an angle depending on the look I was going for when it was all glued together. Do yourself a favor and play around with a few pieces before diving into this step.
Step 6: Glue it all together
This step for me was one of the most fun. After weeks of designing, building templates, and cutting pieces I finally got to see my project coming together. Take your time with this step. Make sure your pieces are lined up properly and that your peaks and valleys are how you want them.
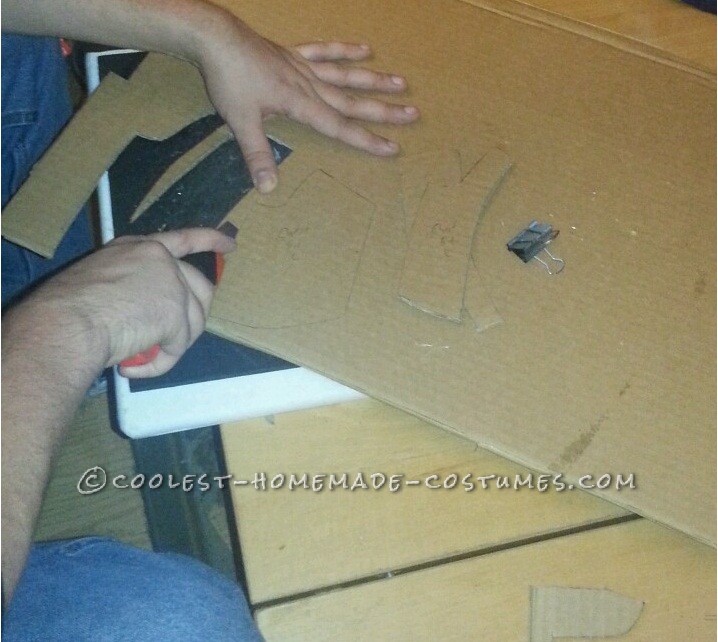
Cutting out the pieces (Step 5)
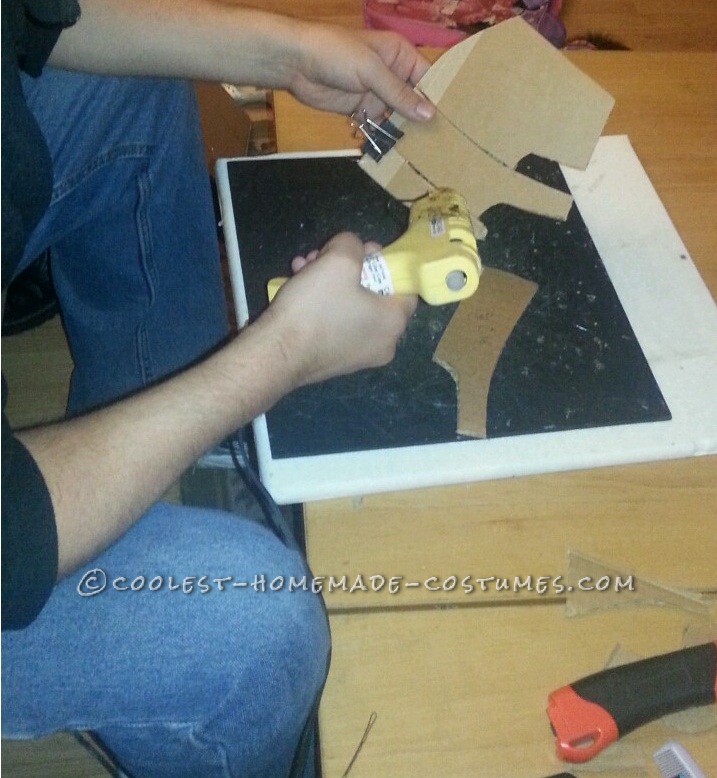
Gluing the Pieces together notice the binder clip holding them together (Step 6)
Step 7 Curse like a Sailor & Step 8 Paint!
Step 7: Curse like a Sailor
I must have burned my fingers a dozen times with the hot glue. I know for a fact I have some permanent scares between my fingers. The best tool I found and a true god send for my hands was Binder Clips! Using binder clips to hold the pieces together while I glued and or while the pieces dried saved my hands from any more agony than they had already endured
Step 8: Paint
I tried out a few different blues before I finally settled on one that I liked. I definitely primed the pieces first (trying to cover up the markings that I had written on each piece in pen) and then I used a spray paint that had color and primer in one to ensure a solid coating.
Step 9 Support your Sponsor & Step 10 How is this thing supposed to fit again
Step 9: Support your Sponsor
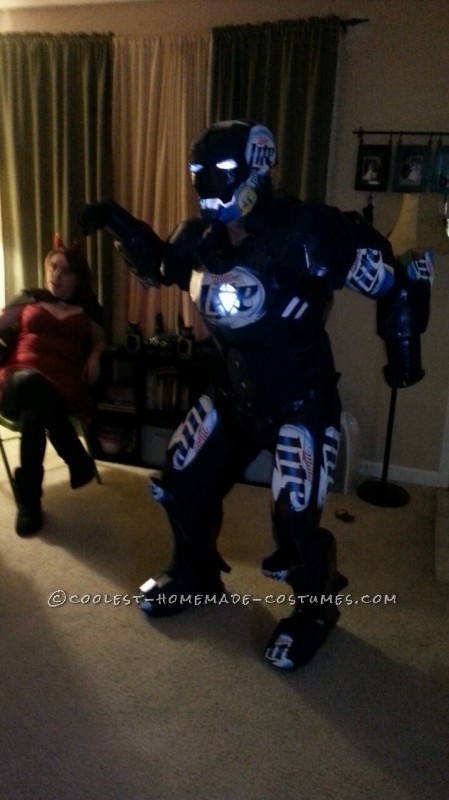
If you were looking for a plain Iron Man Costume then you’d be almost done but for me I was going for the story. So I gathered up my Miller Lite boxes and my designs and got to gluing AGAIN! And Again I will say that Binder Clips are AWESOME for this step. When I first designed this project I was going to cover the whole costume in the logos but after doing the helmet I realized that that might be a bit overbearing if the whole suit was done that way that’s why I painted the costume. I pulled out my trusty templates and cut out some strategic pieces of the boxes and affixed them to my suit.
Step 10: How is this thing supposed to fit again
This step you will definitely need help with. Starting with the chest I put each pieces on and had someone mark where they attached and we used Velcro, nylon straps, or straps with clips to affix the pieces together. The chest pieces mostly fit with Velcro as did the cod pieces. The shoulders, biceps, thighs, and calves we used nylon straps with clips to help with putting the suit on and taking it off and the forearms we just used straps as the arms just went on in one piece. A note on this step: although I glued the Velcro and nylon to the suit using staples to reinforce the glue is advised just be sure to pay attention to the staple placement. You don’t want them stabbing your or other party goers all night long.
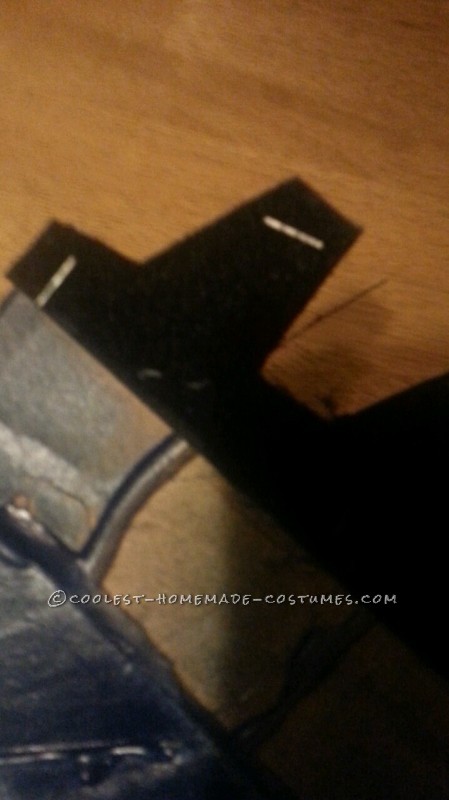
Staples reinforcing the velcro (Step 10)
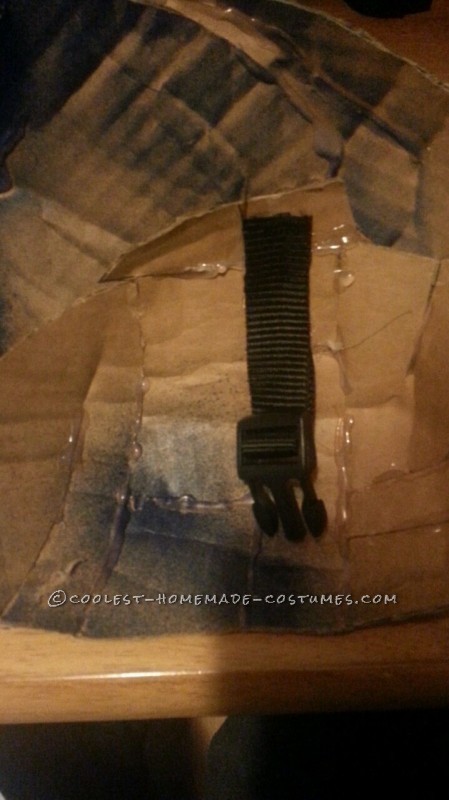
A look at the glue buckle in the shoulder
Step 11 Accent Lighting & Step 12 Party
Step 11: Accent Lighting
What Iron Man suit wouldn’t be complete without glowing eyes or an arc reactor? For the eyes I used self adhering led lights I got a PepBoys and for the arc reactor I used a simple LED press light I got from the dollar store. I used crumbled plastic wrap to diffuse the light from the reactor and duct tape cut into strips to make the triangle design
Step 12 Party
Strangely enough this costume was actually quite comfortable. Steps and sitting were a bit of a challenge (2 things I wish I had remembered) as we had to drive to the party we were going to and their house had quite a few steps out front. Forget trying to see with the helmet lights on. I know there are ways of fixing that but I was running out of time. Another thing to keep in mind whenever trying pieces on is can you touch your nose with your index finger. If you can touch your nose you can reach your mouth with food or drink. Luckily this was one thing I kept in mind the whole time.
I had a blast making this costume and it was very well received at the party. Thank you for considering my work for your contest.
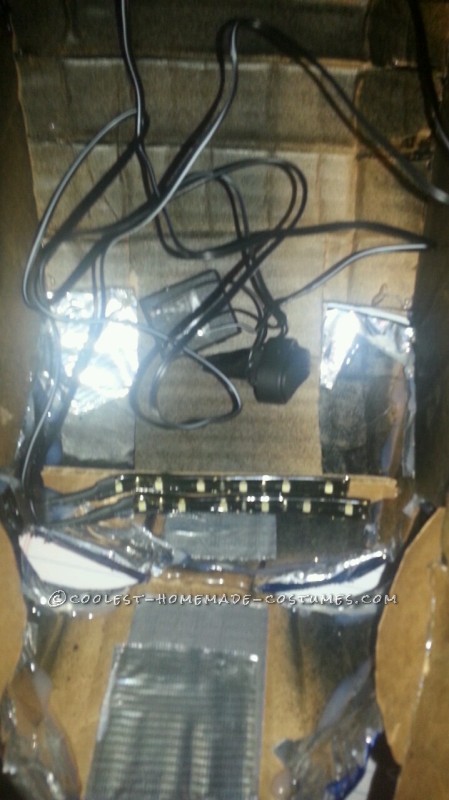
A look at the lights I used in the helmet plus the battery pack and switch
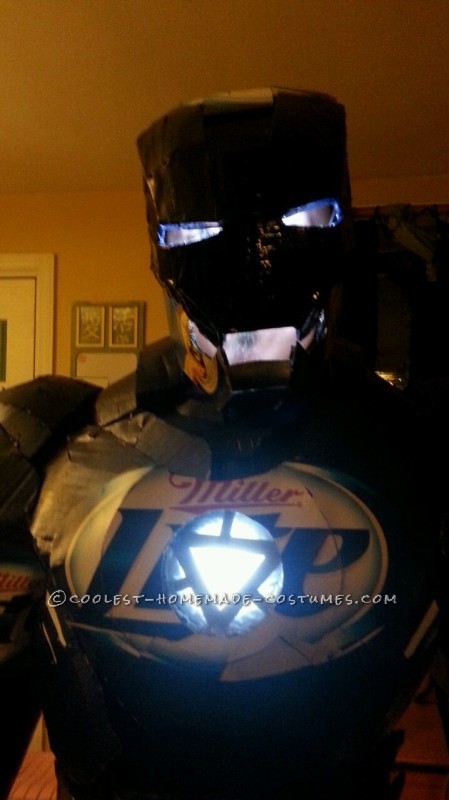
a close up on the Chest and Helmet
Just goofing around

Related costumes:
 14 Months to Create the Perfect Iron Man Mark 4 Suit/Costume
  Homemade Thor Costume: He Who Wields This Hammer Commands the Lightning and the Storm
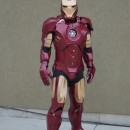
 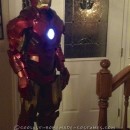 Awesome Homemade Iron Man Costume
 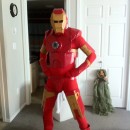 Awesome Homemade Iron Man Halloween Costume
 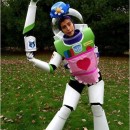 Coolest Homemade Mrs. Nesbitt/Buzz Lightyear Costume
 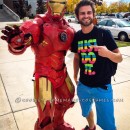 Coolest DIY Iron Man Costume
  Creative Tim Burton’s 9 the Movie Costume
 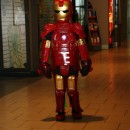 Awesome Iron Man Costume Hand Made with Recycled Plastic Bottles!
Your comment has been sent successfully.