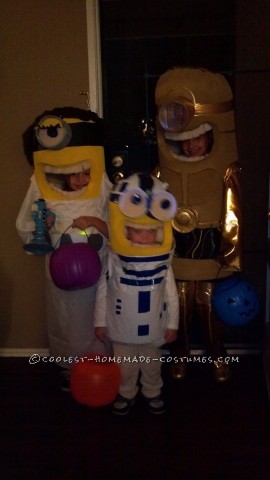
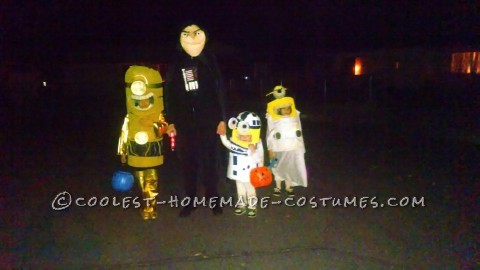
I sat in front of my computer screen for what felt like hours looking for the right theme to match with the size of my family(2 girls, and 1 boy.). I had a couple ideas, but they were shot down by my younger(and girliest) daughter for not being “girly” enough. Toy Story? “No.” Monsters Inc? “No.” Power Rangers? “No way Dad.” After finally coming to the movie Despicable Me, she said “No Dad, those are all boys costumes!” Since I was determined to have matching family costumes this year, I thought of a way I could incorporate something girly to please her. “How about you be a Minion, but dressed up as something else, girly? I don’t know if it sounded good to her, (or the bribery of early candy!) but she finally agreed. A commercial came on the t.v. and I seen it was a family dressed as Star Wars characters, and then it hit me. “They can be Star Wars themed Minions! I got the ok from my daughters and my 2 year old son was all for it. My oldest, was going to be C3PO, her sister Princess Leia, and my son R2D2. I of course had to be Darth Vader Gru.
To start I searched all the Minion costumes I could find online, and how people made them.
This Minion Tutorial was by far the most comfortable for the kids, and seemed rather “do-able.” So I was committed. Here is the supply list, everything I had to buy was purchased at Walmart, the rest were items I found around the house.
Step 1: Buy the supplies
1. One Full Size foam mattress topper cut up for the body, teeth and eyes($28.99)
2. Spray Paint; 2 yellow, 2 Gold, 1 Glossy Black, 1 Grey
3. Brown Yarn for Leia’s hair
4. White Sheet for Leia’s dress
5. 2 Oatmeal containers cut in half for the goggles.
6. Pieces of Felt; Black, Red, Blue and White. (.33cents ea.)
7. Duct Tape! Gold, Blue, and Blue
8. Hot Glue Gun and Glue Sticks
9. Gold Fabric for C3PO’s arms and legs. (about 1 yard.)
10. Cardboard
11. A Gold piece of stock paper
12. Brown Pipe Cleaners. For C3PO’s hair and Leias Eyelashes
13. Red, Blue, and Yellow Pipe Cleaners for C3PO’s body( I used some old wires I had and cut them.)
14. Top to a small trash can or something similar for R2D2’s head
15. Glow Sticks/ Lights for the eyes and added effect.
Step 2: Building the Bodies
First, I began working on the bodies following the tutorial previously mentioned for everything but the clothes and added character effects. Princess Leia and C3PO were full body suits, like the tutorial, but R2D2 was only a head.
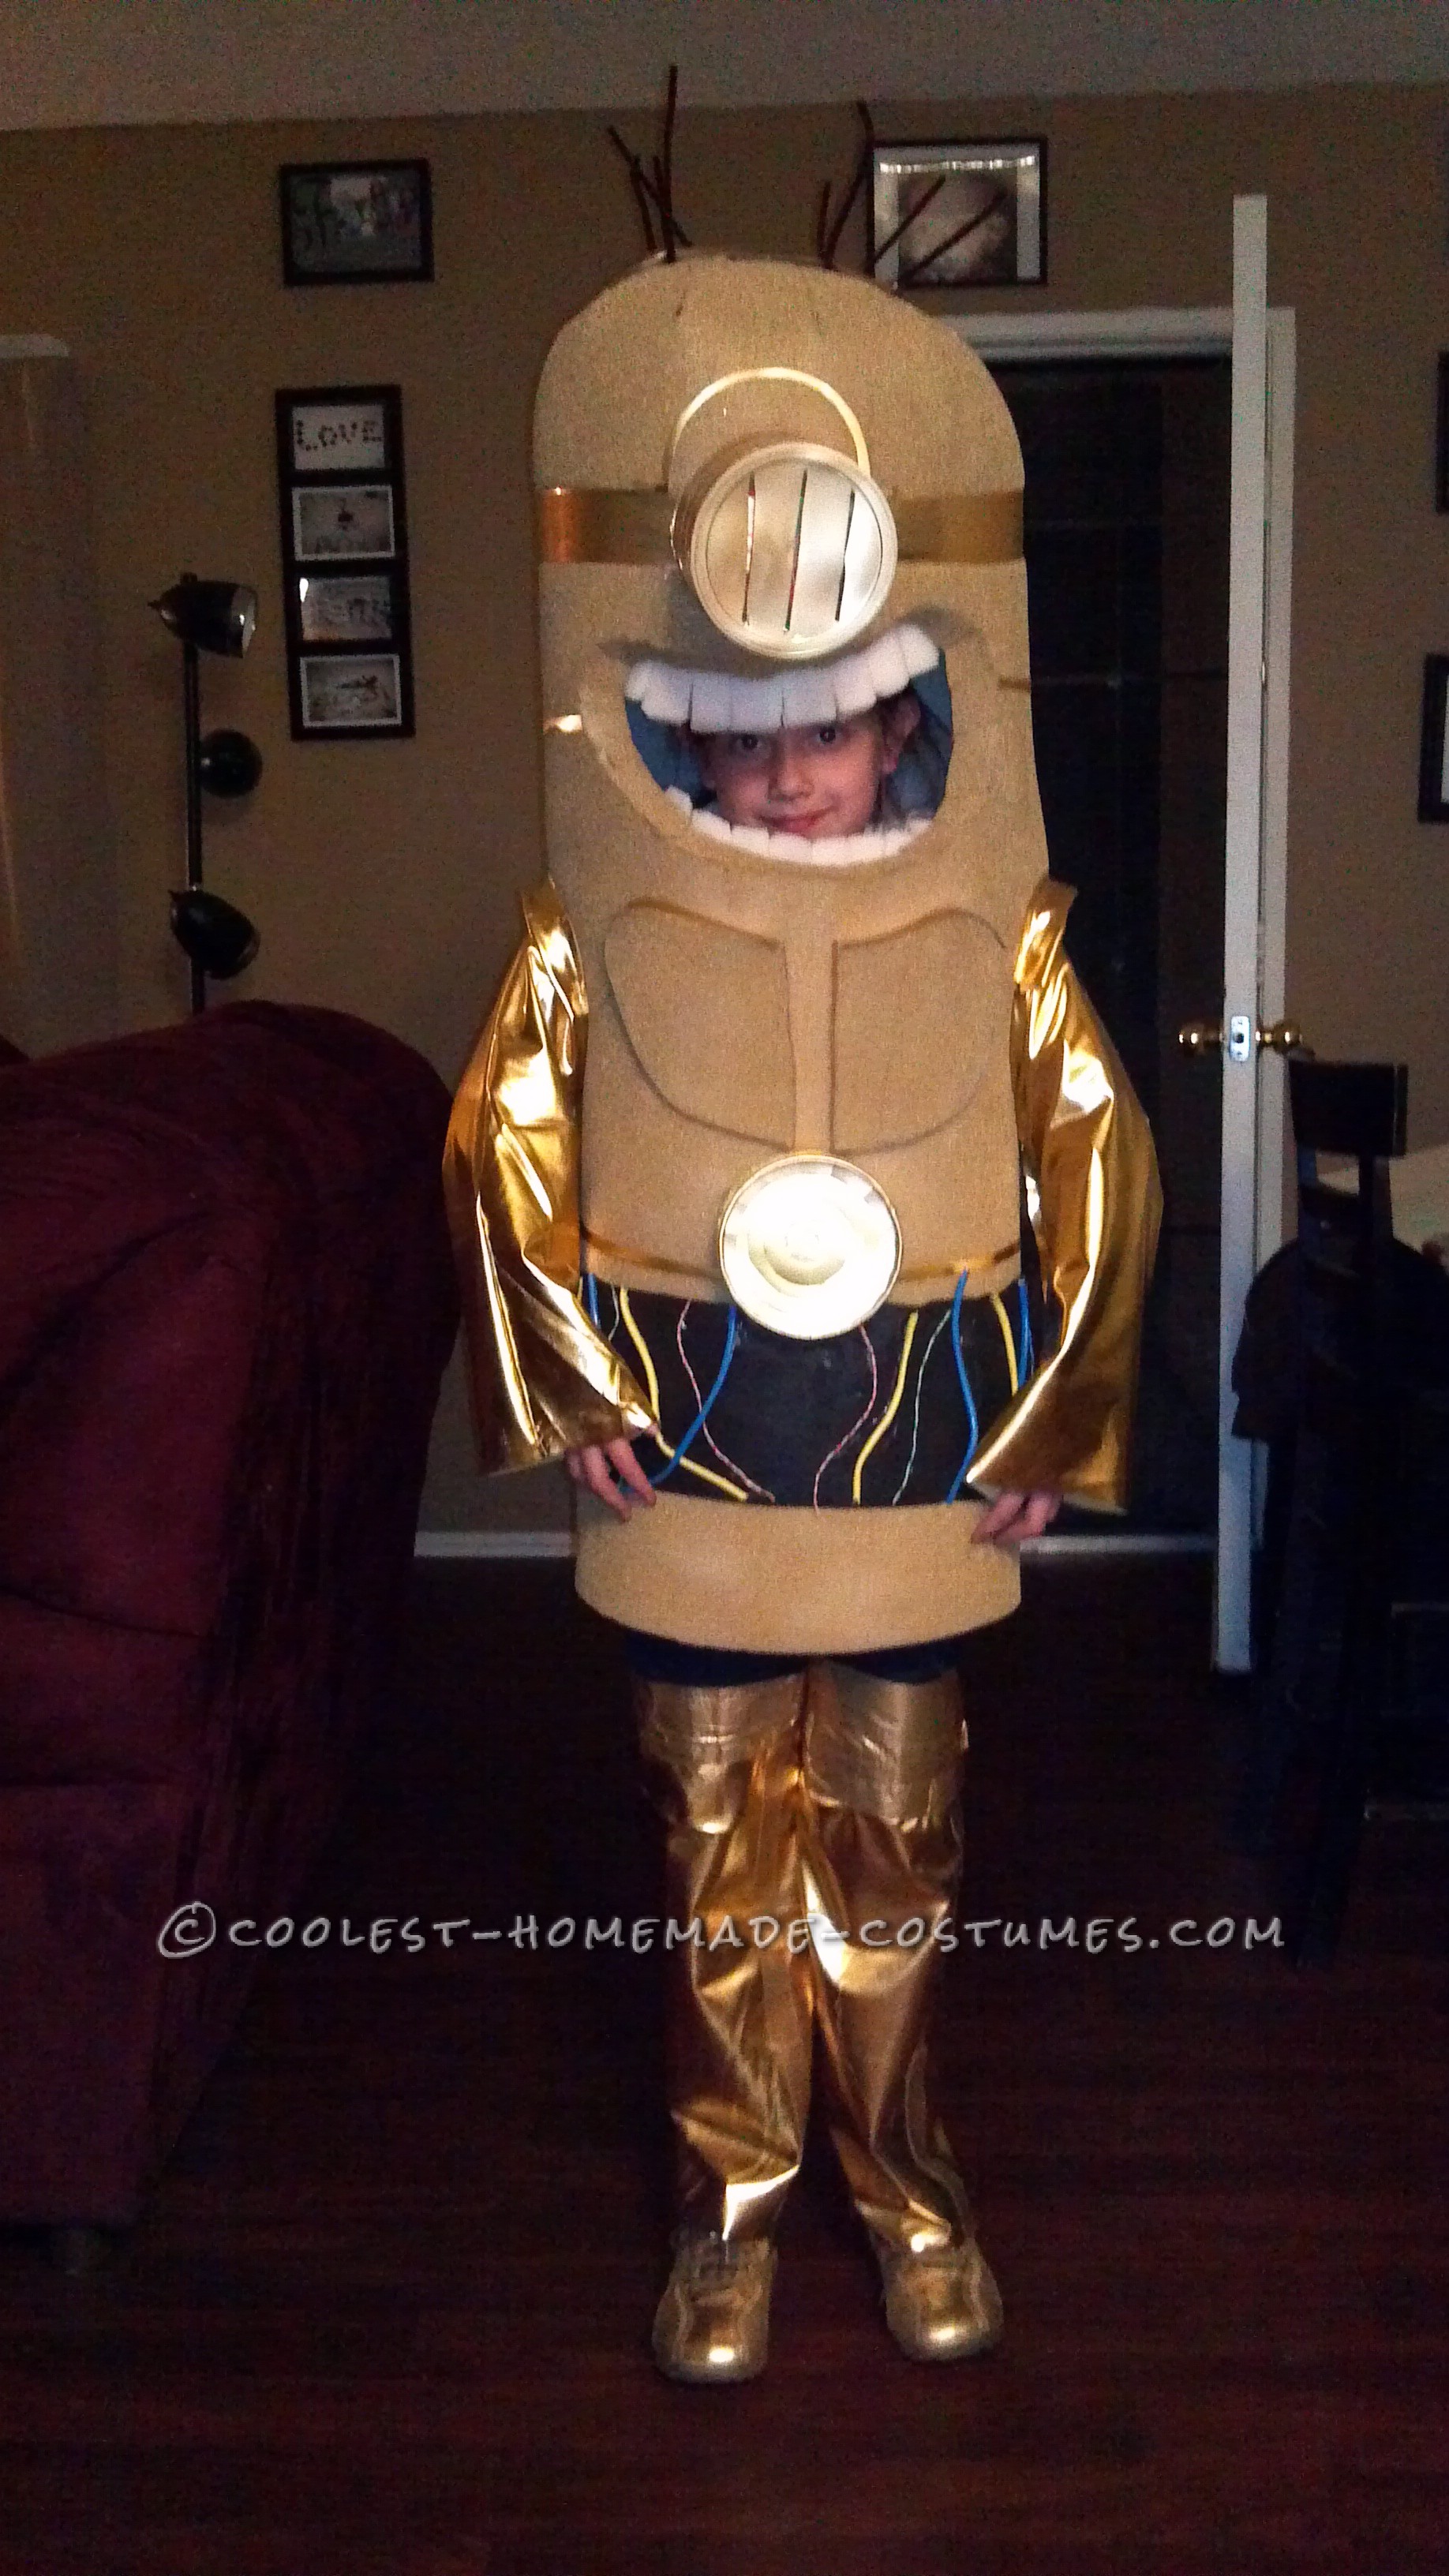
C3PO
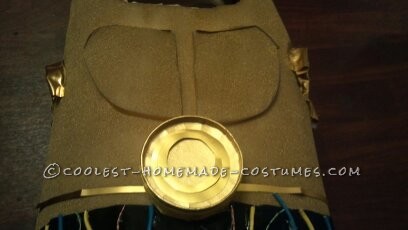
- I decided to spray paint C3PO’s entire body gold. I took 2 pieces of foam and cut out what would be the chest and glued them to the body. I then cut slits of gold paper stock and glued them around the chest for a shiny trim.
- The middle cirlce in the chest/stomach was made out of the bottom of one of the oatmeal cans and spray painted gold. I used an exacto knife and cut a gold piece of paper with the same design as C3PO’s and glued it to the middle of the can. I then glued that entire piece under the chest.
- I cut strips of gold paper and made trim around the eye and vertically along the mouth and waist for added affect.
- I wrapped black felt around the mid section for the waist, and glued strips of different color wires to make it look like the ones from the original C3PO’s.
- For C3PO’s eye, I used the oatmeal can and cut it to fit the head. I cut slits in the lid and sprayed it all with the Gold Paint. I took a cheap light up sword my son had and took out the lights and circuit board. I ran the lights inside the oatmeal can and hid the circuit board inside the head area.
- For the arms, I took a piece of gold material and made some sleeves fitted to my daughter’s arms. I hot glued the material to the inside of the arm holes in the foam.
- For the pants, I took a pair of my daughters old black pants and hot glued the gold material around each leg all the way up to above the knees. The foam body went down far enough that the black part of the legs were covered.
- We took a pair of shoes my duaghter had, and spray painted them gold to match.
- I then added Brown Pipe Cleaners to the top of the head to make the Minion’s hair for added effect.
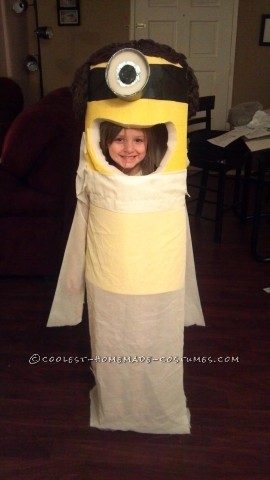
Princess Leia
- I used a roll of yarn for Leia’s hair. Braiding the yarn and forming 2 buns, one for each side. The top was just brown yarn laid out along the head of the minion and was hot glued on.
- For the eye, I used an extra piece of yellow foam to make an eyelid. Then I cut pieces of the brown pipe cleaner to make eyelashes to add a girly touch to this minion. I glued the lashes to the back of the eyelid and folded them up towards me. I ran a piece of duct tape along them to keep them steady.
- Leia’s belt was just made out of cardboard spray painted white. I found a reference pic of the belt online and cut the cardboard to fit the way it looked. After spray painting it white I cut other shapes of the cardboard to form the symbols on her belt. I covered these in silver tape to give them a metal effect
- The dress was created out of an old white sheer window cover. I wrapped it around the foam body of the minion and folded the top to look like a turtle neck. I cut separate pieces to form Leia’s sleeves, they were glued inside of the arm holes made in the foam.
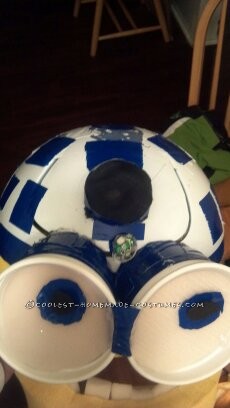
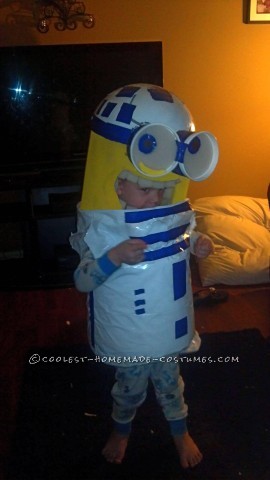
R2D2
- For R2D2’s dome head I took an old trash can lid and painted it. I then took pieces of blue duct tape to cut out the pattern around the head. Used a black piece of foam for the center of the head, and also glued a toothpaste cap to look like a knob on the head.
- For the head I just took a piece of foam, sprayed it yellow. I then formed a circle with the foam and hot glued it into the inside of the trashcan lid. I cut out a mouth and had an instant minion mask.
- For R2’s eyes, I used to 32oz. cups we had in our cupboard and cut them the same way as the oatmeal cans to form the goggles. I hot glued the goggles in between the trash can lid and the foam for the head. I used a blue piece of duct tape and wrapped it around to act as the band on the goggles. I took 2 blue thin glowsticks(the kind for a necklace.) and lined them around the outside of the eyes and glued them in place. This really added an effect at night.
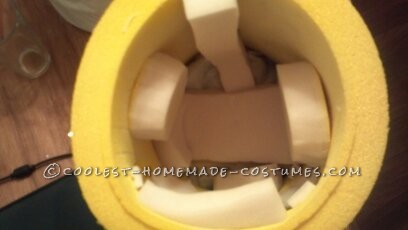
- The inside of the mask I lined with foam to fit onto my son’s head firmly. I put padding on the top, but also added some foam pieces to each side and the inside of where the chin is on the mask.
- For the suit, I was trying to come up with a way my son could be comfortable. I noticed the plastic packaging that the foam mattress cover came in was the perfect size so I cut the zipper top off and spray painted it white. I cut the bottom out of it and glued foam around the inside to give it stability. I then measured my sons arms and made arm holes for him. I actually reinforced the holes on the plastic with clear packaging tape. I made all the designs on the body with Blue duct tape cut with an exacto knife. I used a refernce and tried to at least match the shapes.
- For extra support I added velcro strips to attach the inside of the suit to the outside of the mask. I wanted it to look like the minion was wearing an R2D2 costume and this helped support the body suit on my son’s arms.
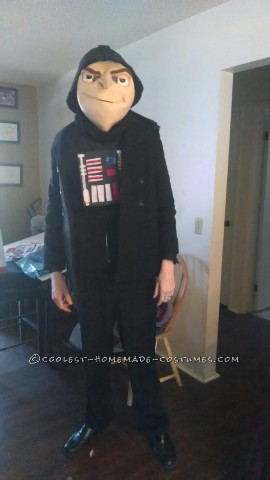
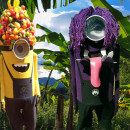
Darth Gru
- By this time I was so tired from having to make the 3 costumes that I copped out and bought a Gru mask from the costume shop. I did make a nifty helmet out of an old hard hat and some cardboard spray painted black. I put a piece of velcro on the top of the Gru mask and inside of the helmet to keep it steady.
- To make Darth vaders chest plate I used a piece of cardboard painted black and some red, and white foam pieces cut to match the designs of the lights. I luckily had a paintball chest cover to wear that fit perfect.
- I also used an old table cover and hot glued it together to form a pillow and put stuffing in it. It was a front and back piece that gave me that Gru like chest and hunch back.
- I found an old black coat and scarf and used that to match the costume. Also, I had a cape from a previous costume and a toy lightsaber.
After a week of hard work, glue gun blisters, and stress from working last minute, the big day was here! It was Halloween and it was time to put on our costumes. Of course we ran into some technical difficulties, like having to add extra foam inside so the kids could see properly out of the mouth and some extra glueing of the sleeves that were falling off…. but it was done! My kid’s were excited and we hit the streets. I didn’t expect the reaction we got from everyone we passed, but almost every single person commented on how cool our costumes were and every house we went to said we were the best one they seen that night. Success!! I felt like Super Dad and was happy my kids got to experience such positive feedback and a little bit of stardom when people asked to pose with us for pictures. Although it is alot of work to home make 3 costumes from scratch, I am already planning next years!

Related costumes:
 Make Your Own Awesome Minion Costumes
 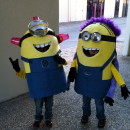 Awesome DIY Despicable Me 2 Costumes: Bee-Do Minion and Half Good Half Evil Minion
 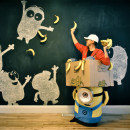 Coolest Homemade Minion Carrying a Box Illusion Costume
 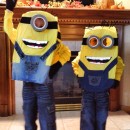 Coolest DIY Minion Halloween Costumes for Kids
 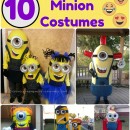 10 Awesome DIY Minion Costume Ideas for the Whole Family
 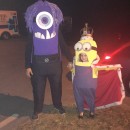 King Bob and Purple Minion Couple Costume
 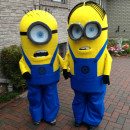 Homemade Kids Minion Costumes
 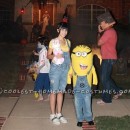 Coolest DIY Mom and Son Couple Costume: Minion Agnes and Costumes
Your comment has been sent successfully.