I love Halloween. When it comes to costumes, I want to stand out. Making a creative homemade Halloween costume is one of my favourite things to do. I have been making my own costumes since I was in high school.
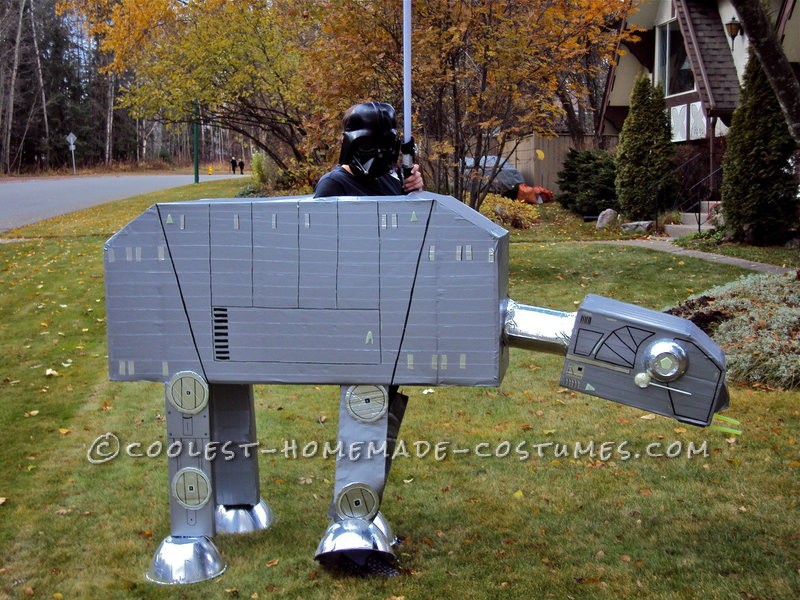
Last year, I was invited to a “True Blood” themed Halloween ball. I knew there would be a huge amount of vampire costumes, so I decided to dress-up as something different. They say “Go big or go home”, and with that in mind, I chose this creative Star Wars AT-AT Walker costume from the Star Wars films.
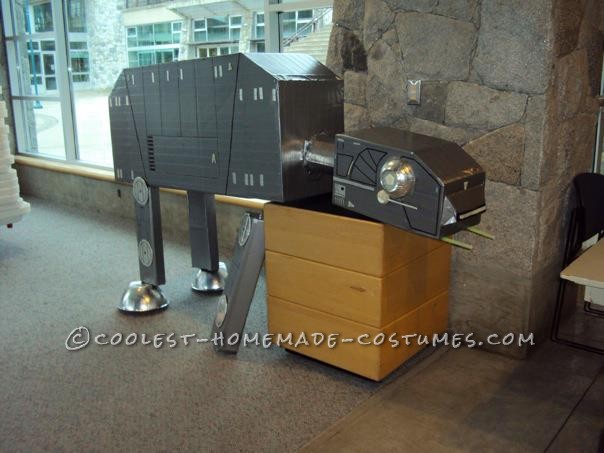
The costume was a great success and people loved it. It was even complemented by a celebrity guest at the party. The costume, being hollow cardboard on the inside, also doubled as a nice shelf for holding my purse, camera and some emergency duct tape for reparis. It ended up being over seven feet long and I needed to borrow my parents’ van with the seats taken out to transport it.

Completed AT-AT
The Materials:
The cost of the costume was under 30$ since I had most of the items already.
I used the following materials to complete the costume:
- -Cardboard boxes
- -Grey, black and silver duct tape
- -Bicycle training wheels
- -Scrap lumber
- -Four large plastic bowls
- -Two small plastic bowls
- -Sharpie
- -Dowel
- -Glow in the dark paint
- -Glue gun
- -Darth Vader mask
- -Lightsaber
The Body:
I started by cutting up large cardboard boxes and taping them together until I had the shape I wanted for the body. Once I was satisfied I secured the form with duct tape and a glue gun, just to be safe.
Next, I cut out holes at the top and bottom of the box. They had to be large enough for my shoulders to fit through and in a position that would nicely align my legs as the front legs of the AT-AT.
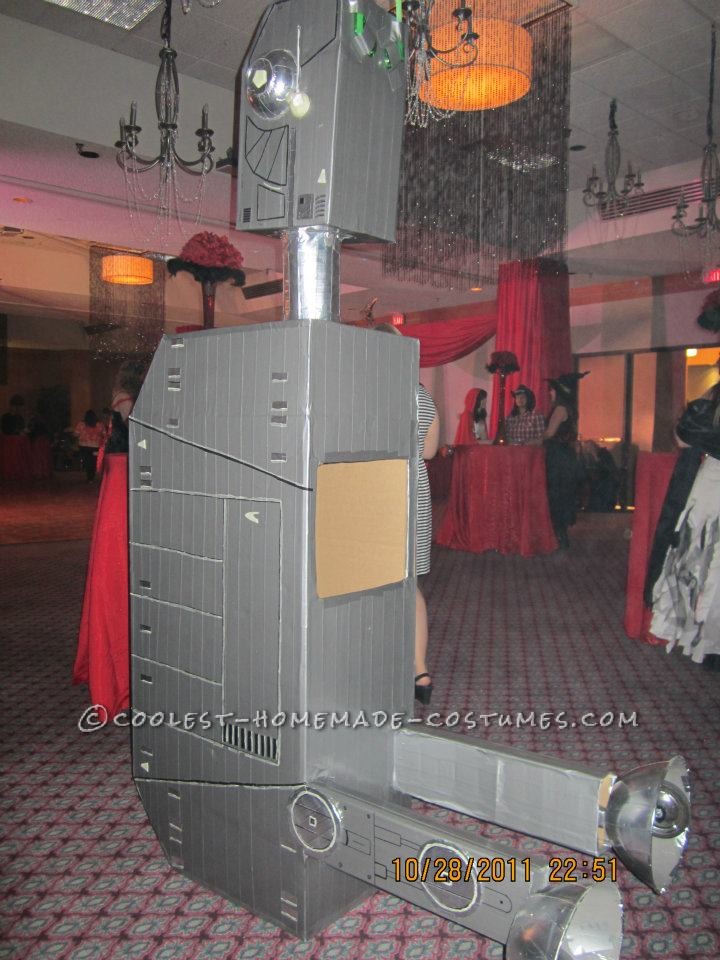
I wanted to have my hands free so I made shoulder straps out of duct tape to attach to the body so the top half of the costume could rest on my shoulders.
The bottom of the body was flat, so when I wanted to take the costume off for a break it sat nicely on its backside, taking up less space at the party.
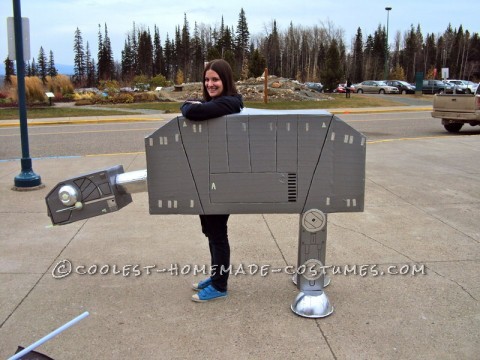
Only One Person Required
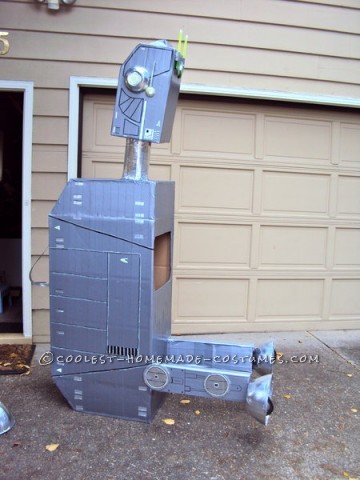
The Head:
The head was made in the same way as the body. I cut out cardboard and taped/glued it into place. The neck was made from cardboard, rolled into a cylinder shape and glued between the head and body. I added a piece of dowel to the middle of the neck so it would support the weight of the head.
I taped two small plastic bowls facing outward to the head to make the “eyes”.

The Legs and Feet:
The back legs were made of small pieces of scrap wood that I taped to some training wheels I purchased at a thrift store. This allowed for the back half of the costume to roll behind me as I moved. The top half of the wood was taped and glued to the inside of the cardboard body. Once the legs were secure, I put cardboard over the wood to make legs more stylish.
The front legs were made of duct tape fabric. The fabric is made by layering the two sticky sides of duct tape together to create a sheet. I made these so that I could cover my legs with something more comfortable than cardboard. It was much easier to walk around in them.
The feet were made by cutting out the bottom of four large plastic bowls. They needed a big enough hole for my feet and the training wheels to fit through them.
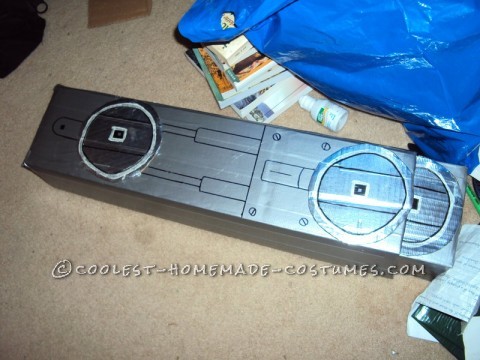
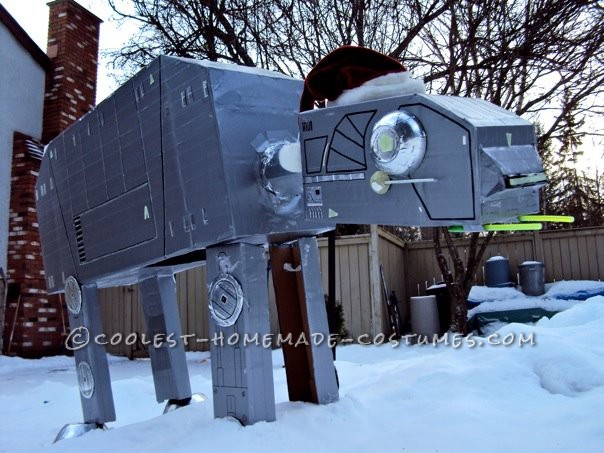
The Finishing Touch:
Once everything was built, I covered it all in grey duct tape. I then added detail with sharpie and black and silver duct tape. I thought it would be cool if it glowed at night, so I highlighted some features with glow in the dark paint.
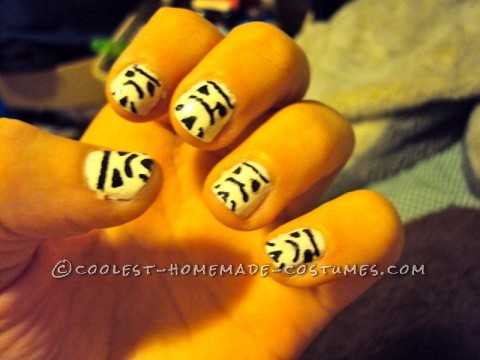
To finish off the look I wore a Darth Vader mask and held a light saber. I also painted my nails with storm troopers.

Related costumes:
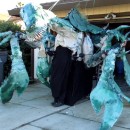 Coolest DIY Star Wars II Acklay Costume
  Coolest Ever Driving R2D2 Halloween Costume
 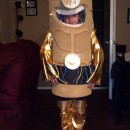 Despicable Star Wars: Return of the Minions Group Costume
 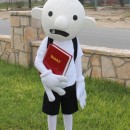 Coolest Homemade Costume Idea: Diary of a Wimpy Kid Costume
 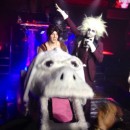 Amazingly Awesome Falkor and Atreyu Homemade Costume!
 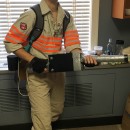 Amazing Jillian Holtzmann (2016 Ghostbusters) DIY Costume
 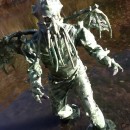 Awesome Homemade Cthulhu Costume with Full Latex Body Suit
  Coolest Ever Darth Star and AT-ST Couple Costume
Your comment has been sent successfully.