I got the idea of an Android costume because I work with a cell phone company. My favorite devices are those with Googles Android. My goal was to have the most recognized and entertaining costume. “IT WAS! “The moment I walked in sight people were excited and rushing to get there pictures taken with me. (I was PUMPED!)Getting started was rather confusing at first since my main concern was making the head piece. Felt like giving up already and paint my face again this year. I was going in circles. CIRCLES! Thats how to make it!
“Paper mache android head”
You’ll need- cardboard boxes, scissors/knife, strong tape(duct tape), pencil, 6 to 8ft string and fabric, paper, flour, water, and a hair dryer (speed up drying of paper mache) paint for end project. For easy fitting on my head I used the inside of a workers hard hat(optional)
1. Decide how wide you want your android. Recommending 6 inches wider then your shoulders.
2. Cut 5 circles with cardboard with your chosen width. (String attached to pencil, (half length of circle) Anchor string at center of cardboard. now draw and cut out circles)
3. Use one circle as base and cut another circle in half. Were attaching the half circles so we need to slice one circle exactly in the center about 3/4 the way to the opposite side. Slice other half circle on rounded side about 1/4 the way to opposite side.
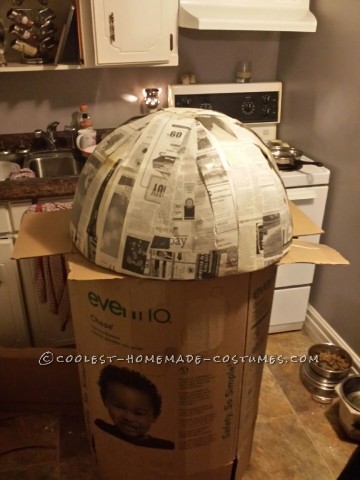
4. Now slide the half circles together at the slits to form a half sphere (visual half sphere. Haha) place this on your base circle and tape it down WELL! This will be your main support for your head.
5. Cut another circle in half and slice flat side 3/4 the way and join this one, cut half circle into to equal size. Tape these in your sphere for extra support.6. Make adjustments insuring even and circular from all angles and get your newspaper.
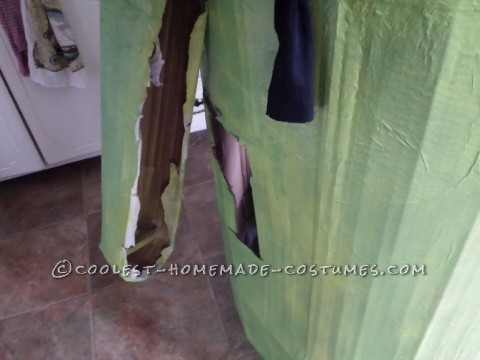
7. Using dry newspaper, tape it around your structure to fill in the gaps( boxing tape works ). Use several layers as a base. Don’t be shy, use more in areas you feel needed to make rounder. ( this paper will also absorb any excess liquid from the paper mache )
8. I paper mached once before in grade 4, so you can do it. Combine flour and water and blend very well to form a runny goo. Thick is good.
9. Tear a big load of newspaper into Long 2 & 3 inch wide strips. Dip a strip in your goop soaking it and carefully using your fingers slide the excess goop off. — You should only leave it tacky not too much on the strips. The idea is to get the flour particles in the paper… Not make bread. ..
10. Do quarterly sections and dry with hair dryer. Especially at the top where a lot of paper tends to meet up. Keep focus on covering all the surface. DRY IT GOOD.
11. Your first layer is complete and fully dry. Might look a little rough around the edges, but that’s fine. Next Layar involves rounding it all out. If deformed in certain areas tape on some Dry paper and paper mache over it. DRY
12. Looking better now but still bumpy. A couple more pieces of dry paper , paper mache over it then DRY IT!
13. A a final single layer of paper mache focusing on smoothing all edges of the paper itself to create a smooth finish.Hard part is Done! Yay!
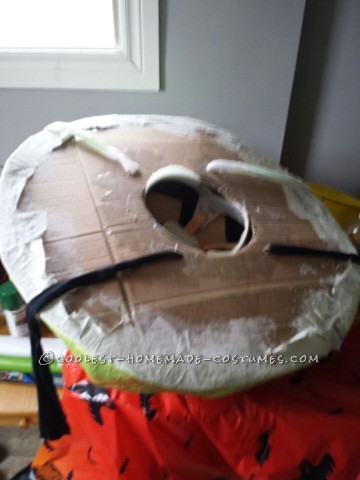
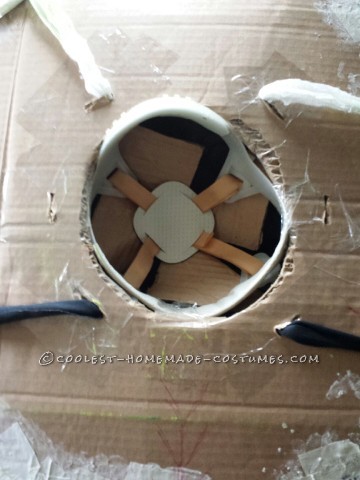
14. Base will need a hole cut at the center a little bigger then your head. Also you will need to carefully cut the cardboard support folding it inward so you can place your head in a few inches. ( I fit it with the inside of a hard hat) you can use whatever sacures and comforts.
15. Place 4 knife holes around your head section about 6 inches away from the hole. This is where you will then slide fabric through to hold your Android head in place (Note where you want the front so the fabric dont hendor your vision. –Tape around the knife holes for support.–
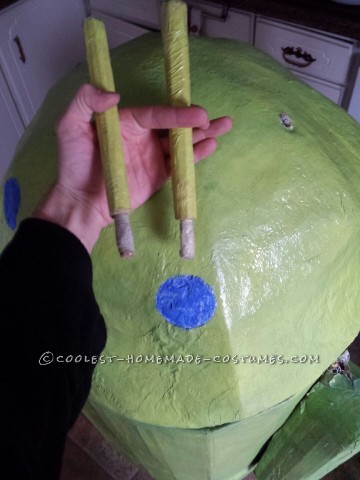
16. Carefully cut your antenna holes and focus on positioning later with your eyes. Antenna are easy. Rolled taped cardboard worked
.::::Done and ready to paint::::
The body is SOOO simple!
Big cardboard measuring a couple inches Wider then the base circumference of the Android head. Reaching to about knee level in length. I cut it out and box taped the ends.You may need to cut out two more circles.
1. using a circle place in the center of your box / body, about half way. to round it out.
2. ((Important)) second circle will need to be placed in accordance to the distance between your shoulders and eyes. This will be where your shoulders rest.
3. Cut a hole just bigger than your head on the shoulder circle. And slightly bigger on the lower circle for your body to freely fit.
4. Cut arm holes at same level as shoulder circle. (I sliced about 6 inches further down for easy arm access.)
5. A light paper mache to finnish off the body and the body is done!
–ARMS–Even easier!
Cardboard box rounded in proportion to the Androids body with taped in handles for hand grip on the inside. A lil paper mache and complete.
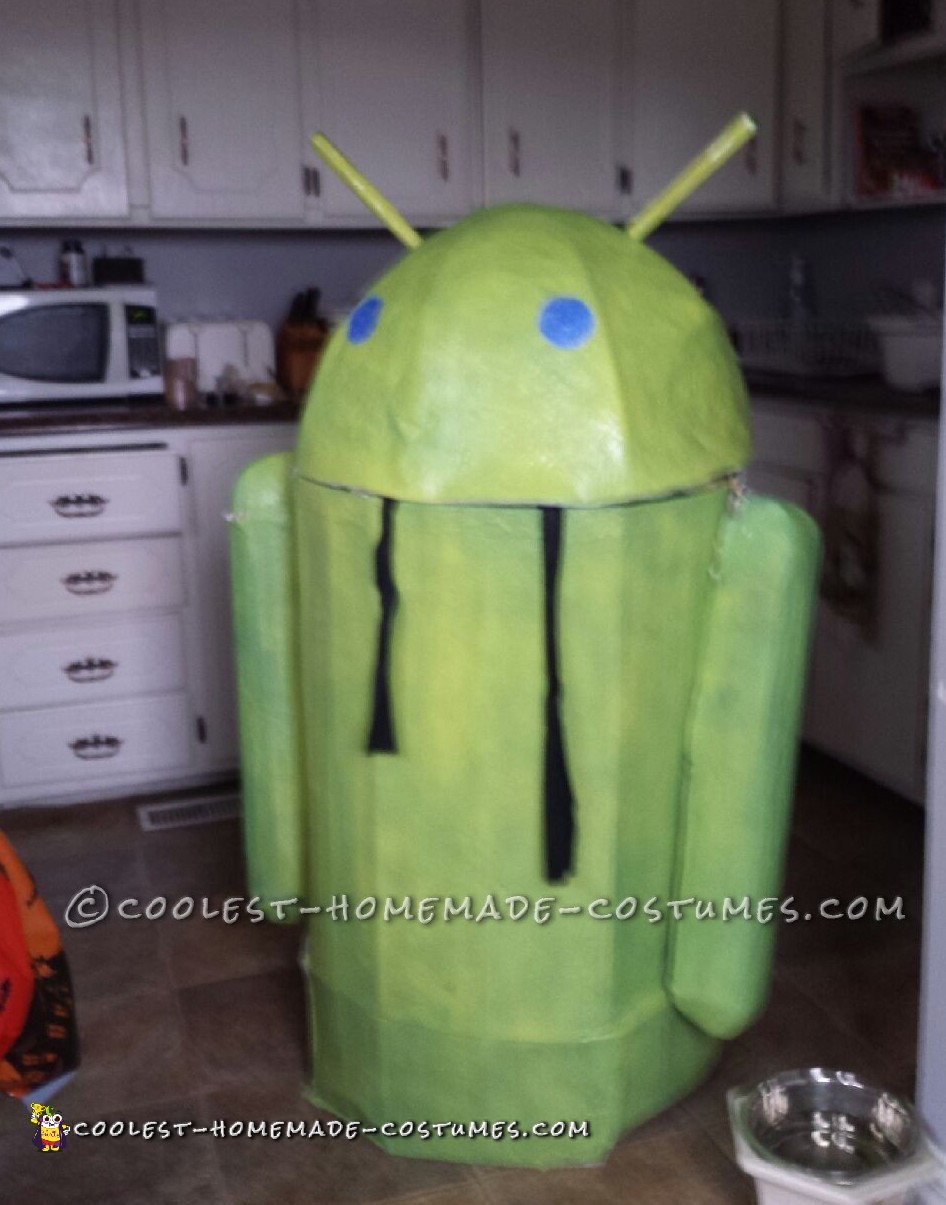
PAINT TIME!!!! SO, funny story. Dont use spray paint inside. Stupid immature and everything wrong… luckily no health issue for me but my kitchen was green. Actually it still green in areas.
Type android green in google and you get the exact color template.I was cheap and ghetto, I picked up 2 cheap cans of spray paint. One can was green the other was a fluorescent lime green. I went by eye to get the color. But heck whats 20 bucks on the proper paint? Glossy necessary!
Paint your Android parts and let dry like a bone. eyes can be made by cutting a single layer of paper in shape of circle and painting it in. Nice effect.
Poke in your antennas and we have ANDROID!!
Attach the head strings preferably to the inside shoulder support. With enough length to allow a couple inches of view space. And there you have it. A fun time indeed. Prepare to be flocked!

Related costumes:
 Easy No-Sew DIY Kool-Aid Man Costume – OH YEAH!
  Coolest Android Costume
 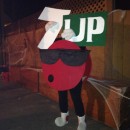 Coolest 7-Up Cool Spot Costume
 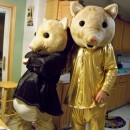 Coolest Kia Soul Hamsters Couple Halloween Costumes
 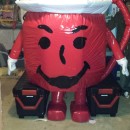 Extreme Huge Kool-Aid Man Homemade Costume!
  Cool Homemade Couple Costume Idea: Tootsie Roll Pop and Ms. Owl
  Coolest Jack In The Box Homemade Costume
 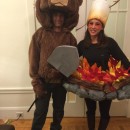 Original Smokey the Bear and Camp Fire Couple Costume – Only You Can Prevent Forest Fires!
Your comment has been sent successfully.