This costume was a ton of work. It started out with the mask, which has a paper mache base that I created literally on my daughter’s face, making sure to add upholstery foam where Cheshire’s face differed from hers.
She had to take two showers to get all the glue out of her hair after that! Then, I added more upholstery foam on the cheeks on the outer edge of the mask to widen his face. Then glued fur material with spray adhesive on top of that.
The fur was twice as long originally which meant all of the gray fur needed trimming, so I did that next. Why buy it like that? Well, it was the most accurate looking material we could find – small price to pay for accuracy, I think.
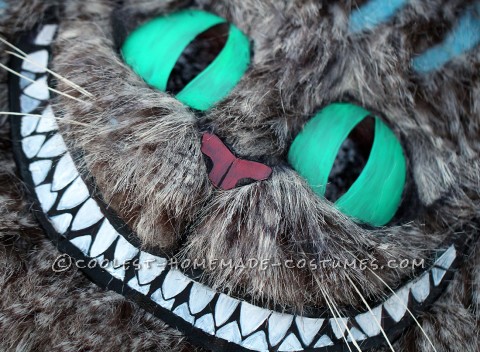
I painted the eyes on lenses from a pair of sunglasses we picked up at a thrift store and and when I placed those, I figured out where to cut holes for eyes. The vision is narrow and dark but they allow you to see through just enough.
The eyes and mouth were cut from thick card stock, handpainted, attached with a glue gun and some hand stitching to secure them. The whiskers are actually flimsy twigs that we spray painted and glued in with a glue gun. They had just the right look.
The cheeks I also spray painted to lighten the face a bit and we used permanent marker for his eyeliner. The pink in the ears is actually from a pair of pj shorts. We had completely forgotten about pink material up until just before it was time to make ears and the shorts were the one thing we had at home that were pink – not even kidding. Even then, they weren’t the right shade and I had to spray paint them a bit to lighten them up before making the ears.
I left some longer fur around his ears which looked more realistic. Then, I made a headpiece for the rest of her head – which I hand stitched to attach all around the sides of the face before adding the ears and blue stripes.
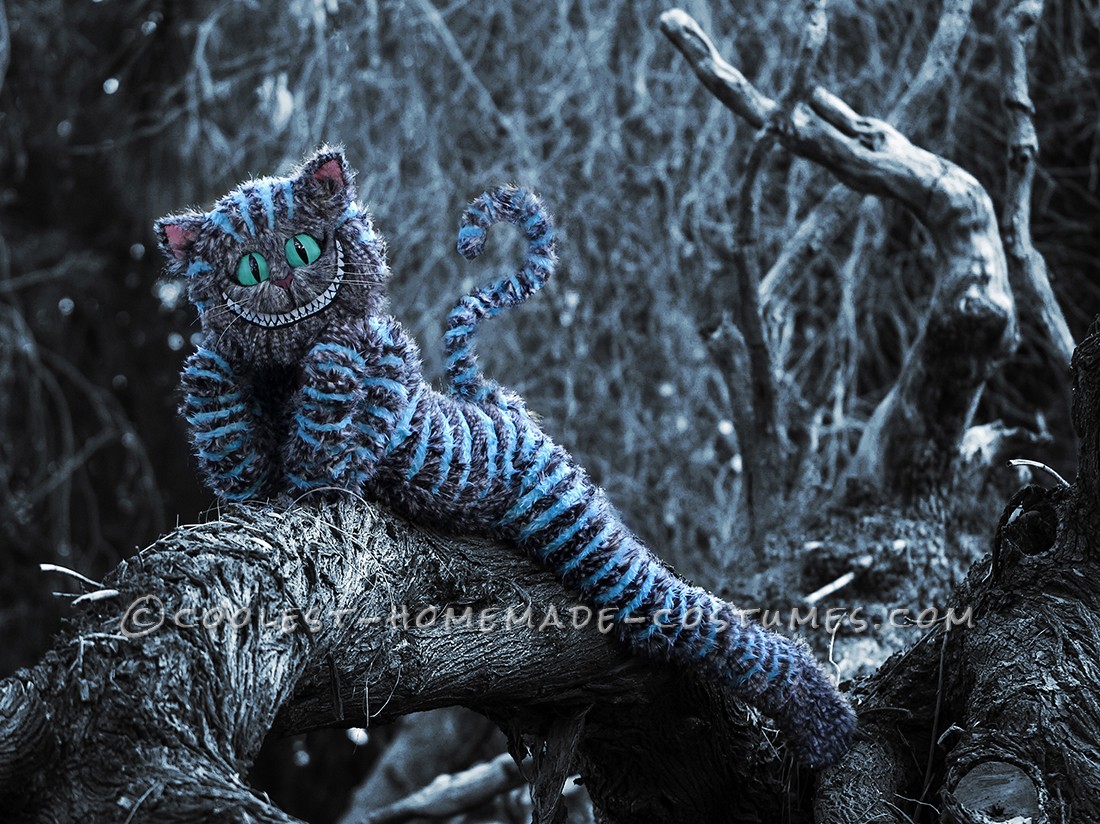
The body, I made starting with gray furry material and using a generic costume pattern that I altered to fit my daughter’s measurements. I added a zipper to the front for her to get in and out of it easily and then again – I had to trim the whole costume to make the fur the proper length. I definitely felt like I was trimming a gigantic cat while I did that and my daughter constantly complained about wearing it the entire time during the process. It’s hot to wear for too long so we kept the AC on for this portion and the hair was everywhere!
Once that was done I began cutting and hand stitching each blue stripe (taken from a different furry blue material). This we did in sections so that I could have her wear it for short periods of time while I pinned them where I wanted them to lay. We couldn’t pin the entire costume and have her safely get out of it so piece by piece was best.
It was a tedious job for both of us (but mostly me) and the hand stitching left my fingers numb towards the end, but countless pin-pricks later – it all turned out wonderfully so we are very pleased. She loves it and of course, it is a one of a kind costume.
Hope you enjoy it as much as we did!

Related costumes:
 Labor of Love Wizard of Oz Costumes
  Coolest Home Made Carol from Where the Wild Things Are Halloween Costume
  Coolest “Girl with Many Eyes” Tim Burton Character Costume
 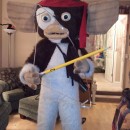 Transforming Homemade Gremlins Costume: Don’t Feed Gizmo After Midnight!
 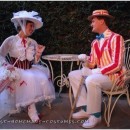 The Coolest Ever Homemade Mary Poppins and Bert Couple Costume
 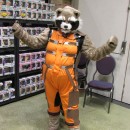 Cool Rocket Raccoon Costume From Gaurdians of the Galaxy
  Awesome DIY Family Alice in Wonderland Costumes
 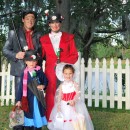 The Phases of Mary Poppins – A Family Costume
Your comment has been sent successfully.