
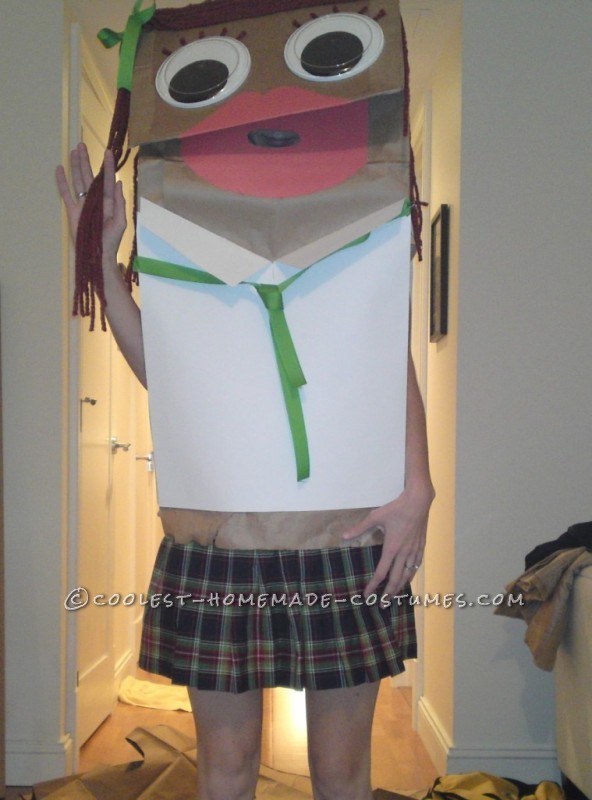
I think I only spent about $20 on this school girl paper bag puppet costume, and maybe about 4 hours making it (most of that was tediously gluing the hair, one strand at a time). For an inexpensive costume, I think you get a lot of bang for your buck. And the fun part is, you can use the basic idea to make all different kinds of paper bag puppets: Fandango puppets, Santa, Star Wars, Little Red Riding Hood, etc.
Things I would have done differently:
If I had thought of this at the time, I think it would have been really funny to use a lunch bag to make a smaller paper bag puppet that looked just like a smaller version of my paper bag puppet for me to have on my hand on Halloween! A paper bag puppet with a paper bag puppet would have been so much fun!
Also, I would have worn bottoms that had pockets. The white hoodie I wore underneath had pockets, but it was hard to reach the pocket part when it was on. Halloween costumes with pockets are always a good thing.
Supplies:
- Paper Lawn Bag
- Yarn
- Poster Board or Construction Paper
- Glue
- Ribbon, sequins, other things to decorate your bag
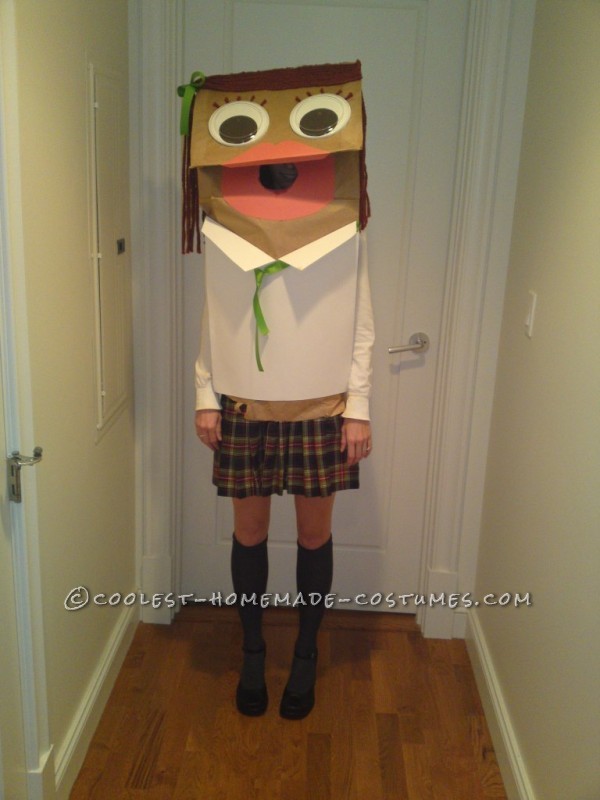
Completed Costume
Cut Bag
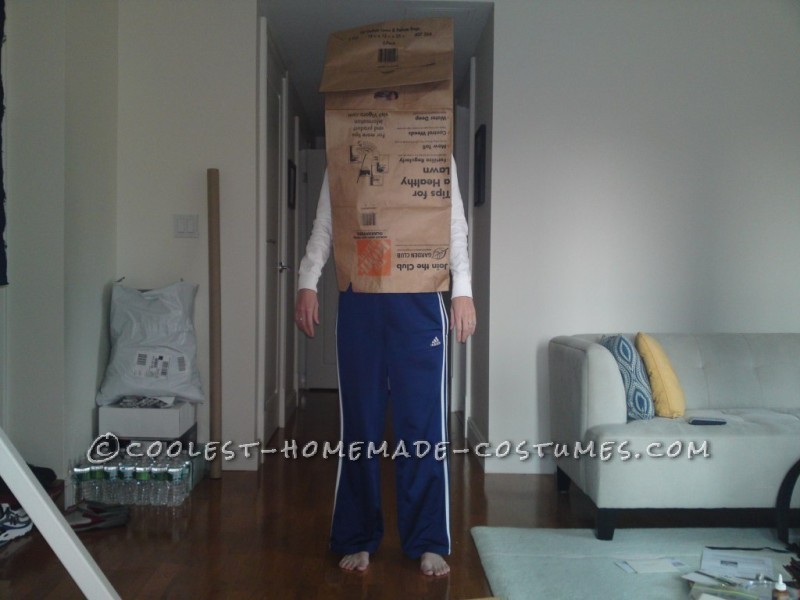
The first thing I did was get in the lawn bag to see where to cut the arm holes and eye hole needed to be cut. It took some trial and error, making small cuts at a time, to get it so that the bag could sit on my shoulders and that the eye hole would line up under the flap, so it would be partially hidden. I opted to go with the one, larger opening for the eyes/mouth, instead of separate ones, to make it easier to see, talk, eat, etc. Fortunately, if you mess up, lawn bags are usually sold in packs of (4-5), so you will have some extras.
Prep the Bag
Prep Bag
So, I bought my lawn bags at Home Depot (I think they were like 5/$2, or something). They (obviously) have the Home Depot logo printed all over them. I wanted a plain brown bag, like a regular lunch bag. The lawn bags are 2-ply. So what I did was use my hands, and a razor, to carefully separate the outer bag from the inner layer. It takes a little patience to make sure you don’t rip the bag, but wasn’t too hard.
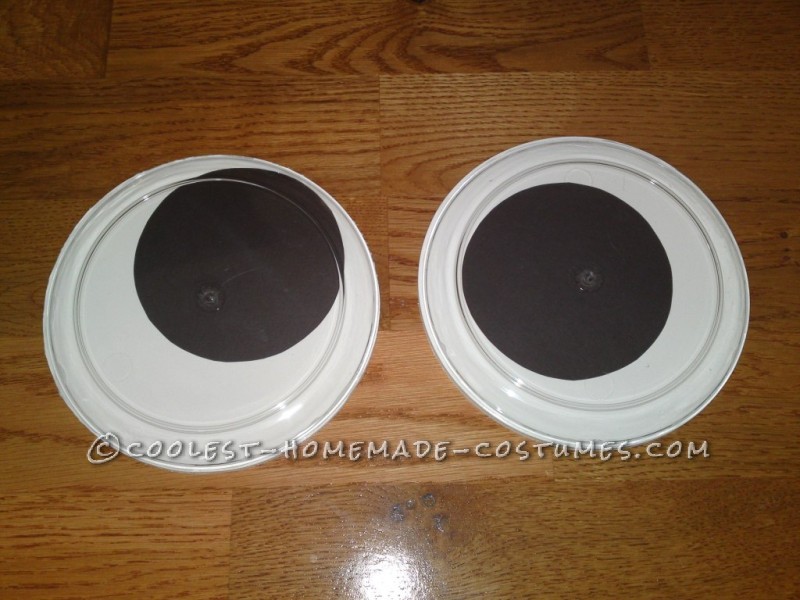
Googly Eyes
Right from the start, I knew I wanted to have giant googly eyes that would move when I moved, so these were a priority for me for this costume. I made my own.
I used my foam circle cutter to cut (2) 6” circles out of foam core. I cut two smaller circles out of some (very dark) brown envelopes left over from my wedding invitations (the paper was very thick, like craft or construction paper) for the googly part of the eye. I centered the dark circles in the white foam core circles, just by placing them on top, and then used craft glue, just on the very edges of the flat side of the foam core, to glue a clear plastic 6” disposable plate from the dollar store onto the foam core.
ONLY WHEN YOU KNOW THE GLUE IS COMPLETELY DRY, you can pick them up and the dark part will roll around like giant googly eyes. If you move them before they are totally dry, you risk the dark part getting accidentally glued to the edge of the eyeball, and not being able to move around. I used craft glue, but I am sure hot glue, or something similar would also work.
2013: I recently saw that Michael’s was selling giant 5” or 6” googly eyes!! So I guess you can skip this step, and just buy them at Michael’s, if you want. I love my homemade ones though, and I love that they are brown (like my own eyes), instead of the normal black googly eyes.
Googly Eyes
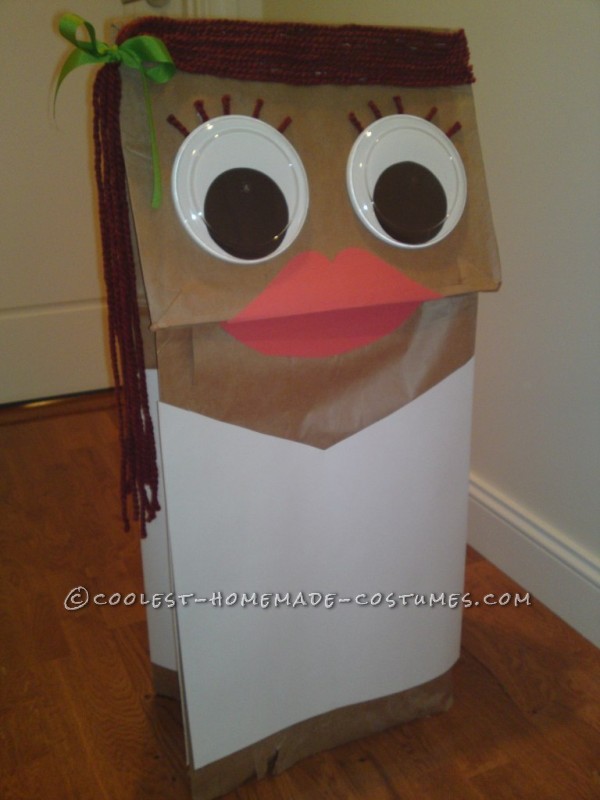
Hair + Eyelashes
I used craft glue and super thick yarn to make my puppet’s hair. I added the eyelashes (just short pieces of yarn glued down), before gluing the googly eyes I made (step 3) to the bottom part of the paper bag. I glued the front pieces of yarn down solidly to the bag, but left some length on the side for the side part, so that it looked like the hair was swept to the side with a ribbon, but hung down. I also glued additional strands all along the back side of the bag for the back of the hair. I only glued the top few inches of each strand, so that the yarn would sway, along with the googly eyes, when I walked or danced.
Progress
Mouth
The mouth was very easy. I used red poster board, and hand drew a lip shape for the top, with a little extra to fold under, and a u-shape for the bottom lip. I had to measure and be sure to cut out the eye hole in the bottom lip, so I could see out of the mouth. I free handed the shape, and made it so that when it was flat, the lips looked closed.
Almost Done
Clothes + Finishing Touches
I decided to make a school girl paper bag puppet because I already had knee socks, Mary Jane shoes, and a plaid skirt. I wore a white, knit hoodie underneath, and used white poster board for the shirt (white was the easiest color to match, and looked cute with the skirt.)
I cut out separate pieces for the front, back, each of the sides, and the collar pieces for the shirt. I had to measure and pre-cut the arm holes. I found that it was great to use the poster board for the shirt part because it helped reinforce the thinner 1-ply bag around the arm holes, where the weight of the costume sat on my shoulders.
I added the green ribbon tie around the neck, and to the hair for a little accent, and with the knee highs and Mary Janes, I think it turned out super cute! I got a ton of compliments, and since it’s a little less common costume, I have never seen anyone else with a costume like it whom I didn’t know (and was inspired by this very costume!).

Related costumes:
 Coolest Puppet Master and Puppet Couple Costume
  Homemade Batman Lego Couple Costume
  Masterful Marionette Puppet Halloween Costume
 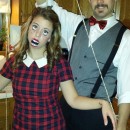 Fun and Unique Marionette and Puppet Master Couple Costume
 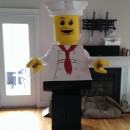 Fun Adult Lego Minifigure Costume
 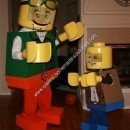 Coolest Homemade Clutch and Bernie Lego Men Father and Son Halloween Costumes
 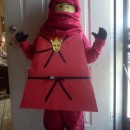 Cool Homemade Red Ninjago Minifigure Costume
  Coolest Family Lego Movie Costumes
Your comment has been sent successfully.