I had the idea to make a costume for my daughter based around my daughter’s stroller rather than having to carry her around all night, but I wanted something I had never seen before and I kept brainstorming and came up with absolutely nothing. The idea for her costume actually came to me when I was holding her up on my lap and she was lunging forward to grab every toy in front of her.
About a month ago, I basically made this a game, where I hold her up and let her reach for the toy she wants rather than just handing her a toy every time she drops one in order to help her develop better coordination. The first time she did that, I made the comment to my husband that doing that reminded me of playing the games where you maneuver the claw to try to get a prize from the machine. So from there, the idea was born!
Now for the interesting part, which is guaranteed to make any small apartment feel like a total pigs pin for a few days (not to mention, drive any spouse with OCD insane) I present, the making of “The Claw.”

Materials Used
The tools we used to make this costume were: Cardboard, black craft paint, red craft paint, packing tape, clear wrapping paper that you use for making gift baskets, two old knee length tube socks, glue gun, hot glue, four pipe cleaners, aluminum foil, ruler, scissors, fishing line, Atari joystick, lots of smaller sized stuffed toys, and four wrapping paper tubes.
Making The Claw
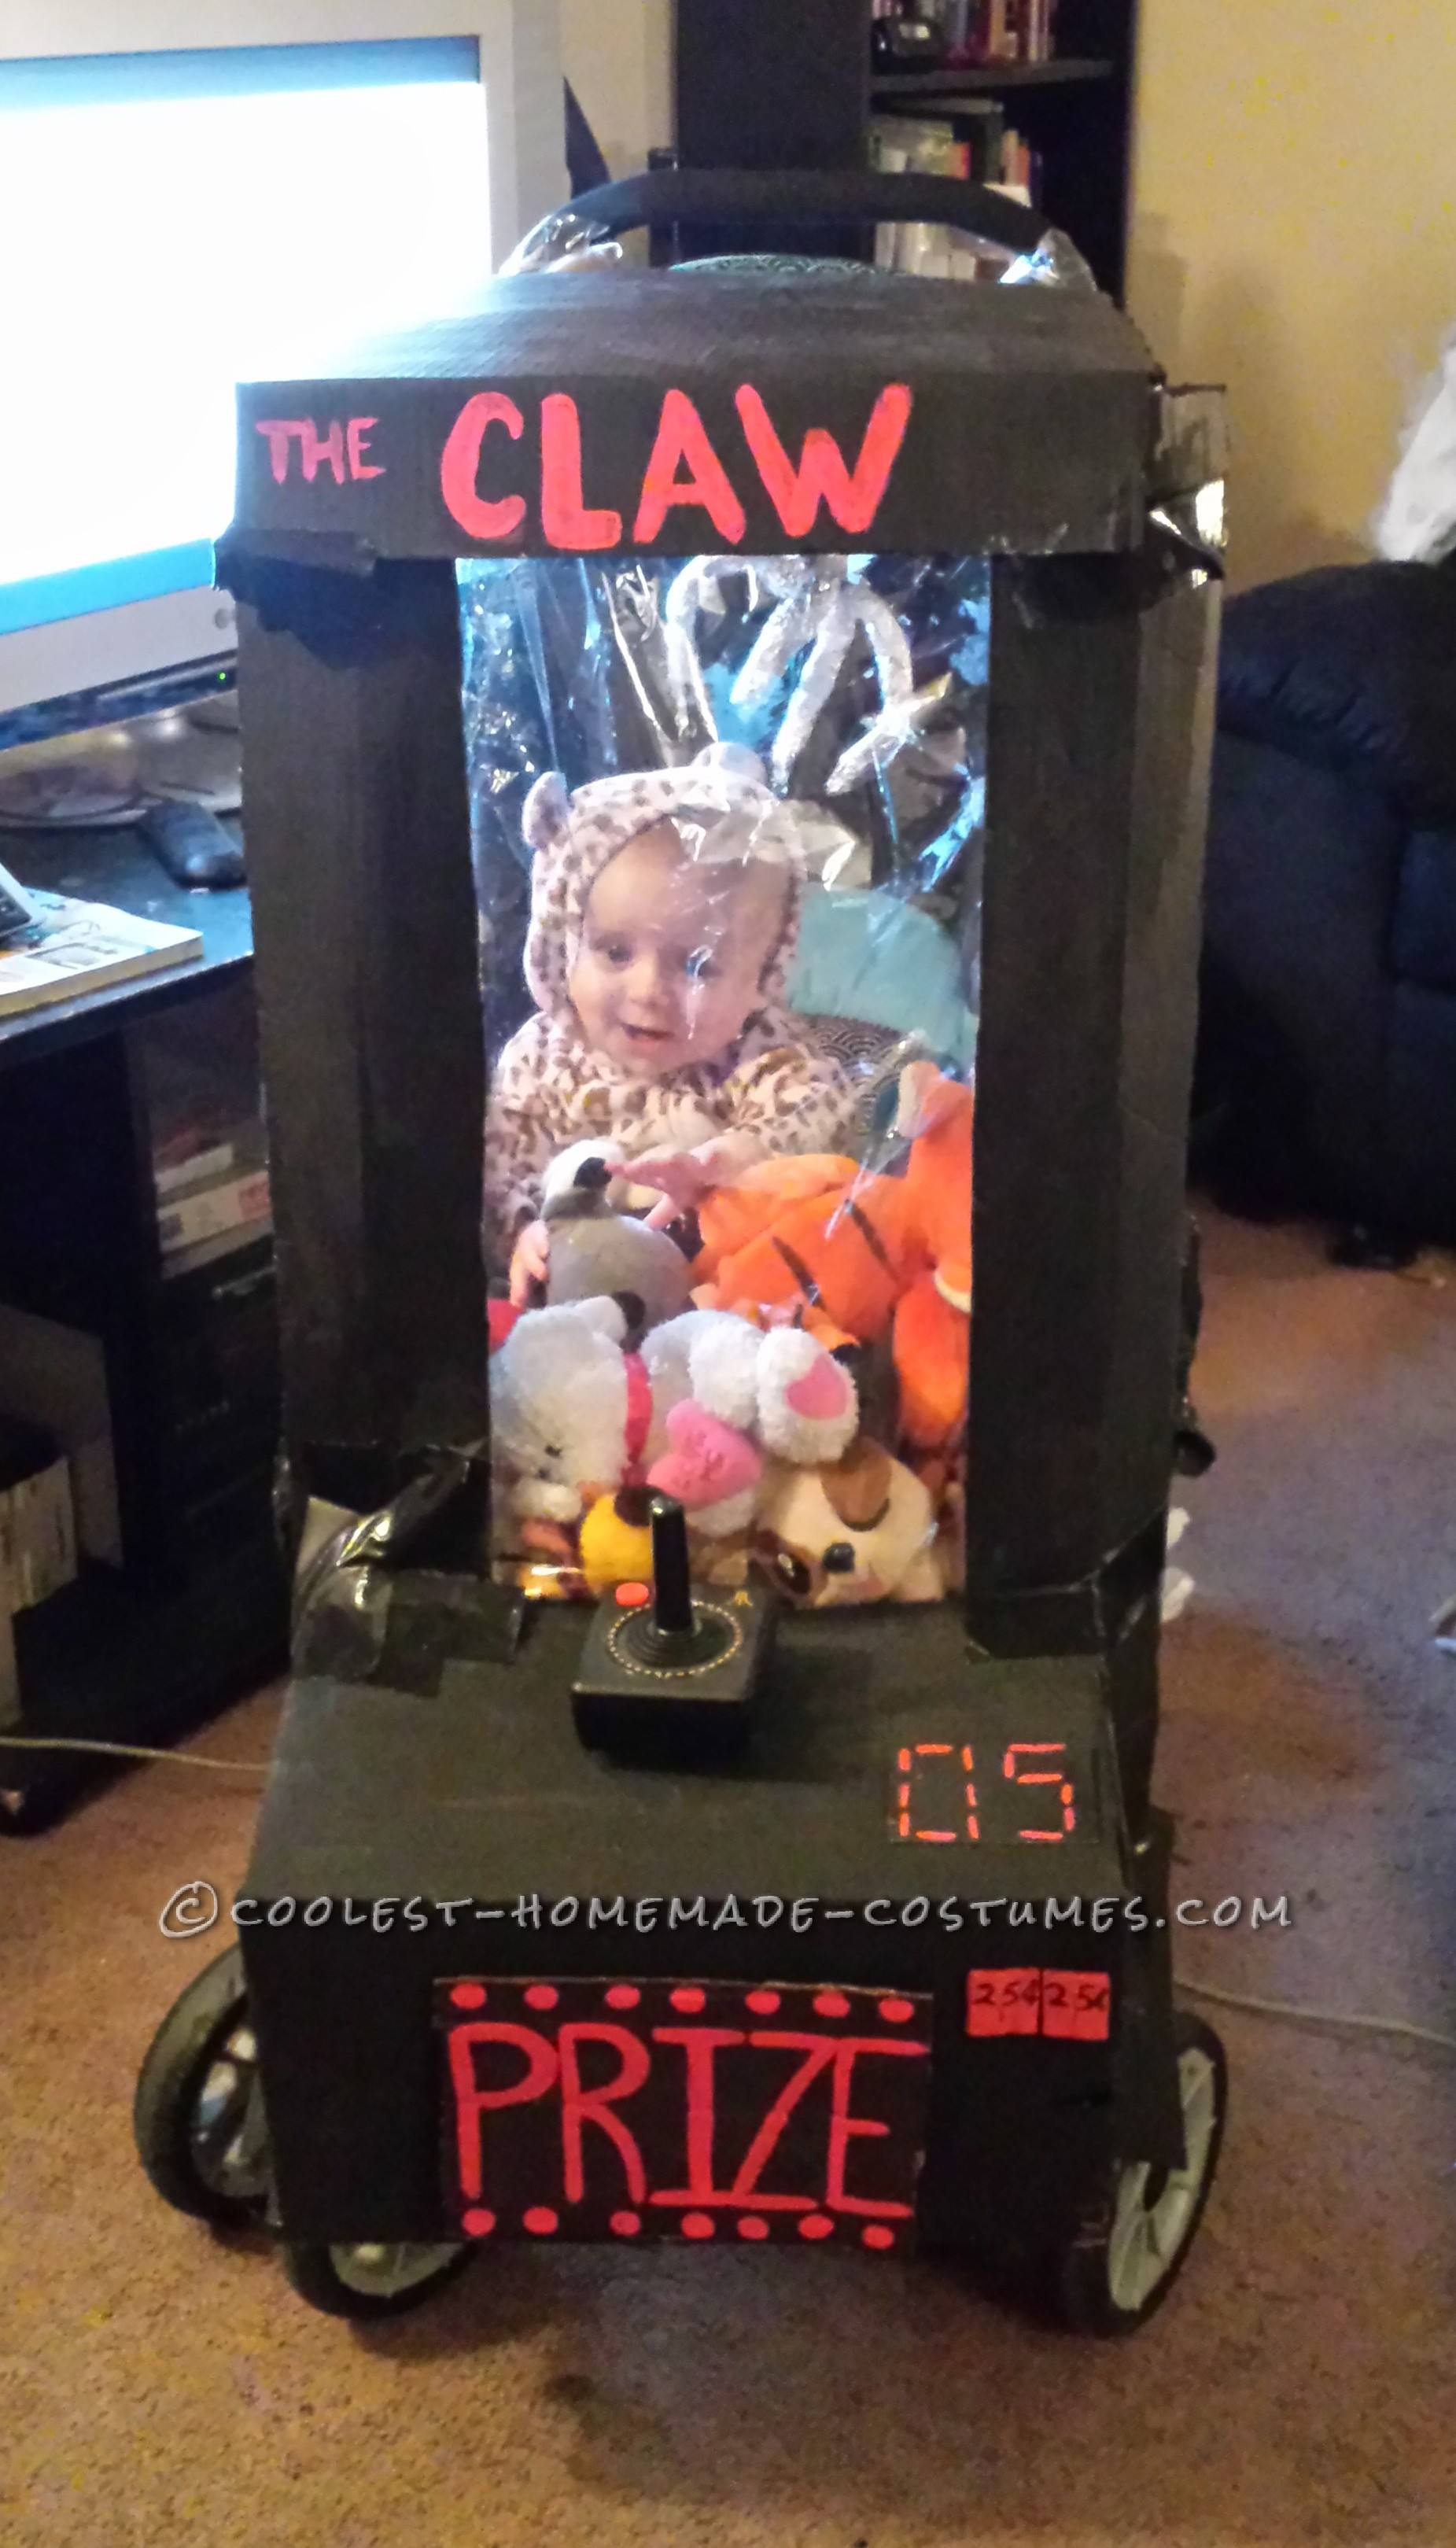
To make the claw, I first cut three long strips out of the tube socks. In order to get the claw to hold its shape, I glued a pipe cleaner on each strip using hot glue, rolled them up and when I came to the end, glued it down. I tied the two pieces that make the claw together in a knot and then tied the piece it hangs from on to it as well. I covered the socks with aluminum foil to give it a shine and make it stand out against the black. Also, I made sure to cover every inch of the aluminum foil with clear packing tape twice just in case she grabs it, this way she will not be able to get a piece of aluminum foil off and put it in her mouth.
The Front of the Machine
My husband and I constructed the front of the machine by first cutting out two strips of cardboard 4.5”×31” and painting them black, we measured the distance these two strips needed to be from each other and taped the clear gift basket paper onto them. We used two layers because it tends to tear pretty easily. We used packing tape to attach the back of these strips to a wrapping paper tube (one on each side), we then cut a slit in the bottom of these tubes where it would meet the stroller, so it would not stick out as much and to aid in connecting it to the stroller.
How to make the Control Area
For the joystick area, we painted a small box black and we shaped the bottom of this box to where it slides over the front part of the stroller, this was also done to aid in the connection to help keep it sturdy during movement. We taped the box on to the cardboard strips and then made holes in the box and tied it on the bottom of the stroller (where she can’t reach) with fishing wire. For the flap on the front, we cut out a piece of cardboard 8.5“×6.5 “, painted it black, and wrote “Prize” on it.
We attached this to the front by using packing tape. We borrowed an old Atari joystick from my parents and used a lot of packing tape to attach it to the top. We first tried magnets and Velcro we had on hand, but neither of those seemed to hold up too well, the tape worked the best.
I cut out two small pieces of cardboard and used an Exacto knife to cut slits in both of them. Then painted them red and used black paint to write 25Cents on each. After I taped those two pieces to the box, I cut out a black piece of paper and painted 05 seconds on it as the timer and taped this to the side of the joystick.
Assembling the Final Pieces
For the top of the machine, we used a piece of cardboard 16”×27” and taped each side onto a wrapping paper tube. We painted the tubes black and then taped them onto the handle of the stroller. We left enough of that piece of cardboard hanging off in the front to bend it over, tape it down, and write the title of the costume on it “The Claw.” The way we were able to attach the claw to the top was by wrapping fishing wire around each of the top two tubes, we did this several times to make sure it would hold the claw, we then inserted the claw between the fishing wire and the top piece of cardboard and taped it down really well with packing tape.
Reactions and Comments/Pros and Cons of “THE CLAW”
While out trick or treating, we had people asking if they could take her picture in the costume and at one house we stopped at for candy, the owners were trying to find a dollar because they wanted to give it to her. Several people got a kick out of it and just laughed and said “Aw, how cute” or “Oh, that’s such a good idea.”
The added benefits of this costume would have to be the convenience and affordability, it was made only of materials we already had on hand and we were able to just stroll her around. It turned out to be a cold night, so having the clear paper in front of her helped block the wind and being surrounded by the stuffed animals, along with her blanket, helped keep her warm. Though be warned, it does not fit well in a minivan.

Related costumes:
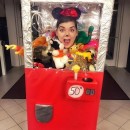 Claw Machine Costume – Clawing my Way to the Top
 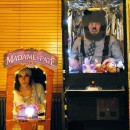 Interactive Arcade Game Couples Costume
 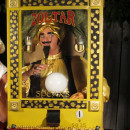 Cool Zoltar the Fortune Telling Machine Costume
 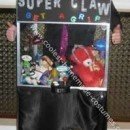 Coolest DIY Claw Machine Halloween Costume
  Cool DIY White Claw Machine Costume
 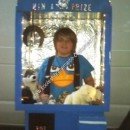 Coolest Homemade Kid in a Claw Machine Halloween Costume Idea
 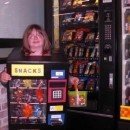 Coolest Homemade Vending Machine Costume
 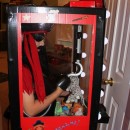 Coolest Homemade Captain Claw Pirate Crane Machine Costume
Your comment has been sent successfully.