
Every year we have a pretty intense costume contest at the school where I work. We compete for the best costumes, in five different categories. Personally, it’s the Most Creative Costume category that I covet. In general, I delight in designing and creating a creative, elaborate costume, and this year was no exception.
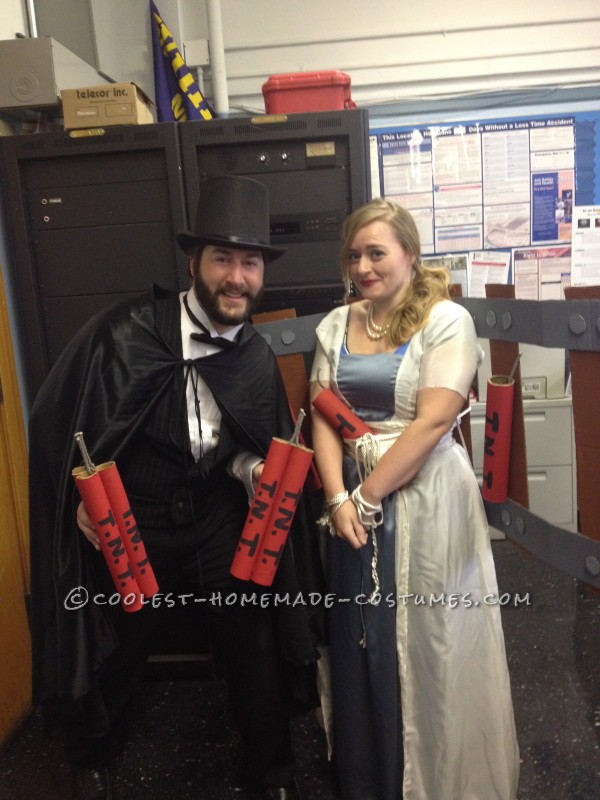
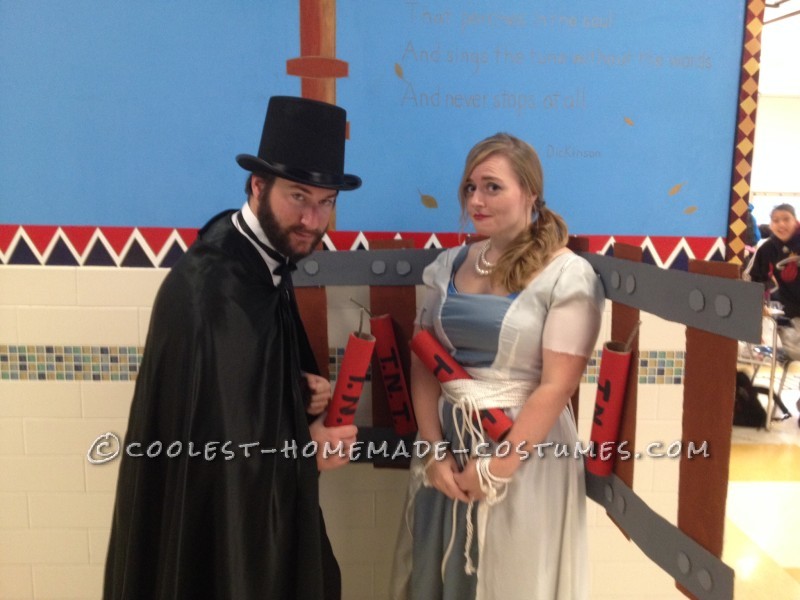
This year, we decided to be a damsel in distress and villain, but with a pretty big twist. Our damsel in distress was tied to the train tracks!
This costume DID end up winning the Most Creative Costume Award!
Making the Train Tracks
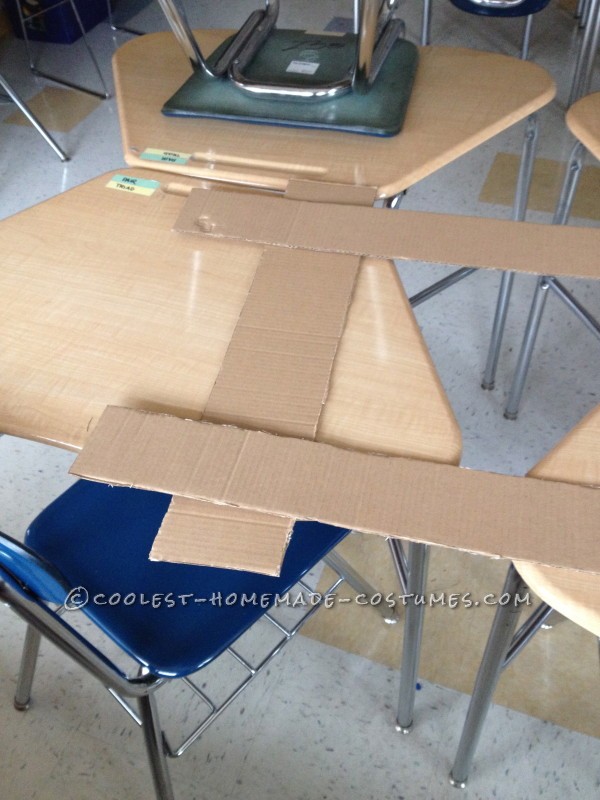
First, we needed to create the train trains. Cardboard was cut down to the right size so that it fell on me in just the right way. I was trying to avoid having the back of the cardboard hit my legs, since that would make it semi-difficult to walk around all day with cardboard train tracks strapped to me. In the end, the cardboard was strapped to my torso.
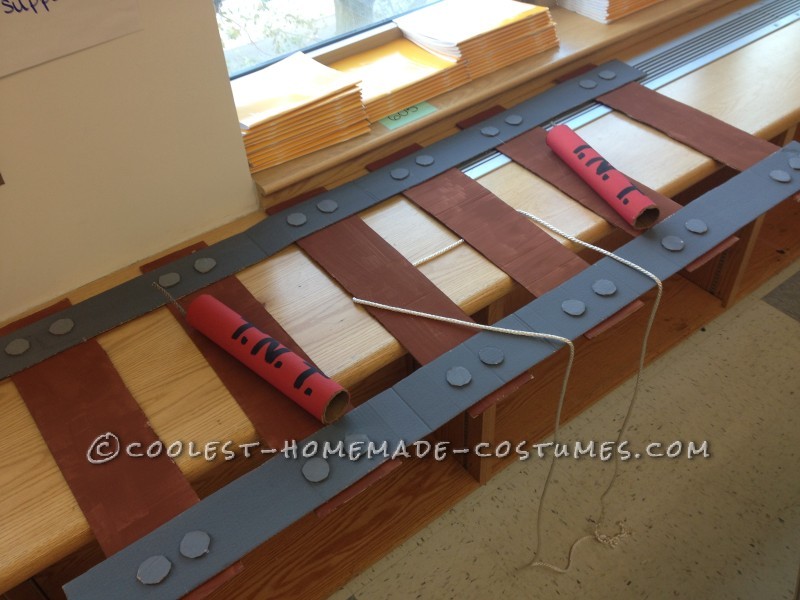
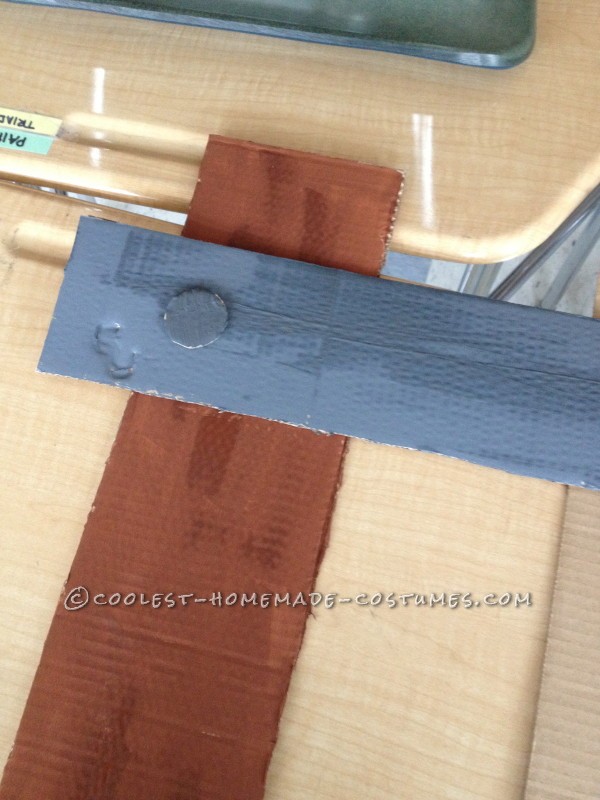
Creating the look of the tracks was a simple matter of painting the rails gray/silver and the track pieces brown. I just used basic paint to do this. It’s definitely not a perfect job, but it does the trick.
Once I had cut the pieces and painted them, I wasn’t thrilled with the result. So I cut out circles to make bolts. I found myself much more pleased with the end result at this point, as the bolts gave the tracks some character and they no longer looked like plain old painted cardboard.
The paint needed to dry for a bit, and then it was time to assemble. I went out and bought super glue, thinking that would weld all this together, but I was grossly incorrect. I ended up using the hot glue gun we already had at work instead.
After giving the glue some time to dry, it was time to make the rigging for the costume. We ended up making a backpack structure so that the tracks were supported, and then glued one piece of rope to tie around my waist – the rope in the final costume is not actually tied completely around the tracks, but around me.
We also decided at the last minute to attach dynamite to the sides of the train tracks (see step three for the making of the dynamite). Train tracks were ready to go!!
Cutting the train tracks.
Making the Dynamite
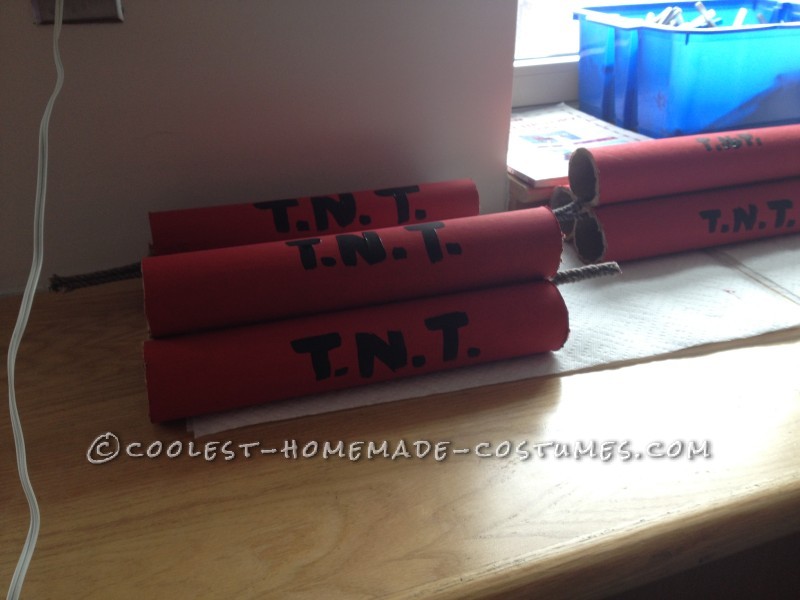
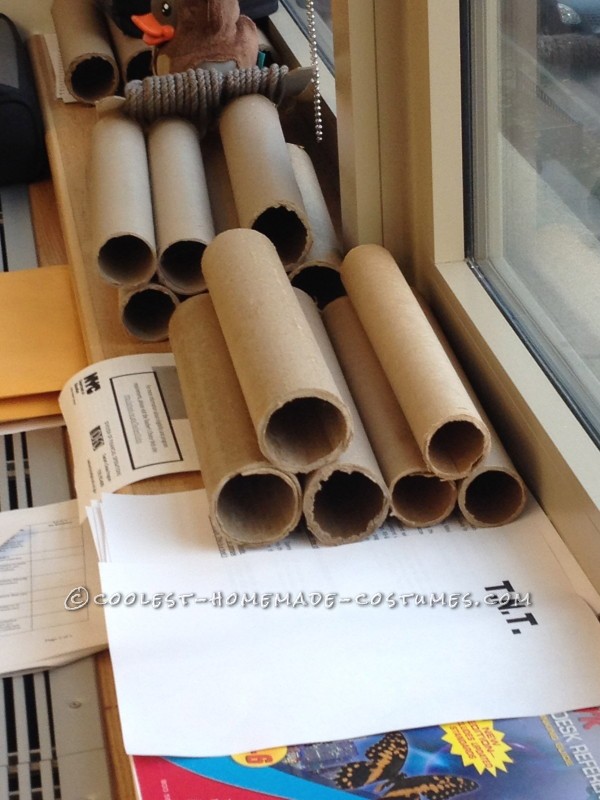
A villain, of course, must have his dynamite. To start with, we used long tubes (that you might find inside bolts of fabric), and cut them down into 12-inch pieces.
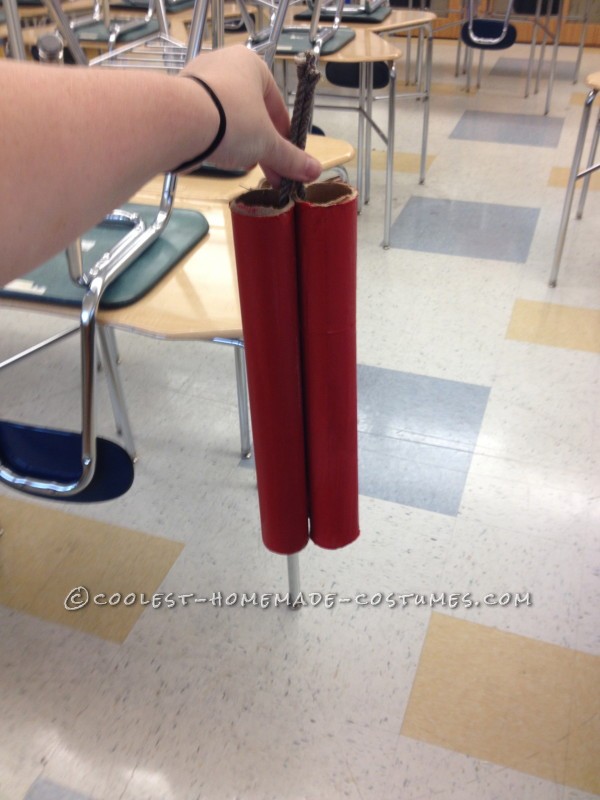
Once they were cut down, it was time to fuse them together into dynamite-like sticks. To do this we used a hot glue gun and some upholstrey rope. (Is that a thing? I’m making it a thing.) Three pieces of “dynamite” were fused together, and then the fuse was glued into the center.
Then it was time to paint the dynamite. Once the paint had a chance to dry, we stenciled the letters TNT on each of them, let that dry and voila! Sticks of dynamite.
Making the Villain Costume
Your basic villain costume runs a fine line between villain and magician, it turns out. However, in the end it didn’t really matter as long as the whole thing came together the right way. The villain costume didn’t veer too much from the original sketch.
I made the vest using a pattern I had purchased last year for the school play. It ended up working perfectly. I used a satin for the lining and a pinstriped fabric for the outside of it. I was honestly surprised it fit so well, and I actually think it could be used as a real vest outside of costume purposes!
The next step was the cape, which I didn’t actually take any pictures of, at least while it was in progress. Basically I took a square of fabric and cut it, along with a semi-circle for the neckline. It ended up slightly crooked, but still pretty awesome. I used the same satiny fabric as the cape lining and it flowed really nicely.
Of course, a top hat was also in order. That was easy enough to find on Amazon, and so that’s where it came from – and only $6 too! Everything was topped off by a bow tie, black pants, and a tuxedo shirt.
Creating the Damsel in Distress
The damsel costume was the bane of my existence throughout this whole process. I just didn’t know what I wanted to do with myself as far as it was concerned. I went from the saloon girl to 1920′s at one point.
However, I royally messed up my attempt at the 1920’s pattern and then I realized it wasn’t what I wanted anyway. I wanted something loose and billowy and innocent, and the above was more sultry than a damsel in distress should be. And so I turned to a 1910′s Titanic-esque pattern instead. It was one that I’ve used before so the chances of doing it wrong were slim. I chose a gauzy white fabric which I lined in a satiny, cornflower blue fabric.
The dress actually came out great, and was exactly what I was thinking from the very beginning of this project.
The rest came together quickly. I already knew what shoes I was going to wear (I’ve got these Chinese Laundry shoes I’ve had forever that I fell in love with when I first bought them but never really wear anymore except with costumes).
Now, in order to make it look like I was actually tied to the train tracks, the rope actually became part of the costume. Once I was dressed and ready to go, we put the rope around my torso so that it gave the illusion of being tied around the tracks themselves.
The Little Details
What you can’t see from the photos is that this costume actually has sound effects! We downloaded silent film music and played it as we walked around! I think it added the little touch needed to give us the creative edge!

Related costumes:
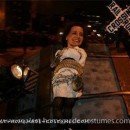 Coolest Damsel In Distress Costume
  Super Sweet DIY Queen of Sweets Costume
 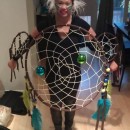 Original and Creative Homemade Halloween Costume: Dreamcatcher
 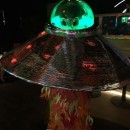 Awesome UFO Alien Costume that Lights Up!
 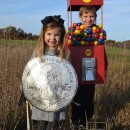 Cool Duo Costume: A Gumball Machine and a Quarter
 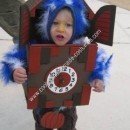 Coolest Homemade Cuckoo Clock Halloween Costume
 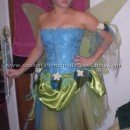 55+ Coolest Homemade Fairy Costumes
 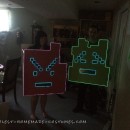 El Wire Mooninites Couple Costume from Aqua Teen Hunger Force
Your comment has been sent successfully.