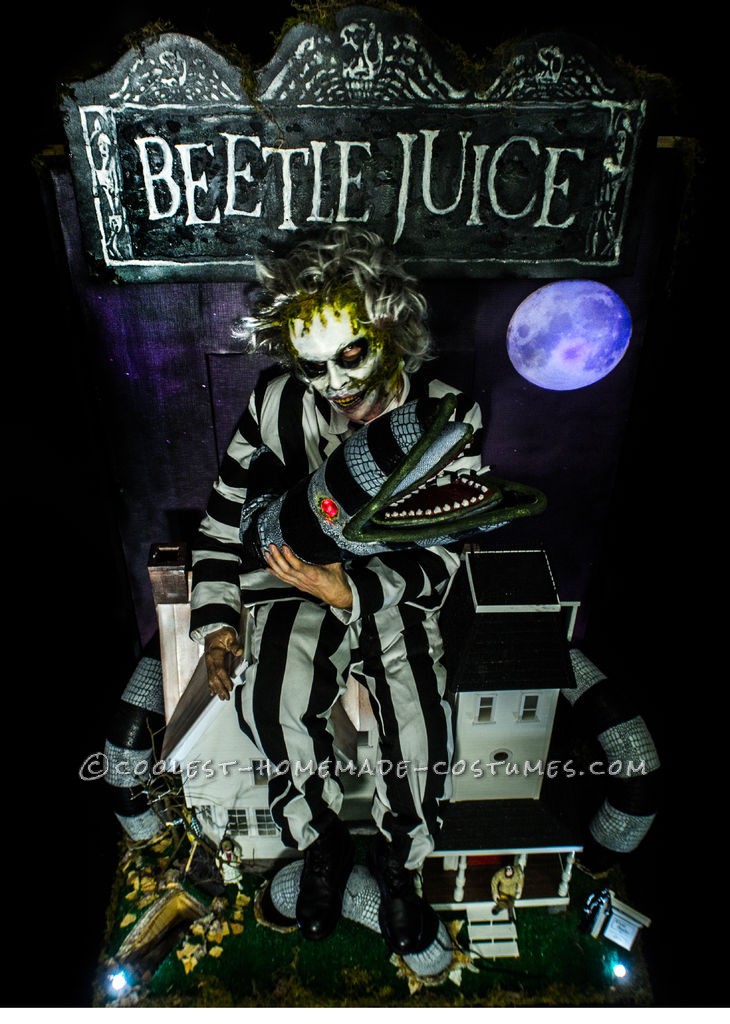
This year I decided to pay homage to everyone’s favourite Bio-exorcist, Beetlejuice. My goal with any costume I make is to do it differently than anyone else has ever done it before. I decided on the basic idea on the drive home from last year’s Halloween Contest. This costume features a kickable leg, a Sand Worm puppet and pretty cool light-up moon.
This took me approximately 2 months to make with an average of about 5 hours a day. I collected materials for an entire year. This was a lot of fun to make.
Hope you enjoy! It’s Show time!

Sand Worm Puppet
Planning
As I said in the intro, I started collecting materials for this costume immediately after Halloween was over last year. I think the first thing I bought was a pair of black boots from Value Village. I picked up some action figures on Ebay too. Many of the materials I used were items that I already owned and I made several trips to the dollar store.
I started with a few sketches to get my idea on paper. I then made a quick scale model to figure out some placement issues. After that I modeled the house in a 3d modelling program so that I could build the house accurately. I used pictures from the movie as references. I started the actual build of the house on August 14th. I seem to start earlier every year.
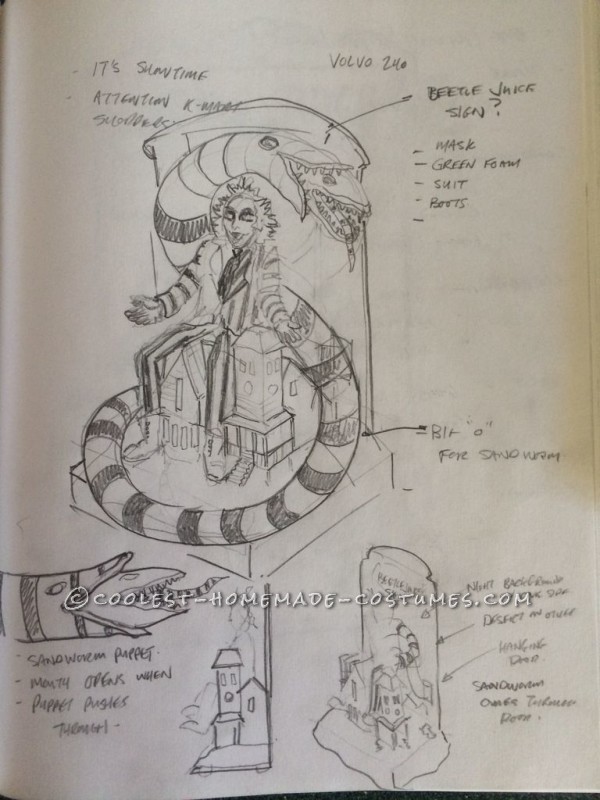
The initial concept.
Making the House
The house took a lot of time to make. The blue foam part was not that hard, but the 3d model was an essential tool because it made it easier to figure out the right angles for all of my cuts. I generally use hot glue to stick the panels together because I can work quickly that way. Just make sure that the glue is not to hot because sometimes it just melts the foam.
Once I had the structure of the house built, I sided it with white melamine edge banding. This took forever and I think I could side a real house faster. WIth the siding in place, I moved on to the windows, the door, and the roofing. I used some white fascia for the roof and stuck it on with some PL Premium. It’s not going anywhere.
Strangely enough, the foundation is the last part that I built for the house. I made it out of the same blue foam and carved the details of the stonework using a dremel. Then I painted it to look like stone using various spray paints and acrylic craft paints. The chimney is painted in the same way.
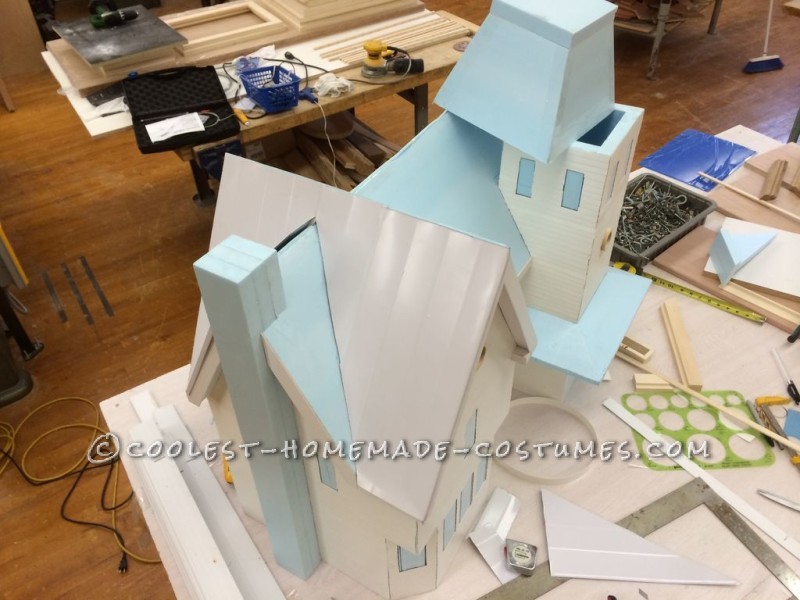
Adding the roof.
Don’t forget to check out the build on Instructables.com
Base and Background
Once I had the house built, I needed a base and a background. I used some old styrofoam to make a lightweight base. I framed this in some basswood to give it more structure and I glued the house to the foundation and to the base to make everything one unit. I added some wheels to the base so that I could move around easily. At this point I was making sure that the costume would fit through doors and that it would fit in the back of my truck. I framed the background with some more basswood and some 2″ blue foam. I left a doorway so that I could get in and out of the costume easily. The door is also made out of blue foam and I attached it just like a real door.
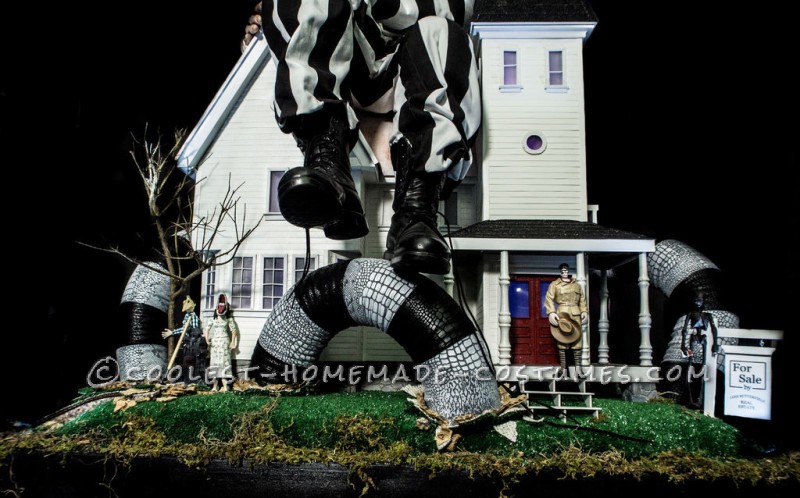
With the base in place, I then started printing the backdrops, and I added the grass, and the grave to the base. I then started fitting the legs to the house.
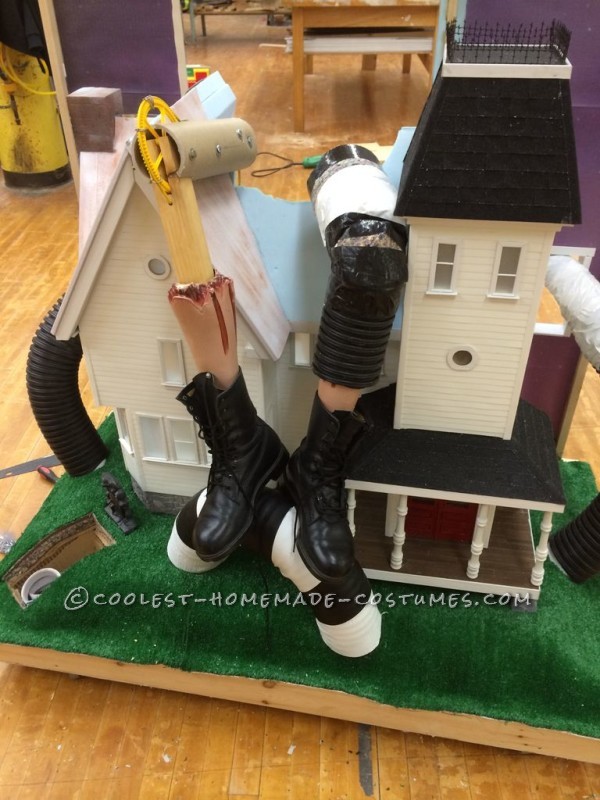
Adding the mechanical leg.
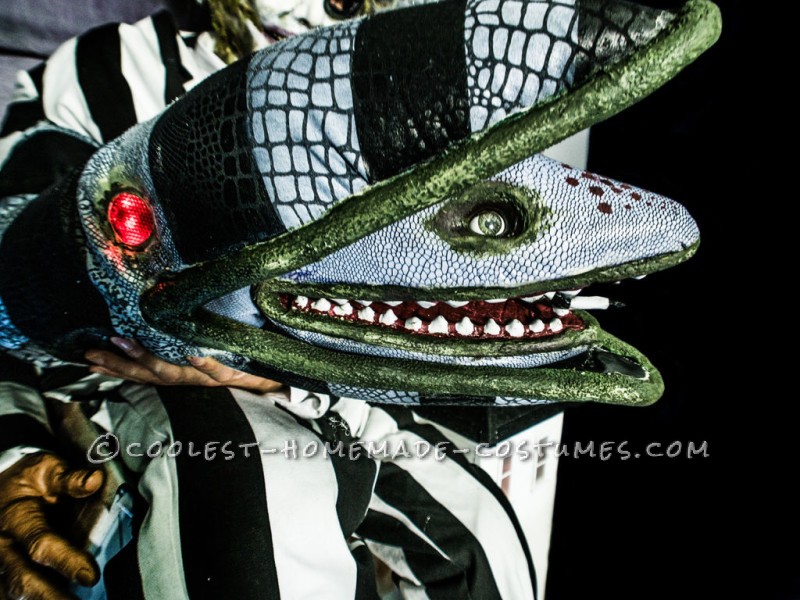
Making the Sand Worm Puppet
The sand worm puppet took quite a long time to make. I had to make the inside puppet and the outside puppet and make sure that they fit together. The outside puppet was made using some wire and some knex pieces for the stucture of the mouth. This was attached to part of a t-junction piece of ductwork. The body of the worm is made with flexible ducting covered in the snakeskin patterned fabric. I made the black and white lines on the body of the worm byt simply masking off sections and spray painting it.
I used some old bicycle reflectors to make the eyes and used some wire wrapped in fabric to make the lips. I then painted the lips with liquid latex and cottom to make a textured surface that I could paint. I even decided to add some lights to the eyes of the worm. I bought some cheap led lights from the dollar store for this.
The inner sand worm was made with a couple blocks of blue foam. I carved these into the shape of the head and use the eyes from an old doll. I vacuum formed some teeth by making a mold out of wood and plasticine. I glued the teeth sections to the blue foam and then covered the whole thing in a thin layer of foam and then covered it with the fabric.
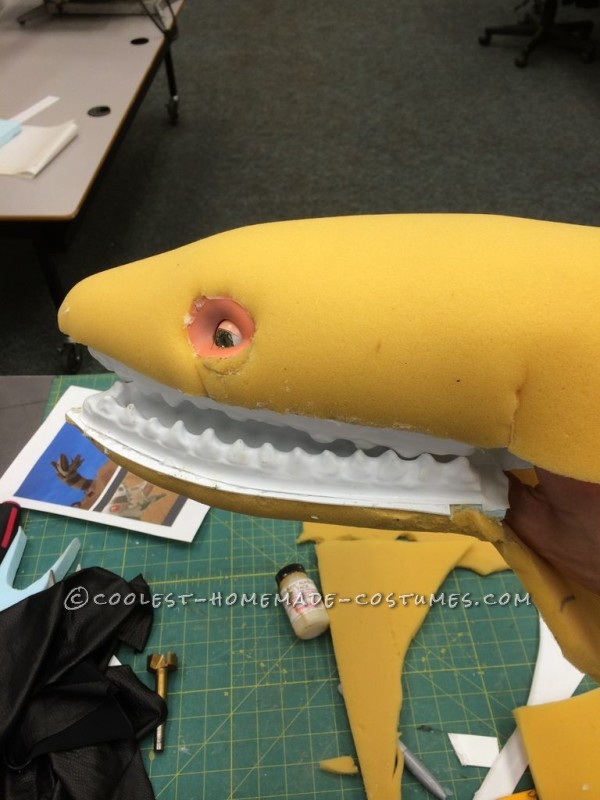
The making of the inner sand worm.
Making the Mask
The mask was an adventure. I started out with a store bought mask that was fairly unimpressive. I cut that apart and glued it to the shell of an old mask. I then added new hair that I bought from the dollar store. I had a pair of fake teeth that I glued in place. I decided to build a mask because I really didn’t want to wear make-up.

Fitting the new teeth.
Finishing Details
The fun part about building a costume like this is adding all of the details. I used a beetlejuice toy, to help make the grave stone. I made the grave in the base to replicate on of the best scenes from the movie. I added a for sale sign in the front yard, and I added my collection of beetlejuice action figures to the front lawn. These things were not cheap. I hope I win some money this year so that I can replace those pieces in my collection. Unfortunatley I had to drill holes into them and glue them down, which is not something you typically do to your action figure collectibles.
The other thing I added to make the costume even better was the sign that sits on top. The actually has to be taken off so that I can fit through doors. It just slides off easily. I made it by cutting a beetljuice sign on the digital vinyl cutter. I then stuck that on to the blue foam and spray painted it. The spray paint eats the foam and adds texture. I then removed all of the vinyl and continued to paint the sign.
The final detail for the costume is the lights that light up the outside and inside of the house. All of them were purchased at the dollar store and they really add character to the build. I even slid one of the lights inside of the moon so that it glows blue. The back side of the costume shows the netherworld and has the doorway that lets the sand worm come through to the other side. The planet on the other side glows as well.
I also have a foot pedal on the inside of the costume that activates the right leg. Watch out if you’re standing in front.
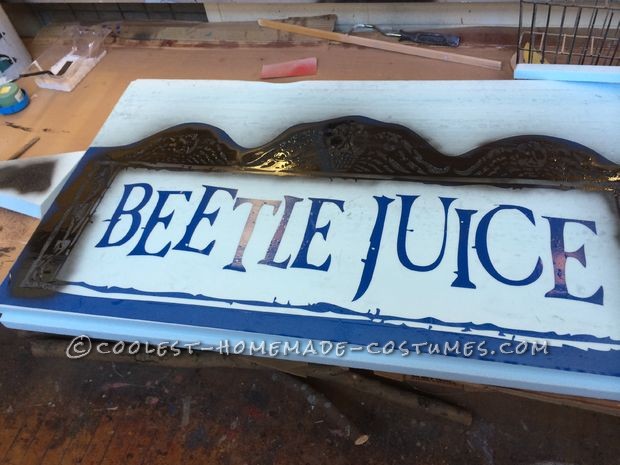
Spray painting the sign to add texture.
Read more about how this Beetlejuice costume was created here…

Related costumes:
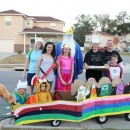 Ultimate Adventure Time Homemade Halloween Family Costume
 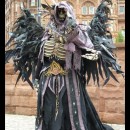 Scary Undead Necromancer Costume
  Creative Tim Burton’s 9 the Movie Costume
 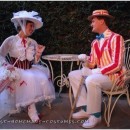 The Coolest Ever Homemade Mary Poppins and Bert Couple Costume
  Dr. Frankenstein and his Puppet Monster Frank
 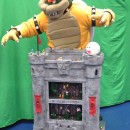 Coolest Animated Bowser Castle Costume
 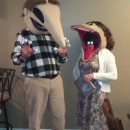 Maitlands Couple Halloween Costume
 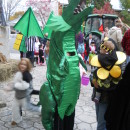 How to Build a Cool Dragon Costume
Your comment has been sent successfully.