Years ago, I saw the film Pan’s Labyrinth for the first time. Haunted and inspired by the ageless, withered, beautiful faun on the screen, I soon developed the desire to create my own glassy-eyed, cloven-hooved forest spirit. Dozens and dozens of the designs in my head gave themselves to my sketchbooks. Months, a year, close to two years passed as I refined and simplified the creature in my head into a project feasible for a budget artist.
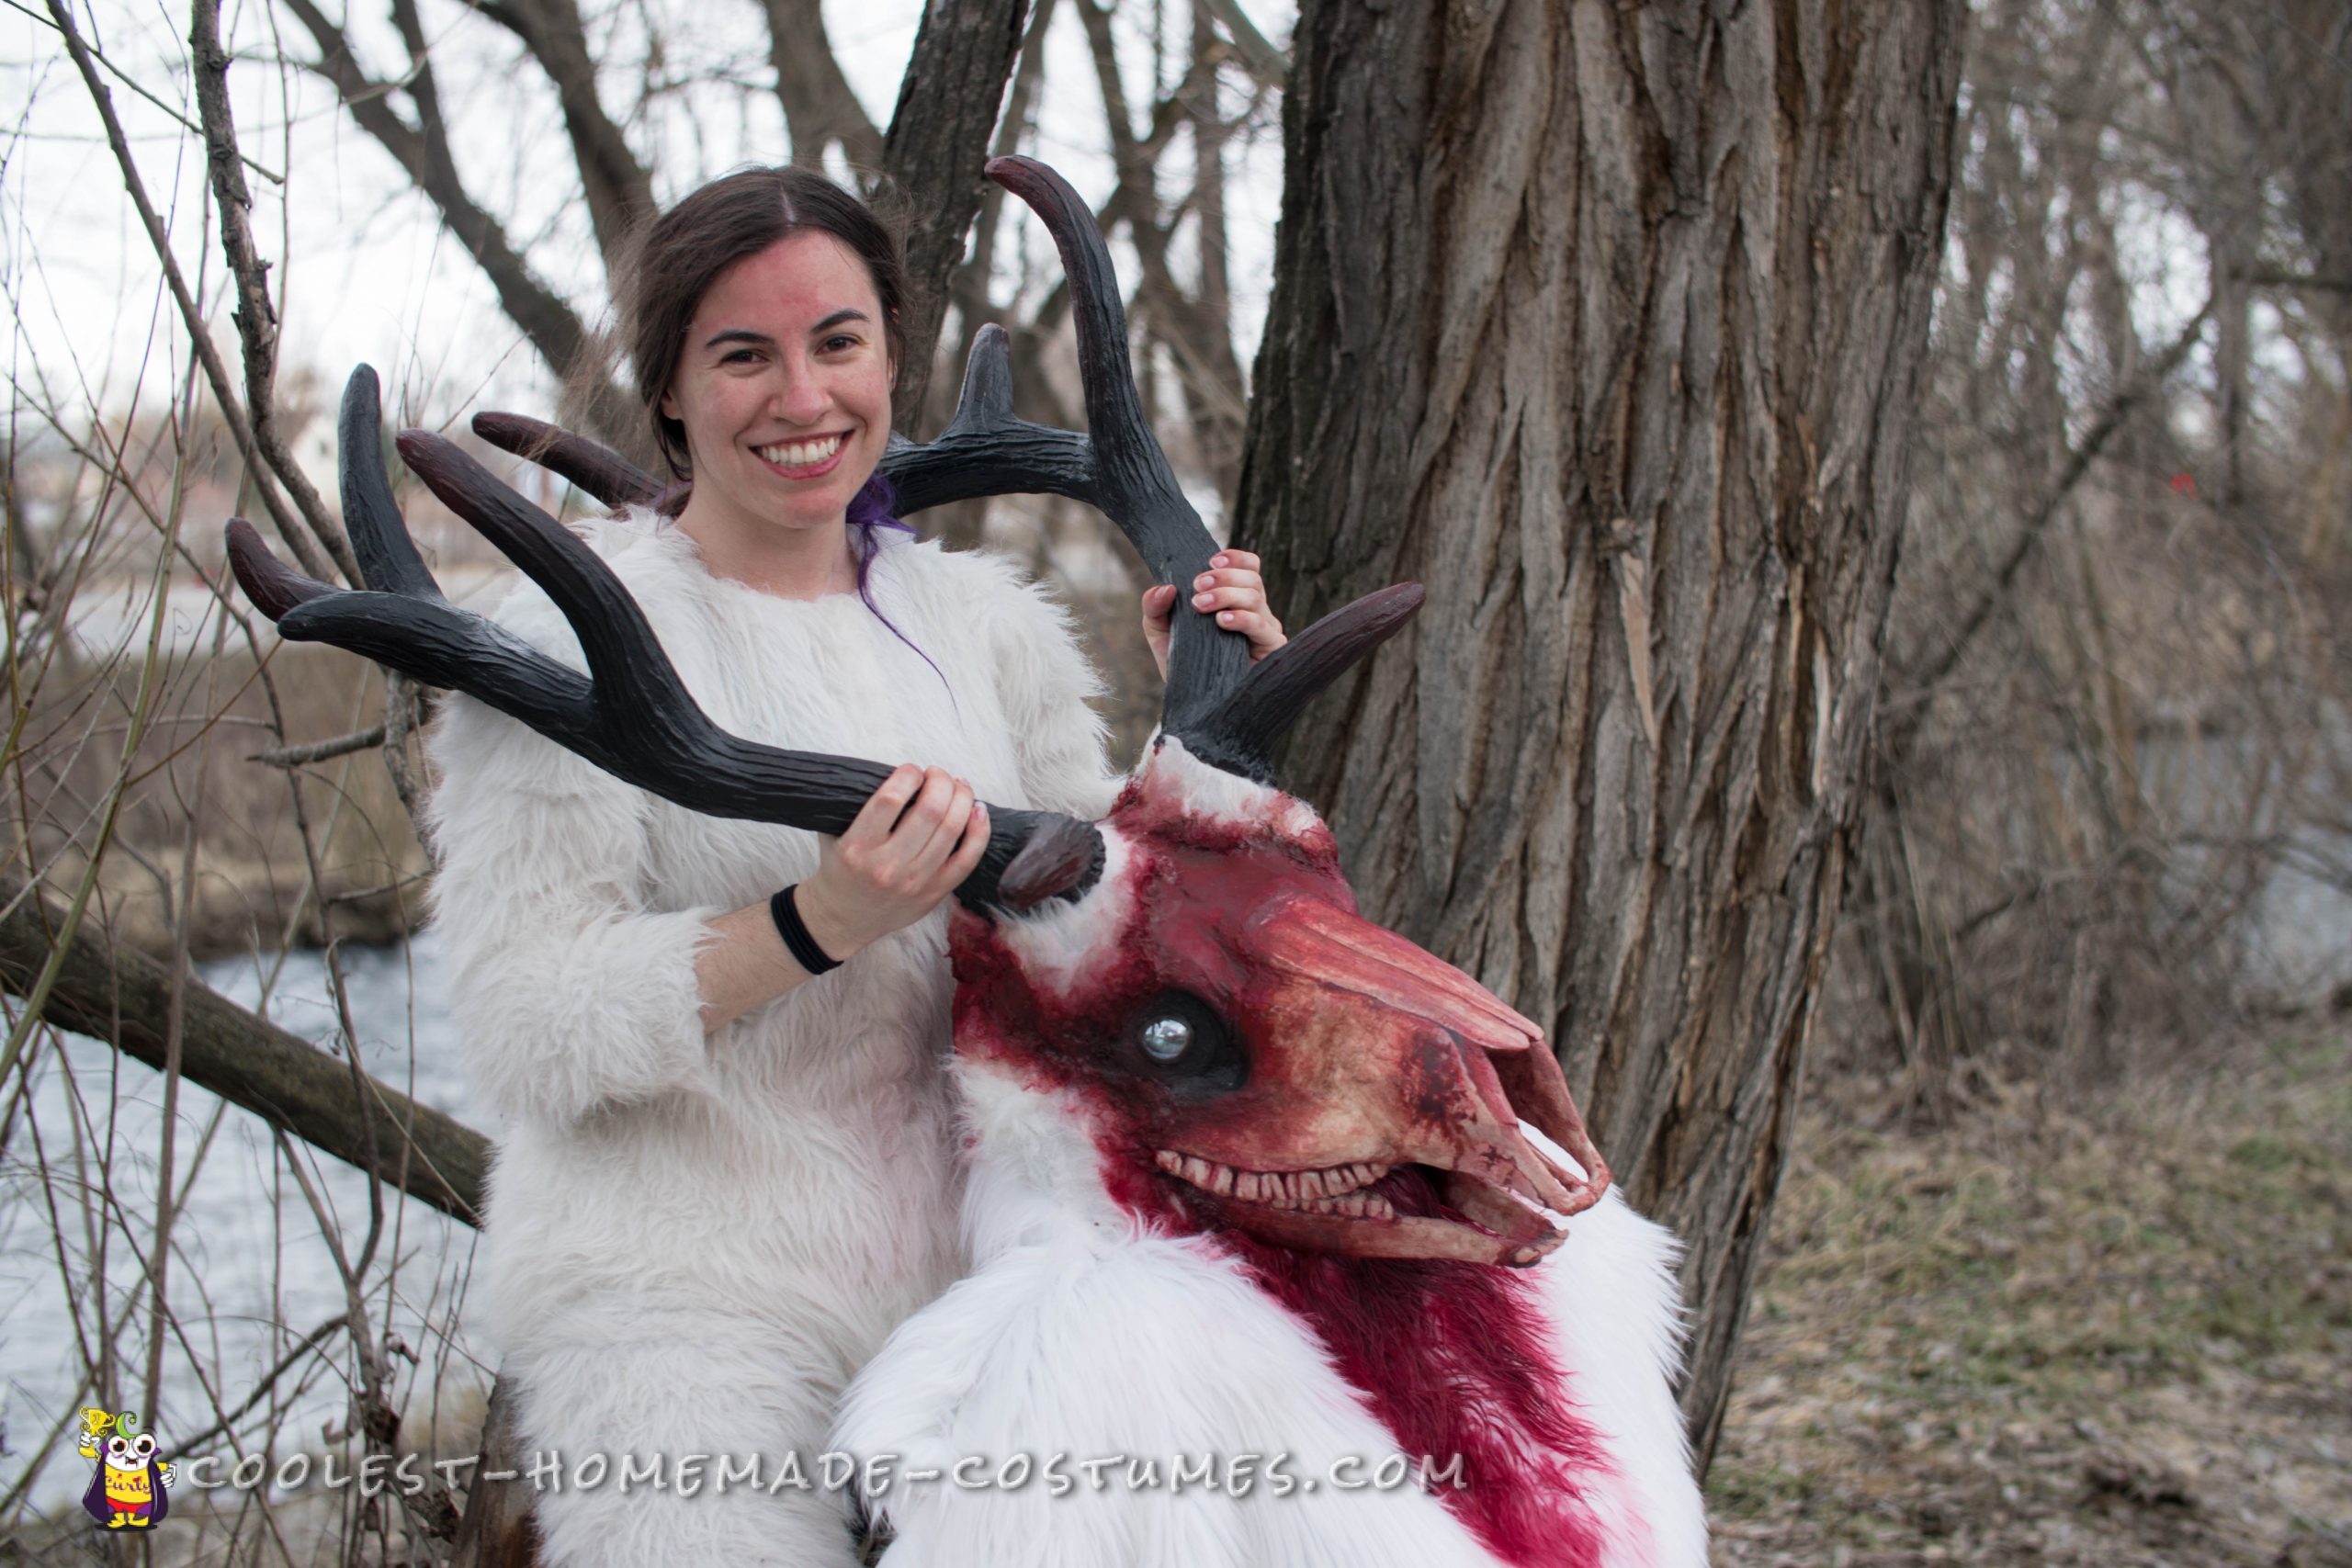
The final product became this monstrosity, a creature known as the wendigo. Originating from the lore of the Algonquian peoples, this grisly beast comes into existence when a human feeds on the flesh of its own kind. After succumbing to the forbidden act of cannibalism, the human’s body takes on a horrific form and is cursed to wander the forests in an eternal state of hunger. No amount of flesh can satiate it, and very few of its victims can escape.
The spectrum of artistic liberty on this monster stretches quite far, ranging from simple Smeagol-like creatures with rows of sharp teeth, to gargantuan, yeti-like monstrosities with antlers taller than the trees. Wendigos are most often depicted as emaciated, decomposing, elk-like humanoids; this is the route I chose as I began to fabricate my beast.
During the hours of research I put into this this project, I happened across an article that bestowed upon me an interesting factoid: many Native American tribes see albino animals as sacred, and to kill one is to curse yourself with rotten luck until the end of your days. Excited by this information, I finalized my wendigo’s design as albino in order to tie in a delicious bit of misfortune. Coming across this cannibalistic, sacred wendigo leaves you with only two choices:
Kill and get cursed, or curse and get killed.
HOW IT’S MADE:
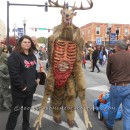
My habit of budget artistry has allowed me to develop unique and creative–and, I admit, often unorthodox–methods of building complex costumes. I am a very small person (I’m not even 4’11”) and I wanted this creature to have a BIG presence, so I did my best to make all the pieces as large as I could manage. The costume was very trial-and-error and there were a lot of hiccups along the way, but I powered through with the encouragement from my family and friends.
The finished wendigo has over 250 hours of crafting over the course of two years, and is held together by almost every material under the sun. Most of the materials used can be found at your local craft or hardware store.
Antlers:
The base is cardboard, bent into shape using copper wire. I used expanding spray foam over the cardboard, let it dry overnight, and then shaved the foam down into a basic antler form using a utility knife. I spread a couple of layers of homemade paper mache clay over the spray foam for strength and sturdiness. (Paper mache clay recipe: Shredded toilet paper, wood glue, joint compound, and flour. If the final mixture looks like what you would put on a tuna salad sandwich, you’re doing it right.) After sanding the dry clay down as needed, I created the ridges and other detail work using hot glue. I applied several layers of toilet paper and mod podge afterwards for strengthening, painted it all with acrylic paints, and sealed it with matte spray lacquer.
Mask:
The face of the wendigo was carved out of upholstery foam and hot-glued onto a basic white opera mask. I purchased a sports helmet at a thrift store as a foundation to mount the antlers onto and attached the mask to it with more upholstery foam. The nose, jaw, and teeth of the wendigo were created using air-dry clay on a copper wire base, which was inserted into the foam (it cracked and shrank as it dried, which worked in my favor for the decomposed skull look). I covered everything in several layers of joint compound, toilet paper, and mod podge to adhere it all together and give the foam base a hard, skullish shell. The mask was then painted with acrylics and sealed with matte spray lacquer.
The mask came out–surprise!–much too heavy to wear. So, I MacGyvered a substructure of PVC pipe that rests on my shoulders to screw the helmet to, which took the weight off my neck and kept my head secure. Realism took a little bit of a hit due to the static head, but safety first, kids!
I see out of the nose/mouth area. The eyes are transparent glass marbles and are illuminated from behind with battery-operated Christmas lights. I taped the battery pack to the very front of the PVC shoulder mount (just under my sternum), in an easily accessible but well-hidden spot under the fur.
Digitigrade Stilts:
They’re more comfortable than they look, but quite complex. Imagine 13-inch platform high heels.
I screwed a pair of shoes (slip-on is best) to the wooden plank and cut the bottom support pieces out at an as-steep-as-feasible angle–fifty degrees, if memory serves. I cut a piece of six-inch diameter PVC tubing in half to use as the very top piece of the stilts, a brace piece that goes just under the knee for frontal support. Flat metal bars, about eighteen inches in length, were bolted to the PVC piece and extended the full length from the sides of my knees down to my ankles. I then engineered a pivot joint at the bottom of these metal rods, which aligned with my ankle, to allow for smooth, natural movements when walking and crouching. Then, bungee cords, which are absolutely essential. I attached the bungees in the back, crossing each pair of cords over my calves in an X pattern from the top PVC pieces down to the heel pieces of the wooden base. They provided just enough give and tension to keep the stilts secured to the bottom of my foot. I stapled velco straps in high movement areas and adhered shoe grips to the bottom for added reliability.
It’s hard to describe, but I have a video on my YouTube channel (InstilledPhear) about the stilt design for those who are curious!
In order to get the slimmest and most goatish look possible, I put a minimal amount of padding on the stilt base before furring it. The hooves were created using the same method as the antlers.
Gloves:
The fingers were built onto a pair of cheap, generic winter gloves. I created the long shapes by crumpling aluminum foil to the desired length, covering the aluminum form in a layer of masking tape, and then hot-gluing muslin fabric over the top of it all to make it paintable. I made a pair of fingerless gloves out of the white fur by tracing my hand, making sure to add lots of extra seam allowance in order for the sewn gloves to be pulled over the long fingers. Once the fingerless gloves were in place over the spooky claws, I hot-glued everything together and painted them with acrylics.
Fur:
All fur was purchased at Jo-Ann fabric store (on sale, of course) and the pieces are machine-sewn. Layer one is a pair of capri-style pants. Layer two is a long-sleeved leotard with a strip of velcro in the front for ease of getting in and out. The fur hanging off of the mask was cut in a basic poncho shape and trimmed/glued as needed. I created a custom sewing pattern for the stilts by wearing one stilt and wrapping my leg up in saran wrap and masking tape and then cutting it off.
Everything from there was an adventure in hot glue, velcro, acrylic paint, and some good old-fashioned hand-stitching.
REACTIONS:
Never before have I created a creature with a wider array of reactions.
I had the opportunity to work at a haunted forest in this costume during the weekends in October, so most of the guests’ responses to seeing the wendigo were shrieks of terror. I brought many young children to tears just by looking in their direction, and many others were simply fearless in the face of such a gruesome creature. Some passersby would stare in awe and wonderment. Some would need a change of pants.
I went to work in this costume on Halloween day and livened up the dim, boring office by wandering each floor, weaving in and out of the rows of desks, pausing at glass conference rooms to loom near their occupants. The very founder of the multi-million dollar business raised his eyebrows in shock and emitted a nervous laugh. I had the honor of being photographed and videotaped by the company’s marketing team, and even made a good friend in the process. At the end of the day, I won most popular vote in the “Best Female Costume” category. My efforts to create a quality costume did not go unnoticed, and the positive feedback from both friends and strangers made the meticulous hours I put into this project all worth it.

Related costumes:
 Tallest 12 yr old Wendigo Costume Idea
 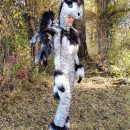 Cool Homemade Mythical Lightning Creature Costume
  Awesome Silver Willows Werewolf Costume
 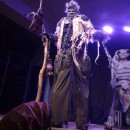 Awesome Homemade Werewolf on Stilts Costume
  Scary Undead Necromancer Costume
  Coolest Homemade Werewolf Costume
  Tale as Old as Time – Beauty and the Beast Couple Costume
  The Lava Queen and Her Guard Alien Couple Costumes
Your comment has been sent successfully.