This Hi-C Ecto Cooler juice box costume is a very simple costume to make. I have been making my homemade Halloween costumes since 2004. It is always a secret until I reveal on Halloween or at a party right before Halloween. Friends are always looking for hints and trying to guess what I will be. The best part is always the reaction when I reveal that year’s costume. I love the excitement and amazement that my friends and family share with me once they see my costume.
This year I chose to throw it back to an old school Hi-C Ecto Cooler Juice Box costume. The level of difficulty to make this costume is EASY. You need a few simple materials. I try to keep my costumes supplies very cheap and to reuse items I already have around the house or recycled materials.
All you need is:
- 2- Tri-Fold Presentation Boards (preferably yellow but you can get white and paint them)
- One Dryer Vent Hose
- Construction Paper
- Alphabet Stickers in Different Fonts and Colors
- 6 -Pieces of Yellow Felt
- Scrap Cardboard and Paper
- Tin foil
- Craft paint & Pait Brushes
- Glue Gun & Glue Sticks
Making the Juice Box Costume Step-by-Step
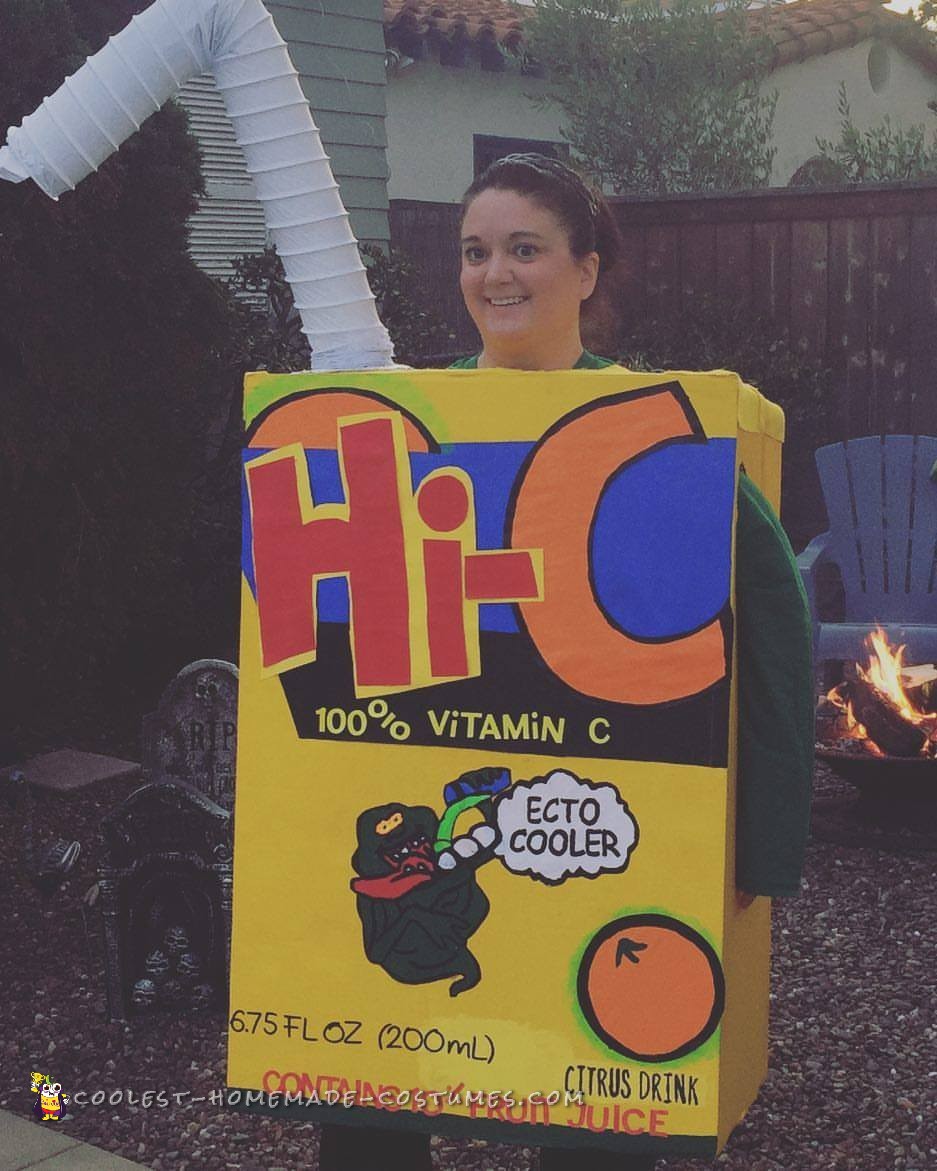
Step 1: Take two Tri-Fold Presentation Boards and invert them so the color is on the outside. I found yellow ones so it made it easier since I didn’t have to paint them but you can get white and just paint them yellow. Once the boards are inverted with the color on the outside, form them into a rectangular box that will fit your body. Mark the inside of the box with a line to where the edges of the two boards meet. This will very with each person depending on their size. Use your glue gun to glue the rectangular box together.
Step 2: Use construction paper to make the design of the Hi-C, oranges, Slimmer, and Ecto Cooler sign. Once I drew all these out on construction paper I then cut them out and painted them with craft paint to make them bolder and stand out better on the board. Then glue to the board.
Step 3: Take your various size & font design Alphabet Stickers and spell out all the words & descriptions. Then apply them to the board. I add a little glue to them just to make sure they stick throughout the night.
Step 4: Cut out arm holes on each side (do this before assembling the top to make it easier)
Step 5: Glue spare cardboard to the top and cut a hole for your head. Then glue felt on top to cover cardboard and to make it more comfortable around your neck.
Step 6: Stuff inside of Dryer Vent Hose with cardboard to shape into a straw. Once shaped, fill extra space with scrap paper. To keep the shape of a bent straw, glue at crease of straw. Take a small square piece of cardboard and cut a hole in it so the bottom of the dryer vent hose fits in it. Before attaching the hose to the square piece of cardboard, cover cardboard in tin foil to create the “straw hole”, and then push through tin foil at center and fold back to uncover the hole. Then refit dryer vent hose into the hole of the small square cardboard piece and glue around the edges of the dryer vent hose to secure it to the piece of cardboard. Then glue cardboard and bottom of dryer vent hose to the top of the costume.
(The above step will require a lot of glue and time to hold the straw in place while it dries. Just keep adding more glue until it holds in place.)
Step 7: Slip on Costume and have a Happy Halloween
PS: I didn’t have time but to make the juice box costume with more details. You can add the same design to the back and also add on one of each side the nutrition facts and the ingredients.

Related costumes:
 Coolest Homemade Ice Cream Adult and Children Costume Ideas
  Coolest Homemade Costume Idea: Diary of a Wimpy Kid Costume
  Coolest 7-Up Cool Spot Costume
  Spicy Homemade Sriracha Hot Sauce Costume
 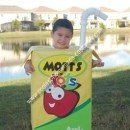 Coolest Homemade Mott’s Juice Box Costume
  Coolest Homemade Twinkies Unique Halloween Costume Idea
 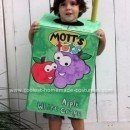 Coolest Juice Box Costume
  100+ Cool DIY Cake and Cupcake Homemade Halloween Costume Ideas
Your comment has been sent successfully.