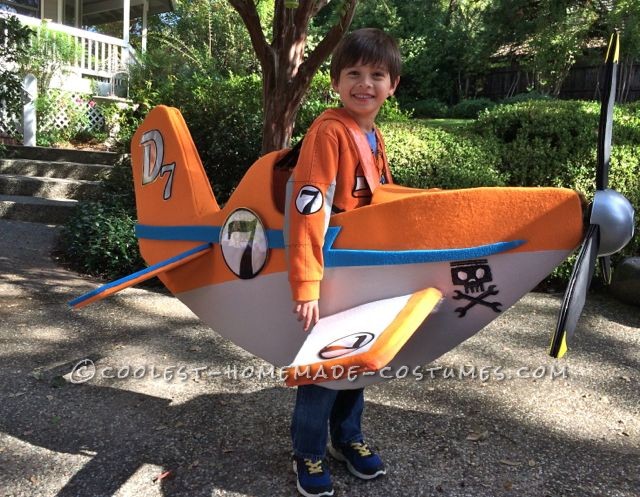
My son loves Dusty from Disney Planes. So of course he wanted to be Dusty for Halloween. This was a challenge for me but the smile on his face was worth all the hard work. I started out sketching the overall shape of Dusty using my son’s toy as a model.
After sketching and erasing I got a shape that looked decent. I decided to use a combination of cardboard and camping mats to create Dusty.
After cutting out my pattern in cardboard and mat I glued it together to form the body. Next I added pieces to the top side to make it three dimensional. It was difficult to get the shape figured out without it falling apart. I tried duct tape and moved onto my friend the glue gun and wallah! Dusty started to take shape.
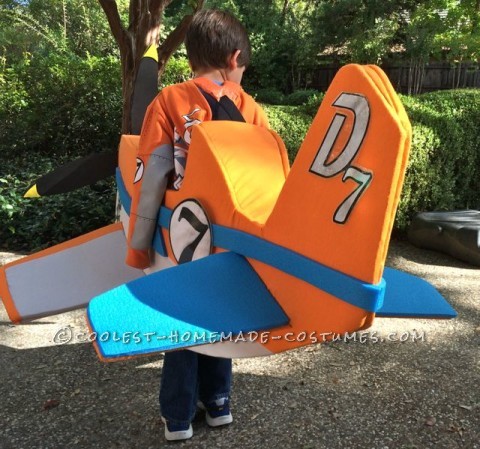
I decided to use flannel as a somewhat less expensive option. Starting with the body I sewed bottom half gray to the top half orange for both side panels of the costume, then I taped the material around the cardboard and foam, once I was happy with the results I glued everything in place. I had to reign in the wings so that he would be able to get through doorways, after sketching and cutting out all four wings, I cut openings in the body for each wing and pulled it through, securing the wings in place from the inside.
Then I covered the top and bottom half of the wings in orange fabric with blue foam on top for the back wings. I used gray and orange to make the front wings and copied the pattern of the toy plane.
I purchased suspenders and secured them to two folded pieces of cardboard which was then glued inside the front and back of the plane. I measured the distance from front to back with my son inside to make sure the suspenders fit properly. I had to fold back the suspenders and sewed them so that they were shorter in order to obtain the right fit.
On to the propeller, I used a plastic bowl sprayed silver with paint. I sketched out the propellers and then cut them out of cardboard, I used two pieces for each propeller for a total of three blades, then I covered them in black and yellow foam.
Next I enlisted my handy hubby to help with drilling a hole through a small piece of wood which I attached to the front of the costume glued on cardboard covered in duct tape. He reinforced the center of the propeller with a small wood piece and then put the screw through with washers. I sprayed the hardware block and then inserted the propeller into the front of the plane. We were relieved to see that it spun! I marked my plastic bowl and cut out pieces so that each blade sat inside the bowl covering up the hardware and completing the propeller.
Finally the finishing touches were added, the circular patches with the number 7, D7, and the Jolly Wrenches skull and crossbones were created using pictures taken of my son’s Dusty sweatshirt. I enlarged some to get the right size, then cut out and laminated each one to match the toy plane. I tried to glue the laminated numbers to the plane only to find out that they didn’t stick. After trying several other glues I was able to attach all the stickers to the plane with double stick tape. I cut the lightening bolt for each side of the plane using the blue camping mat.
The end result, one happy little boy who loves wearing his costume! Needless to say, I am so glad it is done!

Related costumes:
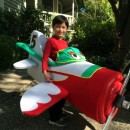 Cool Disney Planes El Chupacabra Costume
 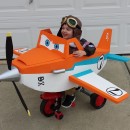 Disney Planes Dusty Crophopper Tricycle-mounted with Pilot Costume
 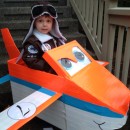 The Perfect Costume for a Boy – Plane and Simple!
 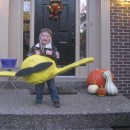 Coolest Pilot in a Plane Costume for a Boy
 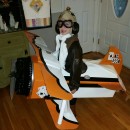 Barnstormer Nick and His Biplane Ace Costume
  Creative Tim Burton’s 9 the Movie Costume
  Women’s Vintage Bi-Plane Costume
  65+ Coolest Homemade Pokemon Costume Ideas
Your comment has been sent successfully.