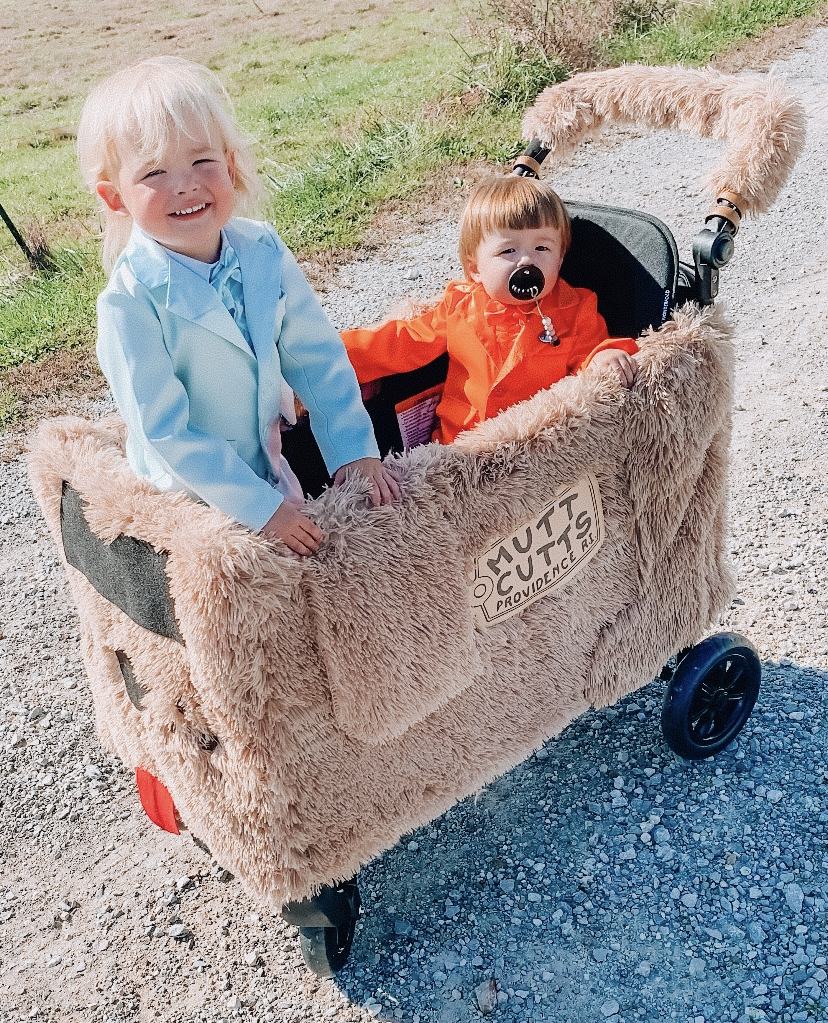
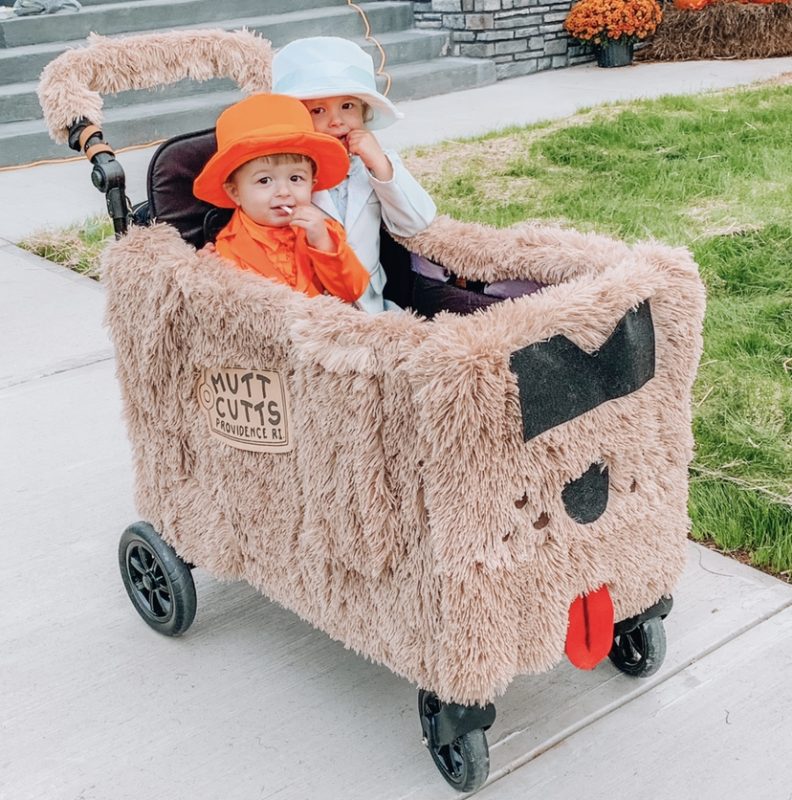
This homemade costume isn’t for our kids.. it’s for our wagon :-). After our youngest son’s first haircut, we made jokes about him looking like Lloyd Christmas with his straight across bangs. And then we realized that his older brother had hair exactly like Lloyd’s sidekick: Harry Dunn. That is when we decided that they MUST be the hilarious characters from the movie Dumb and Dumber this Halloween!
Preparing the kids costumes was easy, however I really wanted to add the “Shaggin’ Wagon” to the costume. I’m sure I could have found a Halloween wagon cover to match their costumes on Etsy, but there is nothing more fun that crafting the perfect Halloween costume! Store bought costumes just aren’t nearly as fun or exciting as showing off you own handmade creation. So I started brainstorming and finally come up with the perfect plan.
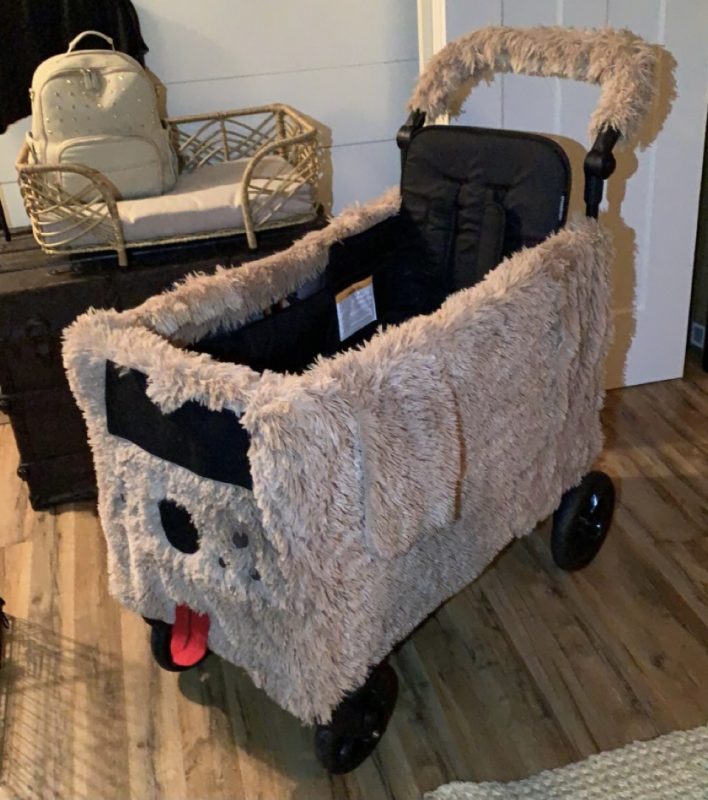
I am all about spending as little as possible when working on DIY projects. Hobby Lobby had the perfect Sherpa material for the Mutt Cutts wagon, but it was going to cost a pretty penny to purchase as much fabric as I needed for this project. So I decided that I would purchase a cheap shag throw blanket from Amazon and cut and attach the pieces together to have enough fabric to go around the wagon.
Me being me, I waited around until the last minute and the blanket wasn’t delivered until the day before our Halloween event. I didn’t expect this project to take very long to complete. But to be honest, it took a lot more planning and mathematics than I expected to finally figure out a way to cut the fabric and have as little scrap material as possible. But luckily I was able to do it with enough left over material to add some shag to the wagon handle as well!
I didn’t want to do anything to ruin the wagon itself, so I decided to attach the fabric with sticky Velcro. I was able to piece the front piece of the fabric to the sides by hot gluing the pieces together. After that was finished, I just had to add a few pieces of felt for the eyes (windshield), nose, freckles, and tongue. By that time it was 5 am, the day of the the Halloween party, and I realized that I didn’t buy anything to make the Mutt Cutts sign for the side of the wagon.
I knew that I must have some yellow construction paper around the house someplace so I started frantically searching every drawer and cabinet that I could have stashed crafting supplies. And then I happened upon a roll of brown kraft paper. The perfect color for the sign! The paper was too thin to use as it was, so I glued it to cardstock and it was perfect. I tried hot gluing the sign to the side of the wagon but it wouldn’t hold, so I ended up having to hand sew it onto the fabric. That was the final touch to my 8 hour project!
Of course there were plenty of times during those 8 hours that I wished I had stopped at Walmart and grabbed a couple of generic costumes and never thought another thing of it. But in the end, I was so proud and ecstatic with the final result that it made it all worth it! Everyone LOVED the costume and we got plenty of laughs because of the funny nature of the film that the costume was based on. There was no actual contest at this event, but we were told my many people that we won Halloween with our costume! In the end, the kids had a blast, our costume got the recognition that it deserved and it brought joy to many others, and that is all I could ever ask for the perfect Halloween!


Related costumes:
 The Millennium Falcon T2X-Wagon Version
  Adorable Captain Hook Baby Costume and Pirate Ship
  Top 7 Movie Character Costumes Tom Hanks Needs for Halloween
  The Coolest Ever Homemade Mary Poppins and Bert Couple Costume
  Coolest Homemade Costume Idea: Diary of a Wimpy Kid Costume
  Coolest Ever Homemade Ghostbuster Costume: Project Ghosthead!
  Went “Mad” Making this Mad Hatter Costume!
Your comment has been sent successfully.