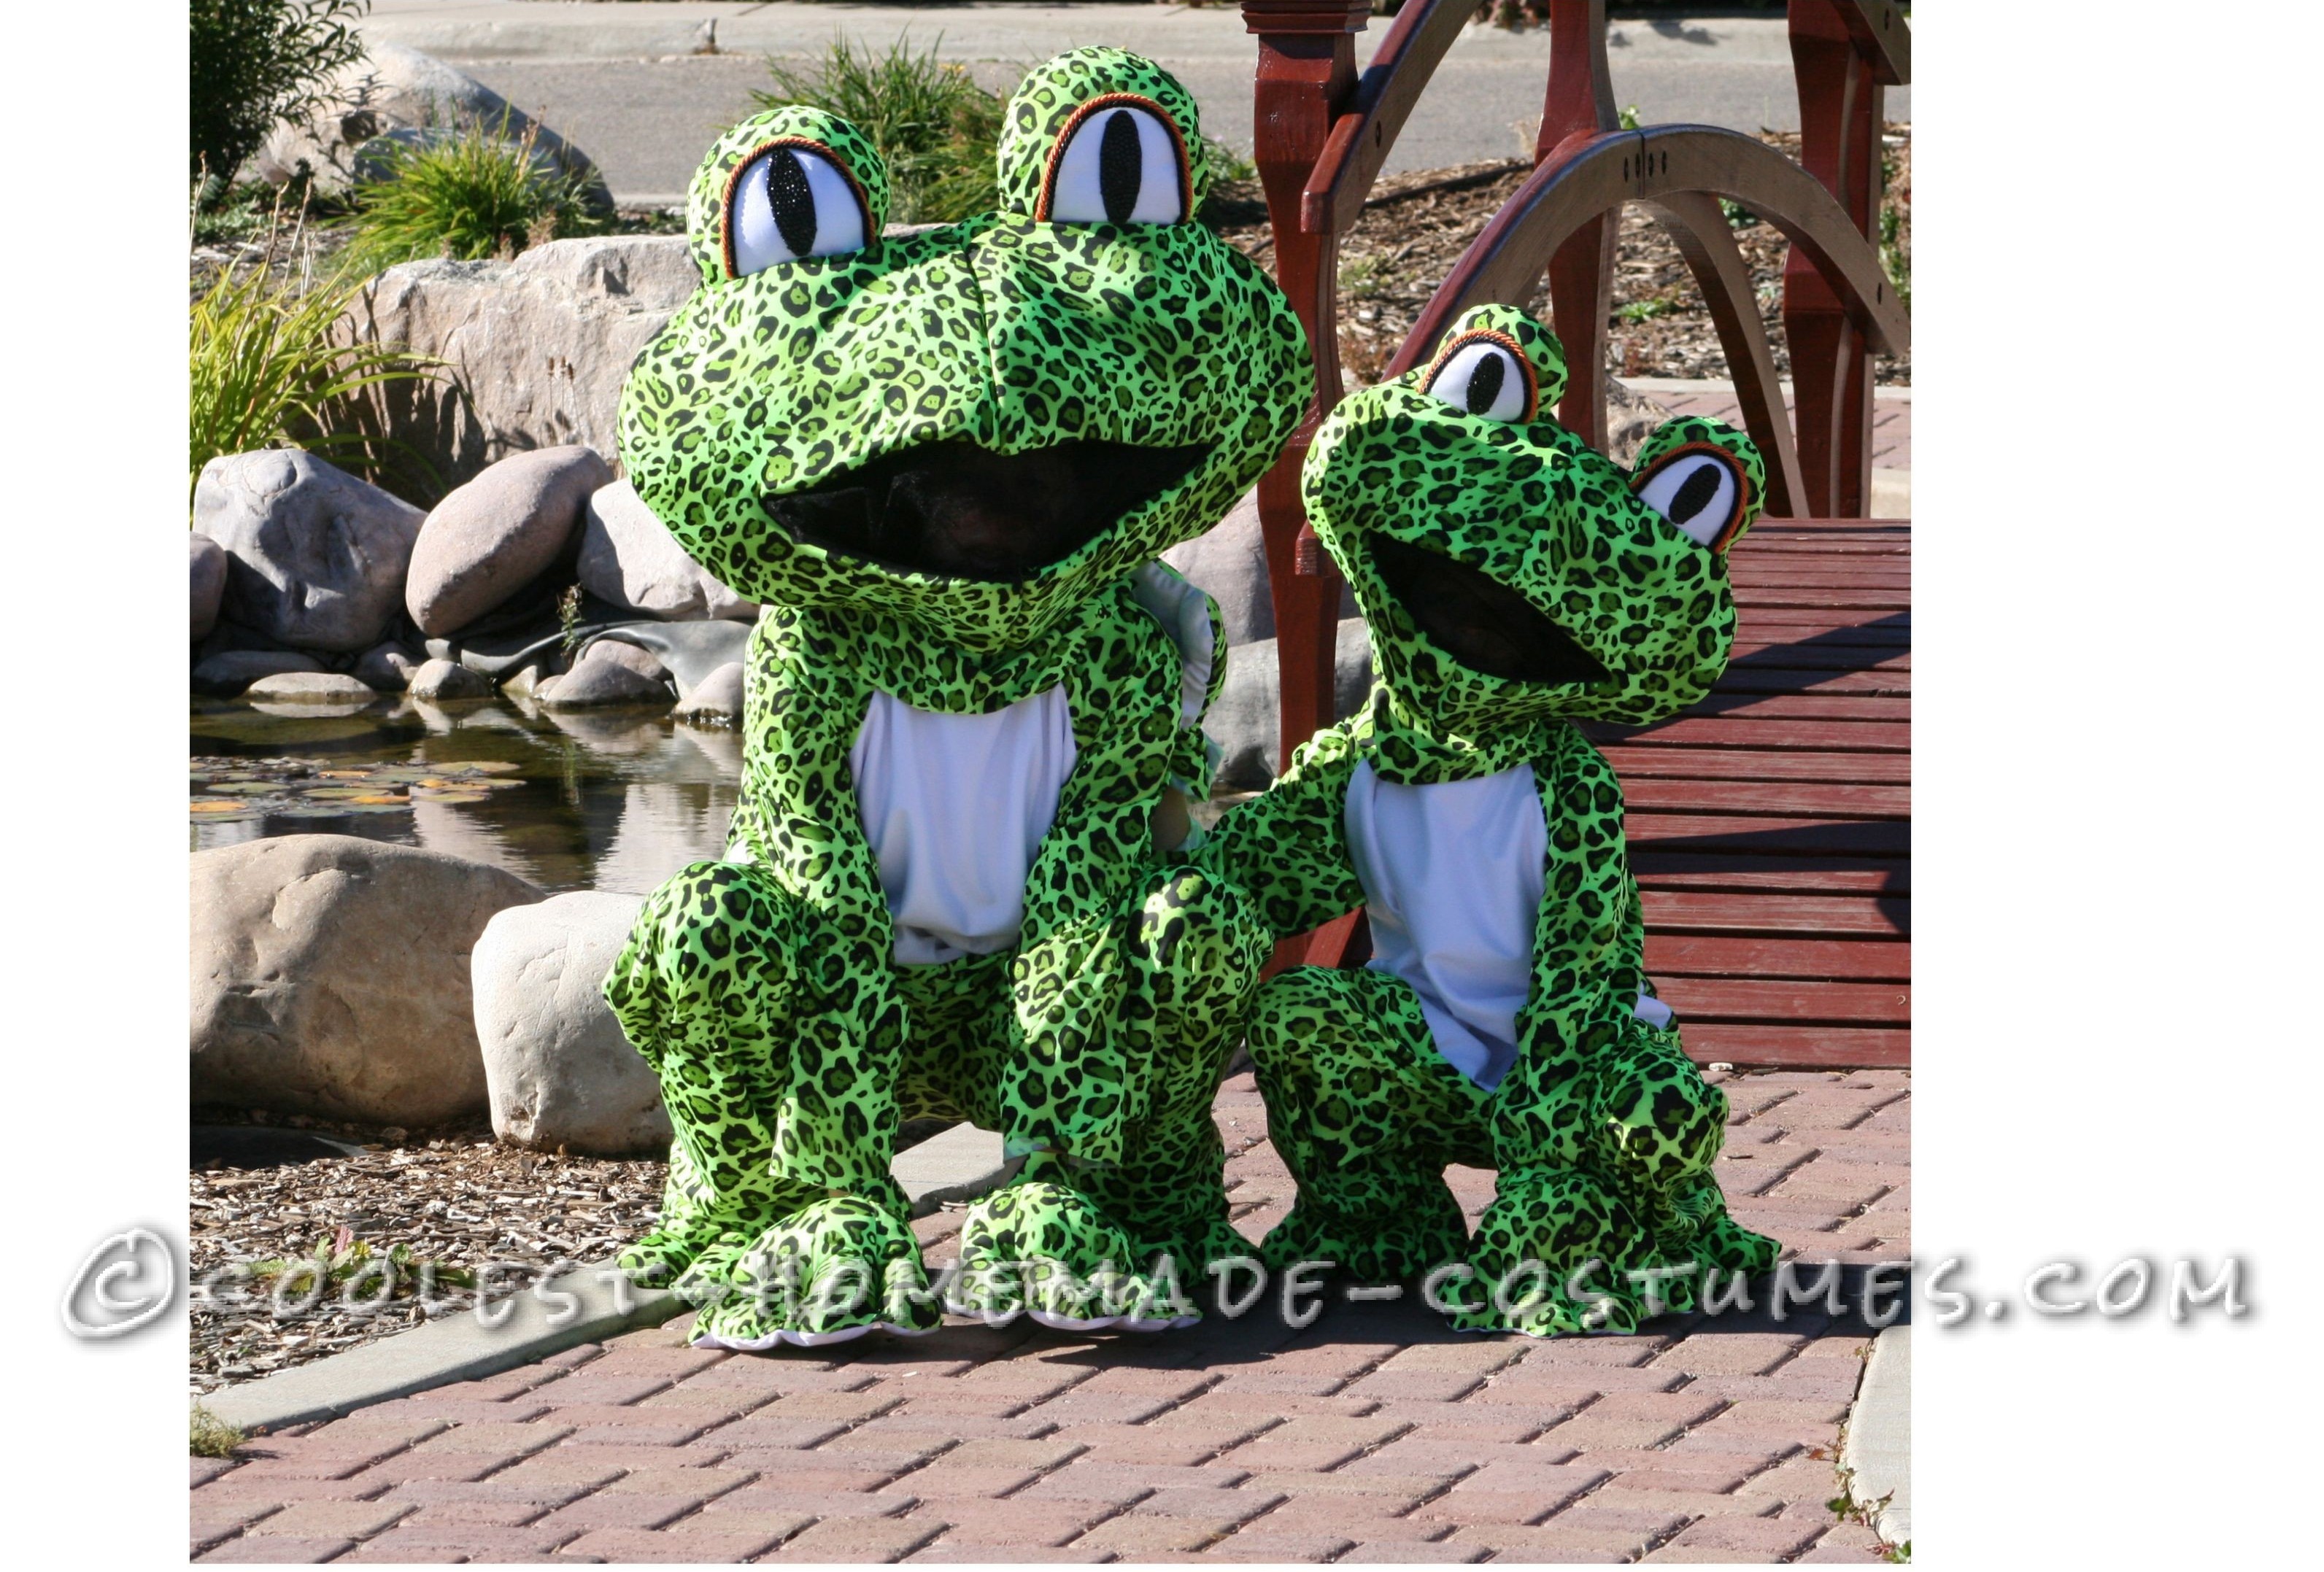
“Hoppy” Halloween! My daughter wanted to be a frog for Halloween. I made her first frog head a bit too big, so we decided to go as Mama and baby frog. We love to go leopard frog catching in the summer. Sometimes we draw a circle in the middle of our large driveway and put the frogs in the middle of it. The winning frog jumps out of the circle first. Then we put them back where we found them. Our Frogs were a giant hit on Halloween. Kids would say, “Look Mom, real frogs!” People would say they wanted to kiss the frogs. We would blow them kisses. One car followed us, pulled up next to us, and gave us candy. The trick or treating actually came to us! Someone might have been having an ordinary day, but when they saw us, their faces brightened with laughter and smiles. People were snapping a lot of pictures. Many people were surprised to learn that our costumes were homemade! My daughter could move the frog’s mouth with her chin as she talked. She looked like a real talking frog! When we would leave a porch one thing we would say is “Have a green Halloween!” It snowed, so we would also say that we really should be hibernating, but came out to get some candy. We were “unfrogettable”!
I found a great vintage pattern and enlarged the head for myself (originally meant for my daughter). By altering and adding to this pattern shape, it turned out more professional looking. This frog mask can also be used for a tree frog by simply changing the material to be more colorful, by using a thinner body shape, and changing the eye color. I bought this fantastic Black/Neon fabric online. When ordering fabric online, I have found that requesting samples before buying works out best.
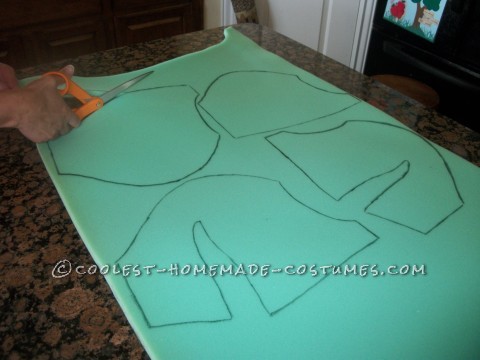
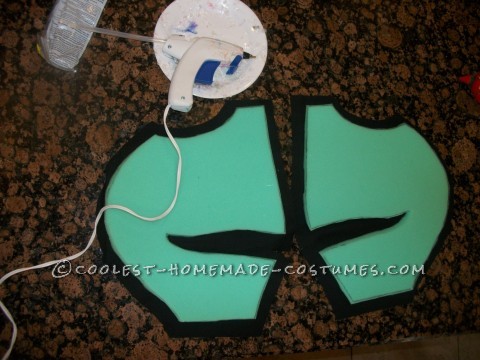
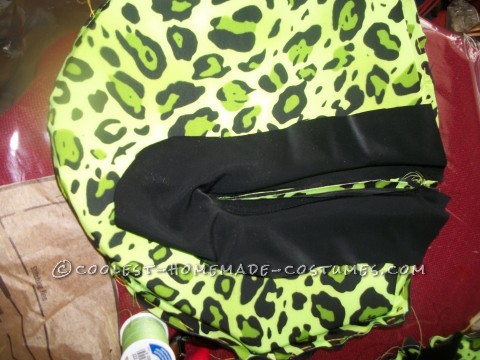
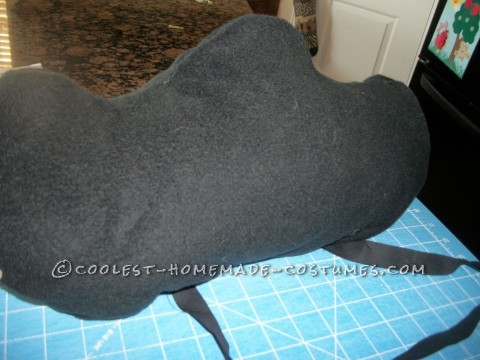
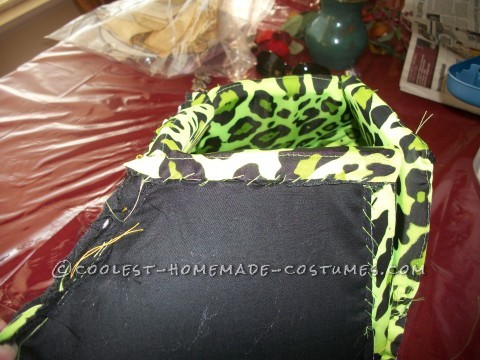
Tips for the Head:
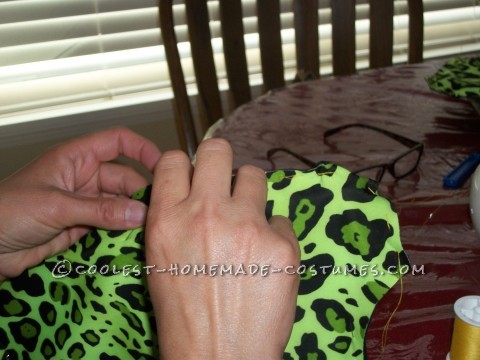
Draw the shapes out on ½ inch green foam. Cut out the fabric and lining. I find it easier to hot glue the lining onto the foam first. Place the neon green fabric on the opposite side right side out. I would suggest sewing the lining and the fabric by hand with each piece before sewing it by machine. (This is an extra step, but really helps get great results.) Sometimes spandex is so difficult to sew on, that I use an iron on stabilizer or strips of newspaper pinned to the back side of the fabric. This fabric was not as challenging as other spandex. Use a zipper foot in the construction of this mask. I have included a few pictures to illustrate how I did some of the steps.
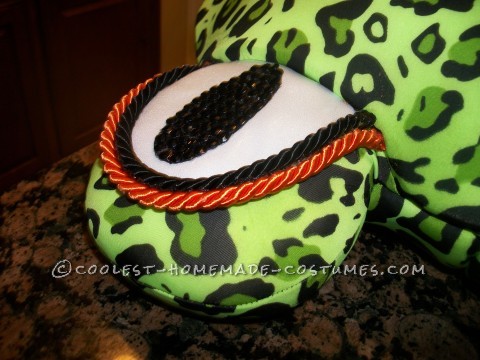
I used my own design for the eyes. I glued mystic white fabric onto white felt with fabric glue, so the white of the eyes would not be transparent, but shiny like the white in the body of the costume. Glue sparingly around the edges. Make the pupils out of black felt and glue black jewels onto the felt. Glue the pupils onto the white mystic fabric. Glue black cording around the white of the eyes and orange cording around the black cording to make the frog’s eyes stand out with more charm. I also changed the bottom of the mask. I sewed the edges of the fabric to the back by hand. I then made a long band to make the mask blend into the body for a more realistic look. For this band I folded a piece of fabric and sewed it on by hand. The folded side would be the side that would hang down as not to have a seam there. I added a hook and eye for a closer. I also added a pillow shape which I glued to the inside of the mask with chin ties for each costume so our heads would fit the mask with more comfort. This also made it possible for my daughter to move the frog’s mouth with her chin. I also put in about 2 or 3 layers of black mesh behind the mouth, so we could see out and not be seen.
Body:
Use a pattern of choice or make up your own. I used a pattern, but I do not like middle seams or zippers, so I edited this out by subtracting seam allowances and cutting the belly out on the fold. I also lined the belly with white felt. The top is a white mystic same as the white of the eyes. I used a slit in the back and Velcro for a closer. I also glued the feet onto some inexpensive slip on shoes, so they would not flop around.
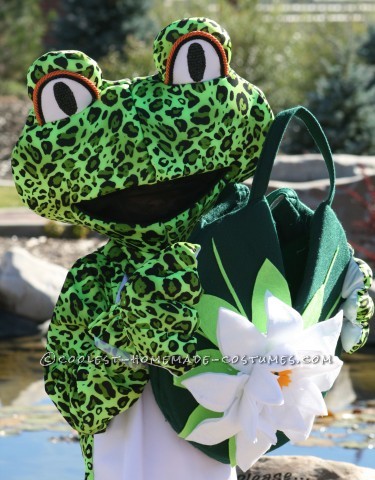
Lily Pad:
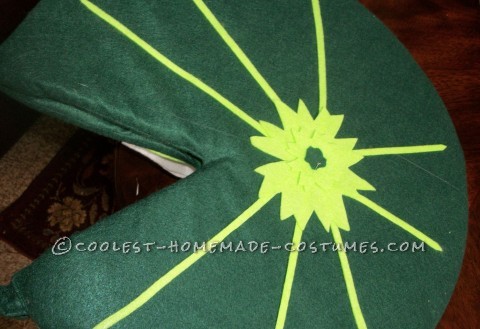
The lily pad bag is totally my own creation. Cut out two 18 inch circles from ½ inch green foam. Cut a triangle out at the top of each circle. Cut out 4 circles of fabric, two for the lining and two for the outside (dark green felt). Do not cut out triangles on these circles. Glue the lining onto the back sides of the foam circles for stability. Place the felt on the other side of the circles and sew the felt to the lining by hand. With right sides together, using a zipper foot, stitch the circles together ending at the beginning of the triangles. Cut slits in the fabric and lining to near the end of the triangle openings in the foam. Turn the lily pad to right side. Sew handles near the edges of the triangles. Fold the fabric to the inside of the triangles and slip stitch over the handles. For the flower, glue a large green flower shape with strips of neon green fabric radiating out of it on the front of the lily pad. Make 2 large white flower shapes and glue them together using fuzzy sticks inside the pedal edges as to make the flower more three dimensional. Do the same with a slightly smaller flower and a very small center flower. Glue a yellow flower shape in the middle. For the back, glue a small neon green flower shape in the center and a smaller one on top and an even smaller dark green flower in the center. Then glue strips of felt radiating out from this flat green flower.
Video:
http://youtu.be/D438ziYKqw4

Related costumes:
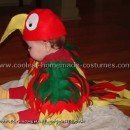 12 Coolest Homemade Parrot Costume Ideas
 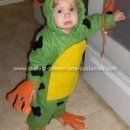 Coolest Homemade Red Eyed Tree Frog Costume
 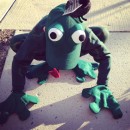 Fantastic Frog Costume for a First Grader
  Cool DIY Frog Costume – Honey Smacks the Frog
  A Very Original Homemade Peacock Costume
  Croaking Frogs Family Halloween Costume
  Coolest Homemade Monkey Group Costume
  Beautiful Peacock Costume for a 3 Year-Old Girl
Your comment has been sent successfully.