I used a box, paper Mache, faux fur (hair), paint, paint sticks (frame for glasses), electrical tape, chicken wire, wire cutters, masking tape, Styrofoam balls (eyes), and went to a thrift store for the outfit.
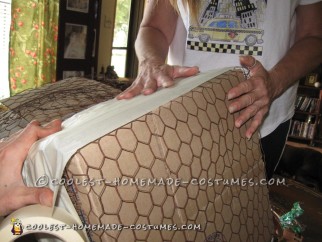
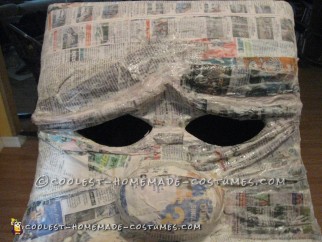
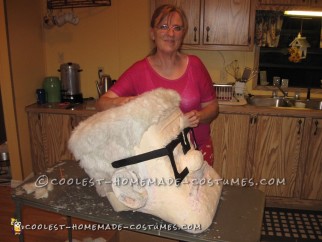
To start I found a big box enough to fit over my head and rest on my shoulders. A box works well because the basic shape of Carl’s head is square. I covered the sides and top with chicken wire leaving a round edge for Carl’s big chin. Chicken wire works well because it is easy to shape and mold plus its strong. Then I covered everything in masking tape because the paper mache won’t stick to the wire but works well with the tape. Leave a hole for the nose, ears, and a ridge across his face for the eye brows. Be careful when cutting the chicken wire, sharp edges can form and may prick you”!
I molded the ears out of chicken wire and attached them to the sides of the head. To attach them I just spun the excess wire around the wire on the side of the head like bread ties. Cover it in masking tape.
Just like the ears, I made the nose out of chicken wire and attached it to the wire around the box where his nose should be. I spun the excess wire around the cage like bread ties. The nose should be oval and once its attached just squash it down a little bit. Then cover it in masking tape.
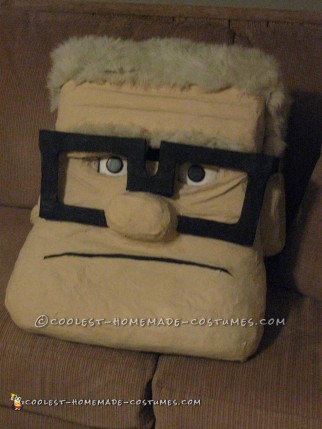
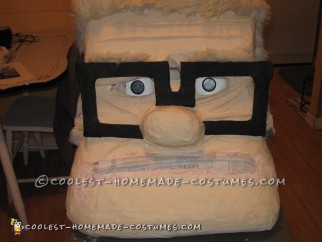
I drew out where his eyes and wrinkles should be using a pen. For the wrinkles and eye brow ridge I took strips of masking tape and rolled them up into cords with the sticky side facing outside.
Then I placed them on the wrinkle lines and eye brow ridge to give the details some depth. I cut a Styrofoam ball in half and used it as the eyes. I used masking tape to hold it in place and to give Carl some eyelids.
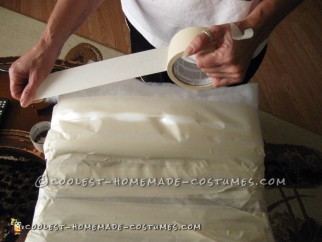
I also used more tape to create more depth in the cheeks and wrinkles. The next step is paper mache. For this step I used a mixture of 25% school glue, 25% flour, and 50% water. I also used strips of newspaper and masking tape because its stronger and easier to fit in the detailed areas than newspaper alone. Let this step dry for about a day and a half then you may need to apply another layer.
Also, be careful cutting the Styrofoam ball, due to the shape of it and the fact you are using a knife/scissors its dangerous.
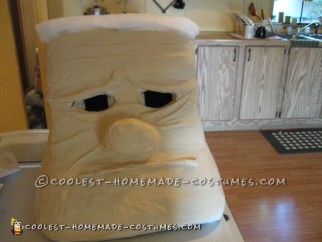
The paper mache was dry in about a day and a half. I also placed a window fan on Carl to speed up the dry time.
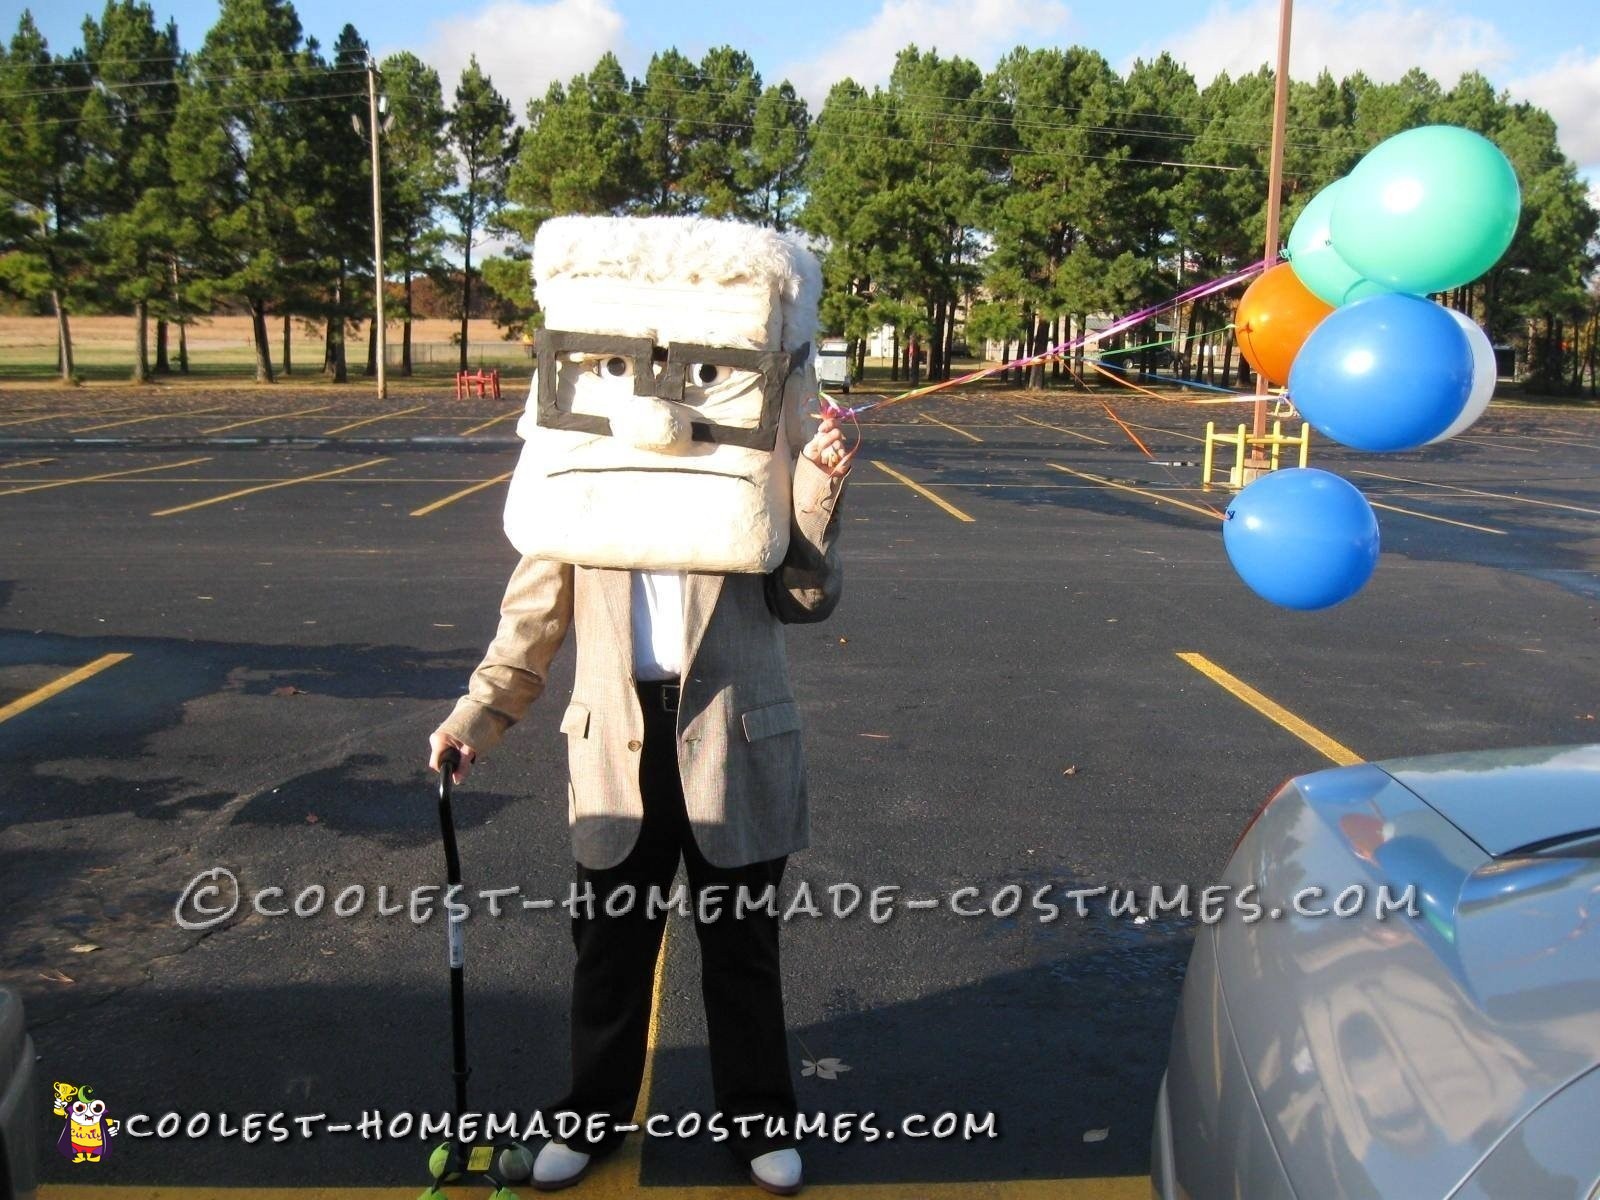
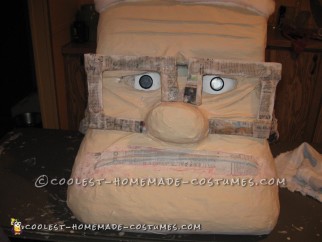
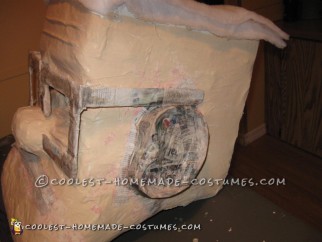
Next, I painted Carl’s head with acrylic paint. I used a Flesh color for the face and “Cocoa Gold” for his hearing aids. I used blue nail polish for his eyes and a black permanent marker for his pupils and mouth.
Next, once dry, I measured his head and applied the hair (faux fur) accordingly. I applied the hair to his head using a high temp hot glue gun. The gun is extremely hot and can cause bad burns so you should use caution with this step.
Next, I painted the Styrofoam balls and cut out a 2 inch gap between his eyes and under his eyebrows. This gap is for my vision when wearing the costume. Don’t cut the hole too big because Carl wears glass.
When buying the paint I also asked if I could take a bunch of free paint sticks which happened to be the perfect width for Carl’s glasses. I broke up some to make the boxes and used whole paint sticks for the long part of the frames that attach to his ears. I then covered the frames in paper mache. Then painted the glasses with a shine black. Then I used the scraps of my faux fur (hair) to make the bushy eye brows and I attached them using the hot glue gun again. Lastly you can now make the eyesight hole as big as you need to see.
The parts you need to use caution on while making this costume are with the hot glue gun and cutting the chicken wire/ Styrofoam ball. When you cut the wire it leaves sharp edges so make sure you bend them in a way that they do not stick out or can poke you, especially ones that may penetrate the box and stick you while wearing it. Check carefully, you can cover these edges on the inside with duct tape. I spent over a month making Carl, It was a challenge which I had a great time on pushing my limits on making my master piece.
I won First Place in this costume at a local contest last year. The time it took to make along with the passion for detail really payed off. I had a great time and enjoyed the looks from people smiling at the handsome man with a cane.

Related costumes:
 Cool Homemade Carl BeeDoo Minion Costume
  Best Homemade Carl Fredricksen Costume
  Creative Tim Burton’s 9 the Movie Costume
 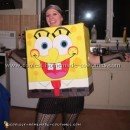 65+ Coolest Homemade SpongeBob Costume Ideas
 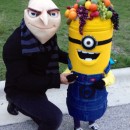 Coolest Carl the Minion Costume for a Toddler
 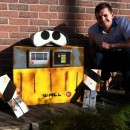 Homemade Wall-E Halloween Costume
 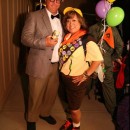 Homemade Up Characters – Russell and Carl Couple Costume
  What if Iron Man Needed Sponsors? The Iron Can Costume!
Your comment has been sent successfully.