I’ve always enjoyed DIY projects, but my endeavors have mainly been restrained to the realm of simple items like crocheted scarves or sewing a table runner. In recent years, I started making small home-made costumes for my children for Halloween.
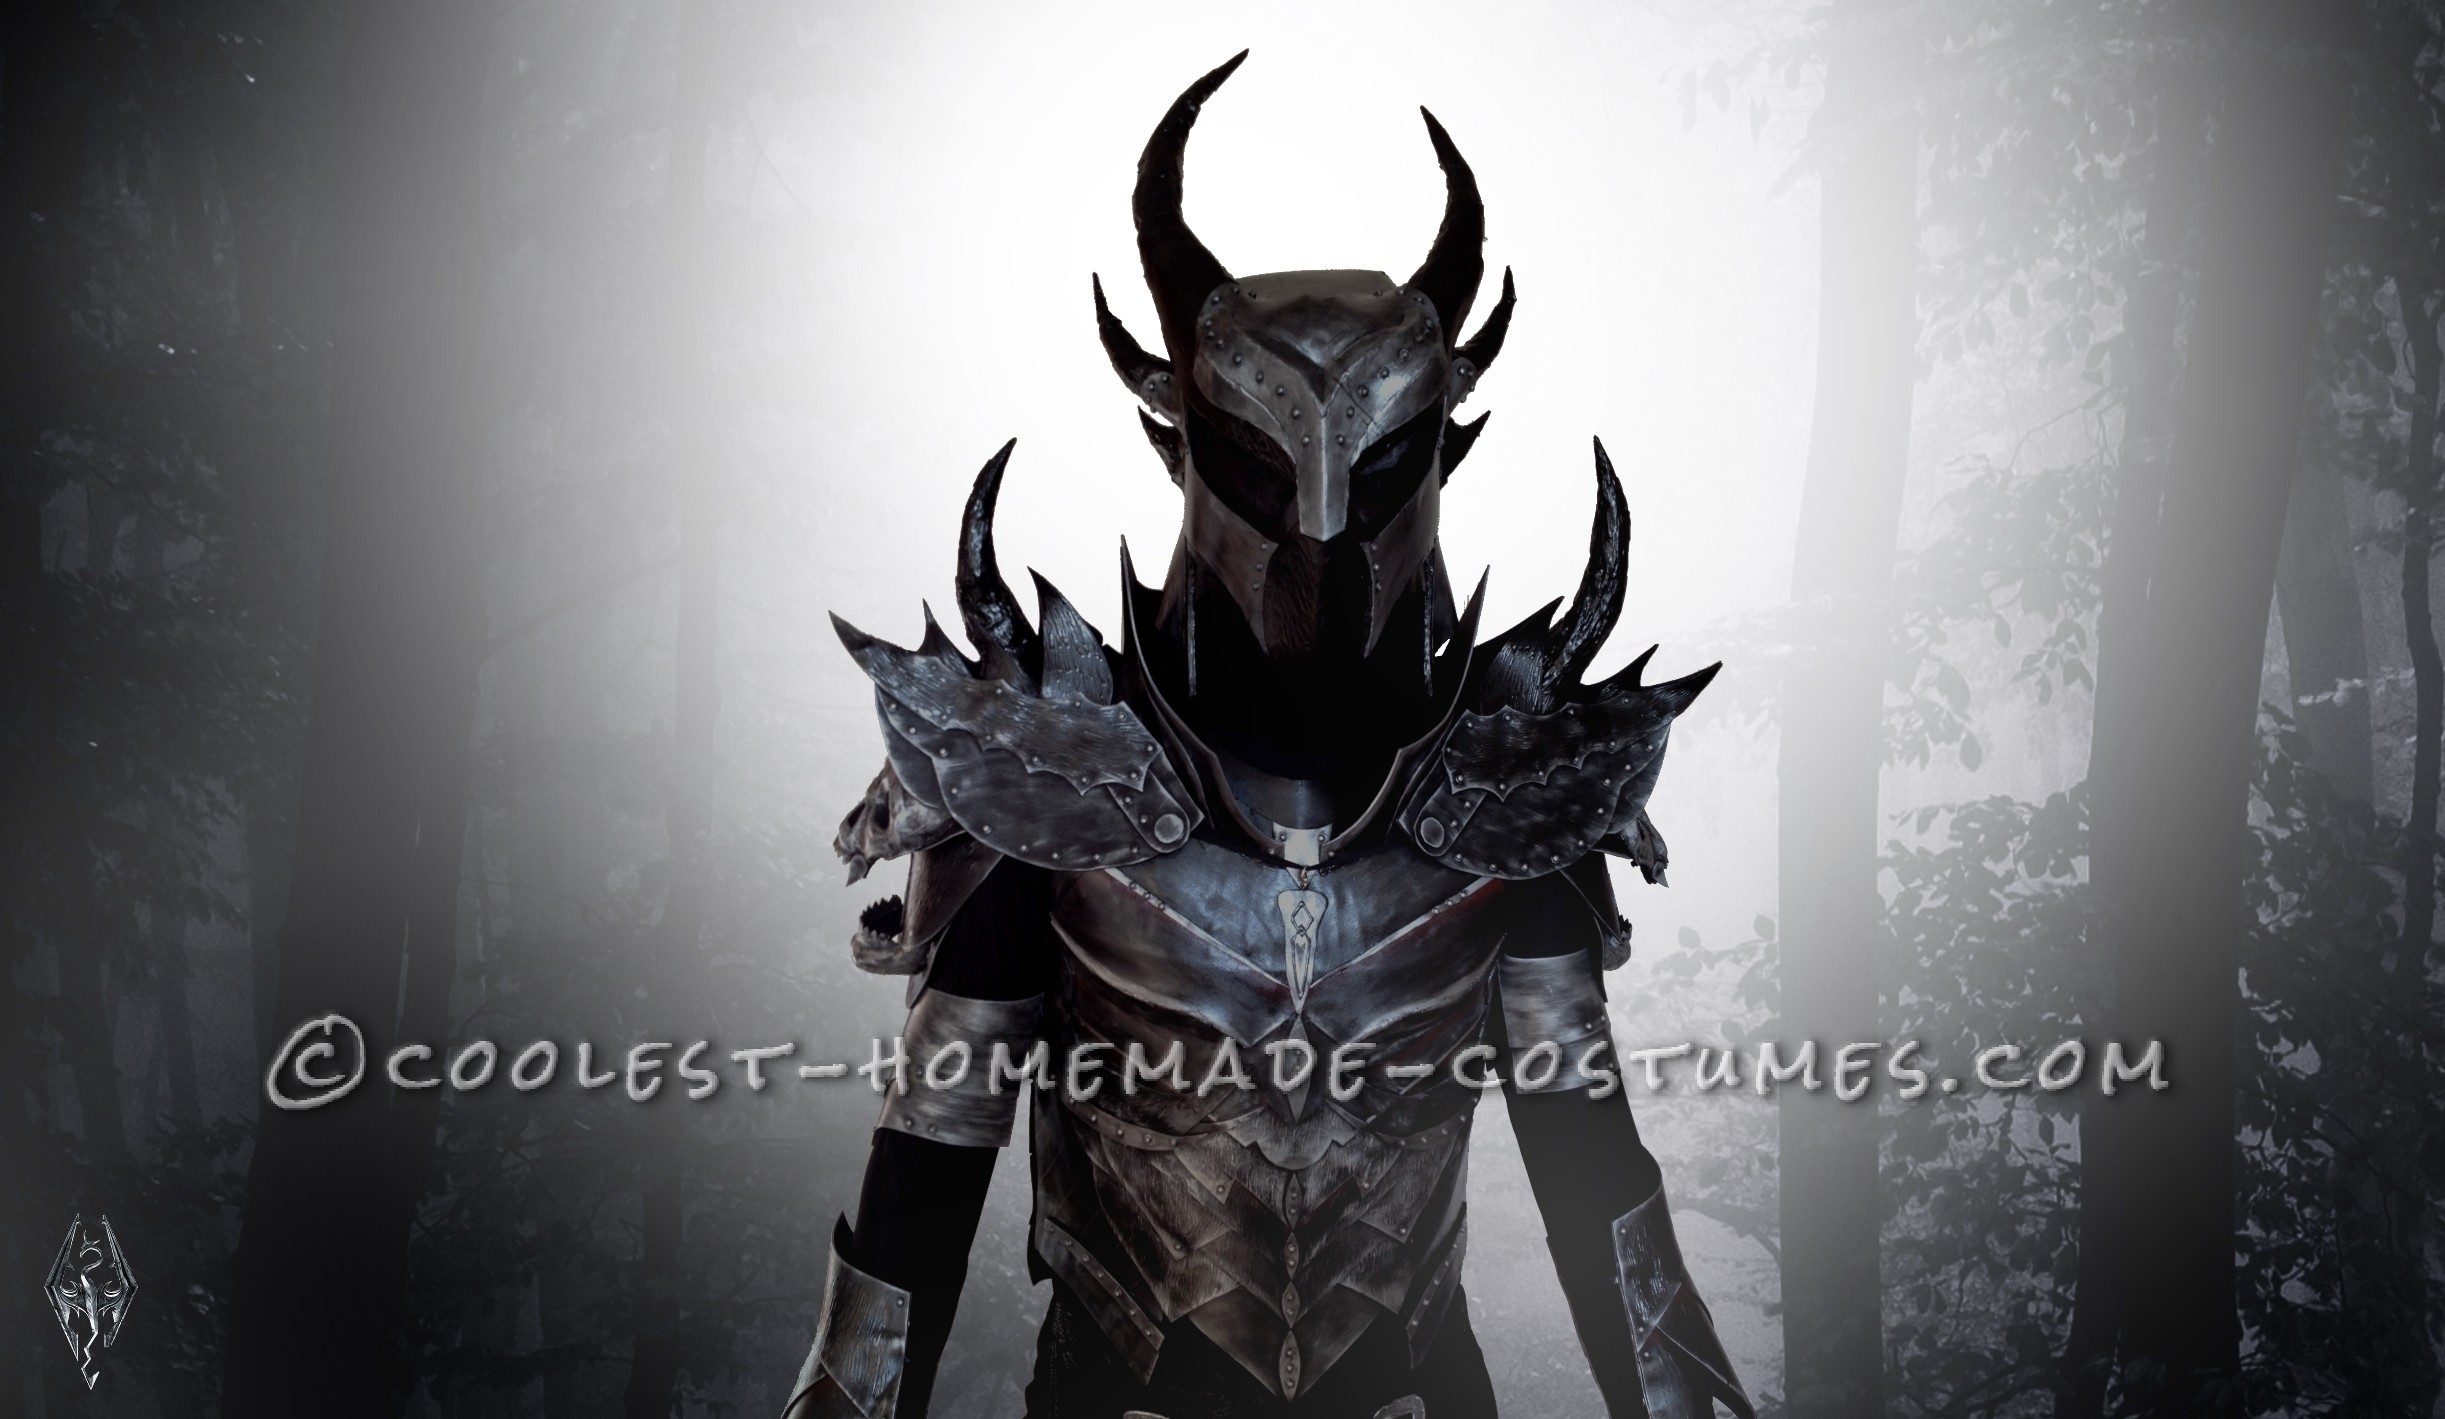
Along came the idea of making costumes for my husband and myself. My husband is an avid gamer, and 1) I wanted to make something I knew he would LOVE, 2) it needed to be something I knew he would actually proudly wear. (Don’t get him wrong, he’d wear anything I make just to make me happy). 3) Since we’re adults, I wanted to make costumes that would last us for years, but also keep the cost relatively cheap. For my husband, I decided to build Daedric Armor from the popular video game The Elder Scrolls: Skyrim.
Making these game related costumes has meshed two very important things: my love of crafting and my husband’s love for gaming. We’ve really enjoyed this process! I will be submitting my husband’s Daedric Armor costume for this entry.
I took some time to research how cosplayers (a term I used to associate with EXTREME nerdiness, but now have come to realize it’s true level of creativity as art) worked out their costumes. While many processes out there took materials I had no access to, I used a lot of elements from various projects I’d read about and created my own process.
Using a LOT of basic craft foam sheets, hot glue, aluminum foil, black duct tape, modge-podge, black puff paint, and finally, acrylic paints, I was able to create a costume that resembled Daedric Armor just enough for anyone who’s seen it, recognize it. If fact, most people we came across during the Halloween festivities were absolutely blown away. Many asked us where we bought them from. The general reaction was complete amazement. I was overwhelmed with the compliments! It’s more than I could ever deserve.
I started working on the armor in late June. I have a small family, so my time to devote to working on this project was limited to evening time after the children were asleep. My husband was very supportive and always stayed with me, so I could work on the armor and we could continue to stay in the same space. Working on a project like this with a family can really cut into your time, so we made sure to always be together, even if we weren’t participating in the same activity.
I’ll be adding as much info as I can manage within the range of steps allowed me on this contest, so I hope this inspires someone to go and do what they never thought they could! I definitely never dreamed I could make something like this. The hardest part? Getting started. Having the courage to just do it.
Before explaining my steps, I want to include a little pre- “getting started” info. I gathered a lot of images from the video game of the armor I intended to make, to view occasionally for inspiration and guidance. While I tried to make the armor resemble as close to the original as I could, I took a lot of creative liberty in the design, adding things that you won’t see in the game, such as the skulls on the shoulders, and adjusting some areas of the armor to allow for mobility. You won’t see it in the photos, but we decided to add some cheap red lights to the inside of the skull’s eyes as well. It was a hit!
Funny moments: Making the horns on the helm and pauldrons was, an adventure. I used aluminum foil to shape the horns and then covered them with black duct tape. Those were then coated in puff paint for texture and to hide the fact that it is duct tape. Then painted and modge-podged. The funny and frustrating part was bending those horns to match each other and angle the same way as the helm horns do. It was funny (in hindsight). Constantly bending those just a little more, then a little more, OVER and OVER. Finally, we got it.
The armor pieces are being worn over a separately purchased black Lycra form-fitting body suit. Any tight black underclothing works for a costume like this.
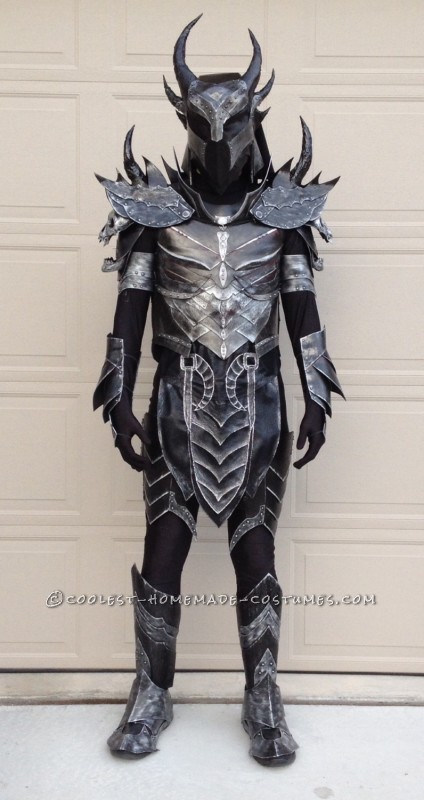
Completed Front
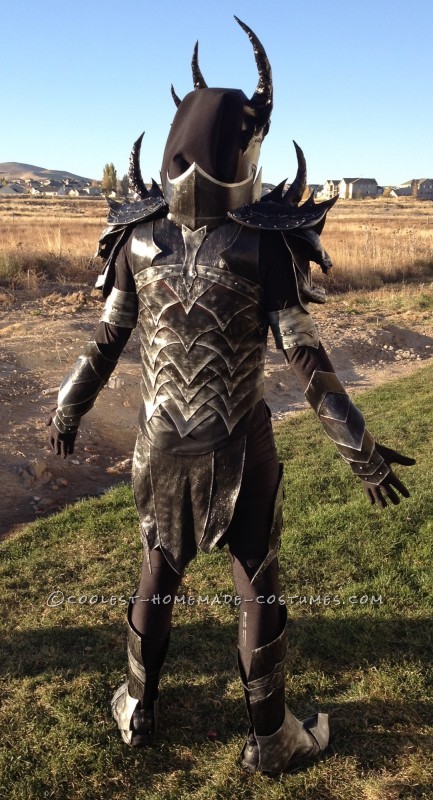
Back
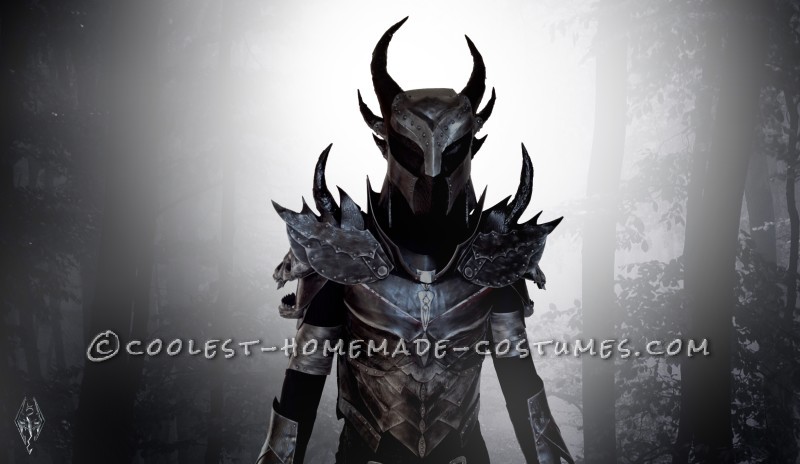
Just for fun, we photoshopped in a cool backdrop.
Templates and Measuring
I started with some very thin paper: think of that roll of paper you sit on when you visit a doctor’s office. It’s very light and thin. I bought a roll of this paper to use for drawing my templates. This was a huge help, instead of eyeballing all of my cuts and fits. My husband was a real champ about being constantly measured, with paper all over him. Since I wanted this costume to be well fitted, it took some time to measure and cut each part. For example, I built the boots to fit around a particular pair of shoes he wears. His helm was especially designed to fit HIS head. Using this paper, I drew out the shapes of all of the pieces I needed, traced them onto the foam using a ballpoint pen, and cut out the foam parts using basic craft scissors.
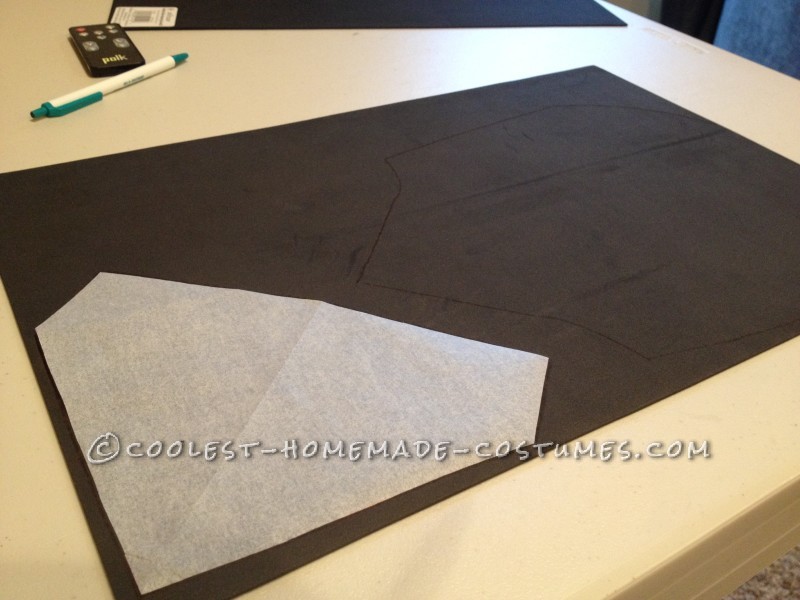
Tracing the templates.
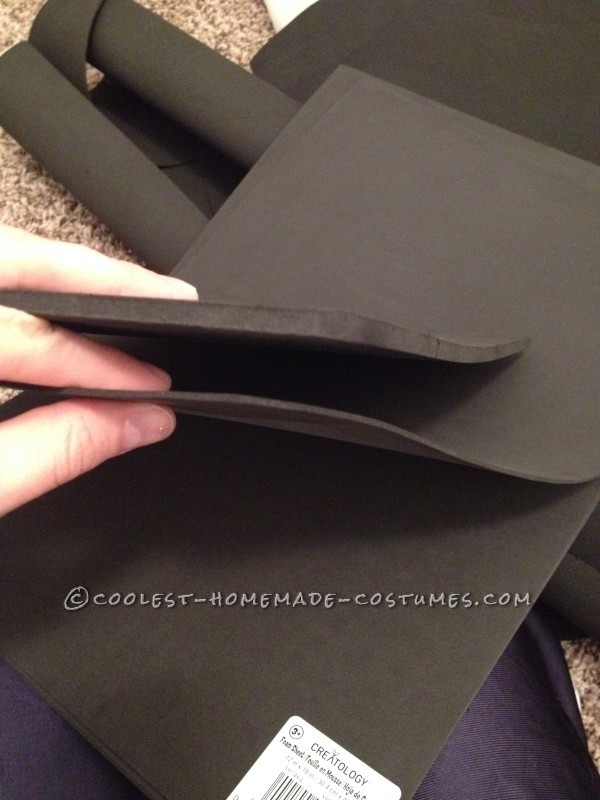
I used two types of foam. A quarter inch think foam for the helmet, and all other armor pieces were made of the thin 3mm foam sheets.
Assemble & Glue It
Since there are a lot of angles in this armor, it was necessary to cut a lot of smaller pieces to create those dimensional shapes. However, I consolidated as much as I could. This was my very first “Cosplay” costume, so for my own sake and sanity, I took the route of least resistance, or the route I felt would result in fewer problems and screw ups. These small pieces then needed to be glued together. Using hot glue, I was able to permanently secure the foam pieces together to create a very stable, solid piece of armor.
* HEAT is the key. Foam is porous, and when exposed to really high heat, those air cells will close. This fuses the foam to the hot glue, and the hot glue to the foam. Unless excessive force is used to rip the foam pieces apart, this process will essentially turn two pieces of foam into a singular piece.
It’s a fantastic bit of science, and I feel the costume holds extremely well because of this.
As you can see, some pieces of armor was created with layering the foam. You can see the outline of the piece I’m gluing to this space.
Make It Fit – Elastic!
After all of the small pieces have been glue together to form a piece of armor, I used pieces of black elastic and Velcro to fit the costume to my husband. These pieces were also hot glued to the foam because sewing was out of the question. Sewing into foam would instantly create a weak spot and lead to tearing.
There were very few truly aggravating parts of creating this costume, but fitting elastic was one of them. My purpose for using elastic was to hold the costume tightly and securely while worn, with the advantage of it’s stretch to allow for more movement and mobility. But this means many of the elastic pieces are small, or need to be spanned across a space that was larger than they were long, making holding the elastic to the foam tricky. Sometimes, I didn’t wait long enough for the hot glue to set before letting go and it would come apart. Most of the time, it worked perfectly, only to then rip the foam out at it’s secure point when stretched. The fix to this issue I found, was to only secure the elastic ends onto points of the costume where the foam was doubled/layered up. These areas were much better anchors.
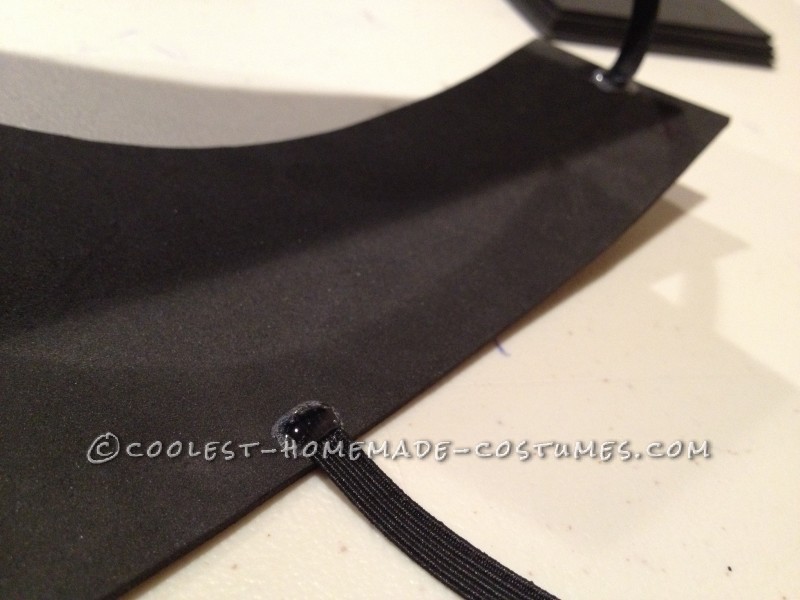
Hot glue the elastic to make the pieces fitted.
Add Details
You may notice that I added “rivets” to the armor. How did I make them? With craft googly eyes! These are super cheap and easy to use. Since the rivets are also part of the armor that needed to be painted, I did this step well before the final painting phase (more on that in step 6). Using a ballpoint pen, I make tiny marks on the foam where I wanted to place rivets. Then I dabbed a tiny dot of hot glue on that spot. Do one at a time – your hot glue will cool too quickly to do a whole bunch of rivets at once. Once your dot of glue is placed, QUICKLY lick the tip of your finger and pick up a googly eye, EYE UP. Then carefully place the eye, flat side down, onto the glue and hold until it sticks.
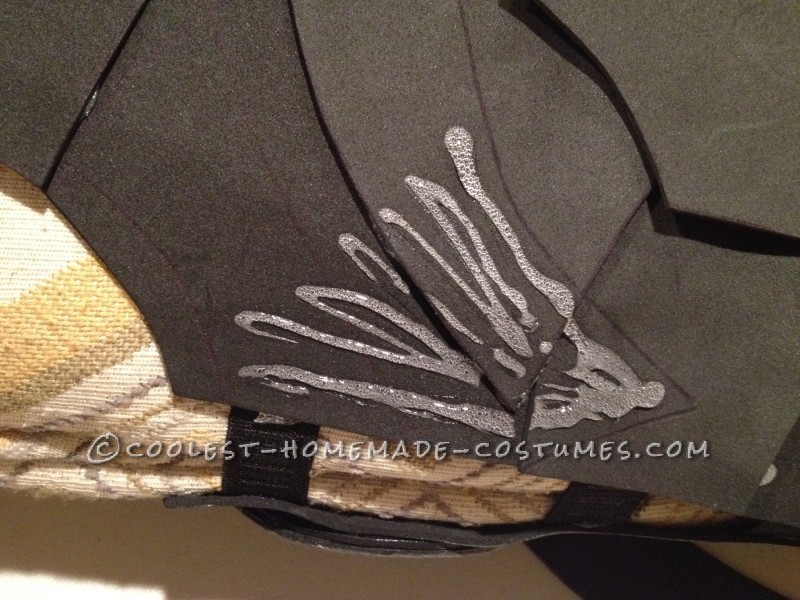
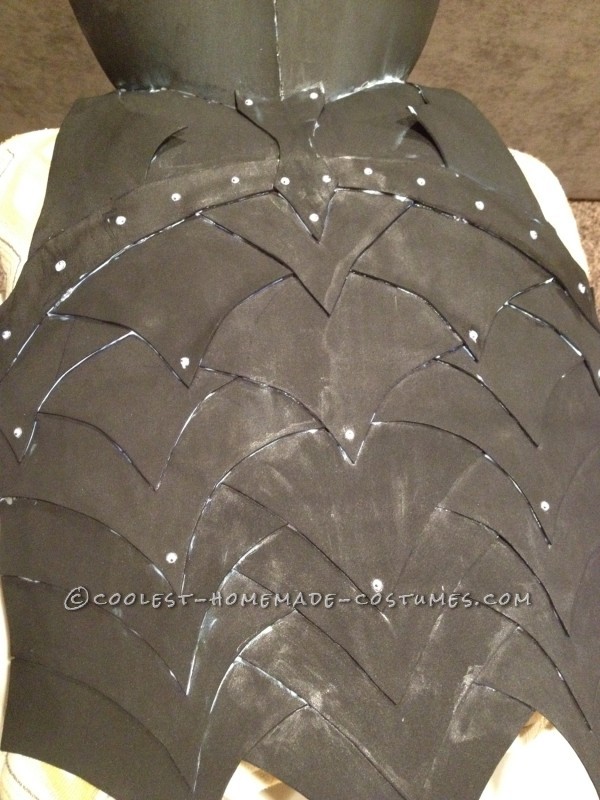
For the raised detailing on some pieces of armor, I used black puff paint. You can see this detailing best on the back piece, pictured below, on various sections of that armor. I literally scribbled (simply scribbling vertically) with the black puff paint to create this effect, let it dry, then proceeded with the next step, Prime It!
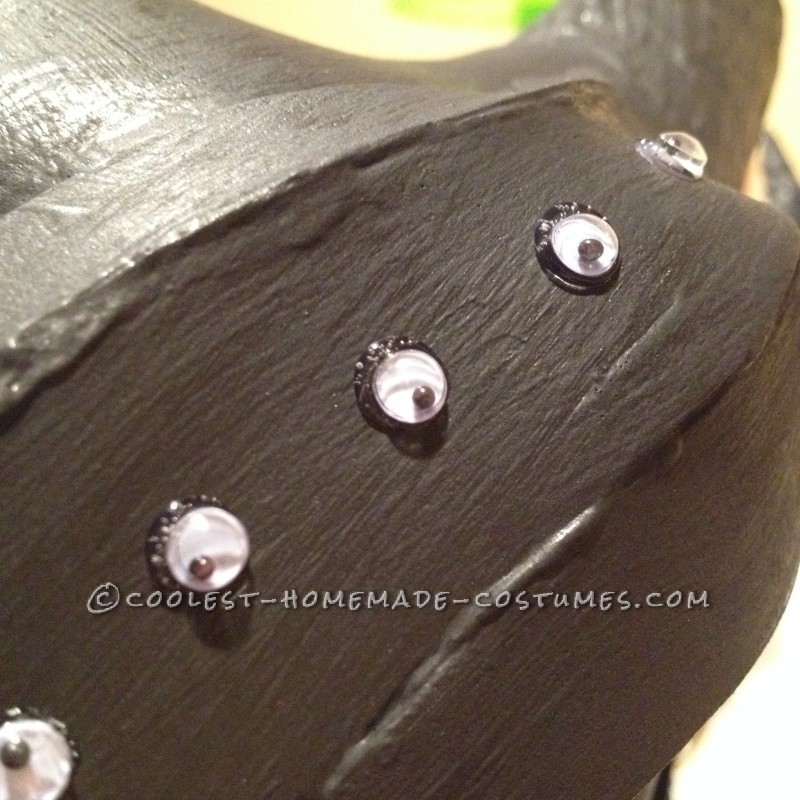
Rivets on the helm.
Prime It!
This step is the simplest part of the whole process. Before painting, I needed to “prime” the foam. I covered the armor in a layer of modge-podge to help seal up the porousness of the foam and create an even painting surface.
Backplate drying after one application of Modge Podge
Paint It!
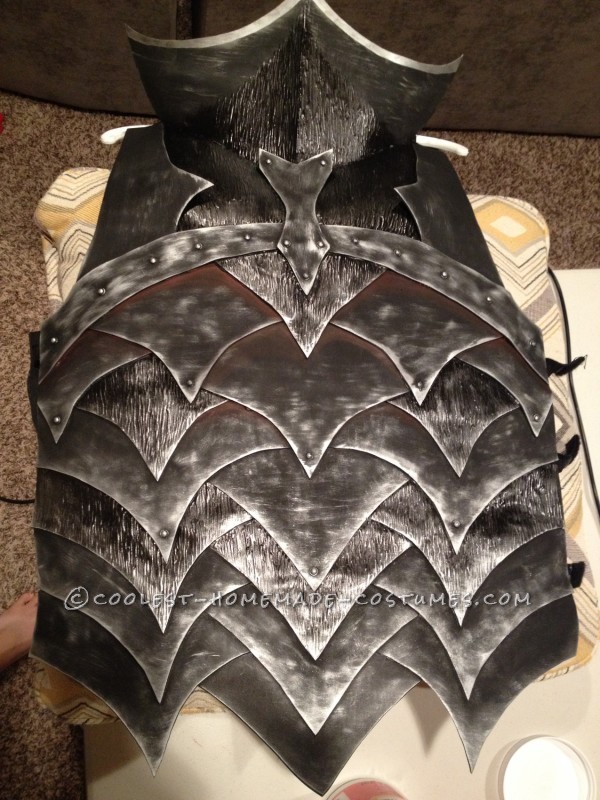
Lastly, I painted the armor. This is a step I cannot explain very well because painting is a whole different art of it’s own. But, looking constantly at all of those photos I’d gathered, I was able to paint the armor to match it as best as I could. I used all acrylic craft paint, basic foam brushes, and a few bristled brushes. After the foam was “primed” with the modge-podge, I coated every bit of the foam in black acrylic paint, with TWO coats. Let the first coat dry, then add another. This will help conceal every little nook and cranny you may have missed if you only used one coat.
I used black paint because this particular set of armor is very dark, but you may want to use other base colors, depending on the style you’re making.
After the black dried, which was quick because acrylic dried quickly, I used basic red paint on some parts of the chest and gauntlets. I then used high shine metallic silver craft paint to add the silver. This step was entirely done using basic foam paint brushes, sweeping the brush horizontally. This created that metallic burnished “dirty” metal look.
When the painting job is done, cover all armor pieces in two coats of modge-podge, allowing time to dry.
DONE!
Painted!

Related costumes:
 Epic Female Commander Shepard Costume from Mass Effect
 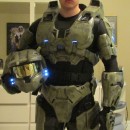 My Costume From Dream to Reality: I am Master Chief!
  Coolest Homemade Mario Brothers Halloween Costumes: Bowser, Dry Bones and Petey Piranha
 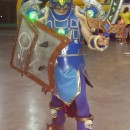 Cool Homemade World of Warcraft Costume
  13-Year Old Creates Bonnie Costume On Her Own
 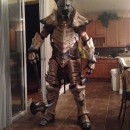 Skyrim Dragonbone Armor Costume
  Awesome Homemade Zelda Costume: The Twilight Princess Brought To Life
 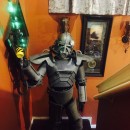 Homemade Fallout 3 Power Armor Costume
This is amazing! I never would have guessed it was foam. It looks like real metal! Great job!
This is amazing! I never would have guessed it was foam. It looks like real metal! Great job!
This is an awesome costume!! She did such a great job!
This is an awesome costume!! She did such a great job!
I love the details that you were able to put into it. It looks like it would have been made of metal and super heavy. But to see it was foam is a great idea. Wonderful Job!!
Thank you! The foam makes it a really lightweight, durable, wearable costume.
I love the details that you were able to put into it. It looks like it would have been made of metal and super heavy. But to see it was foam is a great idea. Wonderful Job!!
Thank you! The foam makes it a really lightweight, durable, wearable costume.