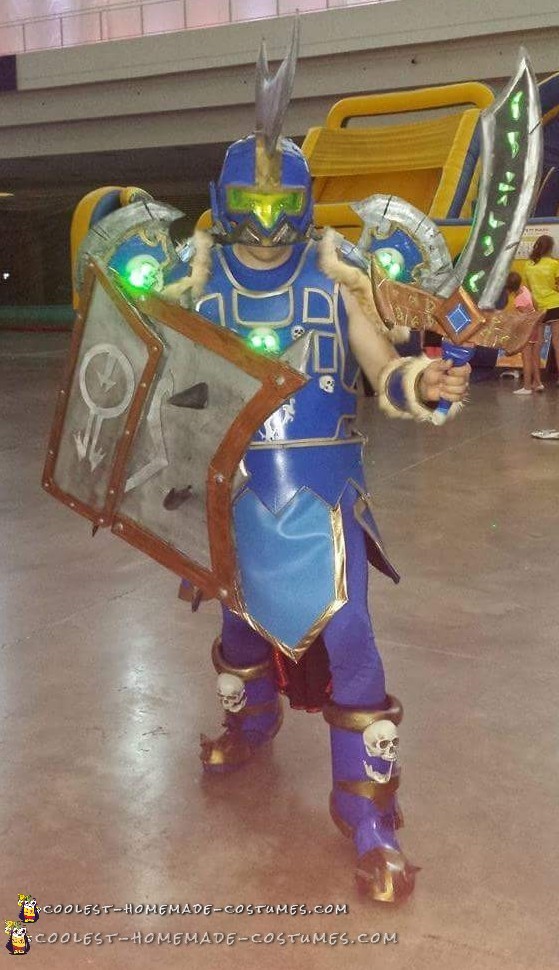
Creating the Tier 2 Wrath Costume
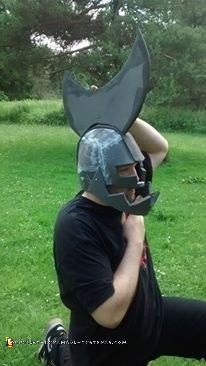
For the Tier 2 Wrath costume from World of Warcraft, I started with the iconic helmet. When making this helmet I covered the persons head with aluminium foil. Then covered the aluminium foil with duct tape to get a correct sizing of the head. I Then used a marker to mark a center line and cut down the middle, and divide it until I had about 6 pieces, all symmetrical.
Then I transferred the duct tape/foil pattern to EVA foam (by pinning it to the foam) and I cut it out with a sharp utility blade. Once all pieces were cut out I heated it all up, sealing the foam and gluing it together 2 pieces at a time with contact cement.
Once the whole helmet was glued together I began designing the jaw and blade of the helmet using large paper and folding it in half. I drew only half the design to make sure it was symmetrical. Then again I used the same process of pinning and cutting and heat sealing with a heat gun.
Once this was all glued together I plastic-dipped the foam and began the painting process. Once I had finished this I added in the visor and trim work last.
The visor of the Tier 2 Wrath costume was a piece of custom neon green Plexiglass. I used a paper pattern to make sure I had the right size to cut out. and then I heated and formed it with a heat gun.
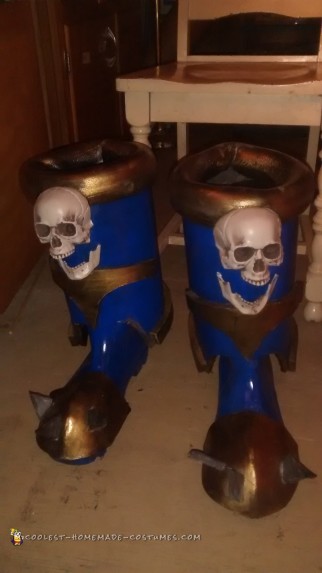
The boots were very simple. I first bought a pair of rain boots, then i spray painted them blue and sealed then with Mod Podge. I then made a small toe covering for the boots (first with a paper pattern) and then on craft foam.
Once again sealing it with a heat gun then plastic-dipping it and painting it gold. The rest of the boots were done with EVA foam. I made a boot covering I could slide down over the top. The top of the boots was done with pipe warming foam you wrap your pipes with. the skulls were bought from a store, and I used trimmed EVA foam to fancy them up.
The bracers were done very basic. I just used EVA foam to make a basic bracer then added faux fur around the edges to give it a bit of fancy look.
The tabard was simply made with vinyl, cutting out the design and sewing a gold metallic trim material around it to give it a border.
The breastplate was designed to be put on over the head, and has Velcro on the sides to connect it. I just started with large paper for the pattern and once I was satisfied with my design I transferred it to foam as in previous steps.
The stencil was printed on sticker printer paper and cut out with an X-acto blade. I then stuck it to the armor and spray painted the design.
Making Accessories for the Wrath Costume
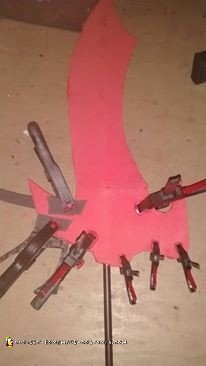
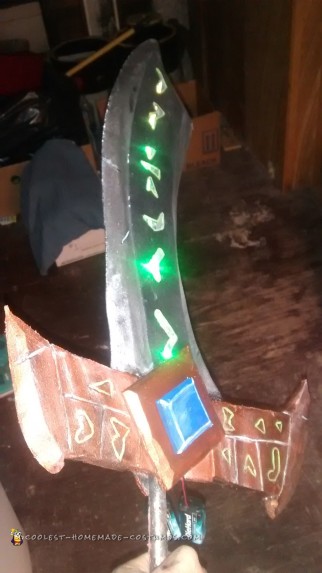
The sword was made with EVA foam. I first drew my design on large paper and when satisfied I transferred it to EVA foam. I had to cut it out once, then reverse the pattern for the other side of the sword. I wanted to double the EVA foam and use the sandwich method. I also added a metal pole in the middle for stability this was able to be done using a Dremel Rotary tool to make room in the middle for the pole. Clamps are very helpful in holding the foam together, but be sure to use scrap foam because the clamps will leave marks and ruin your foam.
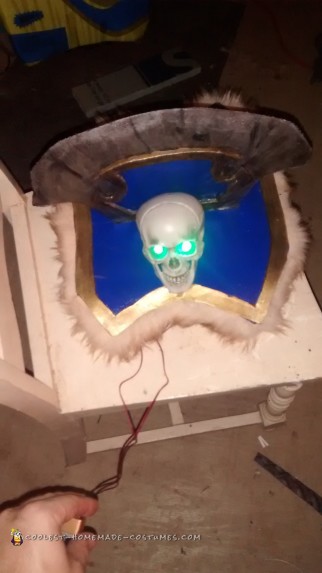
The lights in the skull eyes were done with 2 basic LED lights I purchased on ebay. They come with wires already attached so I ran them to a 9 volt battery connector already wired, then soldered the wires and wrapped them with electrical tape for good measure.
The lights in the sword were LED strip lights which I had to glue down under the craft foam cover (which is where the runes are cut out of with a X-acto blade). The batteries are hidden in the sword hilt.
The shield of the Tier 2 Wrath costume was a fun project. I got to use a lot of left over EVA foam edges for the trim. The base of the shield was made out of blue board. One main piece and one separate half piece overlapped for effect.
I used superglue to glue these together. I used craft foam for the runes on the shield, and used scrap EVA foam to make the spikes. I used dial rods to give the spikes stability, and for the rivets I used wiggle eyes. On the back I put a drawer handle. I used screws and washers to hold it on. I also had to use acrylic paint on this because spray paint eats the blue-board away. Finally I used Mod Podge to seal it. and that’s how I made the Tier 2 Wrath costume from World of Warcraft.


Related costumes:
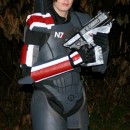 Epic Female Commander Shepard Costume from Mass Effect
 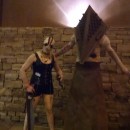 Pyramid Head and Claudia Wolf Couple Costume
 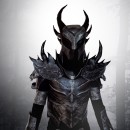 The Elder Scrolls: Skyrim Homemade Daedric Armor Costume
 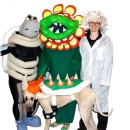 Coolest Homemade Mario Brothers Halloween Costumes: Bowser, Dry Bones and Petey Piranha
 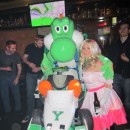 Amazing Yoshi Mario Kart Halloween Costume – Entirely Homemade!
 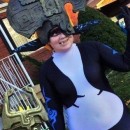 Coolest Homemade Midna Helmet Costume From The Legend of Zelda
 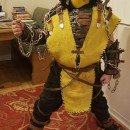 Cool Homemade Scorpion Mortal Kombat Halloween Costume
  13-Year Old Creates Bonnie Costume On Her Own
Your comment has been sent successfully.