
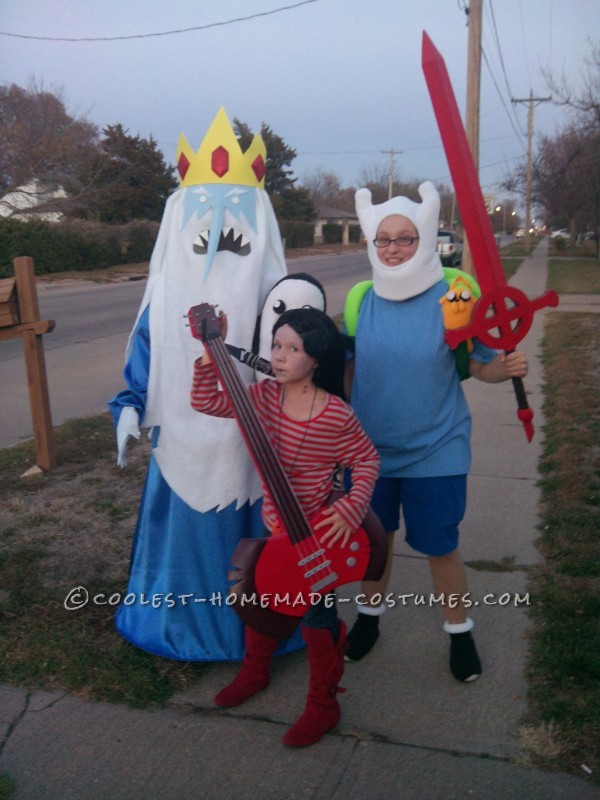
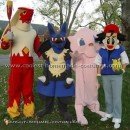
First off this was of course the brainstorm of my Granddaughter who was 8. The previous year we were Characters from Tim Burton’s Alice in Wonderland – and she was so thrilled with the outcome she decided we needed another threesome so therefore it was from her favorite show Adventure Time! It was decided early that she was to be Marceline the Vampire Queen and her mother Finn the human, Grandma (the creator) decided on the Ice King late in the game as I needed something rather large (smiling).
The upstart was finding pictures on the web to go by and to research the way others had approached doing Cartoon like characters. The costume for little Miss Marceline wasn’t too difficult as most of the items of clothing we had on hand, the striped grey/red shirt, the jeans which we made a tattered hole, and the red boots which we found on the internet. The clothing for Finn was also pretty easy, a T-shirt the approximate color, and the shorts were a pair of scrubs picked up at the local Goodwill and altered to fit. Along with some rolled down sweat socks, and shoe covers made from fleece.
My daughter as Finn and I as the Ice King, picked up my Granddaughter from school in costume that Halloween and the children were amazed (and some wanted to take Gunter home.) I think we caused quite a riot, but it was memorable and I am so looking forward to another Halloween Trio.
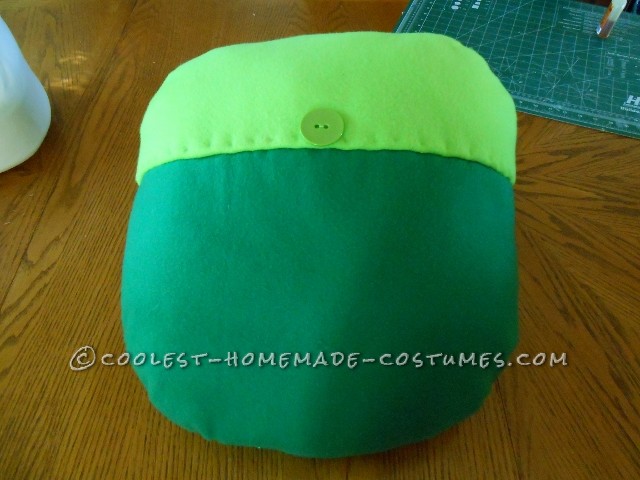
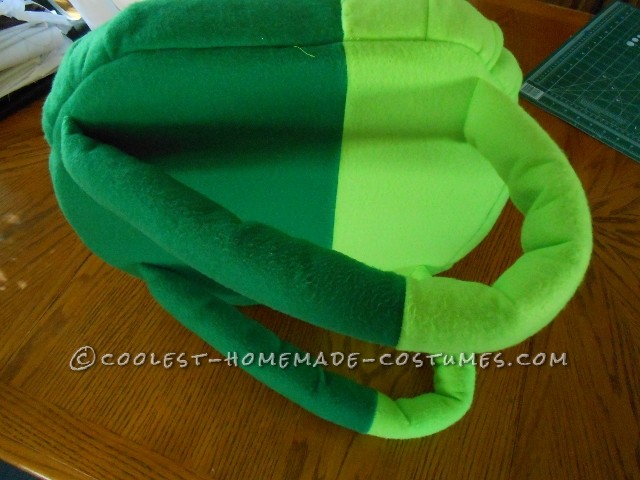
Finn Hood and BackPack
I researched many sites where other’s had made these items, and wasn’t really happy with the outcome. Most chose felt, and I decided that the fleece would be the more comfortable choice for these items, I matched the colors and completely decided on my own design – I wanted them to look cartoonish and not real. For the backpack – I cut a rounded edged rectangle times 2 for the piece that would lie against the back and used those to cover a piece of Foam Board cut to the same size minus the seam allowance. With that oval I made the pattern for the top and bottom of the backpack but a little larger so I could dart and stuff the backpack, then sewed the opening together and placed the large oversized button. The straps were measured and designed to also be stuffed to give them a puffy look. I wish I had taken photos of the process but I was so in the “zone” and my workspace was a disaster!
For the Hood I again chose Fleece (more like sweatshirt material – one side fuzzy and the other smooth) and made two complete sets, seamed together with the bottom open, this allowed me to fit 2″ foam around the bottom under the chin and up the sides to the points to give it a good solid base to stand without sagging. Once I had what I thought was a good base, I placed the entire hood on my daughter’s head then marked out the hole for the face to peak through. Also when cutting out the shape I didn’t try to be exact and feel this again gave it that cartoonish appearance I was going for.
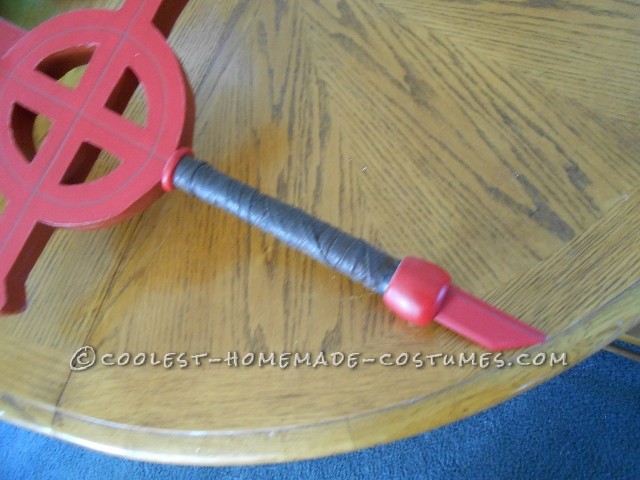
Props Bass Ax and Blood Sword
For these items I did rely on much of the information I gathered from various internet sites. Items used in the making of these included but were not limited to: Foam Board, a few different thicknesses, foam insulation, wooden dowels, spackle, guesso, molding clay and lots of paint, and much patience. I actually didn’t know what I was doing but manage to pull them off quite well. And I also attempted to get the perspective correct since the Granddaughter was going to have the Bass Ax and my Daughter the Sword.
Bass Axe – I cut the initial shape from two pieces of home foam insulation which were glued together with a dowel rod extending from top to bottom, I defined the shape little by little by shaving off unwanted foam until I was close to the shape I wanted – from this point there was lots and I do mean lots of sanding to perfect the shape. Once I was happy with it, I painted the entire piece with spackle to give it a smooth finish, sanded, another coat of spackle and sanded again until it was smooth. Two coats of guesso, with sanding inbetween and then I was ready to paint. Honestly there was lots of finish work prior to painting – I am a perfectionist and spent many days on this process. The frets and details were made from scrap wood I had (I do minatures like furniture) and the strings are silver elastic, the knobs are furniture caps. The end piece which the strap attached too, was made out of modeling clay and done to the best of my ability to match the pictures I had saved.
Blood Sword – This was made entirely with foam boards with a wooden dowel all the way through the center, I used the thicker foam board for the hilt, and the thinner for the blade. This was a bit of trial and error throughout the process. The blade shapes were designed to be bent (by cutting a V shape on one side without going through the paper on the opposite side) that way when the two were glued together over the wooden dowel they would have depth and not just be flat. Again alot of cutting sanding, spackle, sanding, guesso, sanding and then finally painting. For the handle I wrapped the wooden dowel with a few pieces of craft foam very tightly then purchased a strip of material locally which resembled leather and wrapped it gluing at both ends. The end piece on the bottom of the handle is some molded clay along with a small piece of wood shaped to a point. The detailing on the hilt was indents made in the foam board then painted in with brown paint to create the depth and design.

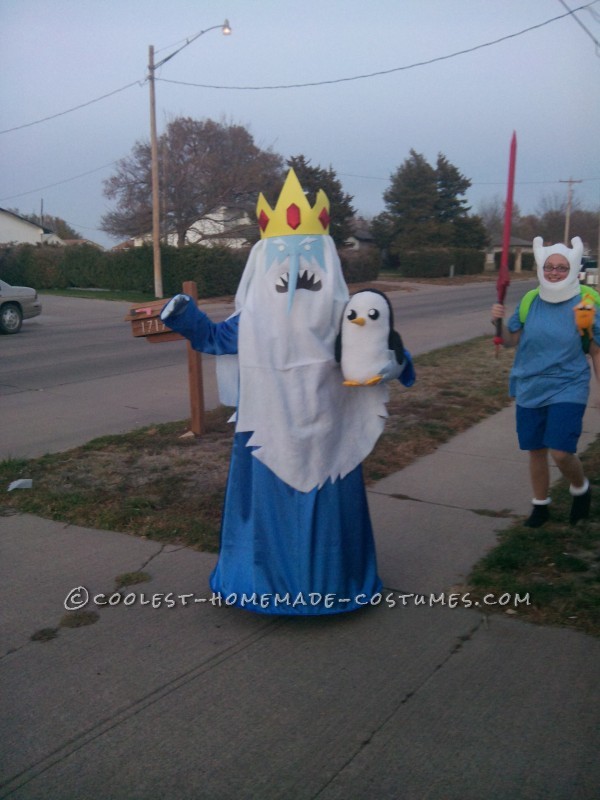
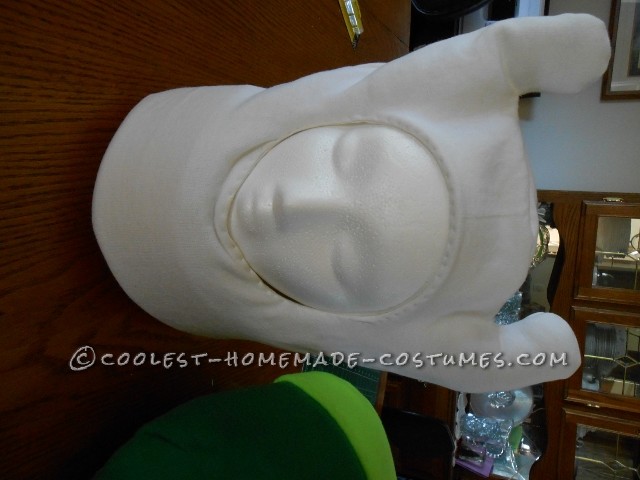
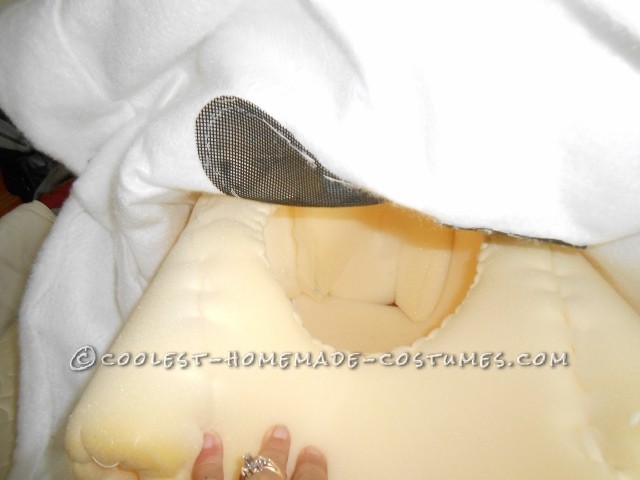
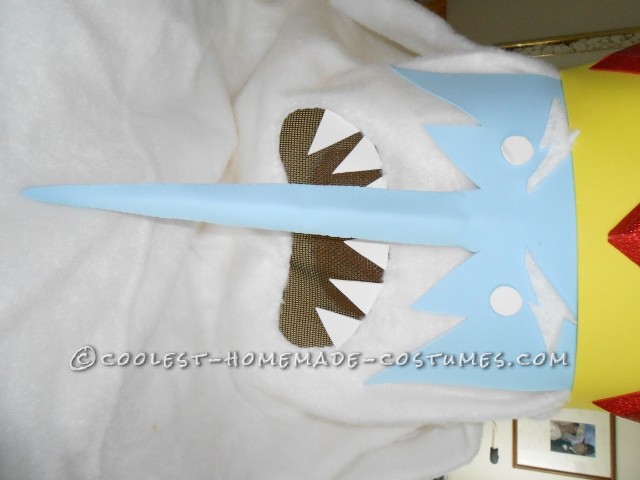
Ice King
Wow – what can I say, I thought I really bit off more than I could chew. The gown wasn’t too difficult two pieces – sew together – bam, but I wanted it to stand out. So I took some hangers, cut them apart, purchased some couplers from the hardware store, made a small hem and fed the wire through the hem – voila! The gloves were easy too, just some satin (light blue) color, three fingers (and a thumb) – I did reinforce these with some Craft Foam so they would keep their shape, by the end of the evening, they were raveling at the seams and will need to be reinforced better in the future.
Head: I have to admit, I came here to this site to get some of my inspirations for how to do the head. Of course foam was my choice. I started with a cylinder of foam, glued and stitched, I made indentations where the foam would hit my shoulders to make it more comfortable and stable. I included a picture to try to show the stitching I did on the foam to make it more comfortable. The face, crown, and eyes were made entirely from Craft foam, cut free hand and fitted to where I wanted them to be. The mouth is where my eyes were and was covered in Pet Screen which made it dark but I could see perfectly. The beard and hair were cut free hand from Fuzzy Felt material and all these items were hand stitched upon the foam. To make the nose, I cut the shape then folded it so give it some depth, on the underneath I cut another piece of matching foam in a long triangular shape to fit just inside and hand stitched the entire thing.
I also cut some of the Satin (light blue) and shaped it to the top of the head, and with a few cotton balls made the Curly-Q on the top of his head. Not that anyone would ever see it, but just in case!
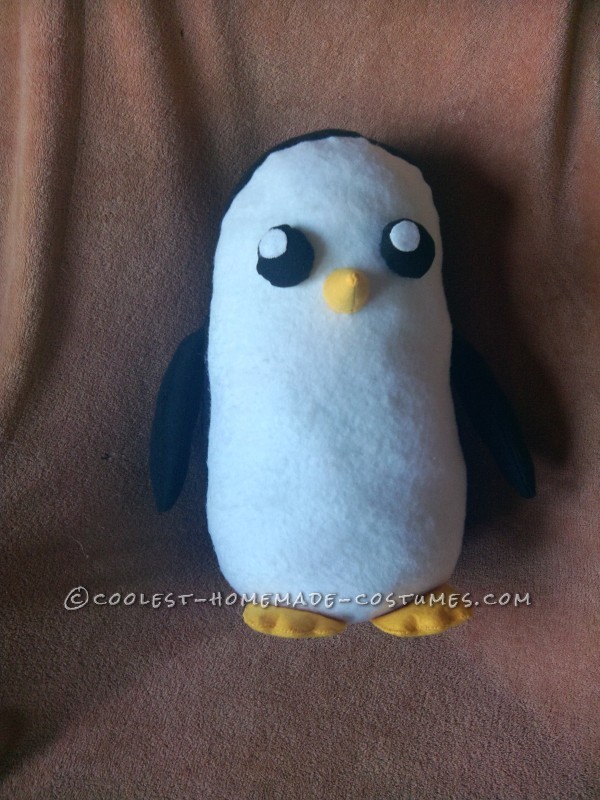
Gunter
I have to admit this was a last minute thing, I decided I needed Gunter, I cut out the pieces free hand, and just started putting him together. There was no pattern or forethought to it, just a picture from the internet to go by.
My Granddaughter was my critic and told me when he looked right.

Related costumes:
 65+ Coolest Homemade Pokemon Costume Ideas
 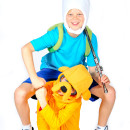 Finn and Jake’s Amazing Halloween Adventure Costumes
  Authentic Frozen Family Costume – Elsa, Olaf, and Kristoff
  Creative Tim Burton’s 9 the Movie Costume
 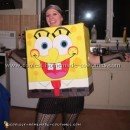 65+ Coolest Homemade SpongeBob Costume Ideas
  Coolest Finn Mcmissile from Cars 2 Costume
 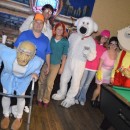 Awesome Family Guy Group Costume
  Coolest Ever Nickelodeon TMNT Group Costume
Your comment has been sent successfully.