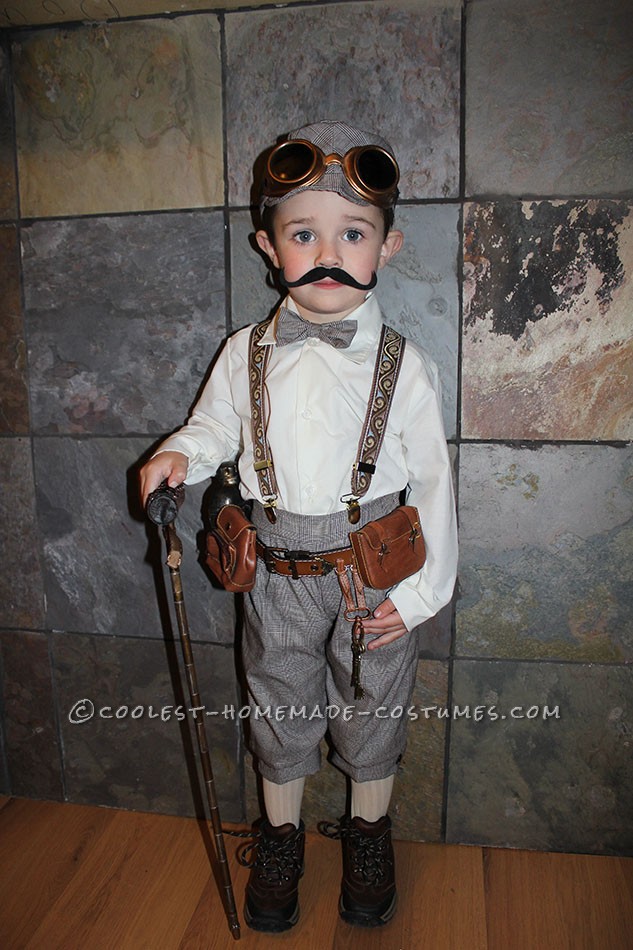
I love Steampunk outfits. It is a modern Victorian style very popular right now . For this Halloween I decided to put together a Victorian explorer costume that could be passed down to his kids or passed on to other family members that would last rather than the store bought costumes that barely make it through the year.
Outfit:
Up cycle an existing formal outfit, possibly one that has a jacket. You can find them at a second hand store. For the knickers you need to measure past the knee and cut off lower part of pants. Fold in half the 2″ part of the bottom pieces of the pants to form a cuff to sew back on. I added small black buttons at each side but wooden ones would make the pants look more authentic. Find a white or cream button up shirt and iron with heavy starch.
Suspenders:
If you can find a child’s second-hand pair of suspenders this will be the easiest way. Add ribbon that matches color of pants. You can glue or sew ribbon to the existing child suspender. Make sure you set the size of the suspenders first or remove the hardware and place them on the ribbons using the suspender’s elastic as a pattern.
Bow Tie:
Measure child’s neck then add 1/2 ” to elastic length. Cut two pieces of fabric to match pants or use any extra pant material. The larger material should be 7×5″ and the smaller one should be 2.25×2.25″. Take the larger piece and flip it over. Then fold it into thirds lengthwise. Take each end and fold them in so they meet in the middle. Flip the folded piece of fabric over and pinch it in half, as shown. Using your hot glue gun, put a drop of glue in the crease so that the fold stays put. Flip it over again and fold the top and bottom edges in the opposite direction of the fold in Step 5, as shown. Glue in place. Next, take the smaller piece of fabric and fold it into thirds, then wrap it around the bow and glue it together in the back. Cut off any excess fabric. Run a piece of thin elastic through bow tie to attach. I used sticky back Velcro to connect the elastic in the back.
Explorer Belt:
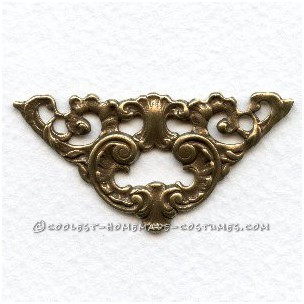
I found some doll-sized back pack and book bag. I removed the straps and cut two vertical lines in the back to run a belt through. I found some faux leather and made strips to add connector hardware to hold keys, and a kid’s compass I found a mini camper’s water bottle at the dollar store and made a holder from leather strips to place on the belt. I painted the belt hardware with brass paint then dabbed a bit of black paint to give the belt a worn look. I then glued on a metal corner embellishment at the end of the belt for a Victorian look.
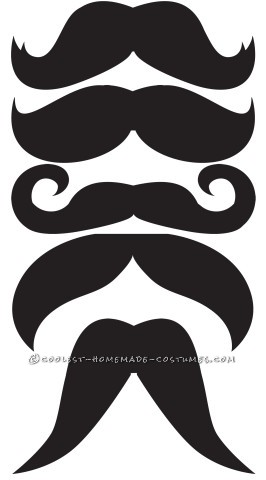
Mustache:
Using a pattern I cut out a mustache out of black felt but you can use a color to match your child’s hair. I used white eyelash glue to stick the mustache to my grandson. You have to apply eyelash glue and let it tack up for a few seconds before placing it below child’s nose. Hold till set. To remove just carefully pull away then wash off leftover glue with soap and water.
Cane:
I used a dowel and an empty toilet paper roll. I made sure I cut the dowel so it was at the height of the elbow. Paint and decorate with a knob or a curtain final or you can get really fancy and order supplies from a walking cane company. I used a toilet paper roll and cut it lengthwise then overlapped the roll by 1-1/2 ” and glued. I cut a hole big enough for the dowel through the overlap. I then took faux leather and made two small circles to cover each end (glued onto the roll). Then cut a rectangular piece of leather to cover the rest of the roll. I glued on the piece then when it dried I punch through the existing hole I cut out for the dowel.
I took another piece of leather the same size and sewed a hem all around. I then used grommets to make a type or corset cover over the handle. I only glued the piece at the bottom of the handle then laced the grommets together with leather string. I cut through the hole then with a glue gun, I placed glue inside the toilet paper roll then pushed the dowel through and let cool to form the cane handle.
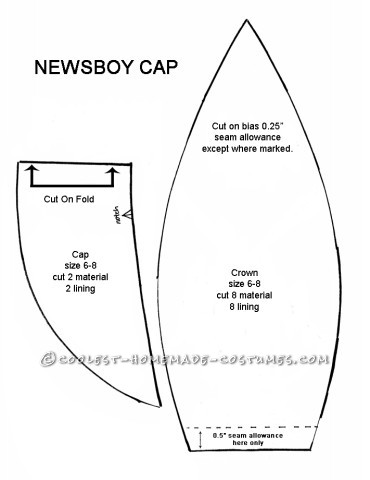
Newsboy Cap:
I took apart the jacket that goes with the pants to make the hat. If your outfit does not have a jacket you will need to purchase material and heavy craft weight fusible interfacing. Sew with 1/4″ seam allowance, except where noted. Cut all pieces as noted on the pattern. Take two crown pieces, right sides together, matching notches, and stitch along one long side. Press seam open. Align another crown piece, right sides together, and stitch along one long side so your crown now has three pieces. Press seam open. Add a fourth crown piece the same way. Press seam open. Repeat with remaining four crown pieces. With right sides facing, sew the two halves of the crown together along the long edges in one continuous stitch. Press seam open. Trim 1/4″ off the outer edge of interfacing.
Apply interfacing to each brim piece. With right sides together, sew brim along outer edge. Turn right side out and press. Baste raw edge together. Top stitch outer edge of brim. Lace hat inside crown lining, right sides of crown self and crown lining together. Starting at 1 1/2″ from center back, stitch IN A 1/2″ SEAM around perimeter of cap, leaving about 3″ open. Turn hat inside out. Roll the hat toward the lining, press neatly, and top stitch around perimeter of the cap. I purchased the goggles and adjusted the elastic to fit my grandson’s head then sewed elastic band to the hat so the goggles would stay on.

Related costumes:
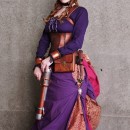 Original Steampunk Assassin Halloween Costume
  90+ Coolest Homemade Robot Costume Ideas
 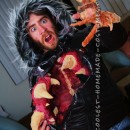 The Thing: A Homemade Costume Two Years in the Making
 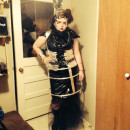 Steampunk Costume – Four Years In the Making
 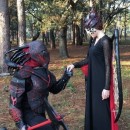 The Lava Queen and Her Guard Alien Couple Costumes
 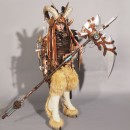 Amazing Steampunk Satyr Costume
 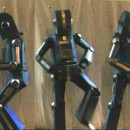 Awesome Articulated (Carboard!) Robot Costume with Tape Player
 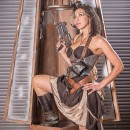 Sexy Steampunk Sheriff Costume
Your comment has been sent successfully.