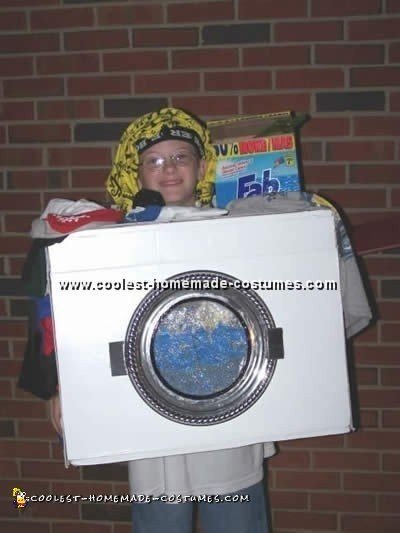
This was a very and one of the more original Halloween costumes to make. It only took me a good day in the floor to make it. My son, Tyler, came up with the idea and that is why we named it a Ty-Tag washer. We try to go very frugal so this was perfect because I already had the items at home and just had to construct it.
I used a silver platter you can purchase at party city for the rim of the door. I cut it out and added a clear plastic window from a cake serving tray lid. I already had the idea to use tissue paper to give the look of water then my son had the idea to use bubble wrap to make it look like bubbles. Everything else like the knobs and the chord in the back was made of oddball things around the house, such as duct tape, clear tape, paint, felt and some old clothes.
The fun part was making a box of detergent to put on the top. I mixed glue with grits and lavished that on top of some newspaper in the bottom of the box to give it height. Then I sprinkled detergent on top of that for the scent. I then placed the scoop in the glue mixture and allowed it to dry. Of course, all of this could not have been completed without my trusty hot glue gun.
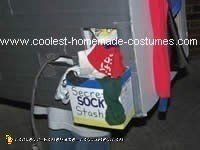
The funny touches I added were the best that just made it. There is a ‘Secret Sock Stash’ in the back to show where all those missing socks get off to. Notice how there is a Spongebob Sock there and another in the window of the door. Making it personal with the Tytag added a chuckle too. Having the clothes piled on top of it was perfect too.
Then we put Daddy’s boxers on his head and everyone laughed at that.
We will always remember this costume – it was one of the more original Halloween costumes we made. If we had not had to move a few months after fall last year, I would have kept it forever. I ended up giving it to someone though for them to use this year.
Total Spent: $0

Related costumes:
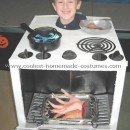 Coolest Homemade Toaster and Oven Costume Idea
 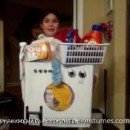 Coolest Washing Machine Costume
  Anything But Clothes (ABC) Party Costume Idea: Chipotle
 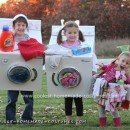 Coolest Airing Our Dirty Laundry Group Costumes
  55+ Coolest Homemade Fairy Costumes
  Coolest Box Fan Costume
  Coolest Homemade Cuckoo Clock Halloween Costume
 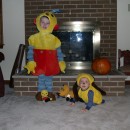 A Bittersweet Halloween
Your comment has been sent successfully.