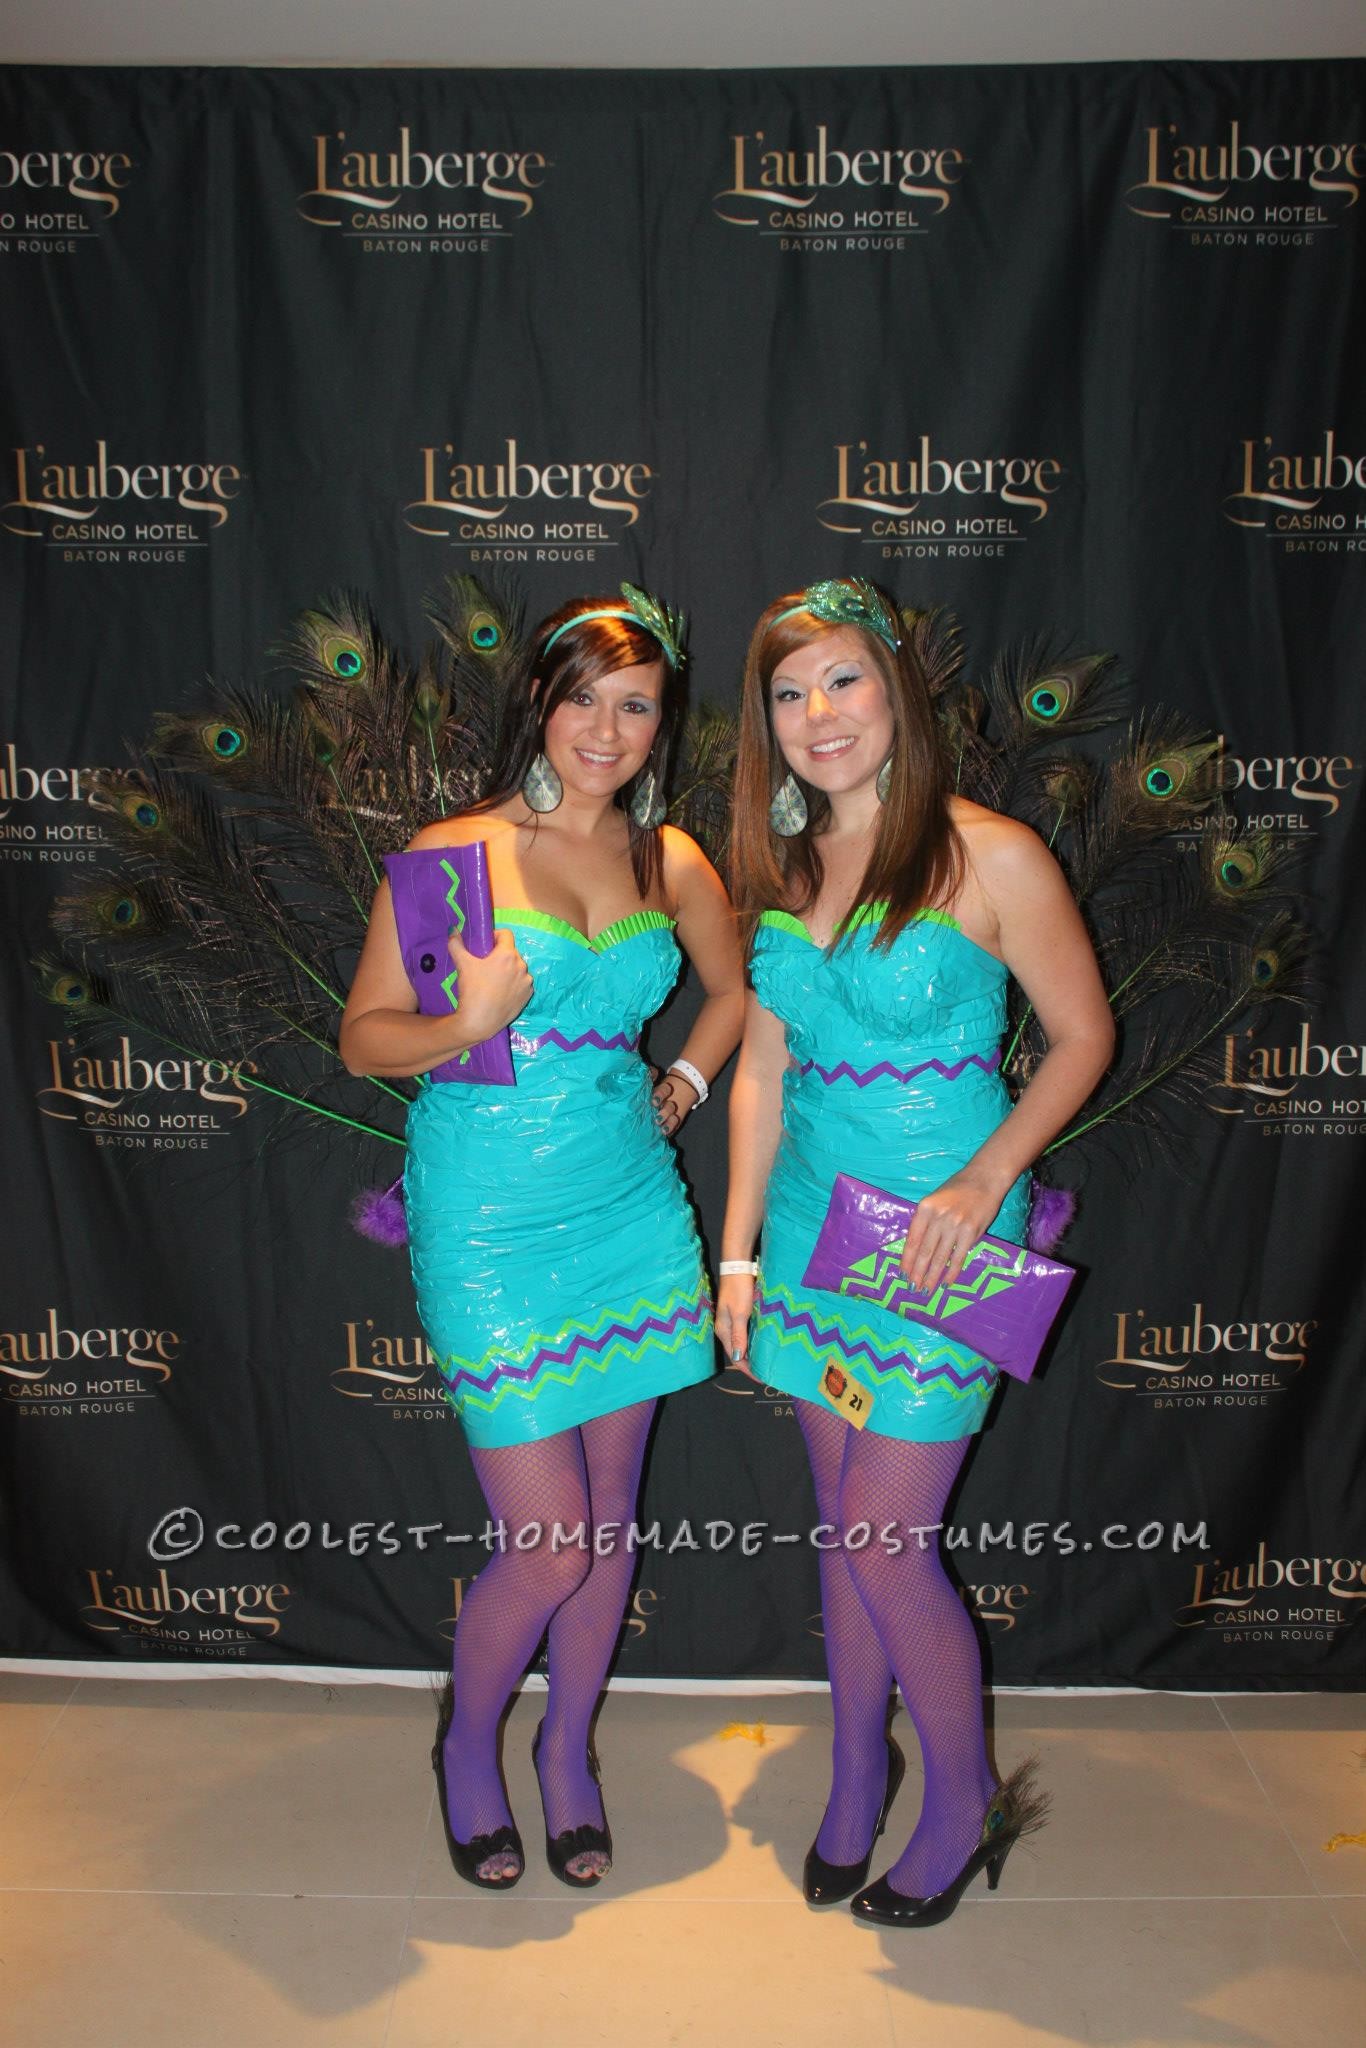
So Lindsey and I were searching on the internet for costumes ideas. We came across a peacock costume, but knew we couldn’t just go out and buy any ordinary store brought costume. So we started thinking, and we came up with a few ideas(some good ones, some bad ones and some we knew wouldn’t work). We then decided on making it out of duct tape. So we then went on researching ideas on how to make duct tape dresses. We knew people made prom dresses out of duct tape, so we figured it couldn’t be that hard. We saw a lot of ideas, and we came up with some of our on. We knew we wanted to use blue and green. So off to Walmart to get the duct tape. Each roll was $3.33.
We knew we didn’t want to just start taping ourselves, so we decided to tape it to a really big shirt. (Thanks to Lindsey’s dad for having a lot we can use.) We cut the shirt to make it form fitting and used duct tape to close it together. We made an outline on the shirt for a “sweetheart top” Then we started taping,going around and around. We came across a problem that our shirts weren’t long enough, so we cut another shirt up to add length, and continued taping. We also wanted to fit back in our dress and be some what comfortable, so we pushed out our stomachs while we were getting taped.
We found it very hard to breathe as we were taking, so we didn’t make it so tight as we got to the bottom. We also found it very hard to bend down or over, and saw many problems coming up. Once we go to the bottom, we had to start on the top. We knew we wanted to make and attach some ruffles to the sweet heart top. We started taping from the back and followed the heart we drew around and cut it in the middle and alternated sides. The design it made by alternating sides was very cool.
It took just over an hour to finish taping. We then used scissors to cut the dress off. We cut from the top of it to about 10 inches from the bottom. We had this idea that we would then tape or sew a zipper. Well after getting the dress off, there was no way, that idea was gonna work. It was just hard to get where we cut for it come back together, so we had to change our plans. We came up with making holes, and using ribbon which I already had to lace it together. We did reinforce where we cut it with another layer of duct tape on both sides. This part did take a long time to get the ribbon through a layer of t-shirt and several layers of duct tape. We found using a knife and scissors worked best. After, we cut off the extra blue t-shirt from the top of the shirt.
The green fabric was used to cover up our back. We bought a square piece of fabric from Hobby Lobby for $1.00 and cut it half. We just glued it inside the dress on one side and flapped it over the ribbon part.
We then started making the green ruffles. (This was one of the things Lindsey was really good at making.) We just took too strips of about 3 feet of the green duct tape and taped it to each other. We made a fan design by going back and forth with it. Then we hot glued that to the top of the dress, and used scissors to trim it down to size.
We knew we wanted to incorporate chevron patterns into our costume. (Again, something Lindsey was very good at making.) She stuck the duct tape to a piece of construction paper and made the designs then cut it out, and we decided on one chevron stripe at the top and 3 at the bottom. We hot glued this to the dress. On Halloween night, we did notice that since we used hot glue for this, that they were starting to come off. If we were to change anything, next time, we could use clear tape to attach the chevrons instead of hot glue.
We knew we wanted something for our head. We first thought of a birdcage headband thing, but Lindsey found these peacock Christmas ornaments at Walmart for $1.97, and we knew that this would be perfect to glue to a head band. We found very shiny blue headbands from the Dollar Tree that came in a 2 pack.
We originally wanted lime green stockings, but after going to two party stores and neither of them having them. We settled for purple ones which tied in with our purple chevrons, ribbons, and our tail.
Now on to our tails. We were gonna buy peacock feathers at Hobby Lobby, but after finding out they were $3 a piece. We searched online and found some on Ebay. We got 25 feathers for $15 plus free shipping. So we each ended up with 12 feathers which worked out perfectly. Anymore and we would have more trouble than we did getting through doors and stuff.
As we were going through the Christmas section at Walmart, we saw these mini sparkly purple tree skirts with feathers attached for $2.97. We knew we had to get it and use it some how. We only bought one and cut it in half, so we each ended up with half a circle. We cut out a triangle out of a piece of cardboard and attached our feathers, and used the tree skirt to hide the cardboard and the end of the feathers. While at Walmart in the Christmas section, we found a lot of peacock ornaments. (Thank God for stores putting out Christmas stuff in the middle of October.) We did find these circular peacock ornaments which we used on our tails for $1.97 each.
The next part was tricky. Attaching the tails to our dress. We knew we needed them to be able to be removed. So we found industrial strength velcro strips from Michael’s. Can’t remember how much we paid for them, only that our receipts were very long for only checking out one item. We attached the velcro to the back of our tails and then attached that to our dresses. Finding the perfect spot to attached them was tricky because we still wanted to be able to sit down without smashing them. So we attached them right above our butts.
For our shoes, we found small peacock feathers in the jewelry department at Hobby Lobby. It came with two in a pack for $2.99. We used hot glue to attach the feathers to a clip and then clipped them to our shoes.
We found peacock earrings from Z Outlet for $1.00.
We needed some kind of way to carry our license and money. So what better way than a duct tape clutch. We used another one of Lindsey’s dad’s shirts, and used the leftover chevrons and duct tape. It was so easy. We just used one of our clutches we had as a guide line. Basically it was just like making an envelope, and we used Velcro for it to stay closed.
And that’s about everything. It was very fun to make everything, and even more fun to wear them. We took off our tails to drive and go to the bathroom and the Velcro strips worked out perfectly. We did have a hard time bending over and sitting down at some places, but we did manage.

Related costumes:
 Top 10 Stunning Homemade Peacock Costumes to Inspire Your DIY Costumes
 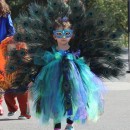 Beautiful Peacock Costume for a 3 Year-Old Girl
  Linda’s Awesome Homemade Halloween Peacock Costume
 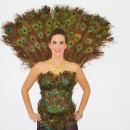 Amazing Peacock Costume – Entirely Homemade!
 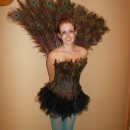 Sexy Homemade Peacock Halloween Costume
 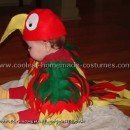 12 Coolest Homemade Parrot Costume Ideas
  Majestic Peacock Costume
  Dazzling Pretty Peacock Halloween Costume
Your comment has been sent successfully.