First of all – Be prepared for this to take several months of weekends, so start in advance. Once created, this minion will be a two person job to dress into. You will want to know someone who can sew and someone who can weld. List of requirements is listed at the bottom of the page.
Making the Head
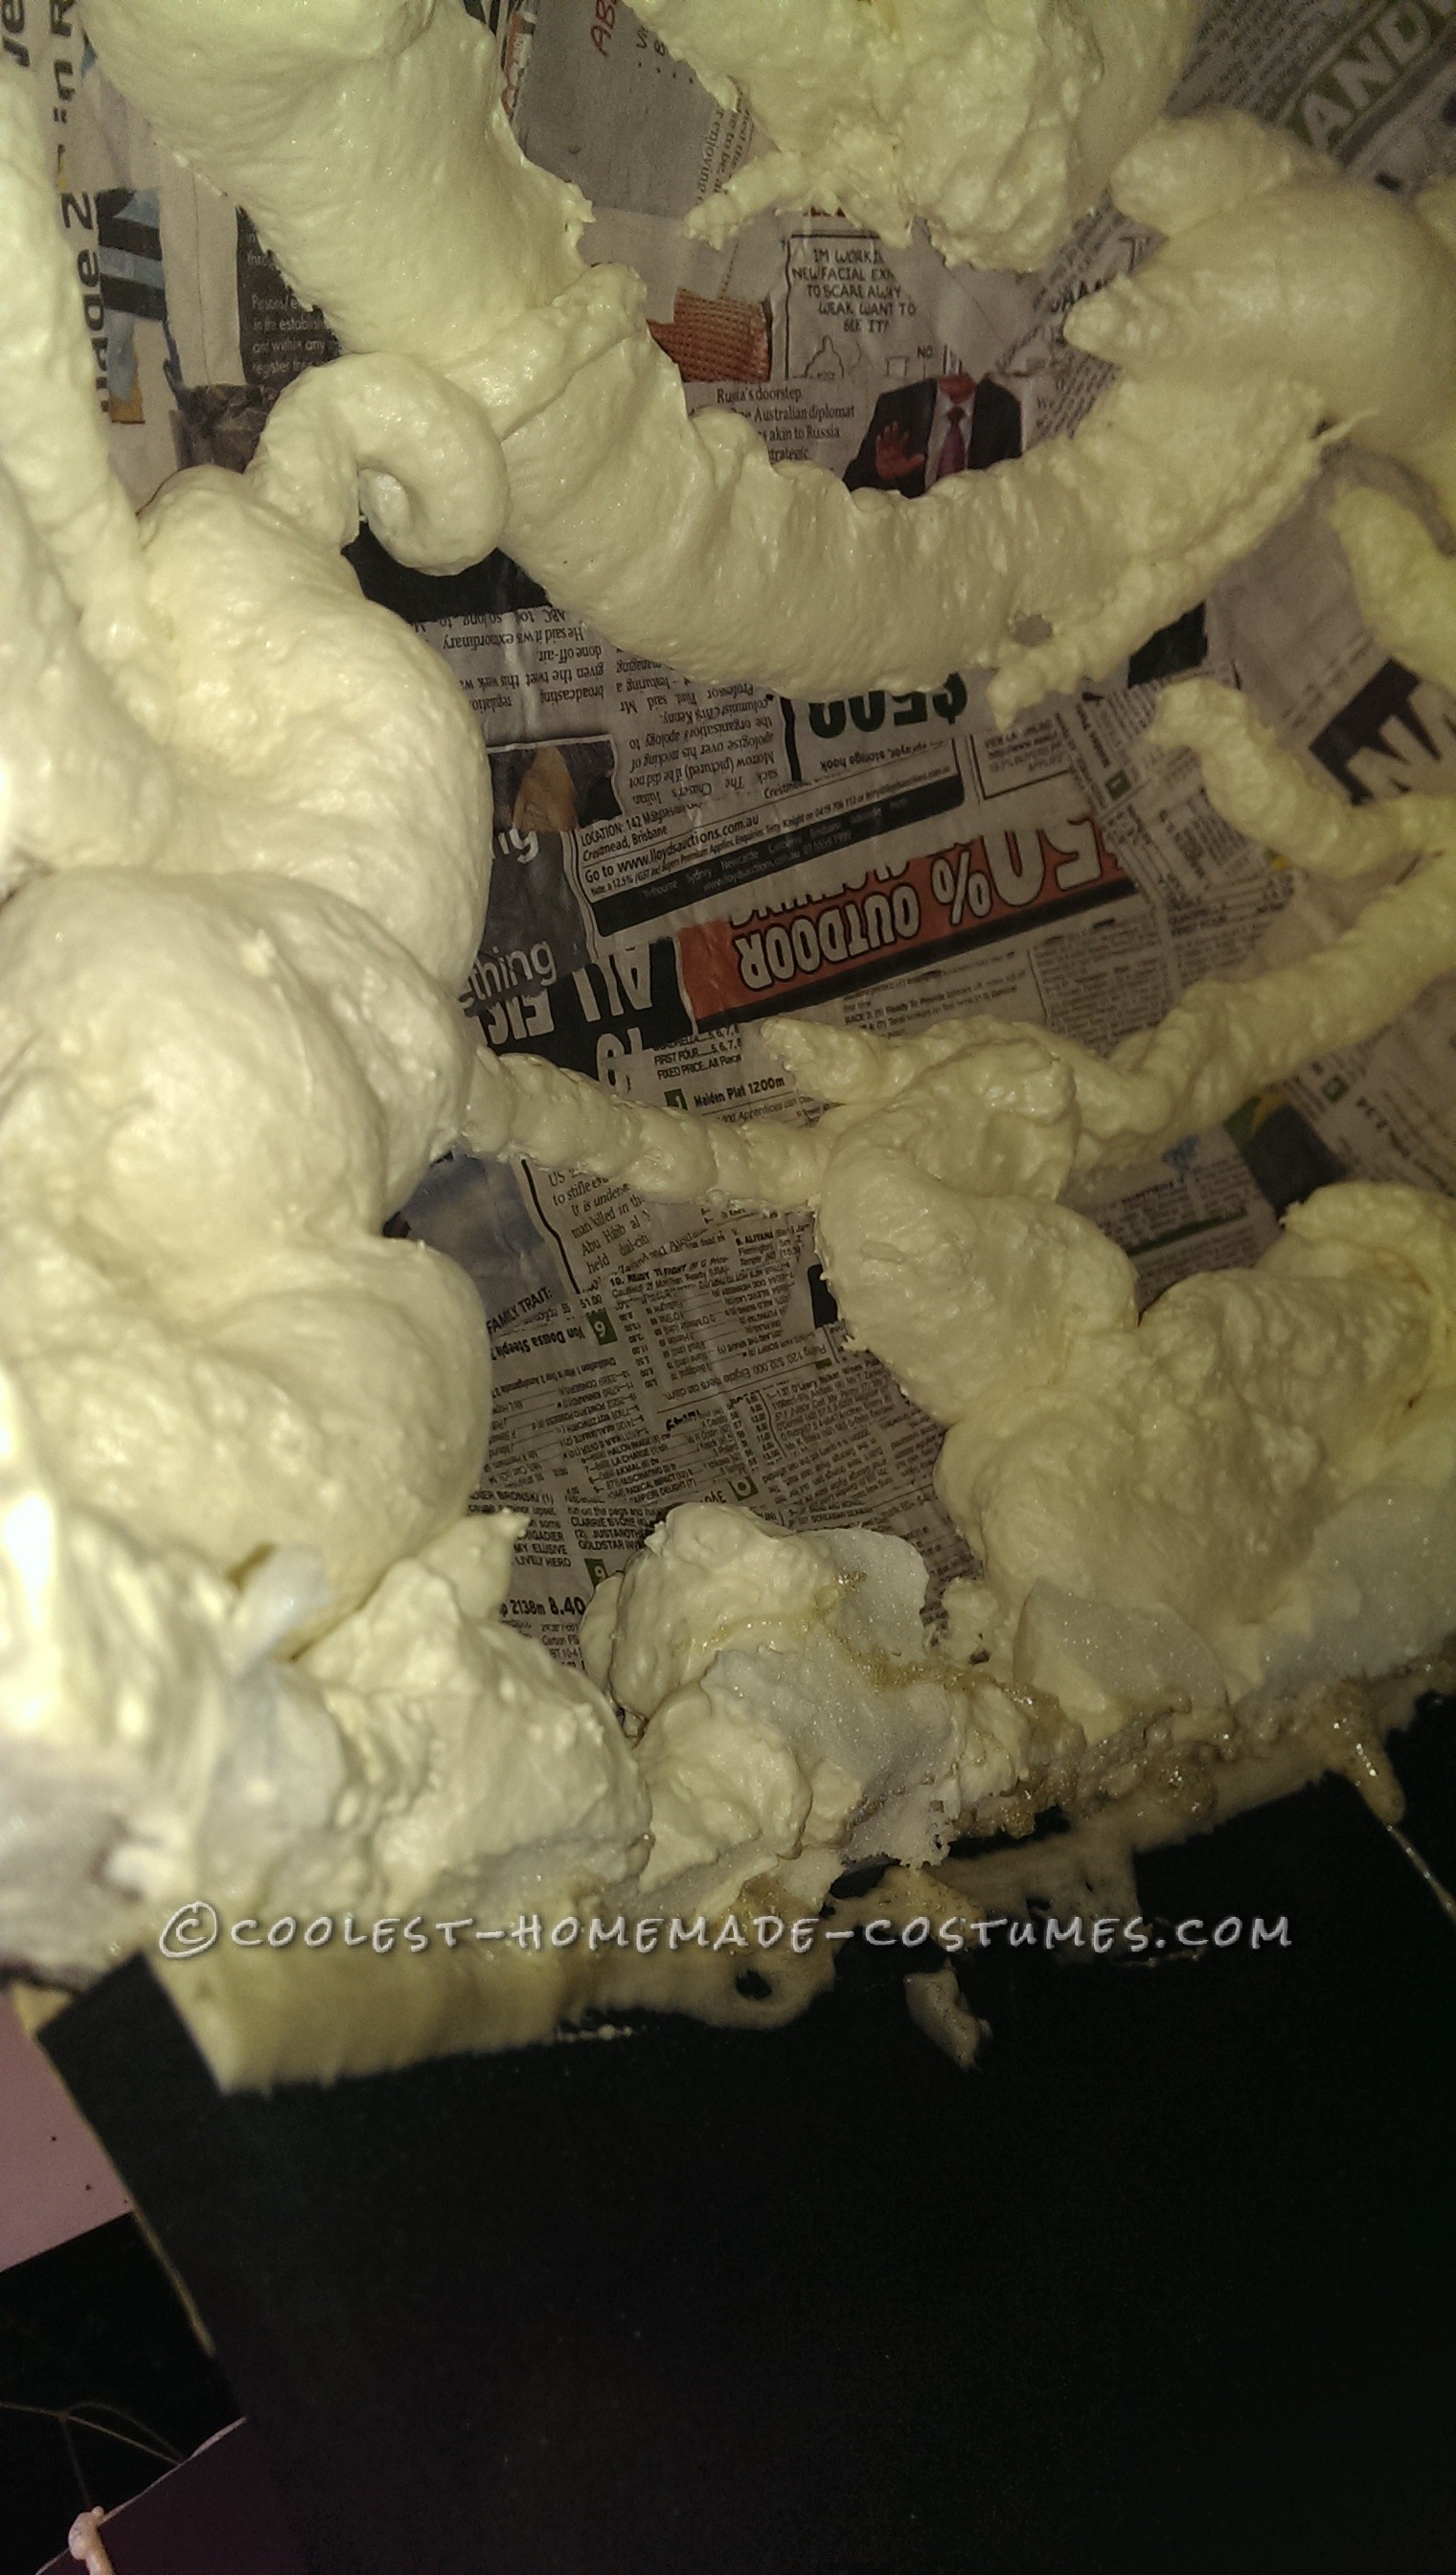
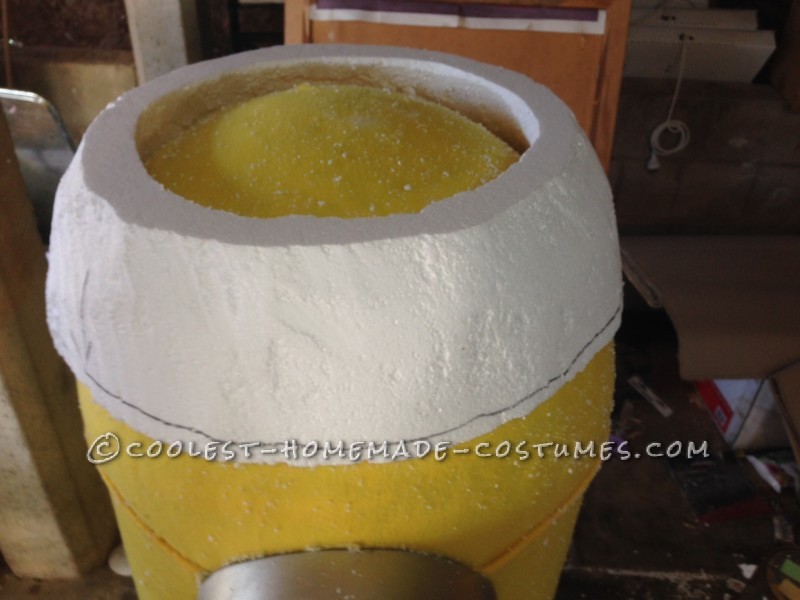
To create the head blow up an exercise ball and cover with newspaper and use the Wallpaper glue as the adhesive, so it won’t go moldy. About 25 layers should be sufficient, just allow each one to dry in between. Slowly deflate the exercise ball and cut in half trying to keep the exercise ball in tact. You will now want to spray the interior with expanding glue, this will make it stronger. Make sure you have expanding glue around the interior rim. When dry cut a groove out of the glue around the rim, this is where the eva foam will sit. Paint several coats of Fiberglass resin onto the paper maché, this will make it waterproof.
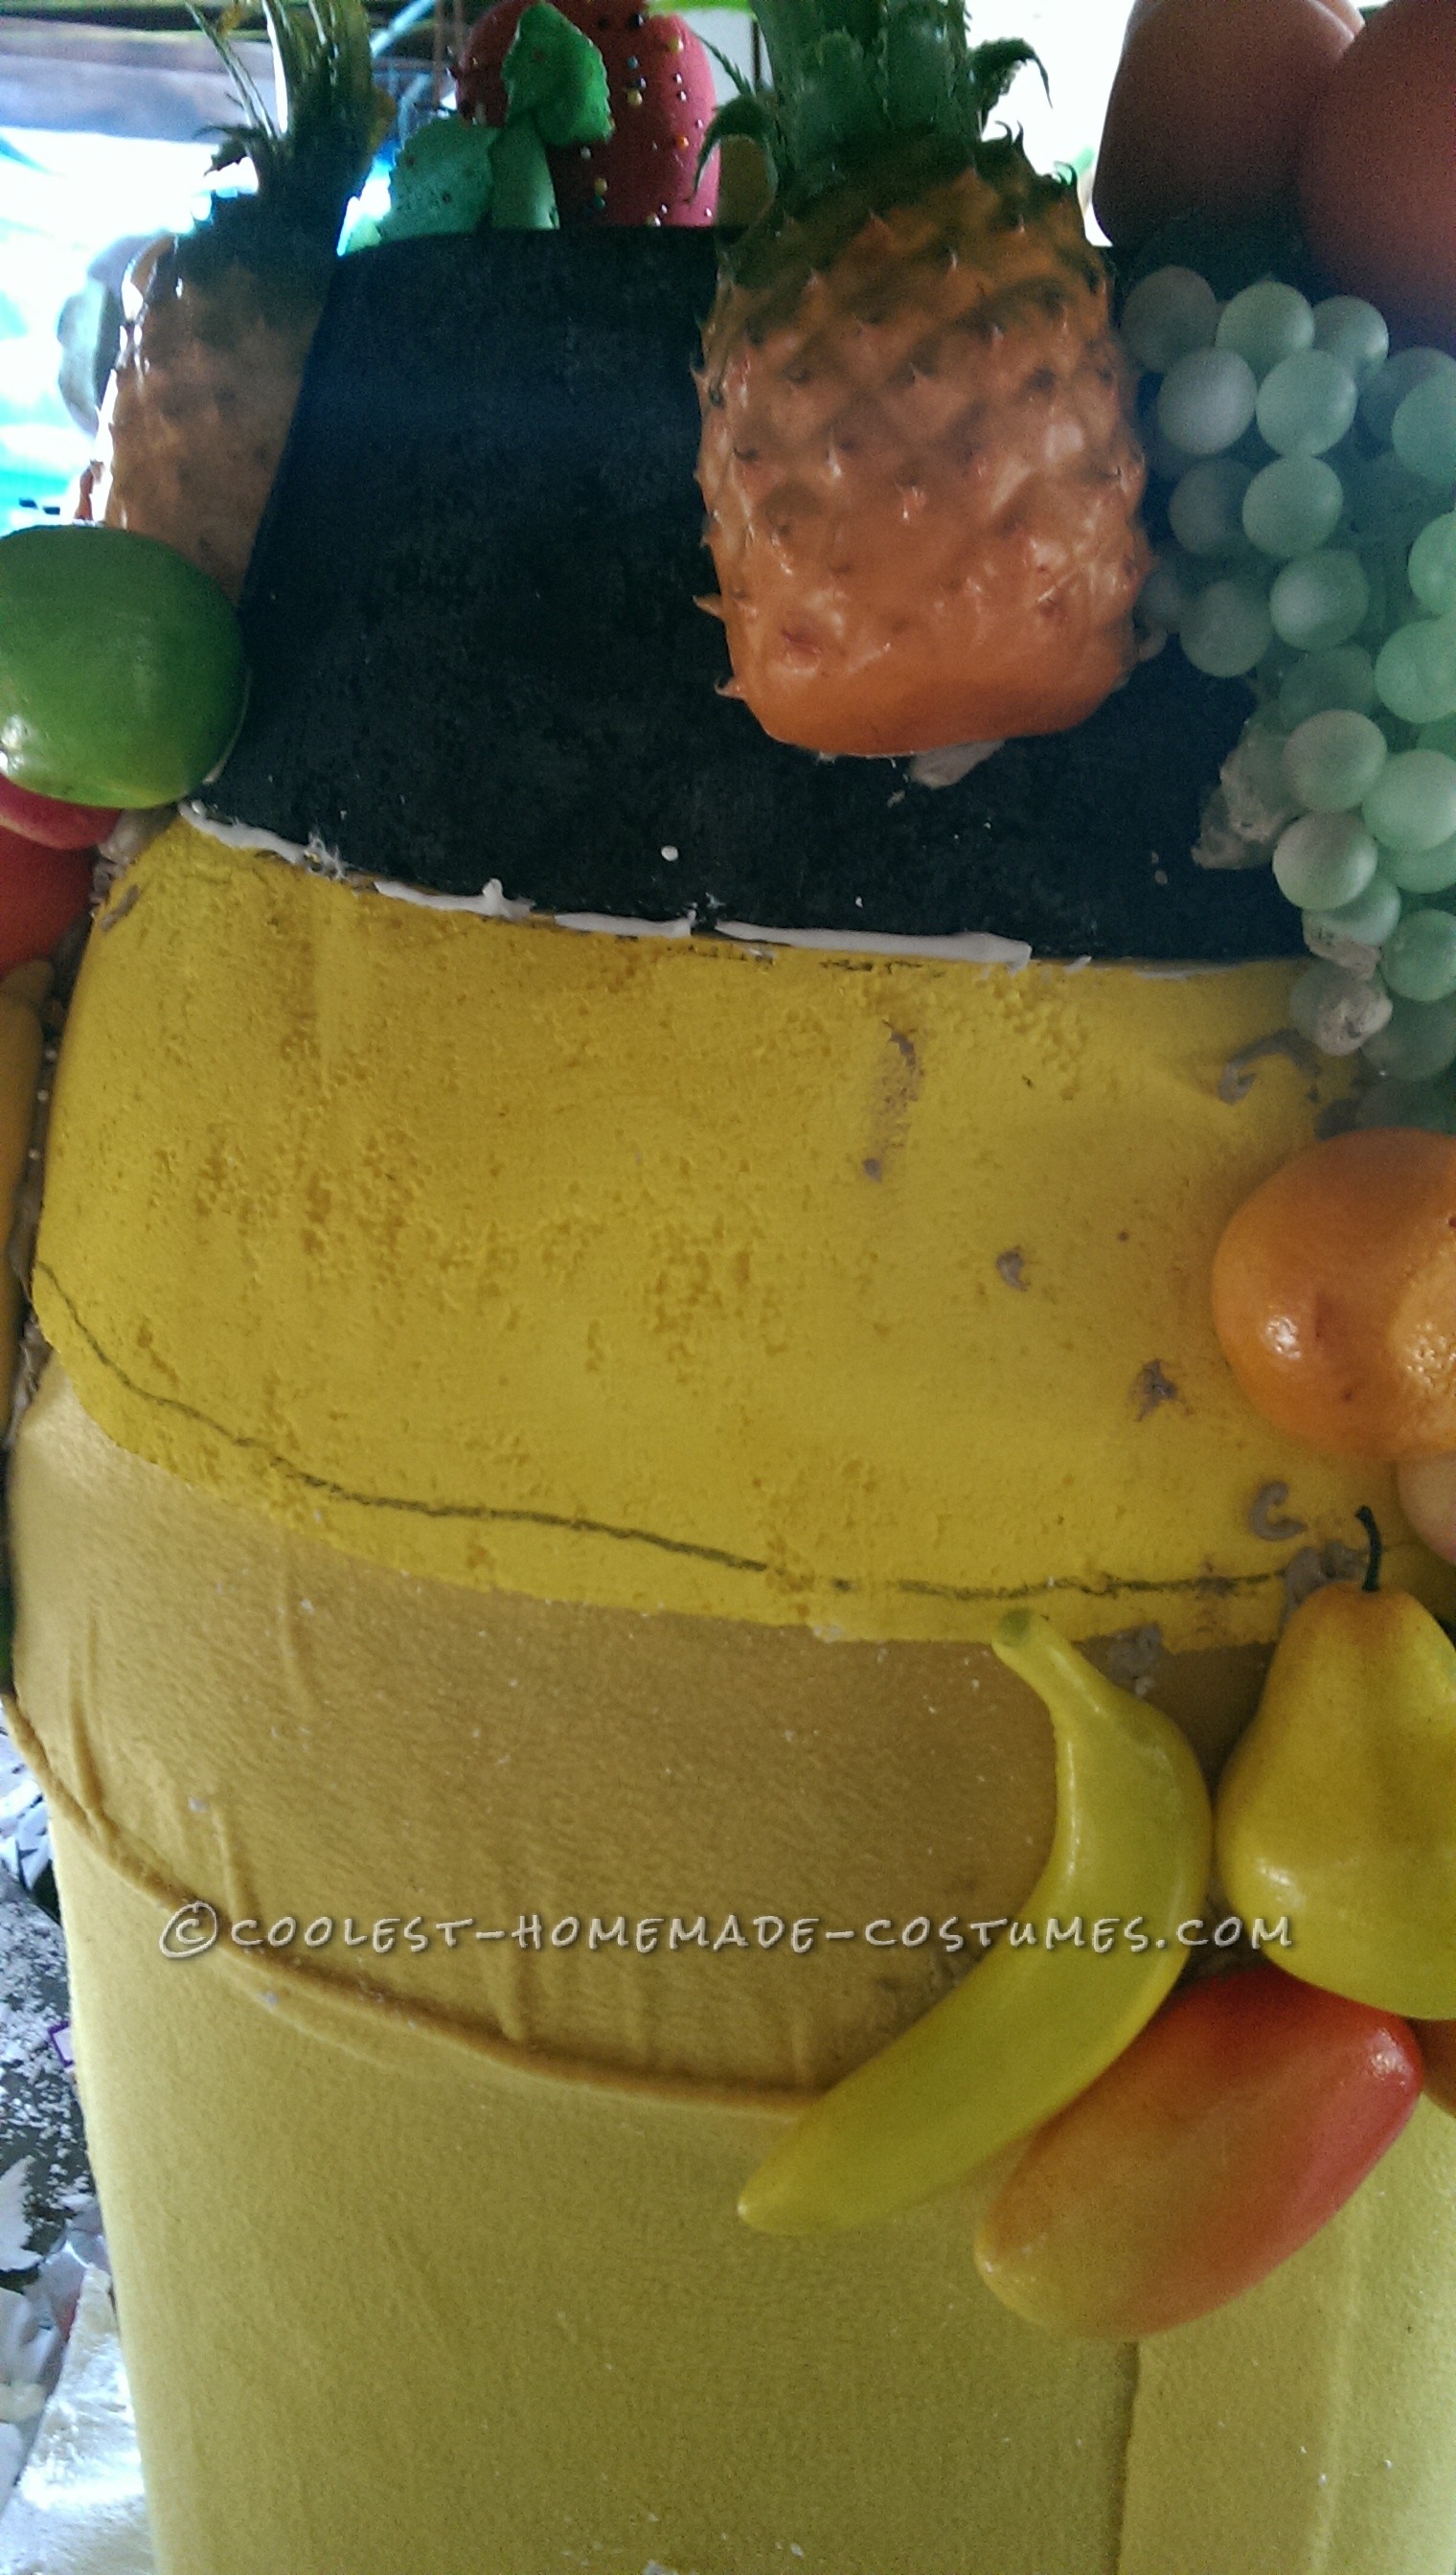
For the minion with the fruit on his head. You will want to cut a foam ring and then add another piece on top, creating a small mountain to cover with fruit.

Making the Body
Head circumference will be the width of your body. Length will depend on your height. Where the join meets the head is where you eye will be (where you will see out of). So, the body will be about 3/4 of the height. You will need a quarter of the body for your pants. Circumference of Head = Width of your body. Once you cut the body length and width glue the seam together with Automotive Trim Adhesive. Once dry, glue into the groove made in the head.
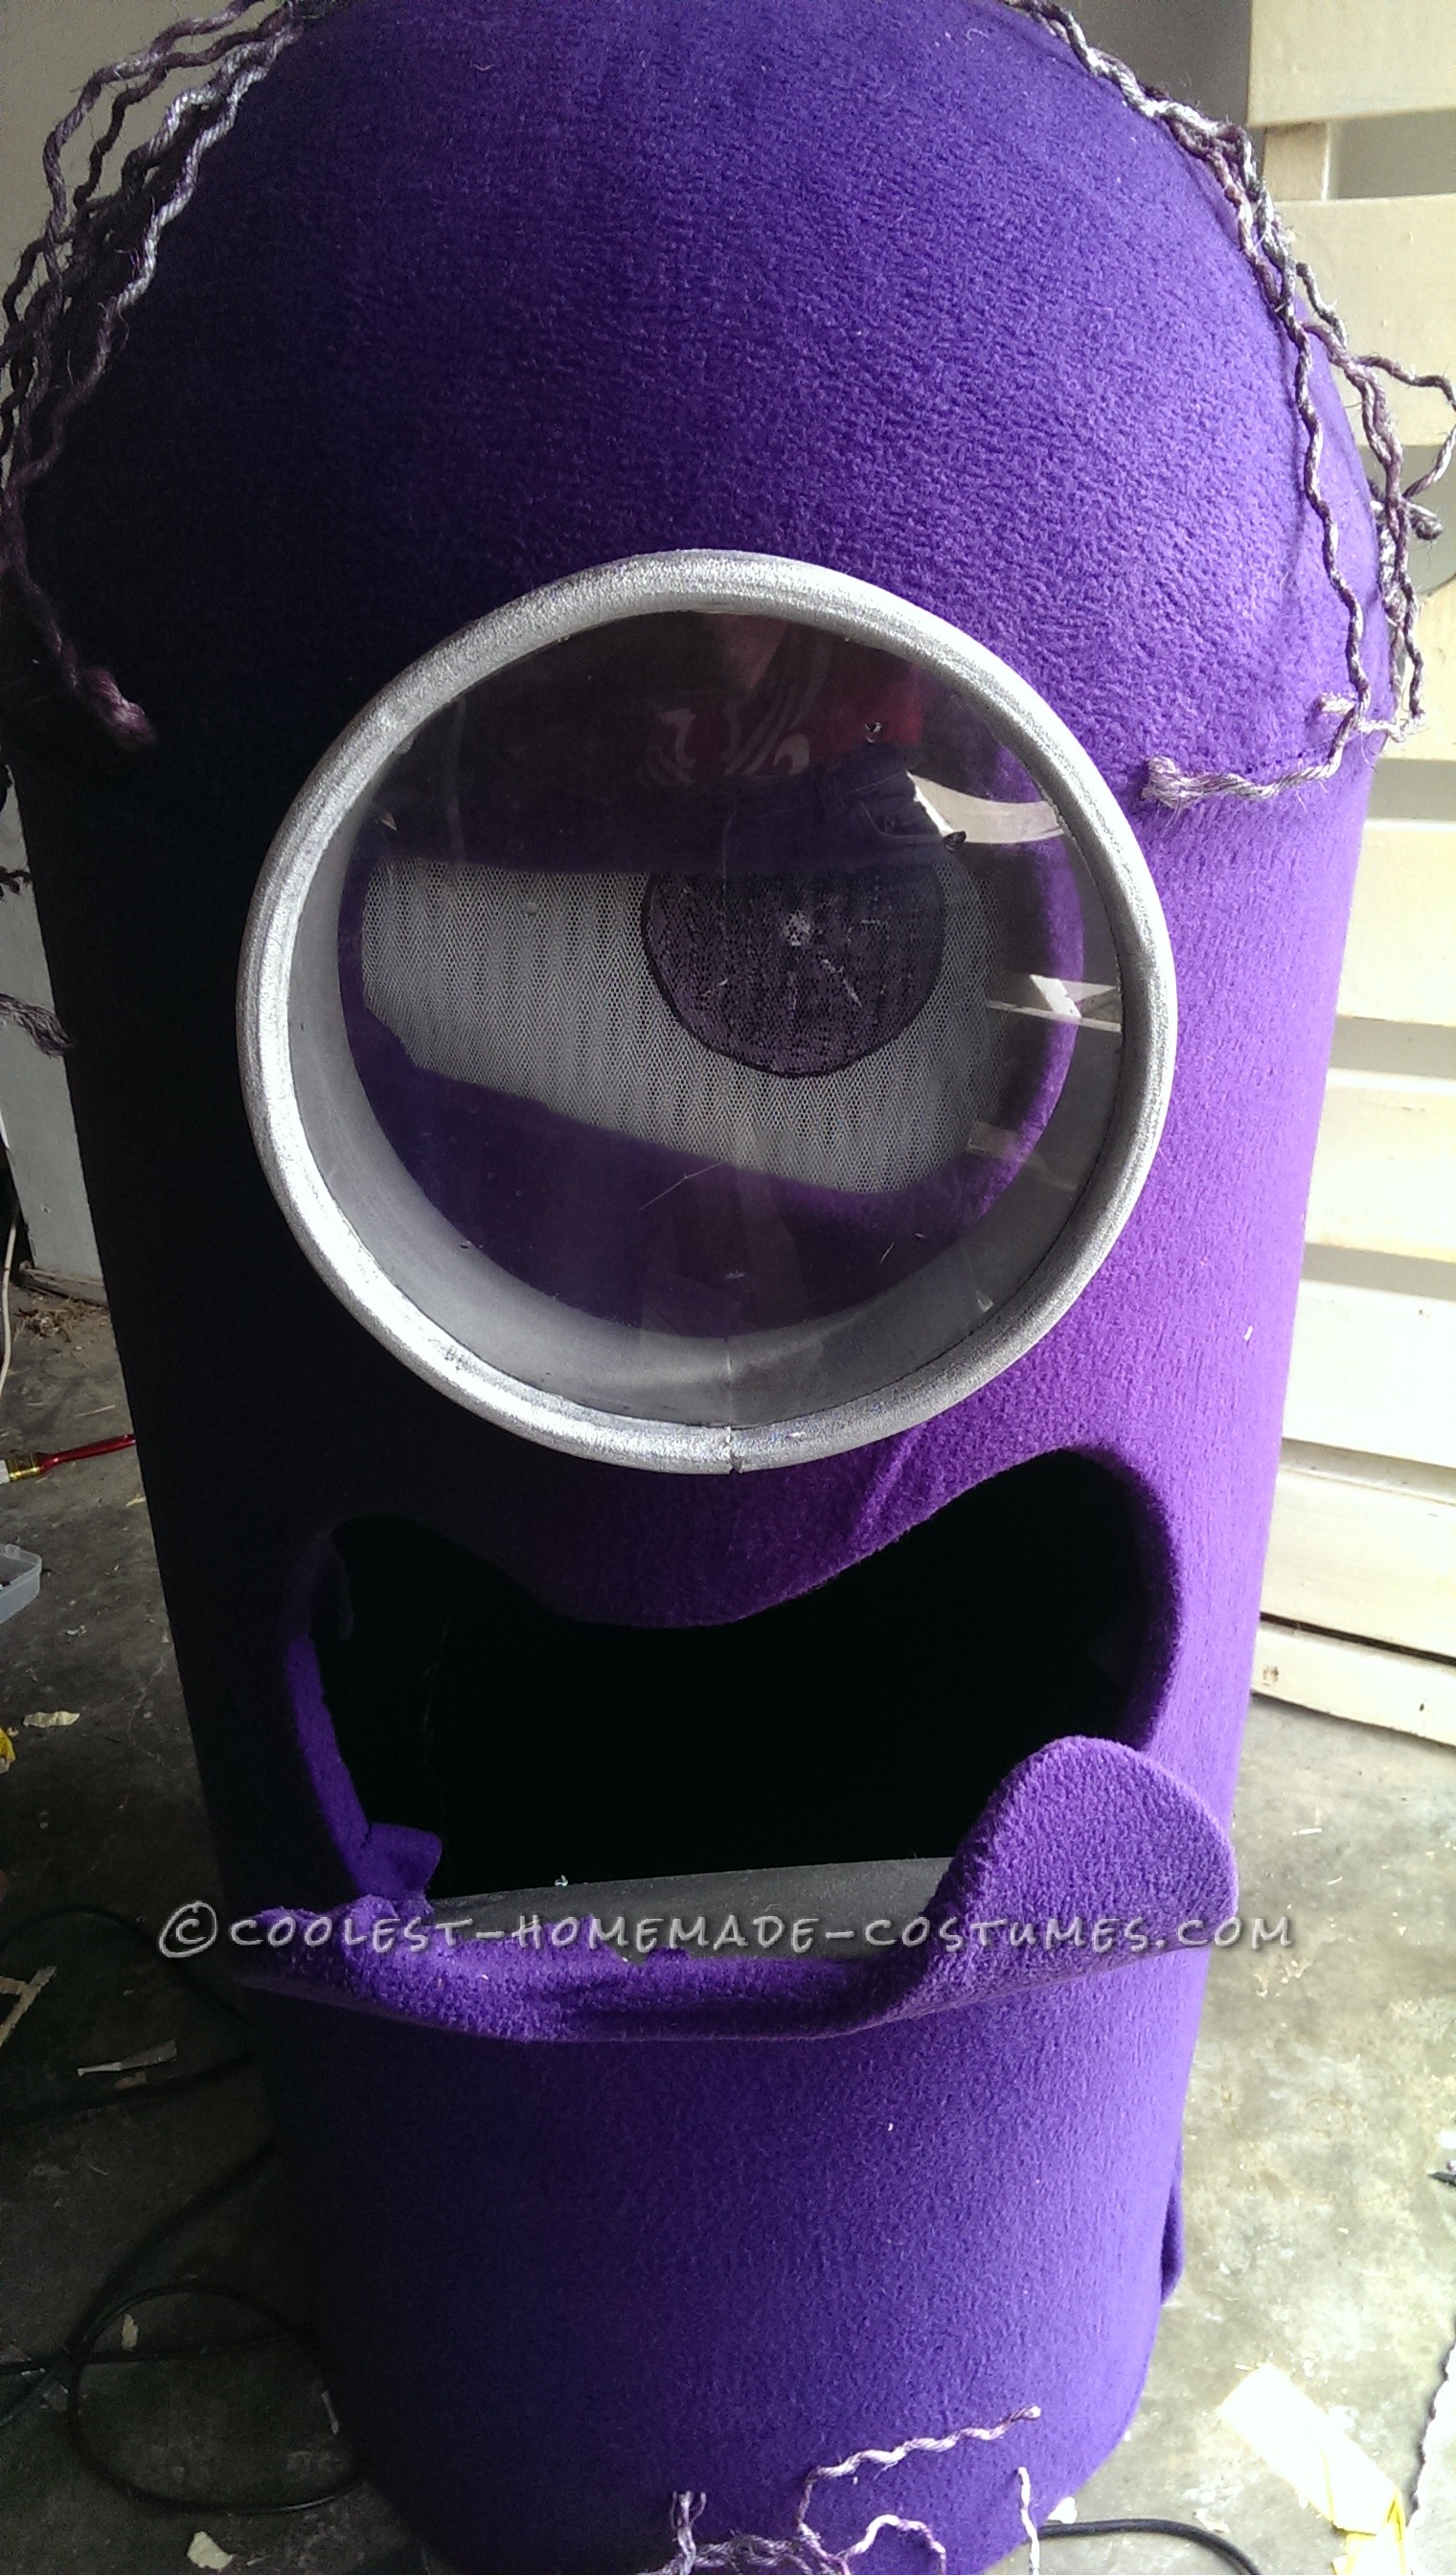
Next you will want to cut out the eye. Part of the head will be his eyelid. The bottom of our eye was at 7.5” from the rim and the circumference was 9.5”. Only 3/4 of the eye was cut out from the foam. See below the Evil Minion eye and Happy minion eye shapes.
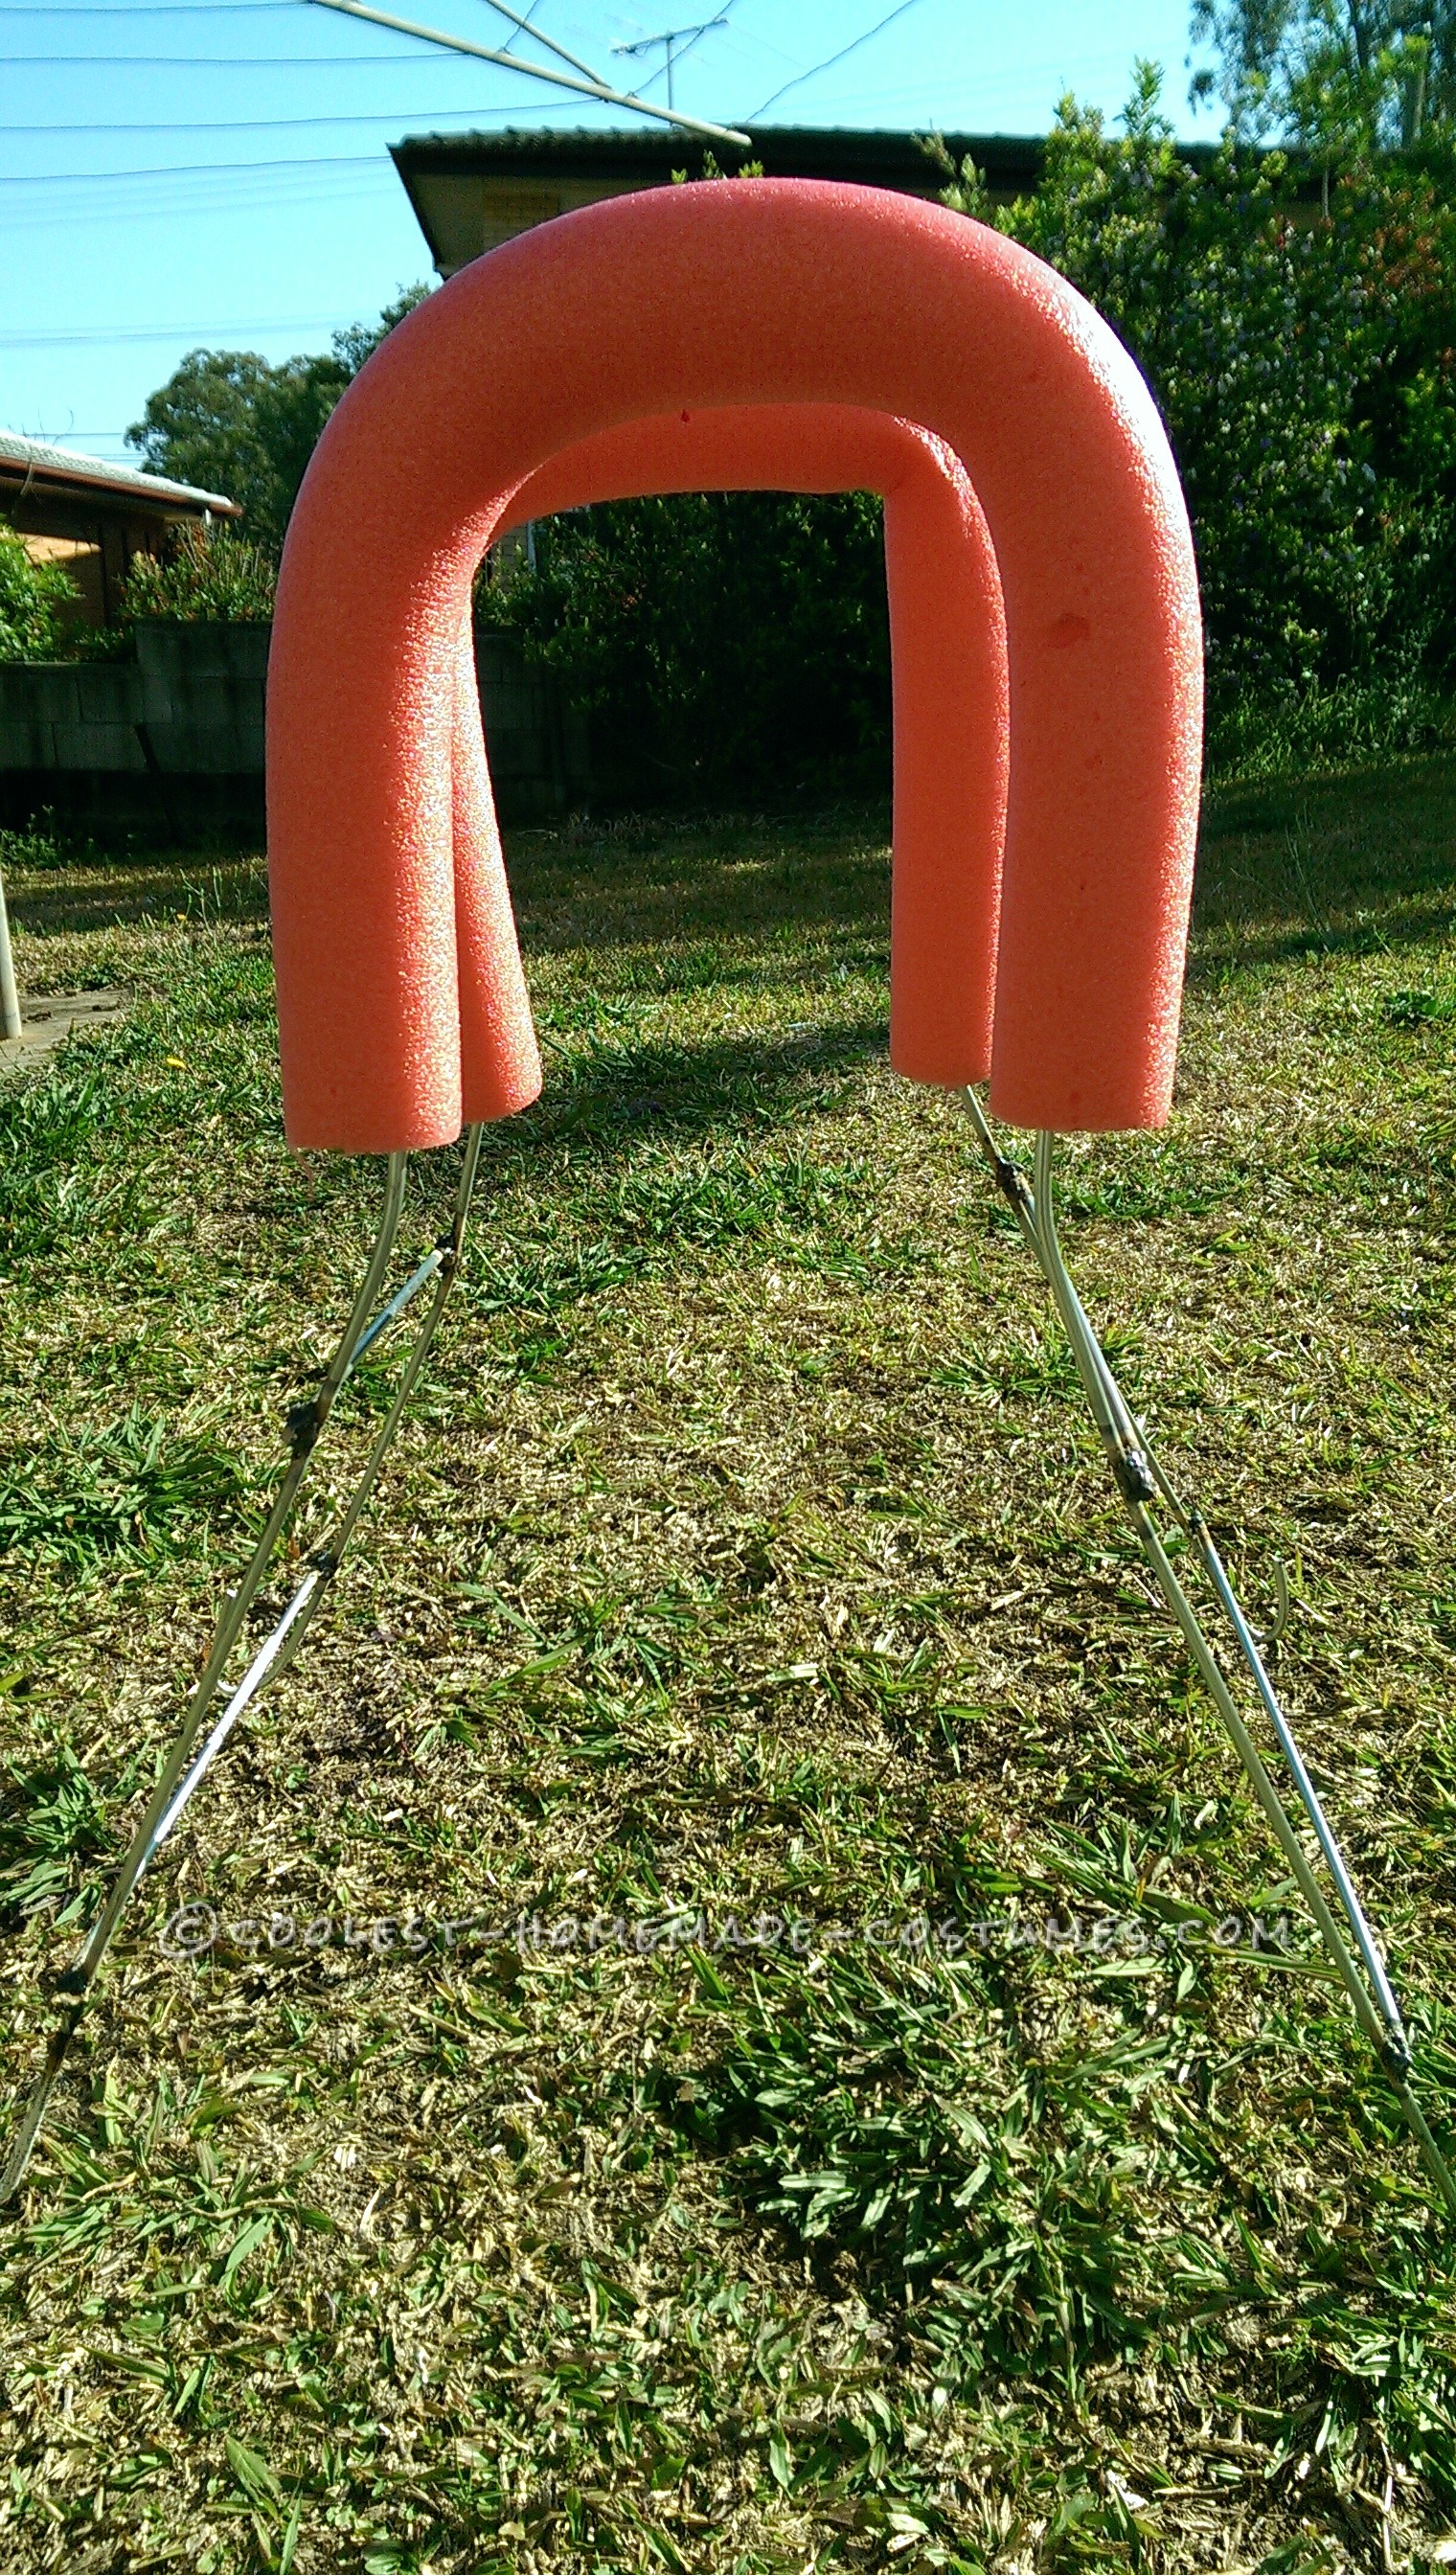
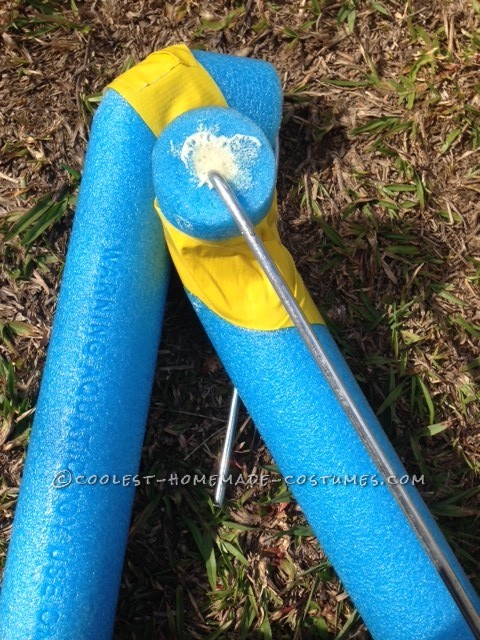
To reinforce the body we used metal strapping that is normally used to nail wooden joists together . Make a ring the same diameter the same as the minion and fix with Tarzan glue. at the base of the minion. You can bolt together until the glue dries. Shape metal rod to make a u shape, that will still across your shoulders. You will need to adjust to suit your height. Use pool noodles as padding for your shoulders.
For your arms you will just need to know where you wish to place them (see Arms section).Now you will decide where to place the mouth. Draw on the eva with chalk and cut out. If you are making a evil minion it will be slightly different. Cut a grimacing mouth line, this is where we will use the heat gun, to shape the minions mouth into a snarl. The eva rubber will heat easy enough to mould.
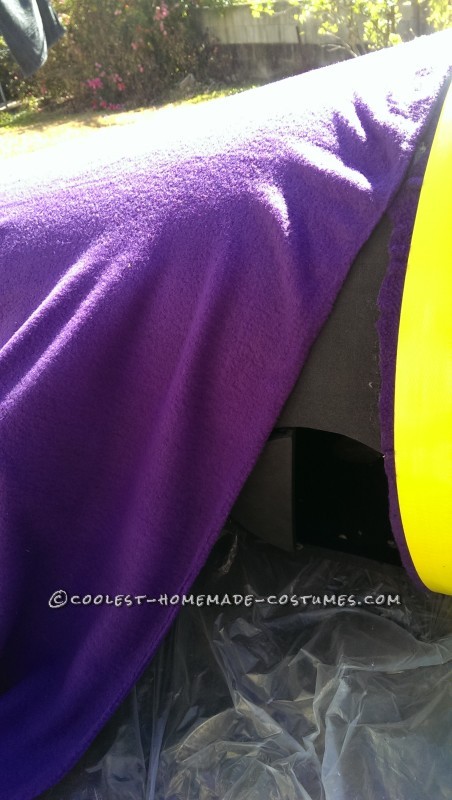
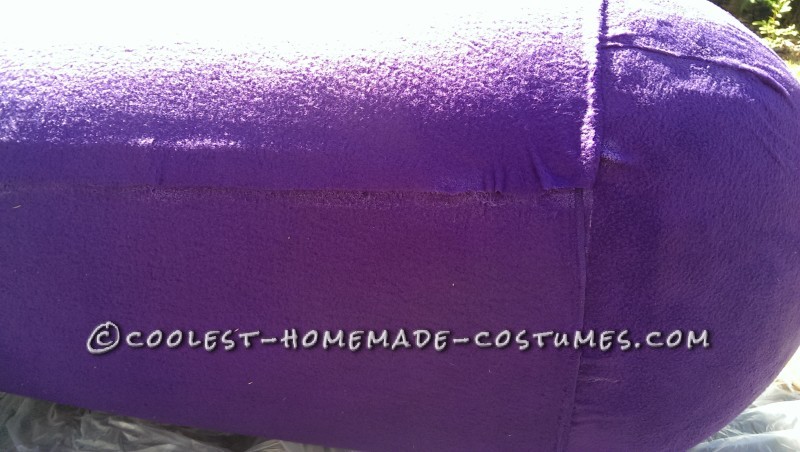
Now we will cover the minion using the adhesive spray and fleece. Note this MUST be fleece and not felt. The fleece will stretch. If you have made a evil minion cover his lip first (see picture). Cut underneath the lip. To start to cover the body start at the back and roll the fabric around spraying and stretching the fabric as you go. If you can use the selvage of the material on the rim. (Selvage edge of fabric that prevents fraying). Cover the eye holes, arm holes and mouth as you go.
Make sure your seams meet correctly at the back and spray well. Next where the holes for mouth, arms and eye are make a cut and make several slashes (see above picture) so that you can easily glue the fabric back with the least amount of gathers.
Making your eyeball, measure some tule just over the length of your eye and make sure you have two layers. This is enough to see through. Spray with white paint. Now for some creativity. Draw on the tule a circle and paint your eyeball with acrylic pain. Once dry glue into place.
Attaching Fleece
All Fleeced Up
Making the Goggle and Headers
The Goggle will also be made of eva foam. BEFORE you glue the circle together cut into the foam (not all the way through) where you want to goggle lens to be. Once you have your circular shape you will want to sandpaper the hard edge and soften it for a rounded edge. Cut Spray several times with chrome paint.
Next cut the Styrofoam balls in half and paint three times with white acrylic. Cut our your lens from either plastic or perspex. We found a framed picture at the local flea market that used plastic instead of glass. Put some glue into the cut you made and insert the plastic lens into the goggle. Glue your Styrofoam balls onto the goggle. Place your goggle on the minion to measure the length of your goggle strap. Glue the goggle and strap in place. Cover the rim with the strap if you can. You may need to sand the Goggles back to make them fit flush when you glue them on. Spray the rim with Contact adhesive (Careful not to get on your lens). just on one side. Position in place, this will keep it semi attached. With a paint brush carefully place Tarzan grip under the rim.
Hair / Fruit
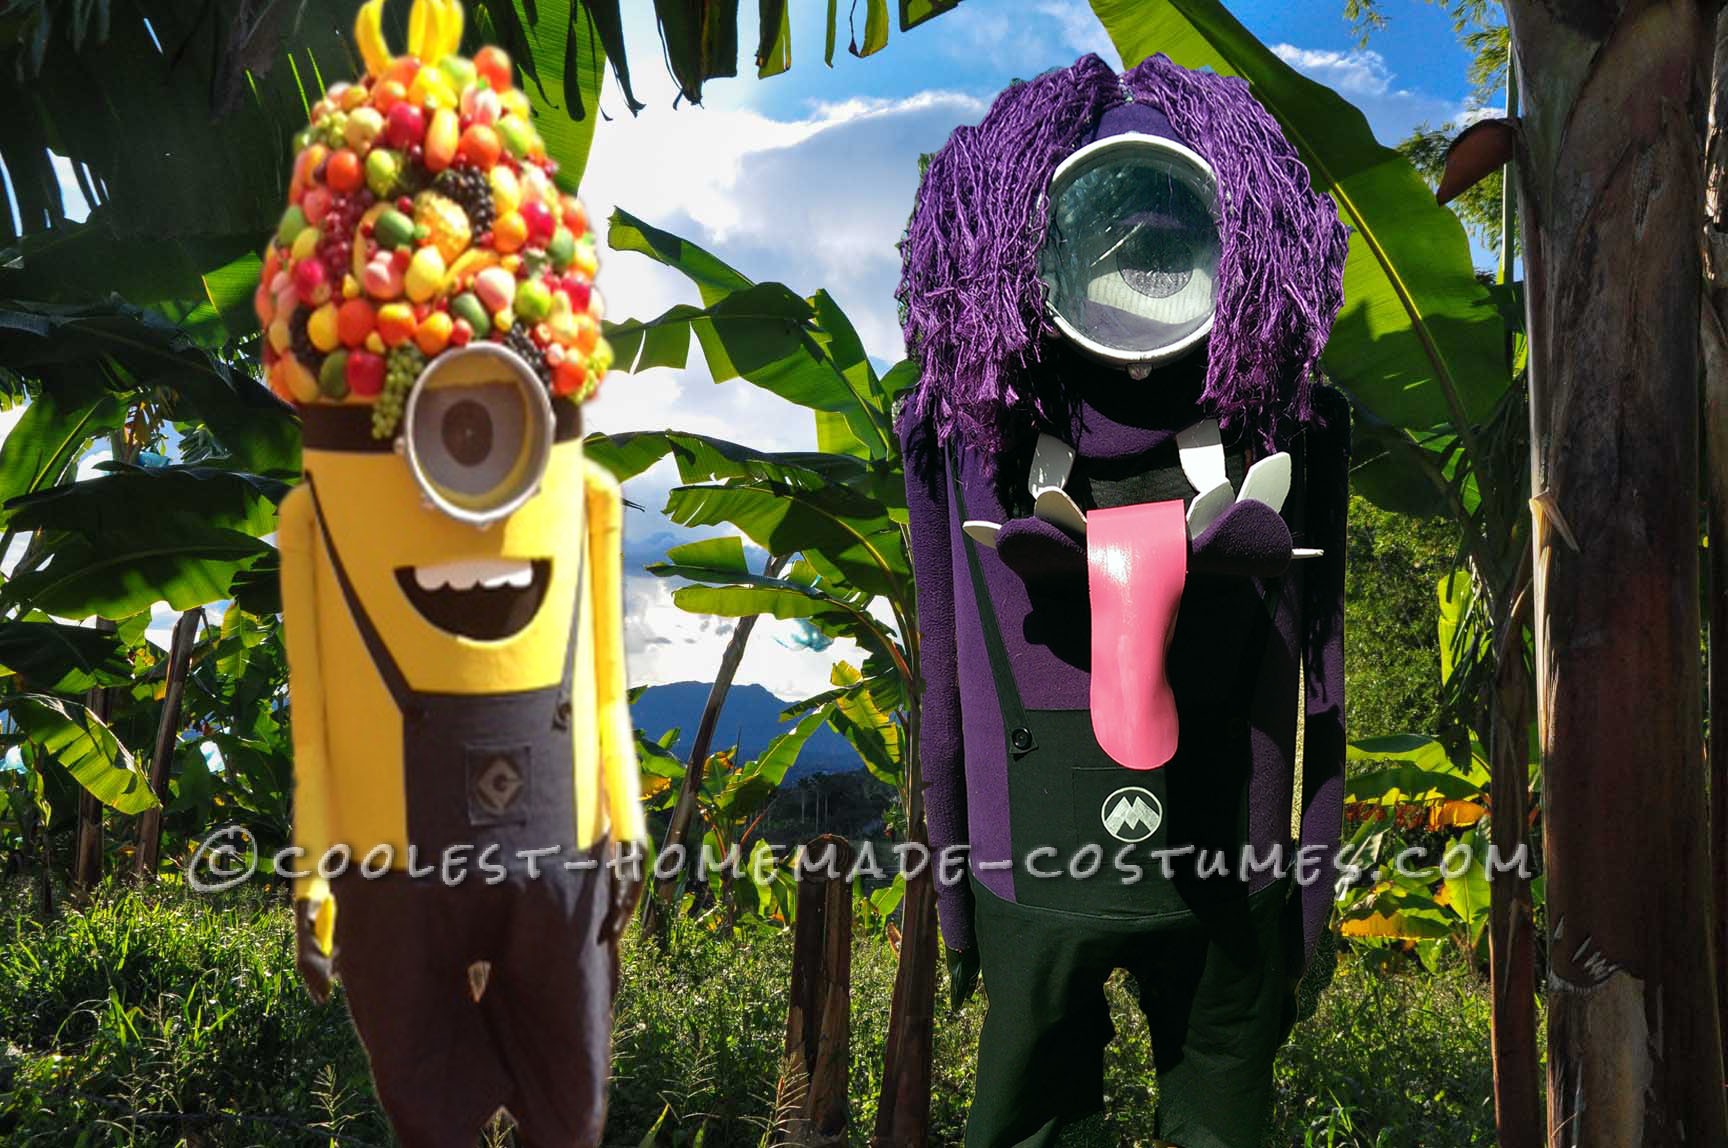
Evil Minion Hair – We used “Sisal Rope Twisted 8mmx10mm”, cut at lengths of 23”. We died this with “Gold Cross Fabric Dye- Violet”. It’s a High temperature dye, which means you must boil it to make it work. We found it to be the perfect colour. But if you find a better choice, use it. When starting to attach the hair we tried several different ways, but found that staples and glue works best. The staples will fall out but the rope will be glued in place.
For the Good Minion we sourced fruit from Cheapie Stores and the internet, you will need buckets of them. Remember if you make this minion you will be top heavy. Fill in all the holes with small fruit ie: strawberries and cherries
Head Cap
Making the Arms and Mouth
Arms
If you want a bend in his arm you will need to cut you pool noodles and glue them at a angle. To cover the arms do the same as you did with the body. To make moveable arms bend a metal rod into a square u-shape. Push in on side through the centre of the pool noodle. Put a hole in the side of the minion from the inside, careful not to cut the material. cut a small hole in the centre of the material and feed the other end of the rod through.
Make a small hole in the eva foam slightly larger than the arm hole you have just made. Working from the inside of the minion slide it up the metal rod and glue to the inside of the minion. This will hold the arm in place.
Mouth
Cut your teeth and paint. Leather paint works well (you can get from Shoe man (Mr. Minit)). Glue in place. For the Evil Minion, because his mouth is open cover the inside with black felt to hide the glued backs of teeth. You can also add in a tongue like we did. We used the heat gun to give it a slight curve. We then painted it with Leather paint. For the back of the mouth spray netting black and glue to the top of the inside of the mouth. We added Velcro dots to the bottom of the inside mouth so we could stick our hand out if we needed to. If you add a tongue to your Evil minion then you will need to attach wire to the sides of his mouth to bring his jaw up. You can do this with out it being seen. Make your mouth large as it is your air supply.
Arms
Hands, Bib, Pants and Extras
Hands
Lay your vinyl wrong side up. Cut out and place right sides together. Now stitch them together. When sewn snip close to the stitching, on the curved sections this will help when turning out. When fully turned out stuff with stuffing.
Bib
I made the Bib 15” x 13”, make 2. Each minion has 2 Bibs on at the front and one at the back. Make your pocket and iron on the transfer. This has been made in Photoshop. Just remember if you use a iron on transfer like I did, than the below images need to printed in reverse. (Images are already reversed). Glue Bib directly onto the body, leaving the back bib slightly unglued as those straps go underneath. For the Evil Minion I drew the symbol on with a silver pen. Create the straps. Sew to black buttons onto the end of the straps. Glue the straps onto the minion, then glue Velcro along the bottom edge circumference.
Pants
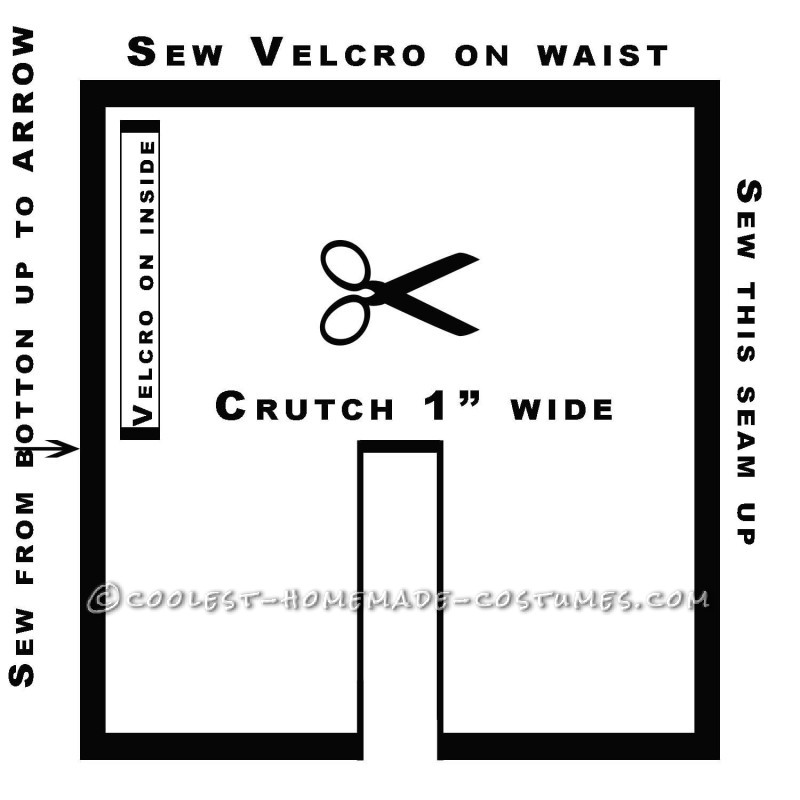
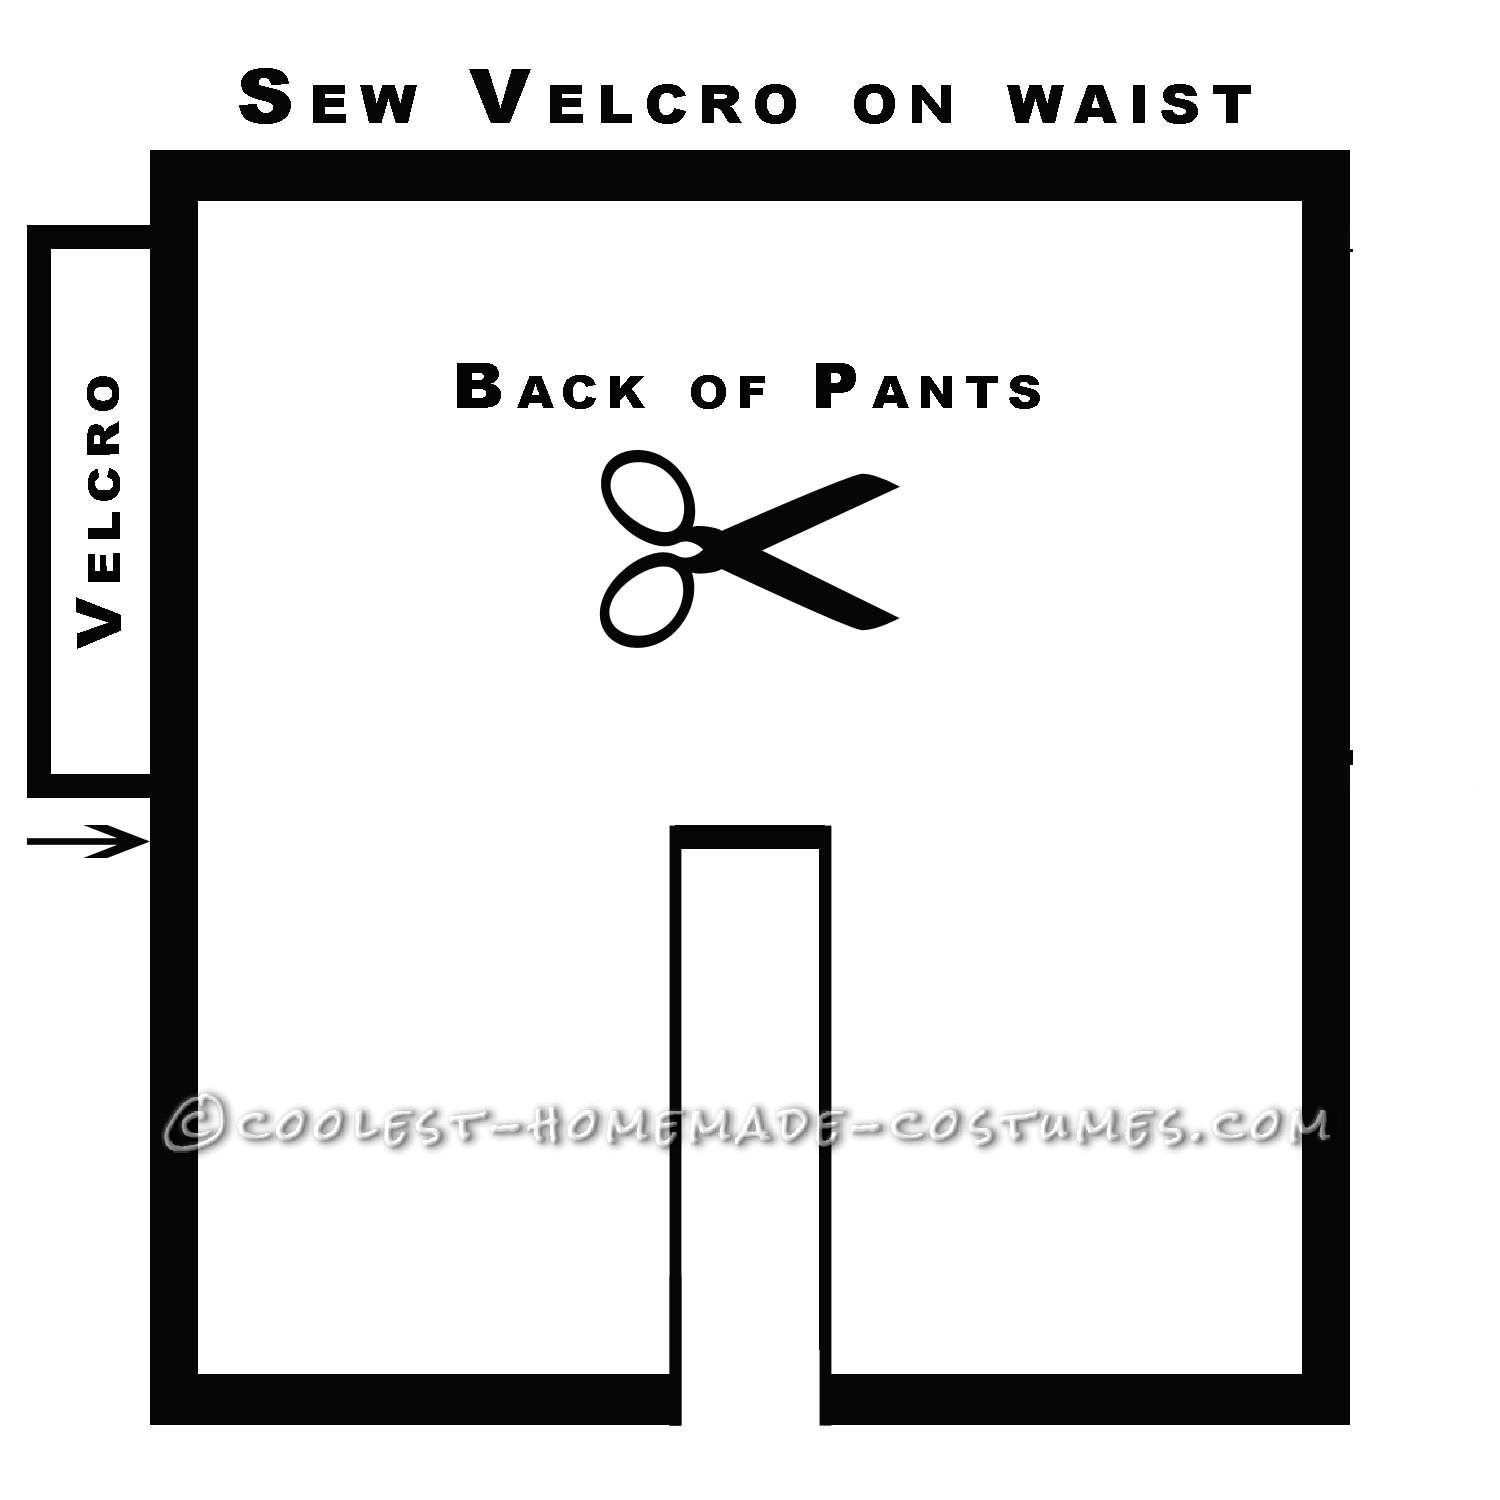
Creating the pants – at the waist it will need to measure 38”. I left the pants as big tube like legs and made a low crutch. The length will depend on your height, so this is where you try your minion on with the frame. Have some one measure the length from about 1” from the bottom of the minions body ( or width of your Velcro). (Waist x Your pant height). When cut, cut out of the middle a low crutch about an inch in width.
The pants will only be partly sewn on one side, so you can get into the minion. It is a two person job. On the front (inner side) of the pant sew a strip of velcro. On the back half, create a rectangle and sew the matching Velcro onto that. So when you are in them you can put the Velcro tabs together with the front Velcro to hide the seam.
The straps we made going from a wider width to a small width (2.5” to 1.5”), so it looked like it went over his shoulder. Length to top of shoulder was 23 “. Cut a piece just wider then your shortest width, length wise should be 5”. Seam your seams then lay your long piece at a 45 degree angle on the short piece and sew as indicated, this will make his shoulder part. Do the same at a alternate angle to make the back. Sew the buttons on the wide end. Button size just over an inch. Ours were 1.2” wide, black buttons. Sew buttons on corners of back Bib. AGAIN glue the bib and the strap on BEFORE gluing the Velcro along the rim of the body.
SUCCESS. You have made a minion.
ADDITION:
I decided to add on to my Minion a coconut bra as per the Minion at the end of Despicable Me 2. I just bought a coconut bra from a costume shop. Change your straps so they are long enough to go around the Minion. Now fill the coconuts with Expanding foam, when dry glue onto your Minion.
We also added on to the inside of the minion a pocket for our phones and a Velcro strip to attach a small speaker near the mouth, all so we could play minion sounds and songs as we walked around.
Requirements
- Stanley knife
- EVA Foam
- Exercise ball
- Newspaper
- Wallpaper glue
- Automotive Trim Adhesive
- Contact Adhesive
- Expanding Foam
- Heat gun
- Straps
- Sandpaper
- Swimming Pool Noodles
- Styrofoam balls
- Fiberglass resin
- Tulle fabric
- Black vinyl
- Thin plastic
- Fleece fabric (NOT felt)
- Fabric for pants (Denim)
- Chrome spray
- White spray
- Fake Fruit
- Brown, Purple and Black acrylic paint
- Welder
- Sewing Machine
- Metal for frame
- Coconut Bra

Related costumes:
 Coolest Homemade Minion Carrying a Box Illusion Costume
 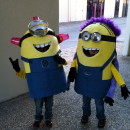 Awesome DIY Despicable Me 2 Costumes: Bee-Do Minion and Half Good Half Evil Minion
 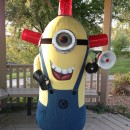 Cool Homemade Carl BeeDoo Minion Costume
 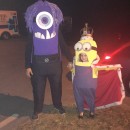 King Bob and Purple Minion Couple Costume
  Stewart The One-Eyed Minion Costume
 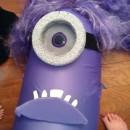 Make an Awesome Homemade Purple Minion Costume
 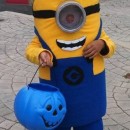 Contest-Winning Minion Halloween Costume – Bee Do Bee Do
  65+ Coolest Homemade SpongeBob Costume Ideas
Your comment has been sent successfully.