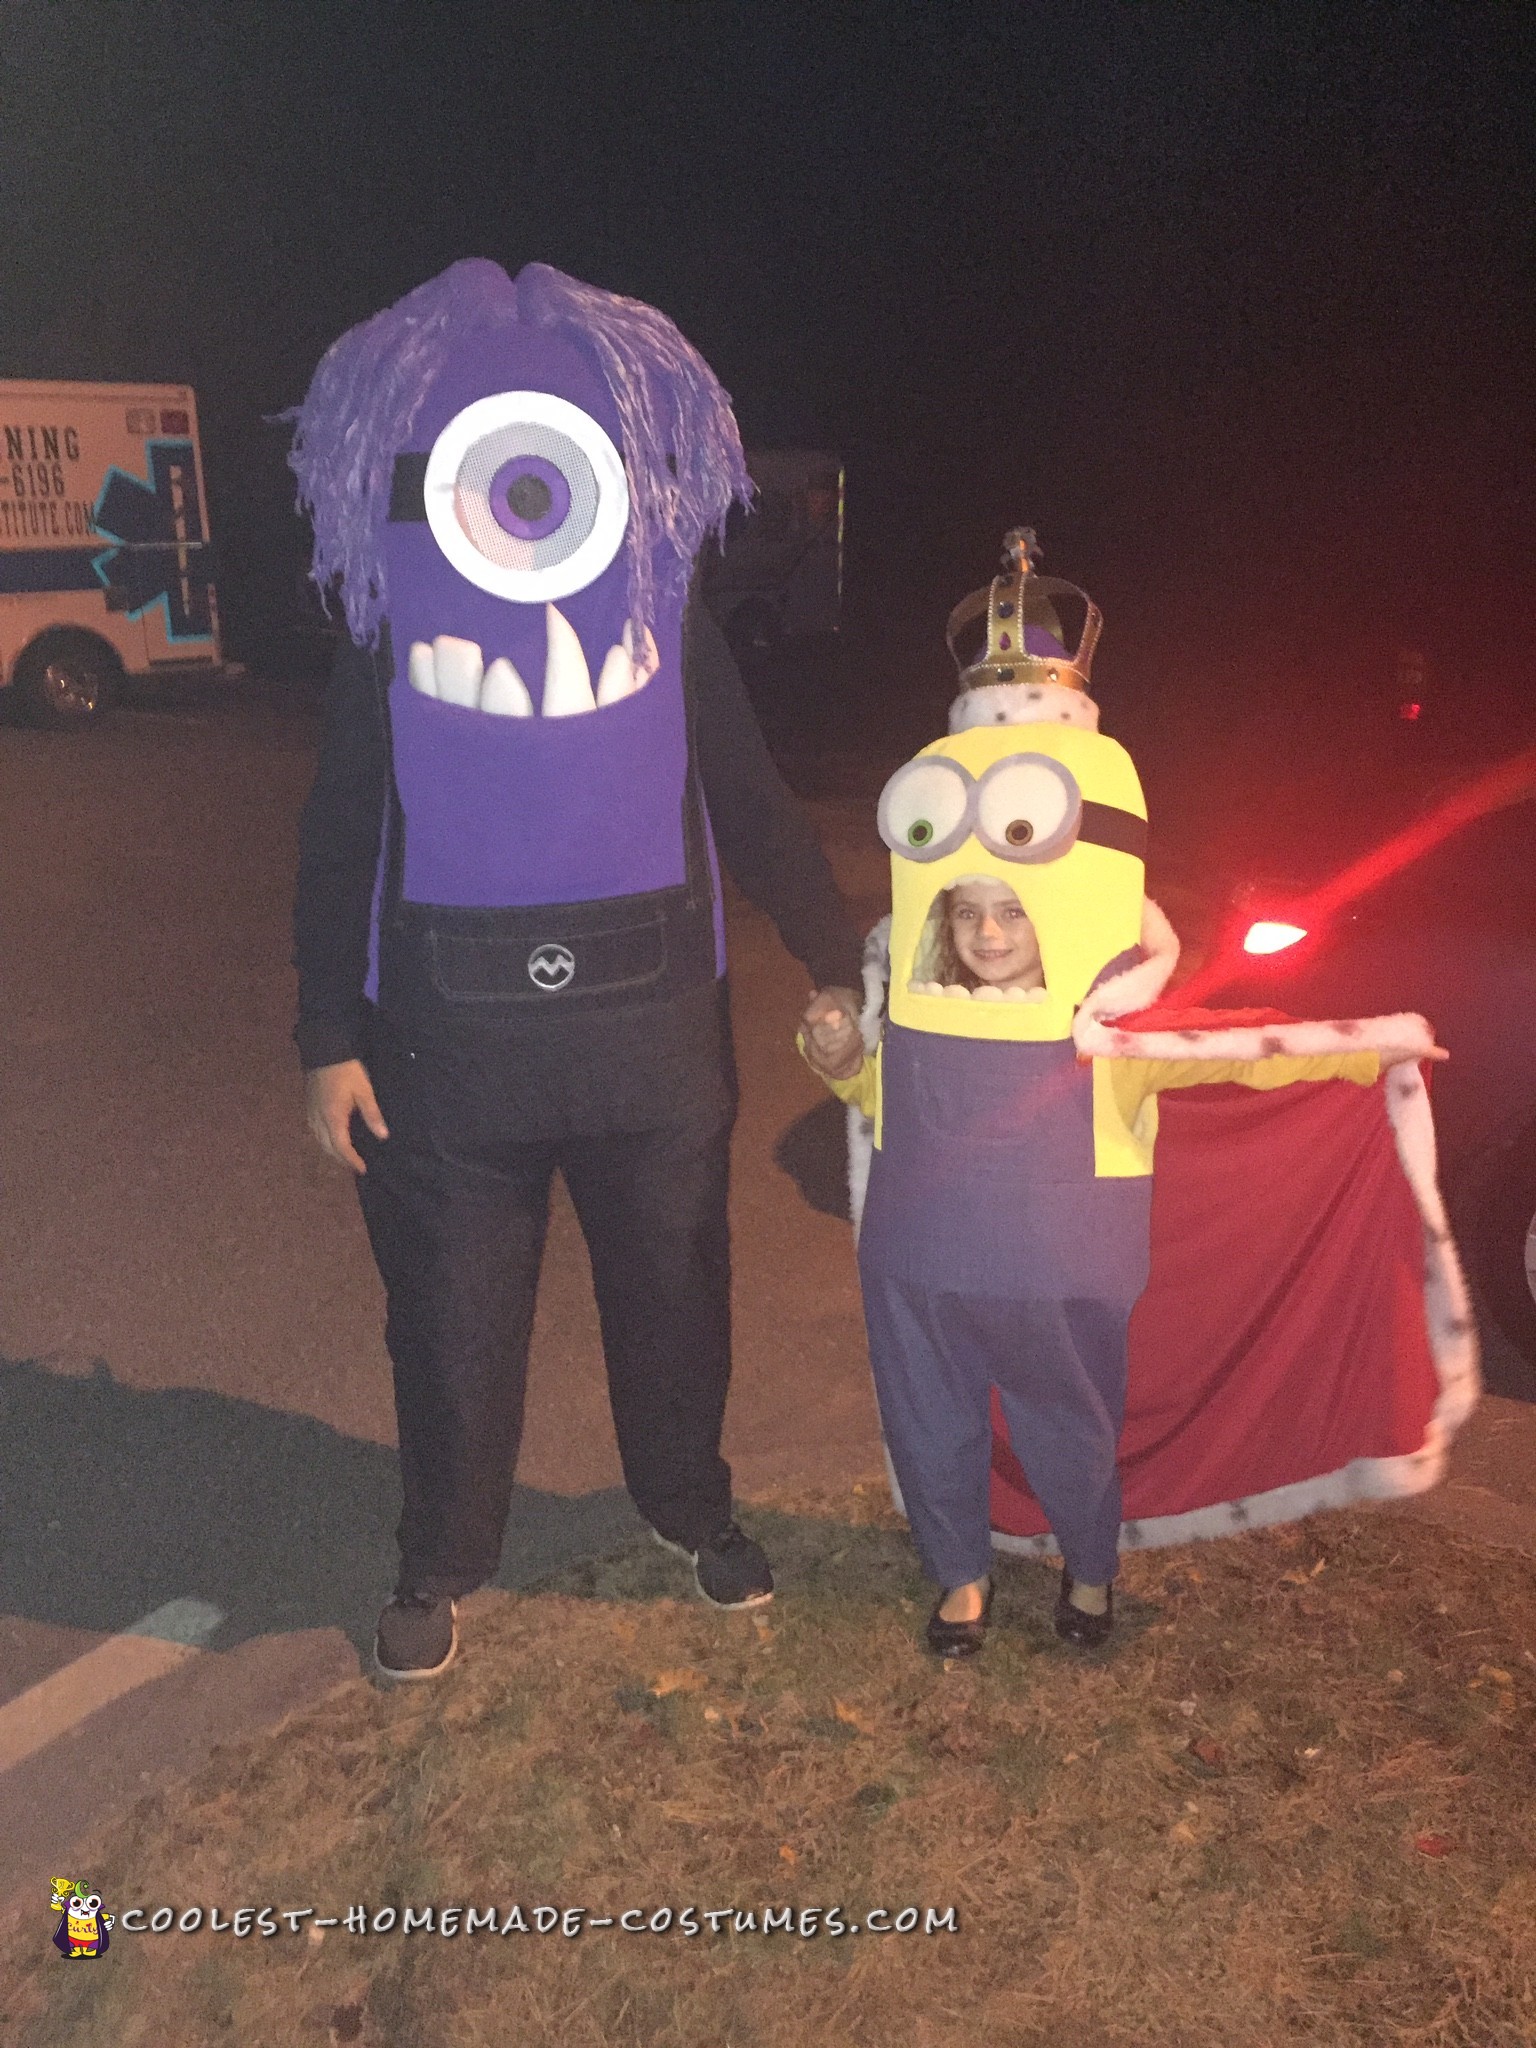
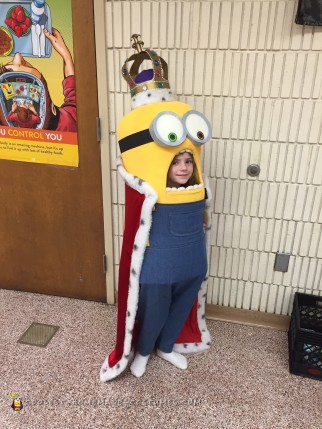
My daughter decided she wanted to be a minion for Halloween, but she didn’t want to be just any minion, she wanted to be King Bob from the Minion movie.
I didi some research on how to best make a minion costume that would match their shape but also not be too restrictive. I settled on using a foam mattress pad for the body. Using my daughter to gauge the circumference of the body, I wrapped the pad around her and cut to size.
To create the circular form to the head, I cut 6 inch tall triangles with 3 inch bases across the top. Once this was done, i hot glued all the triangles together to help form the curve to the top of the minion head. As I was glueing, I realized that I need to add foam into some of the empty spaces to keep the circular shape more uniform. They also did not all reach the center of he minion head once glue together. I used a thin foam paper circle that I cut to cover the hole that was there. The back seam of the foam body I left pinned together for the time being as my intentions for entering in/exiting the costumes would be through there.
Using pictures of King Bob from the Internet, I chose a similar facial feature that would work so that my daughter would be able to see through the mouth hole of the costume. From the I got took measurements from the picture to gauge the size of the mouth. I made a paper form of the hole and pinned it onto the costume to eyeball if it appeared to be the right size. Once I was happy, I proceeded to trace the paper form onto the foam with a disappearing fabric marker and cut It out. I then asked my daughter to assist in measuring the placement of armholes on the sides. Once all the hole were made, I took some time to trim the foam around the holes to make more uniform since the inside part had the “egg crate” form to it. I also added a thin foam piece to wrap around the bottom part of the mouth hole to make a bottom lip. At this time, I took the foam body outside to spray paint yellow.
Between spray paint coats, I used the extra foam triangles to form individual teeth for the minion mouth. I used small scissors to cut each tooth to form and then glued the rows of teeth together in a straight line. Once the foam body was dry, the teeth were then hot glued inside the mouth hole.
For the eyes, I once again used a picture from the Internet to gauge the approximate size of the eyes. I often used a bowl of the approximate size to trace to make a perfect circle. I used a paper outline pinned to the foam body to determine if the size was about right before proceeding further. I used silver cardboard paper to make the outline of the googles and the front sideways “8” shaped piece. I used hot glue to join these to pieces together at their edges. More extra foam was cut fit into the silver cardboard paper goggle form, for the whites of the eyes. I used a small circle of each green and brown thin foam paper for the iris’. I used markers to give more color to the iris and a permanent black marker to fill in a smaller black circle for the pupil. I put a coat of mode podge over these to be sure that if it happened to rain the night of Halloween, that they would not run. Iris’ were hot glued into the appropriate place.
I used approximately 1 1/2 yards of stretchy jeans fabric to make the overalls for the minion. I first cut out fabric for the front bib of the overalls and two halves of that for the back part of the overall bib. The back being in two pieces due to the entrance/exit to the costume. I afforded a little extra fabric to cover the inside edge of where the foam body would be connected. I used my sewing machine to create seam on the three sides that would be showing. I also created a small pocket to add to the front bib. These pieces were then hot glued onto the foam body in the appropriate spots.
Once again I as my daughter of assistance in trying on the costume to determine the length of the jeans. I cut one long length of fabric to go around the length of the body. I began to attach this piece from the middle around the body. Once done so, I cut up the center of the front and back to make each of the separate legs. I originally glued the inside seams of the pant legs together. Afterward I was second guessing how well it would stay with all the movements. So as a second measure I fed the legs inside out through the back entrance/exit and sewed the seams.
Last part of the overall, were the straps. I used paper and pencil to trace the shape of the straps around the armhole. I gave myself an inch on either side to do the seams around. Again, these straps were glued in the appropriate spot. I purchased two gold colored buttons which I painted two crowns on with gold puff paint to be placed on the front straps where they attached to the front bib. At this point, I attached a length of velcro to the inside seam of the back of the foam body at the entrance/exit. This allowed the costume be closed up now.
The cape was made out of a large piece of red velour fabric. I could not find a white fabric with black spots, so I ended up purchasing plain white fur-like fabric and black fabric paint. I individually painted each of the spots of the white fur fabric for the cape edging and also a smaller length of fabric to be used on the crown. I placed velcro on the backside of the costume and at points near the gold buttons to allow the cape to be removable.
The crown was made out of gold cardboard paper. The paper was cut in one one length that would be shaped into a circle to create the bottom part of the crown resting on the head. On the top side I had four pillars that I had come together and glued in the top center. Similar “jewels” were purchased to decorate the crown. White puff paint was used to outline of white dots. More gold cardboard of rolled and curled to create the top part of the crown. Extra bed foam was used and covered in purple felt to create the inside piece to the crown.
Black elastic band was hot glued around the length of the head for the goggle strap. i attached the eyes to the body last. I eyeballed the general shape of the body onto the backside of the goggles to try to make them as flush to the costume as possible. This proved more difficult and I may have taken off too much. The edge of the card board had a difficult time adhering to the foam body. I used an M3 glue spray to help watch the backside of the “white” of the eyes foam to the foam body, which proved to work.
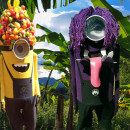
Last minute, I put together a larger purple minion for myself/her father. I used pretty much the same directions, exchanging size, color of form and fabric, and eyes. The purple minion, had a single eye which was also used to see through instead of the mouth hole. I used a white plastic mesh for the white of the eye. Thin purple foam was still used for the iris and attached to the white mess. The white mesh was also colored black with a permanent marker for the pupil.
Overall, my daughter had such a fun time in this costume. She engaged in a costume contest at our local mall and won ” Funniest Costume” for her age group. Between the mall contest, trick or treating at her school, and also in a local neighborhood she and I received lots of praise. Although we often saw others dressed as minions, no ones were as elaborate or a specific minion, like King Bob. People were often by surprised to hear that the costume was homemade. Several times throughout each of the events, people we didn’t know either requested a picture of us or with them or their children. A niece requested that I make her a minion for next year. Other felt that I should start taking orders for others for next year also.

Related costumes:
 Make Your Own Awesome Minion Costumes
  Awesome DIY Despicable Me 2 Costumes: Bee-Do Minion and Half Good Half Evil Minion
  Coolest Homemade Minion Carrying a Box Illusion Costume
 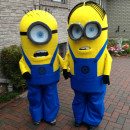 Homemade Kids Minion Costumes
 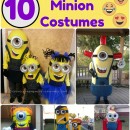 10 Awesome DIY Minion Costume Ideas for the Whole Family
 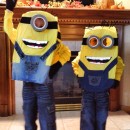 Coolest DIY Minion Halloween Costumes for Kids
 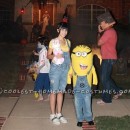 Coolest DIY Mom and Son Couple Costume: Minion Agnes and Costumes
 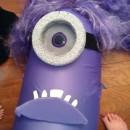 Make an Awesome Homemade Purple Minion Costume