Our son’s name is Hank. He’s 100% boy. Any other name in the world simply would not have suited him. So when it came time to celebrate his first Halloween, we knew we needed to pick a suitably “manly” costume. After getting a coonskin cap from his Aunt J—-, the answer was obvious: mountain man.
But this story is not about how we created a bearded Daniel Boone complete with fringe, handkerchief and antler-closure man-pack—this is the story of how we proved to all the naysayers that we could top that.
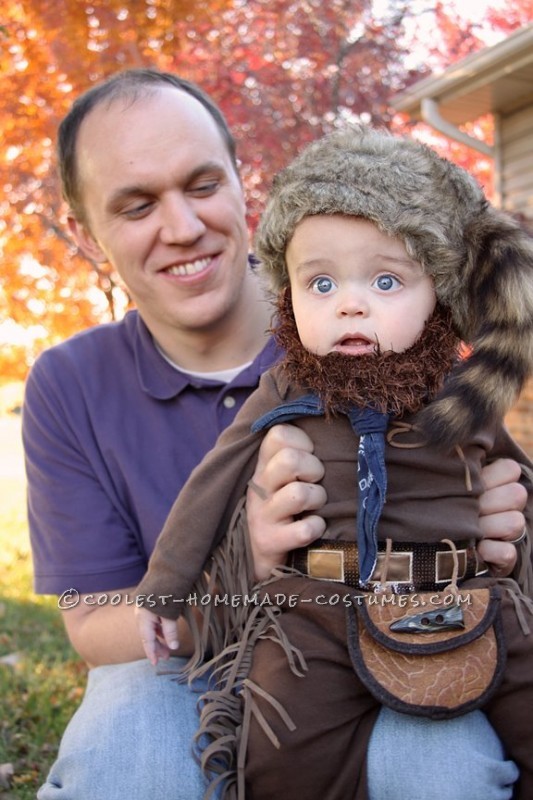
The costume to beat: Daniel Boone
Every rebellion begins with a spark
As Halloween approached, and friends and family were beginning to ask, “How will you create something as awesome as last year?” my husband and I knew we had to deliver. So, we decided to stay the course and create a series: Awesome Manly Historical Figures. We started throwing out names and ideas. We considered and eliminated a number of suitable candidates for one reason or another. Then, suddenly, it was as if there could be no other answer. We both burst out with “Braveheart!”
As this is one of my husband’s favorite movies and Hank has the same pure blue eyes as Mel Gibson, we knew this was it. We decided early on that historical accuracy was a niggling little thing and recognition among the general population was more important. So don’t hold it against us that our William Wallace was styled after the movie, not an accurate historical record.
To the war room
As in any great campaign, there must be a strategy. So, I set about pooling my resources and drawing up plans to execute this coup d’etats of a costume. I did Google image searches for movie stills. I found sites where you could order “authentic” adult Braveheart costumes for inspiration. I researched the proper way to make an ancient kilt and learned a couple techniques for pleating authentically. I began sketching and making furious notes about possible materials and construction techniques—keeping in mind that this had to be toddler-proof. It didn’t take long before I had the tactical foundation ready for action.
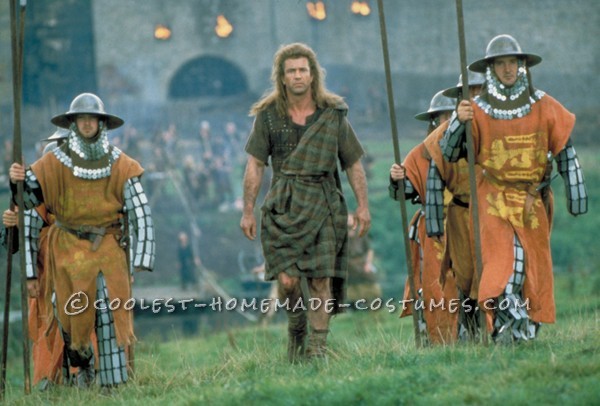
Image courtesy Google Images
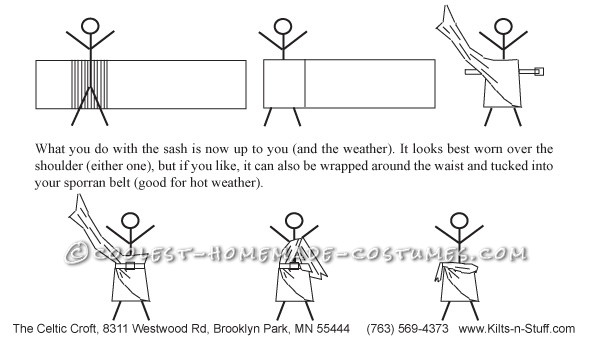
Image courtesy www.Kilts-n-Stuff.com
Massing the troops
To re-create William Wallace á la Mel Gibson, there are two main wardrobe concerns to be created: kilt and armored vest. But these two items are nothing without the signature details and props—we’ll get to those at the end.
As I mentioned, I researched the proper technique for creating an ancient kilt and studied the different ways of arranging the pleats to get different looks in the final garment. The first logistical challenge was that an ancient kilt was simply wrapped around the wearer and held in place by a large belt. I knew that my active toddler wouldn’t make it to the first neighbor’s door before a kilt of this sort was ripped off!
Having a bit of sewing knowledge in my back pocket (thanks, Mom!) I had an easy-to-execute idea. Here’s how the kilt came together:
- Measured a pair of Hank’s shorts to get waistband, hip and length measurements.
- Cut the material along the edge to get an unfinished, unraveled edge at the bottom.
- Carefully pleated the front and basted in place (my research indicated that only the front was pleated; the back was flat)
- Cut a fabric strip to use as an elastic casing, making sure to match the plaid of the “skirt”
- Cut another piece of fabric (one edge unfinished) to use for the shoulder drape
- After pinning the shoulder piece into the side seam of the “skirt” (again, matching the plaid to create the illusion of a single piece of material), I stitched the final seam and had a custom kilt fit for a king. Or a Scottish warrior, at least.
The armored vest was the second sewing challenge. In the movie, Wallace wears a studded leather vest made up of numerous padded sections. I knew right away I could substitute pre-quilted fabric to the get the reinforced detail look. I also knew I could get studded trim ready-made at the fabric store (thanks Emos/Hipsters/Punks for creating the demand). I just had to figure out how to get this thing to fit over my kid’s large head while still fitting snugly—without the benefit of stretch material. I decided that the answer was NOT trying to fit it over his head. In the end, I made independent front and back panels that buttoned together with faux-leather-wrapped buttons at the sides and shoulders. Here’s how I got a great fit and clean finished edges on the armored vest:
- Used a snug, almost-grown-out-of t-shirt and simply traced the outline of the neck, shoulders and body onto the quilted fabric (leaving off the sleeves). Front and back panels differed slightly in that the front panel’s neck scooped a bit lower than the back (just like the t-shirt)
- Sewed the studded ribbon trim around the neck and armholes. Added horizontal bands to mimic the movie vest’s look.
- Easily finished all edges of the quilted fabric with matching bias tape.
- Sewed elastic loops (3 per side, 1 per shoulder) to the back panel. Sewed complimentary buttons to the front.
- Put Hank between the two panels, pulled the loops over the buttons and—Voila!—instant armor. (I used a hair band looped over the shoulder button to hold the shoulder drape in place.)
As I said above, the costume really comes together when you add the finishing touches. There were a few ready-made pieces to support the custom kilt and armor:
- Brown thermal Henley (Mel’s had short sleeves, but we went with long since it’s chilly here)
- Rustic boots (I searched high and low for the right style. I nearly bought girls slouchy suede boots because they were the best I could find—but I wasn’t excited about spending $25 on a pair of shoes my little guy would never wear again. At the last moment before giving up, I located a pair of slipper socks that called out “Just add leather shoelaces—we’ll be perfect!”)
- Braided leather belt (I used one I already had and wrapped it around twice)
- Fur undergarments (No one wants to ruin the illusion by seeing that bright white diaper peeking out! Cut a piece of faux-fur material long enough to span from the waist in back, through the legs, and back up to the waist in front. Attach it to a simple elastic waistband.)
- A big ol’ sword (We found the perfect one in the Halloween section of Target. For an adult it’s just a sword. For a toddler it’s an oversize broadsword just like Wallace’s!)
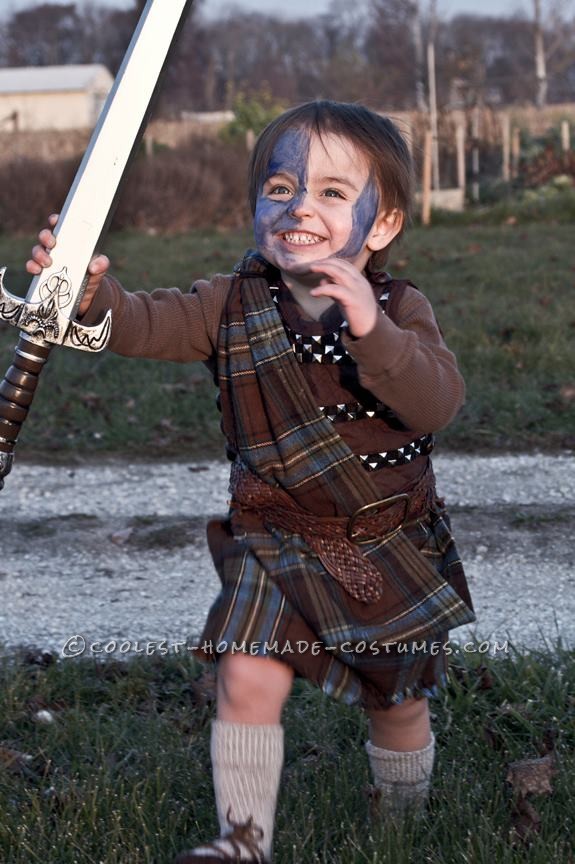
- Blue face paint (reference the movie stills for an accurate re-creation)
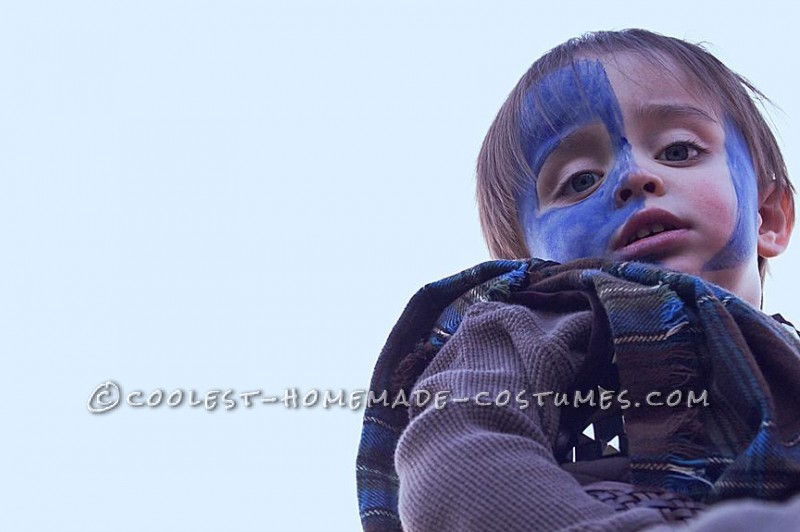
Detail of the war paint
On the battlefield
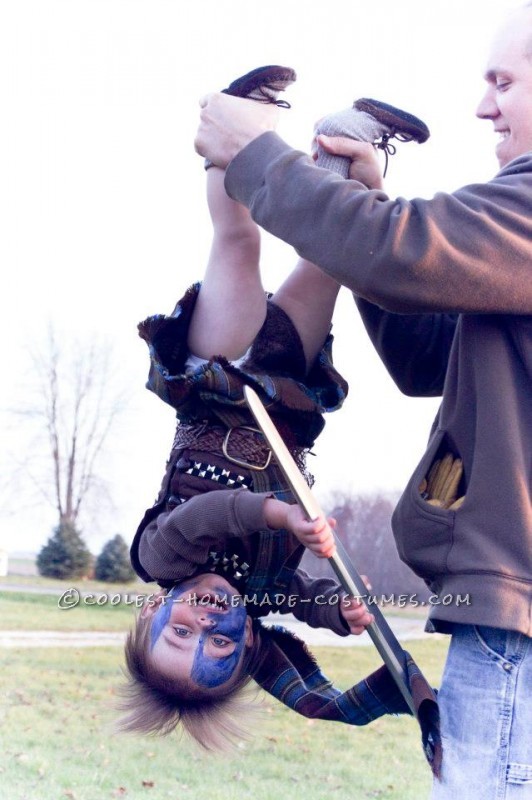
Once we hit the streets with little Wallace in tow, we took no prisoners. All our friends and family raised a white flag without even fighting. Our little man stormed the Halloween battlefield that night and came away the victor!
The only problem now (again) is coming up with something for next year!

Freeeeeeeeeedom!
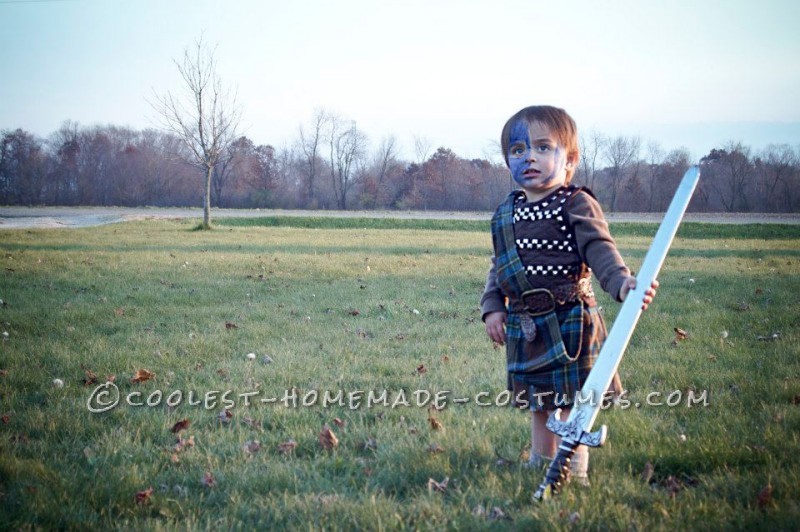
Surveying the battlefield.
Ring ding diddle diddle I de oh

Related costumes:
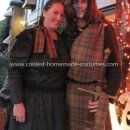 Coolest William Wallace and Princess Isabelle Couple Costume
 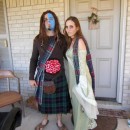 Braveheart’s William Wallace and Murron Couple Costume
  Top 7 Movie Character Costumes Tom Hanks Needs for Halloween
  Coolest Homemade William Wallace Costume
 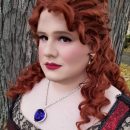 Pretty Rose Dewitt Bukater Costume from Titanic
 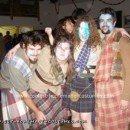 Coolest Homemade Bravehearts Army Group Costume
 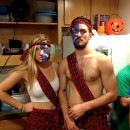 Easy Badass Braveheart Couple Costume
Oh my gosh I love this!! I can’t wait to see what you come up with next! I’m newly married, but I hope someday I have little Braveheart boys like your Hank. God bless :)
Oh my gosh I love this!! I can’t wait to see what you come up with next! I’m newly married, but I hope someday I have little Braveheart boys like your Hank. God bless :)
How many yards of fabric did you use for Hank’s kilt?
How many yards of fabric did you use for Hank’s kilt?