I’m sure you saw that video a few years back of a Bumblebee homemade Transformer costume that actually transformed. Like most children, I’m sure your child begged you to make one for him/her.
It is very cool, but there is very little information on how exactly to make a homemade Transformer costume. First of all, I want to tell you that this is a pretty difficult costume to make. Not the construction, the design. It has to transform easily from a robot into a car. Also, this is not a very good costume for trick-or-treating. It is pretty heavy. My 6 year old son made about 2 blocks before taking it off. But if you want your kid to be the coolest kid on the block, this is costume will draw a crowd.
(By the way, you can get a lot of inspiration from these these cool ready-made transformer costumes!)
Also, this costume doesn’t work well at all with stairs. Going up stairs is fine, but going down doesn’t work. Maybe you will be able to overcome this obstacle with your design. I’ll show you what I did right and what I did wrong. Hopefully, I can make this really easy for you.
Making a Homemade Transformer Costume
First thing you will need are large flats of cardboard. I got mine for free at The Home Depot (they use them to divide pallet sized items delivered to them). Next, get yourself a long metal yardstick, some box cutters, and a hot glue gun with a whole lot of glue.
Because there are no templates or designs to download, I tried to try to design the car myself. This was a huge mistake. I went through three prototypes that were terrible. What saved me were some websites I found. Apparently, people like to make things like cars, famous buildings, and boats out of paper.
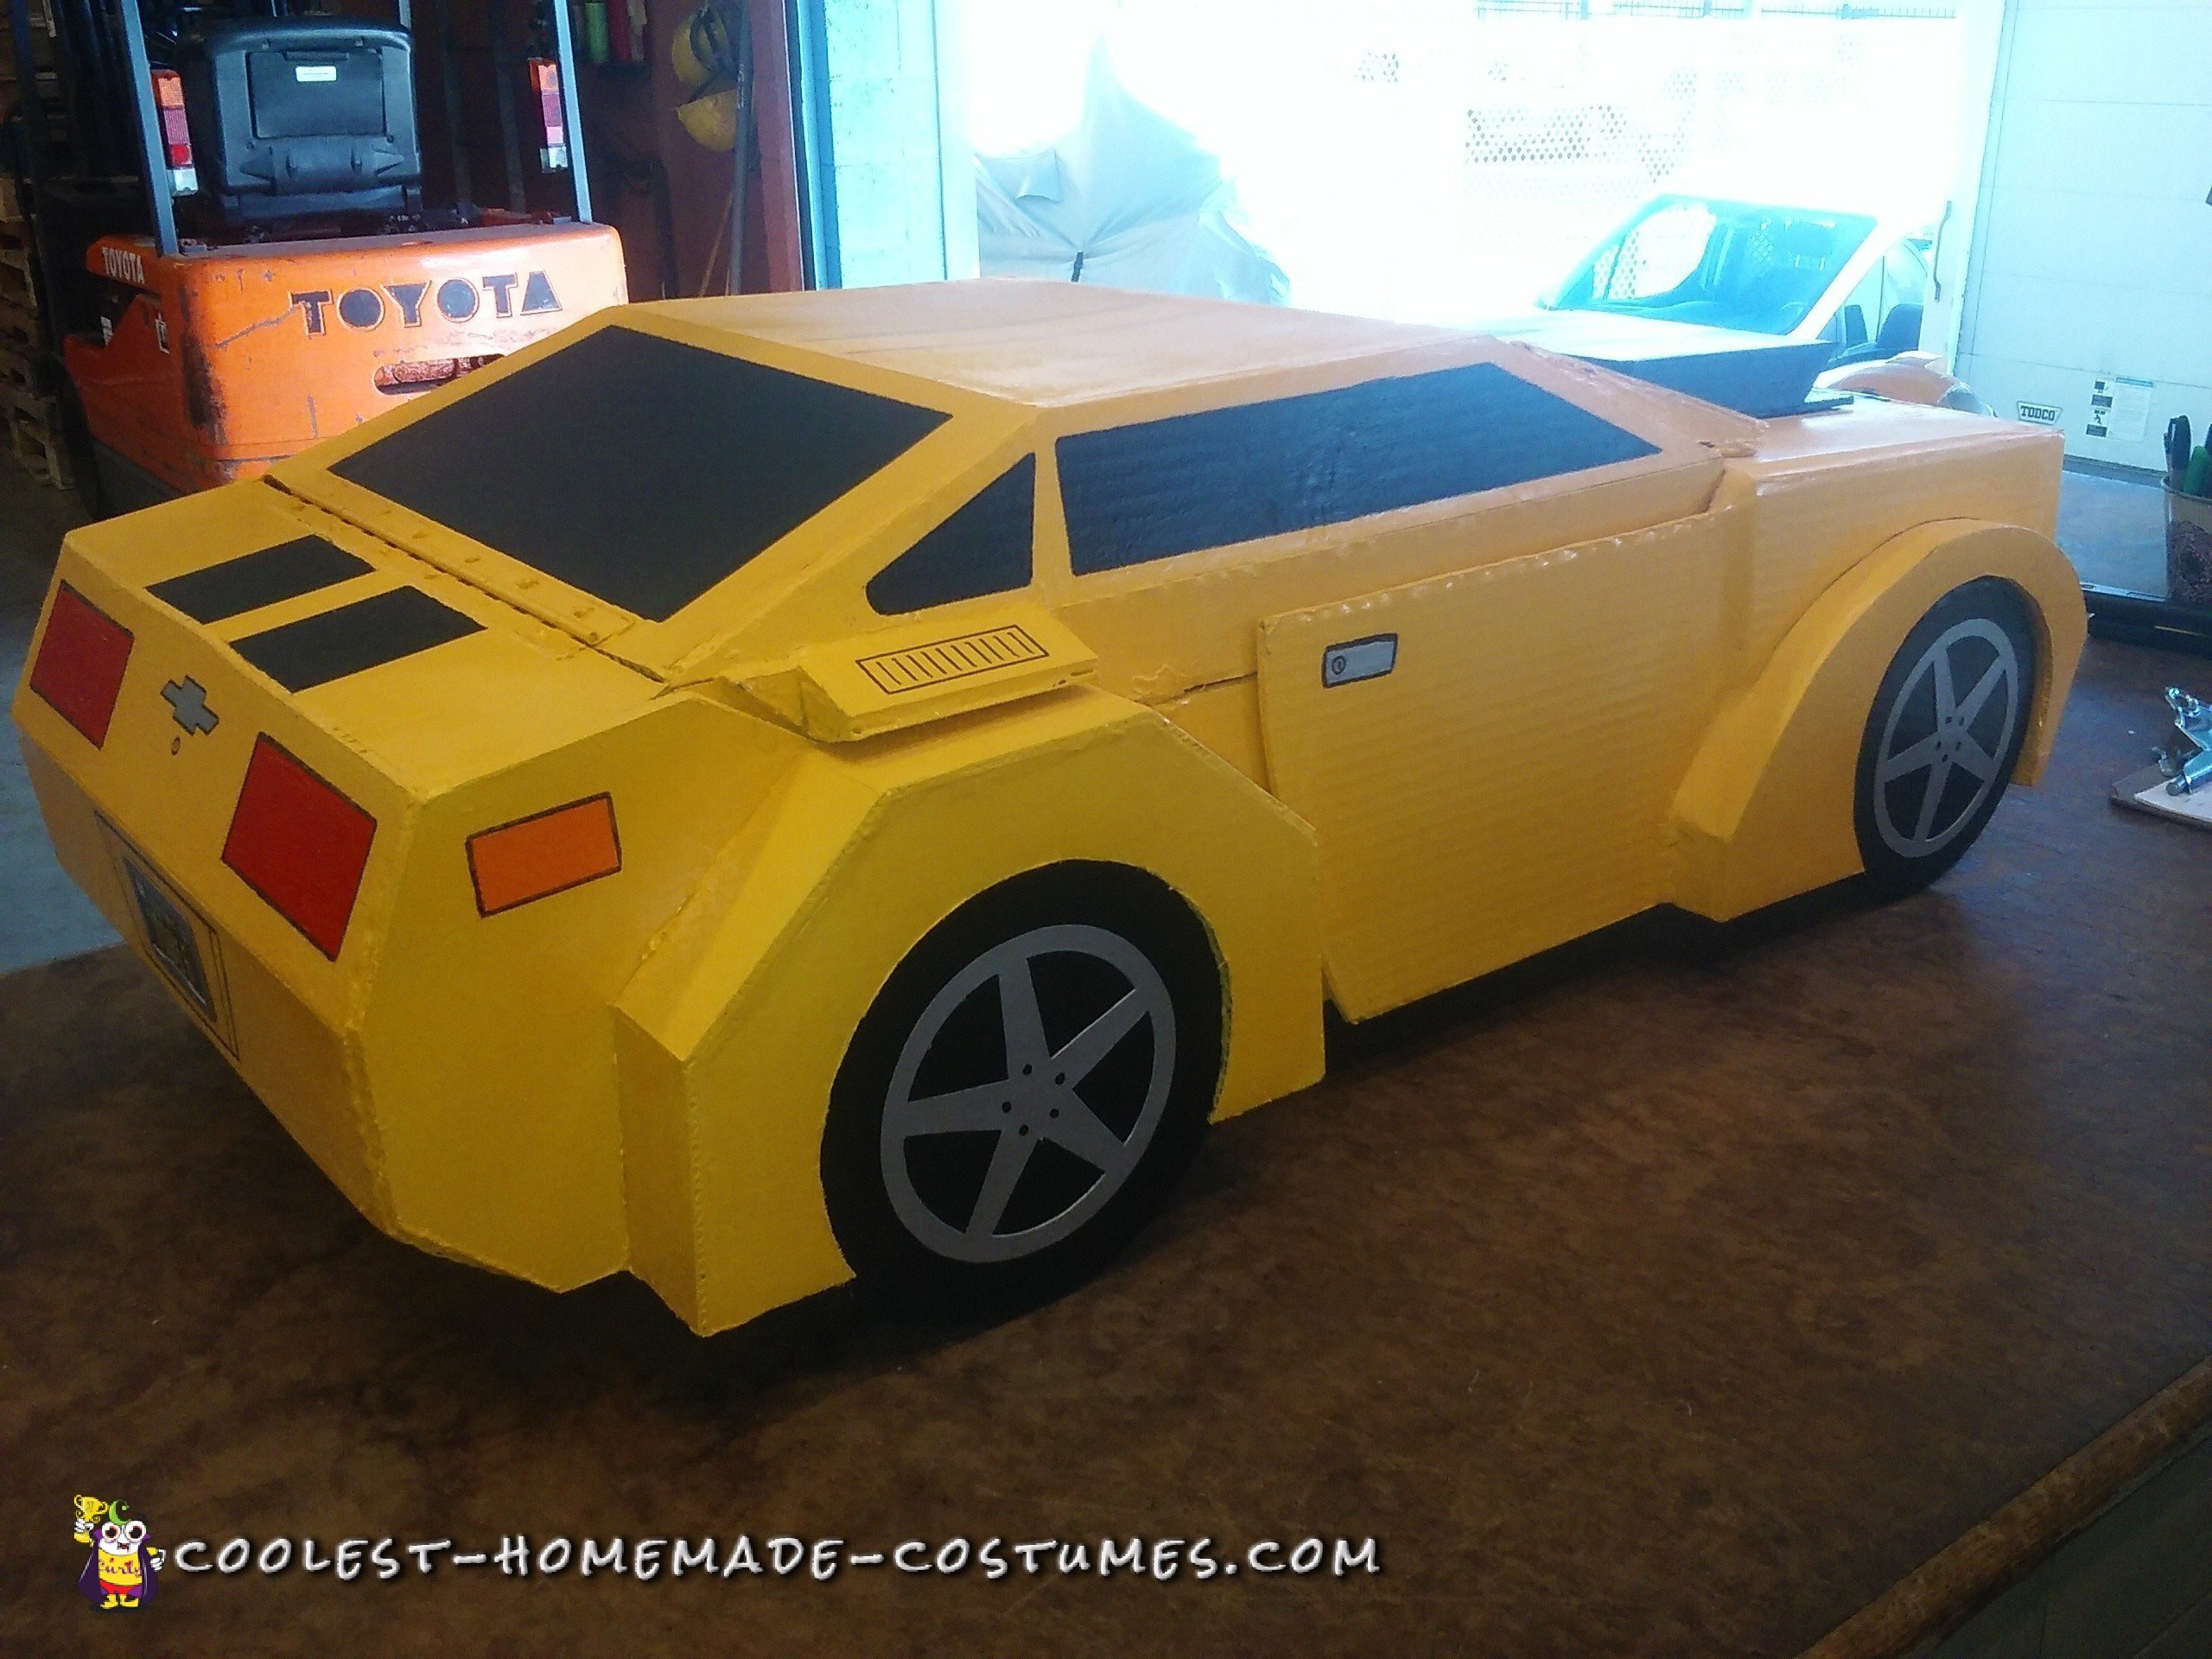
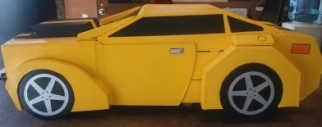
I found a simple template for a Chevy Camaro (see video). All I had to do was enlarge the template to the size of my son curled up on his knees and elbows (36″). To do this, I borrowed a friend’s projector, aimed it at my best piece of cardboard, and enlarged it to the correct size. Then, just trace it. SUPER easy.
You will have to modify the template. Basically, just “cartoon” the car up a bit. e.g., beef up the whole car and make it much taller so your kid can fit inside. Now just cut it out, fold it, and glue it together. At this point, you don’t want to get too crazy with the glue. You need to see if your kid fits in it comfortably.
Making the Cuts
If everything looks good, start cutting it up. You need to cut the car into three major pieces; The front section, the middle section, and the back section. Basically, the front section is where your kid’s head will come out (out of the hood/air scoop). The middle section is like a turtle shell on your child’s back, and the back section just swings there.
Each of these major sections will need to be connected with 12″ long hinges. I reinforced the hinges with wood. All the weight of the costume will hang from these hinges when your kid is walking around, so make sure they are as strong as possible.
I made my cuts at the base of the windshield and let the doors swing all the way back like wings when in robot form (see video). This was to give my son more arm room. Remember, the middle section will swing up when in robot mode and block your kid’s arms if you don’t move those doors out of the way.
The other cut was at the base of the back window. I made the back wheel section overlap the the middle section. This is VERY important; The back section needs to be front heavy. This way, the back will fall into place automatically when your kid bends down to transform into a car.
With both the front and back sections, remember to make part of the middle section overlap so that all the sections stop at the right point when transforming into a car (see video).
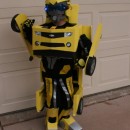
I strapped the front wheels to my son’s wrists with velcro strips. This made a cool look when in robot mode, but was a bit difficult for him to put them in the wheel wells while curled up on the ground trying not to fall over. In hind-sight, I think I should have kept the front wheels attached to the front section (it would also free up his hands to hold his trick-or-treat bag).
Last is the harness to keep this thing on your child. After going through a lot of crazy designs, the one that worked best was an old backpack. I cut off everything except the straps and the part that goes against the back. I just hot-glued the heck out of it to the middle section and it held really good. In addition, I also added a waist strap to keep it from slipping down. It worked really well. The homemade Transformer costume was finally looking like it should!
Painting the Costume
After that, you only have to worry about the painting it. That part was pretty fun. The Home Depot has a yellow that is exactly the right color. I think it’s called “Sunrise Yellow” or something like that. Just make sure to prime the cardboard pretty good before painting.
For the mask, I just used a cheap plastic Bumblebee mask and added cardboard to the back to make a full helmet. The clothing was just yellow sweatpants and a yellow t-shirt. My son and I drew robot parts on the shirt. It looked pretty cool.
That’s basically it. Look at the pictures and watch the video to get a better understanding of how you can make your own homemade Transformer costume.
Thank you very much, Erik Knear

Related costumes:
 Awesome Homemade Transforming Bumblebee Transformer Halloween Costume
  Super Awesome Homemade Transforming Transformer Tank Costume
  Coolest Bumblebee Transformer Costume
  Killer Candy Robot 3000 Costume
 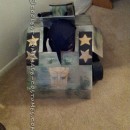 Coolest Homemade Transforming Tank Transformer Costume
 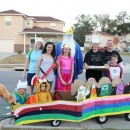 Ultimate Adventure Time Homemade Halloween Family Costume
 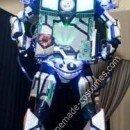 Coolest DIY Robot Halloween Costume
 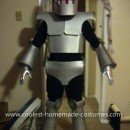 Coolest Vintage Sci-Fi Robot Costume