I have been making my own costumes since high school. About a year and a half ago, I discovered Pepakura (papercraft files). At that time, I was trying to make The Dark Knight suit. I didn’t think that I could do it, but I just dove in. I shocked myself by making the suit. I entered a contest at our local casino, but I didn’t win anything. The best thing about the contest was the reactions I got from the patrons. When I walked in the room, people stopped what they were doing to look at me. I wasn’t expecting that. I walked past some tough guys who were staring me down, and as I passed them they said, “that’s bad a@*!” That made me feel pretty good.
My research on The Dark Knight suit led me to TheRPF where I found the Pepakura files, and eventually to building the suit out of EVA craft foam (another great idea from TheRPF). My first mission was to complete the cowl; that’s what I needed to accomplish to prove to myself that I could build a costume I had been dreaming of since I was a kid.
This experience led me to my next project, Thor. This experience was quite a bit different for me. I had to make some modifications to the Pepakura files because they were not sized correctly. For instance, I built Thor’s helmet out of paper first. I always build out of paper first to make sure everything is going to turn out okay. The paper model would barely fit my children, lol (who knows why it was sized that small?).
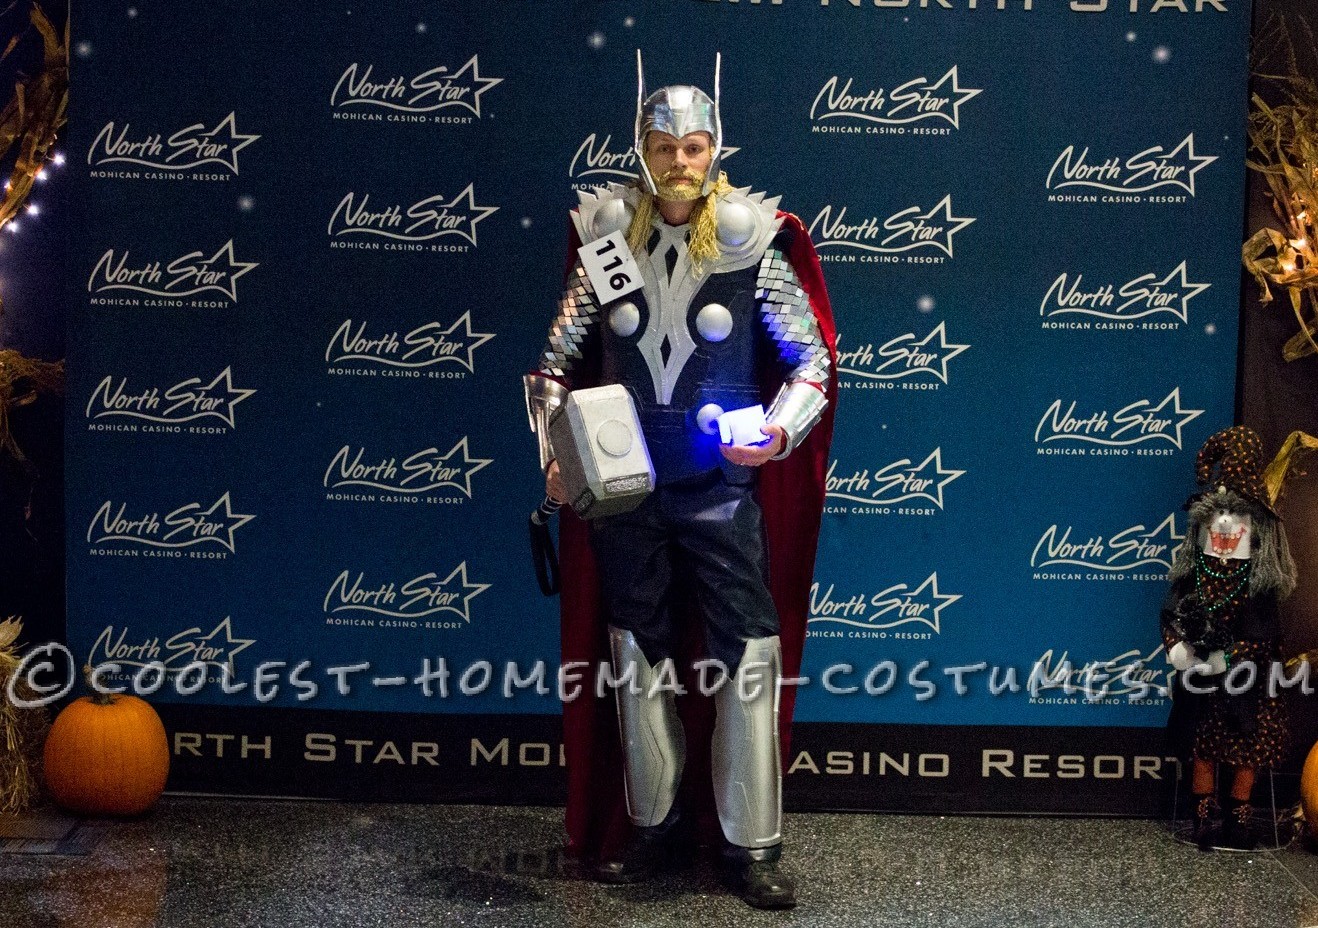
I tried to document my progress through pictures. I did a lot better than I did with The Dark Knight costume, but it’s no tutorial. This year, I actually won 7th place at the costume contest out of 150+. I am more than okay with that. The best part was that people were approaching me to request pictures with me. That was quite the compliment, so satisfying! I felt like this year my skills were starting to mature and it was showing through the suit that I built. I felt like people’s reactions were bigger. Anyway, let me move through some of the steps I took to complete this build. Bear with me. I didn’t take as many pictures as I should have.
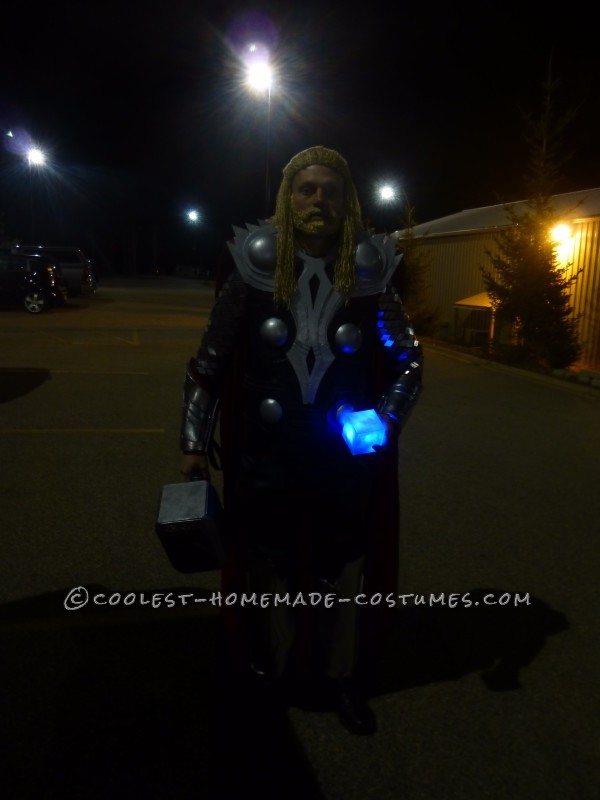
Thor without Helmet
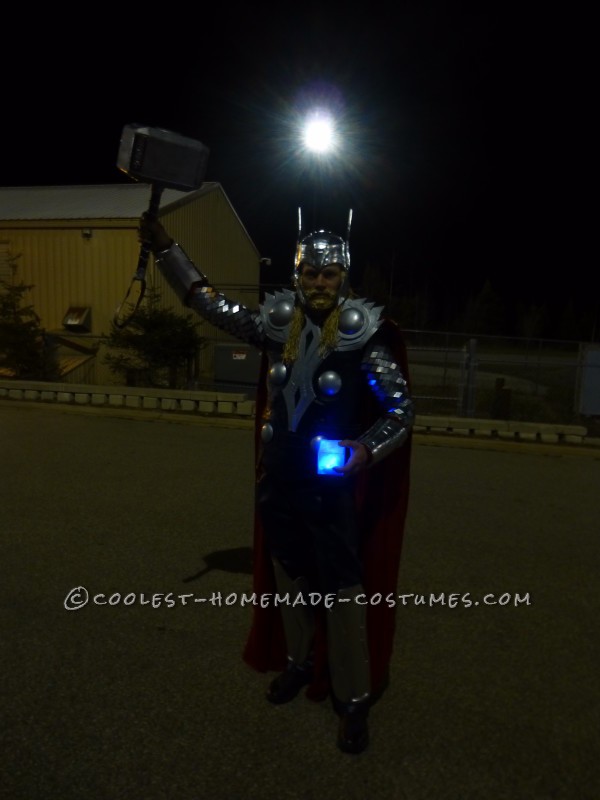
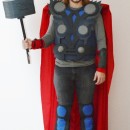
Thor: Victory
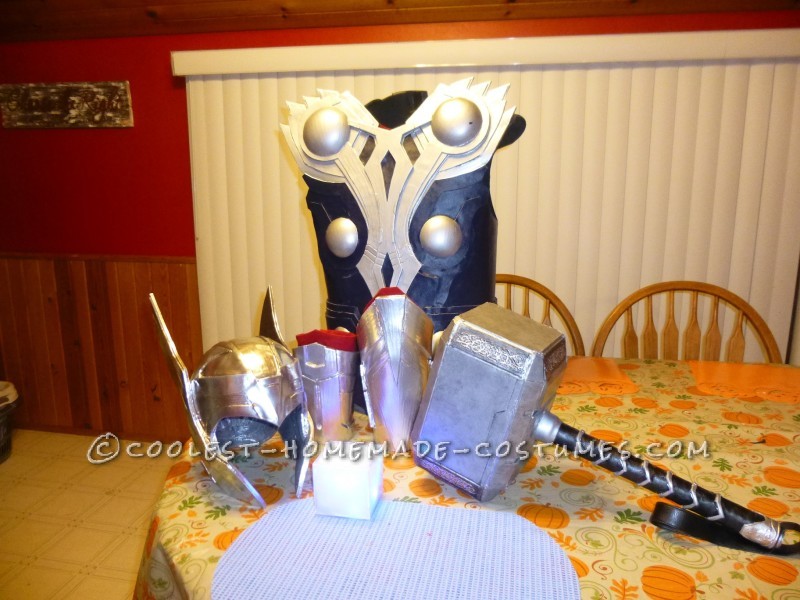
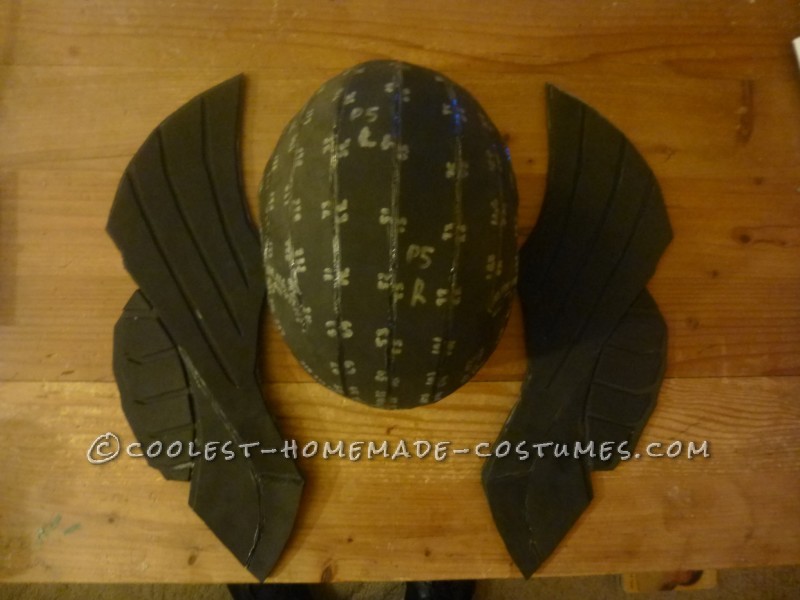
Thor’s Coronation Helmet
So I took Pepakura files that I found on TheRPF. Sidenote, I hadn’t used Pepakura before a year and a half ago, and I have no other experience with papercraft. Pepakura, the software, is very easy to use though. Pepakura shows you what sides go together. You don’t have to figure the puzzle out on your own! Thor Movie Helmet – Red Dragon on TheRPF made the file available. I took Red Dragon’s file and connected some of the pieces to make them bigger for the EVA craft foam build. I completed a paper model first. I recommend doing this to make sure everything is the correct size and fits you. If you don’t know how to work the mysterious magic of Pepakura to modify the size, just take it to a copier and blow it up. Pepakura Viewer is free, but the Designer is not. It is worth getting if you have the means. I think Designer allows you to blow up the size. Hopefully, you can just get a version that is already the right size, unless your head is abnormally large.
Once I found the right size, I completed the foam model. I wasn’t satisfied with the helmet, so I created pieces of foam to cover the helmet; to cover the cracks and to resemble Thor’s helmet a bit more. I COULD NOT have done it without Red Dragon’s file though.
I had struggled to find a good primer for the helmet. Painting foam is tricky because foam absorbs the paint. You have to find a good primer or the finish will not look right. I finally found Modge Podge to prime it. It works good. I then sprayed it with Rustoleum Chrome spray paint.
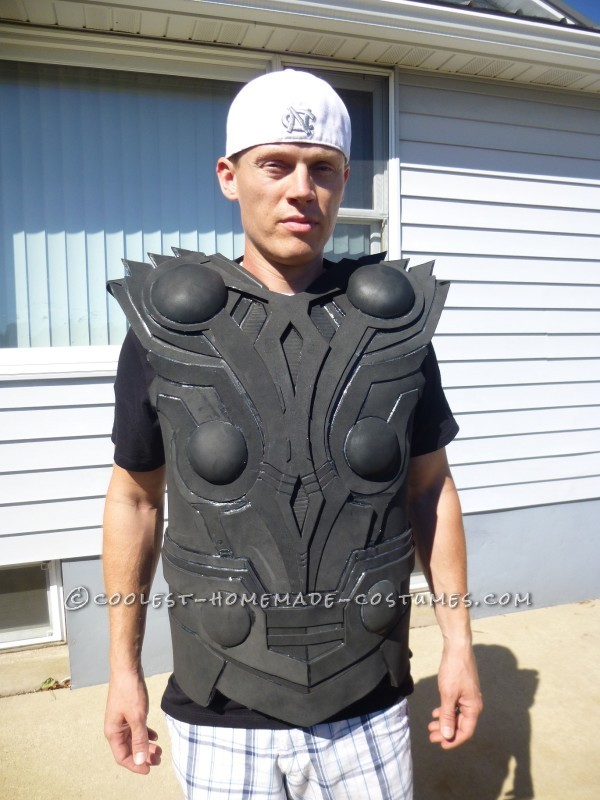
Thor’s Chest Armor
I based my armor on a Thor Chest Armor template, but I made modifications because I wanted my armor to resemble something real. I wanted something to cover me front and back. I didn’t want something was simply Velcro-ed on the front of the body. I borrowed from a vest template I used for The Dark Knight costume that I constructed.
I printed out about three copies of the template from cos-play. I did this because I didn’t just do one layer of foam for the armor. I made a basic vest for the first layer of the armor, then I added layers to give the armor depth and dimension. For the button’s on the front, I used a ball to form them. I stretched the foam circles/buttons over a ball and used a blow dryer to heat the foam up to it was malleable. I ended up priming the buttons with modge podge, and then I sprayed them with a silver spray paint. I used acrylic paint, which I wouldn’t recommend. It seemed to chip easily, and I had to repaint the buttons a few times.
You’ll be able to see in the picture I post that I didn’t follow the template exactly. I made this suit my own version. I think that when you make something like this, don’t make it exactly like the template. I know myself. If my goal is to make something exactly the way the template says, then I have a better chance of disappointing myself. I feel that I would never be able to make a 100% perfect clone of something, and that might leave me unsatisfied. When I add my own ideas to a project, I get more satisfaction. I feel like I improved the idea.
One of the last things I did was add Velcro on the back of the armor to bring it together. I could have just painted everything, but I felt like gluing on some navy blue marine vinyl. It gave the armor more of a leathery look. I used one of the armor templates to help me cut the shapes out of the vinyl.
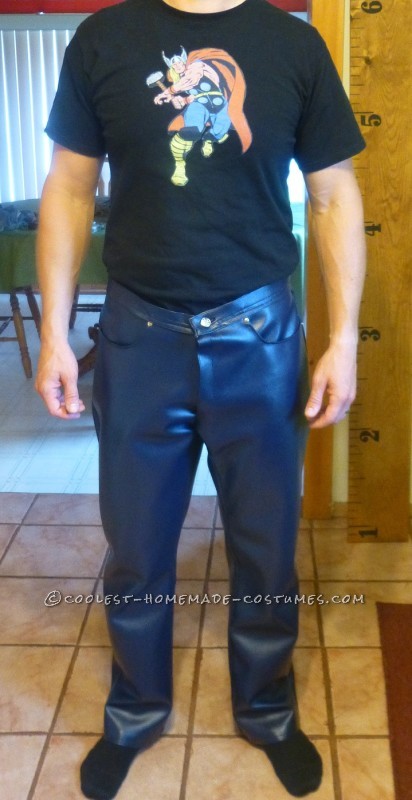
Thor’s Asgardian Pleather Pants
Creating the pants was an interesting project because I don’t have much experience sewing something as difficult as this. For my pattern, I took apart an old pair of jean. I made sure to give myself some extra material around the edges of the fabric. I paid close attention to how the jeans were sewn together, and mocked it. I did as much top stitching as I could for the pants. That really helps to keep the seams more flat and crisp. I sewed on pockets and all. I actually shocked myself with how great they turned out. I even used the zipper from the jeans as the zipper for Thor’s pants. I got some rivets to reinforce the pockets, and I bought some jean buttons at the craft store to button up the pants. Now you have your Thor pants, which can double as your weekend night club pants if you are into that sort of thing.
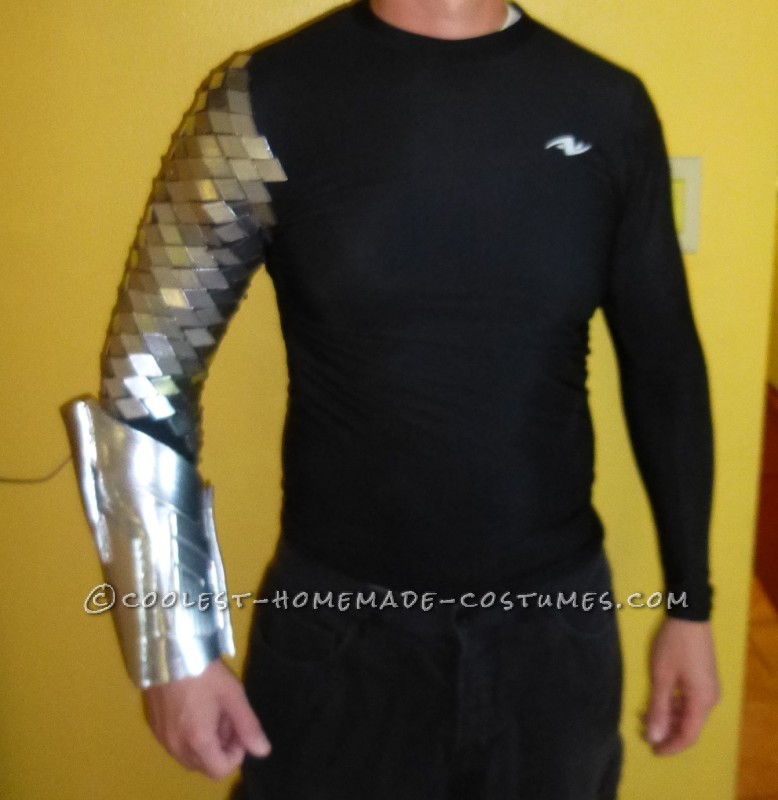
Thor’s Chrome Arm Scales
The scales were pretty easy to make. I took three sheets of 12×17″ craft foam, which was plenty for my arms. If you have Vin Desiel arms, then you will probably need more. I cut out a diamond pattern in the foam with a razor knife. I ensured that I didn’t cut through the foam entirely; probably about 2/3 of the way through the foam sheet. I primed them with modge podge, then sprayed them with chrome paint. I tried to find a way to seal the chrome with a clear coat, but failed. The clear coat dulls the chrome. Maybe somebody else out there can find the solution to that. FYI, the chrome will rub off a bit, but it did not appear to affect the appearance of the scales (or helmet, since the helmet is chromed). You would have to rub the chrome finish pretty hard before it affects the look of the scales or helmet. After the scales are thoroughly dried, cut them up the rest of the way so that they are totally separated. I hot glued them on an under armor shirt–I kissed that shirt goodbye (it can only be used for the Thor suit now, but I knew that going into the project).
Thor’s Gauntlets, Arm Wraps, and Shin Guards
As for the gauntlets, I studied pictures of Thor and made them from scratch. I added layers just like I did with the chest armor to give them depth. Those can be found in the picture of the introduction.
As for the arm wraps that go underneath, that was another sewing project where I outdid myself. I used a tutorial from Pinterest to make those.
I didn’t bother wrapping my arms in plastic wrap though, since I used the general shape of the gauntlets. I traced the shape onto paper, and then modified the templates to be a tighter fit to my arms. Those are found in the introduction picture inside the gauntlets.
I went out into left field with the shin guards. I strayed from the movie suit, and made some chrome sprayed shin guards using hockey shin guards as my template. I have a theory (whether it’s right or wrong) that some judges at costume contests like the bling, so I gave them bling (aka Ka-chow). I then added a little design on the front from the movie shin guards. I modge podged the gauntlets and the shin guards, then used chrome spray.
Mjolnir, Thor’s Cape, and the Tesseract
I made the Pepakura version of Mjolnir out of craft foam and was super disappointed. I was all warped and really sad looking. AT THE LAST MINUTE, I made a version of Mjolinir from instructables.
Super impressed with the way it turned out. I didn’t follow those instructions exactly either. What is it with me and not following instructions, right? I used the white foam-board that you use for presentations in the 90’s (now people use Powerpoint). I used a wood dowel. I used the Great Stuff foam like he used. The guy who made this tutorial kind of left some fill in the blanks, which keeps life interesting. Nothing too major. When he tells you to cut the corners off at a 45 degree angle, do a small amount at a time. Don’t take one inch off at once like I did. Also, beware of Great Stuff foam. This guy warned me in the tutorial not to use too much. I totally didn’t listen. I loaded that sucker up, and regretted it. Remember, the foam expands! Lol! It was a huge mess. You can see Mjolnir in the picture in the Introduction
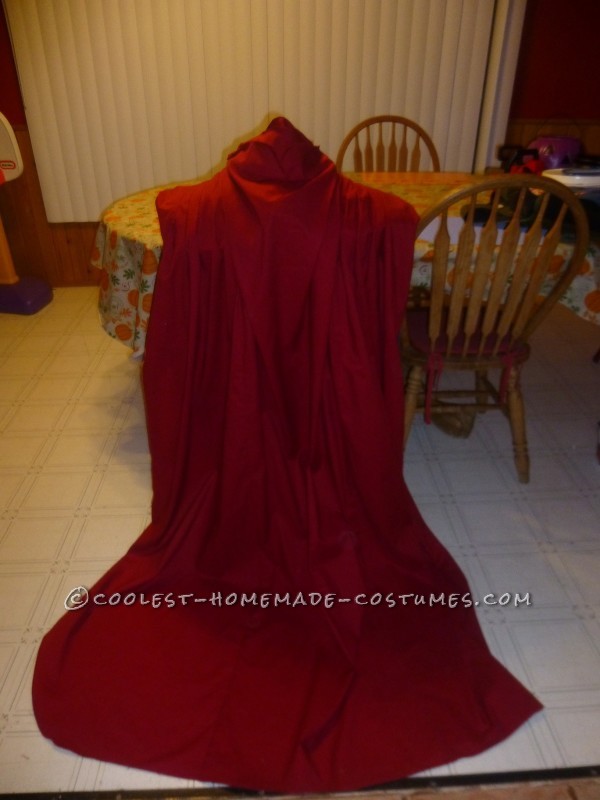
I am ashamed to say so, but the cape was too advanced for me to handle. I had my mom do it. There, I said it. My mommy still makes my superhero capes. HOWEVER, she did an awesome job. She used a Dracula cape as a basic pattern, then worked her creativity magic something awful. That cape is awesome! The only thing I can tell you is learn how to sew pleats.
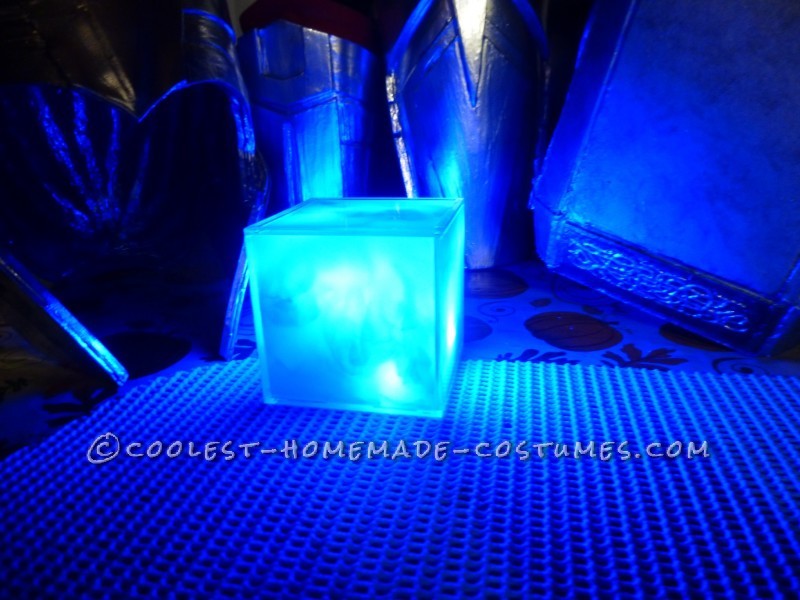
Last, the Tesseract. I found a tutorial on TheRFP, which is originally found on youtube.
It’s pretty straight forward. There is a guy on eBay that sells the baseball display cases for $4.99 plus free shipping. I frosted the glass, bought some battery powered blue LED’s on eBay, and stuffed some tissue paper inside, and botta boom. You have unlimited power.
I really hope you find this information useful. I hope it has inspired you to go farther than I went with the suit, and make a better costume than I built.

Related costumes:
 How to Make a Cool Halloween Costume: Thor the God of Thunder
  Coolest Homemade Mrs. Nesbitt/Buzz Lightyear Costume
 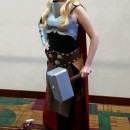 Epic Homemade Thor Costume
 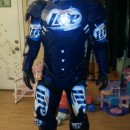 What if Iron Man Needed Sponsors? The Iron Can Costume!
 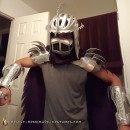 The Shredder Costume from Teenage Mutant Ninja Turtles
 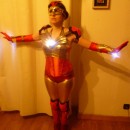 Sexy Badass Femme Ironman Costume
  Supervillainous Magneto and Mystique Costumes
  Creative Tim Burton’s 9 the Movie Costume
Your comment has been sent successfully.