My son had a recent trip in 2012 to the aquarium with his cub scouts pack. This was a stay the night event that the pack participated in fundraisers to pay for. They sleep underneath the jellyfish tanks that illuminated the room as they drifted off to sleep. So of course, when I asked him this year what did he want to be for Halloween… “Jellyfish” is what he answered with. I had no idea how I was going to do this.
I started searching Google for jellyfish images and several things came to mind. The concept was pretty easy for the shape but how would I get this thing to glow? I found Coolest Homemade Costumes and my prayers were answered! Another lady on this site had step by instructions on how to make this. I did have a little trouble visually trying to figure out some things but managed once I got the the dome part finished. Some supplies I was not able to find (of course I am a one stop shopper) so improvised a little. The costume turned out great! He was complimented all night long.
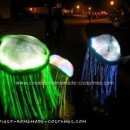
The only thing I would say has been a thorn in side for this costume is finding enough glow sticks for more than one round of costume contests. Originally his costume was for the annual Spook-o-Ree contest for cub scouts but he is also wearing if for trick or treating today. Glow sticks can get pricey depending on where you go. I bought my first round of blue glow sticks at the 99 cent center 2 sticks a pack for a dollar. The problem is I went back yesterday to by more blue ones and they were sold out. So for trick treat tonight, to dome will be blue and the long glow sticks green and short glow sticks multi colored. Fingers crossed, I hope it works.
Items Needed:
1 cowboy hat (or sombrero hat if you can find one)
2 rolls of bubble wrap (you can use either big bubbles or the little bubbles it does not matter)
1 pack of cork board ( I looked for tack board but could not find it at Walmart)
10 bags of iridescent filler paper (that pearly gift bag paper filler that is stringy)
1 strand of blue (or any color you choose) of LED battery powered lights ( I bought these in the garden center at Walmart where all the Christmas lights were). I bought the cool touch ones because I was concerned about them getting to hot and having the paper filler and bubble wrap in top of them.
Pack of kitchen sponges to cover the battery pack and make hat comfortable on kids head.
1 mesh laundry bag, I used blue (but any color of choice will work)
2 colored loofahs
Ribbon
16 Large Glow Sticks
12 medium glow sticks
Duck Tape
Hot Glue gun and glue sticks.
Total cost of costume $60.00 (at 2 places Walmart and 99 Cent center. Probably could have found items cheaper if I shopped around but as I said I am a one stop shopper).
Total hours: 2 hours
The Dome:
Items that make the done shape:
1 cowboy hat (or sombrero hat if you can find one)
2 rolls of bubble wrap (you can use either big bubbles or the little bubbles it does not matter)
1 Pack of cork board ( I looked for tack board but could not find it at Walmart)
10 bags of iridescent filler paper (that pearly gift bag paper filler that is stringy)
1 strand of blue (or any color you choose) of LED battery powered lights ( I bought these in the garden center at Walmart where all the Christmas lights were). I bought the cool touch ones because I was concerned about them getting to hot and having the paper filler and bubble wrap in top of them.
Pack of kitchen sponges to cover the battery pack and make hat comfortable on kids head.
Hot Glue gun and glue sticks.
Step 1: Attaching cork board to rim of hat (underneath side) to support the weight and make the rim sturdy. Cut the pieces of cork board to cover the rim (excluding the hole for the head) and hot glue them to the rim of the hat. You may need to do some trimming around the edges so nothing is seen or sticking out.
Step 2: Running the lights. Using the inside hole 9 mine hat was straw do i just used the straw hat holes) of the hat run the strand of lights up and through so the lights are on the outside top of hat and drape them around the top of hat in different spots and use tape to keep them in place, much like you would rig lights on Christmas trees. You can also buy a longer strand of lights if you plan on dropping the battery pack lower so it fits in the child’s pocket or back of clothing. This will take some creativity on your part.
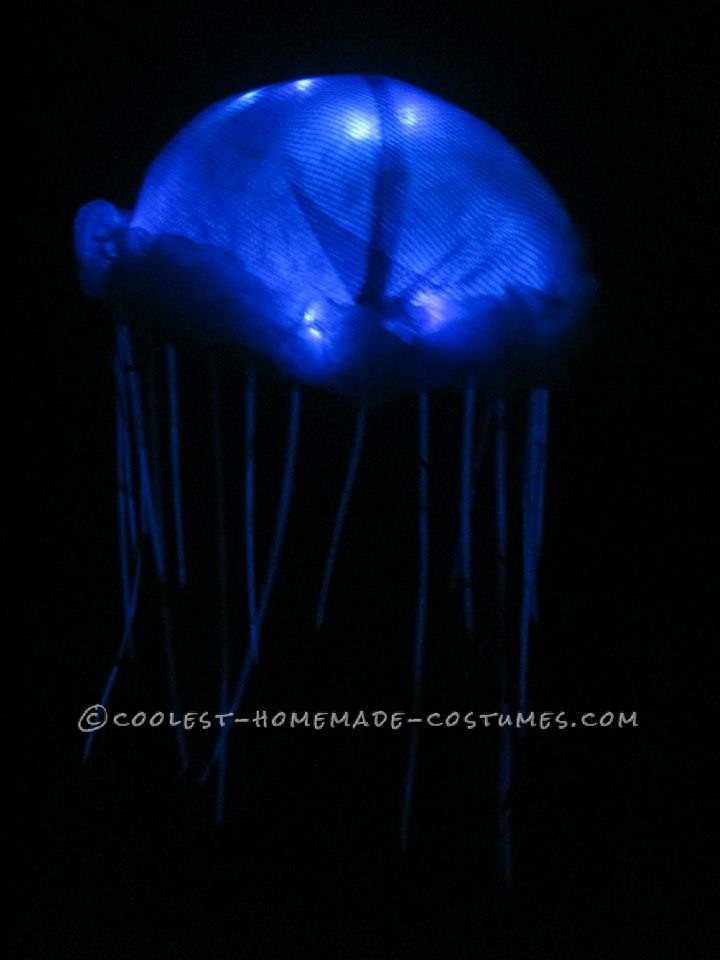
Step 3: Cut bubble wrap into 4 pieces about 8 inches long for each side. Attach one end of the bubble wrap underneath to the cork board with hot glue, maybe about 1 inch to 1 1/2 inch from the edge of the rim of hat. It should look like 4 flaps of bubble warp hanging down. Now you will need to use a little creativity as to how the bubble warp will be glue together to shape the dome. Glue and start stuffing the paper filler into the dome at the same time. You will be hot gluing the bubble wrap at the same time you are stuffing as to not having the filler paper falling out of the edges. I used a stapler for some of this as well. Once the filler paper is in the dome close up the remaining end. You should not be able to see the head or bulbs of the lights, it should only glow the color you chose up against the bubble wrap. I know it does not look pretty but keep going. This was the hard part
Adding the finishing touches:
Making your dome and jellyfish merge
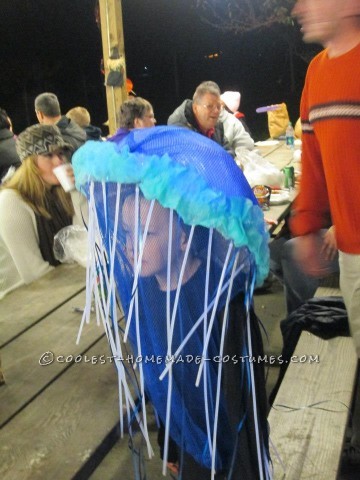
Step 1: After dome has been stuff and sealed take the mesh laundry bag and put the bag over top of the dome. So you will see the dome is now inside of the bag. You will then insert the child in the bag and measure for where to cut holes in the bag for his/her arms. Once the top around the dome was where I wanted it, I just stapled the mesh bag to the rim of hat to secure it.
Step 2: Adding the loofah. Cut the rope from the loofah and stretch them out. The loofah should be in a long continous tube like shape. Start adding the loofah to edge of the rim of the outside part of the hat (look at the pic and you can get a visual of where you glue it down) and hot glue it down.
Step 3: Add the ribbon. Cut several different lengths of ribbon whatever color you wish (as you can see from photos I stayed with a blue color pattern) and either hot glue them to the rim underneath the loofah or staple them down.
Adding glow sticks:
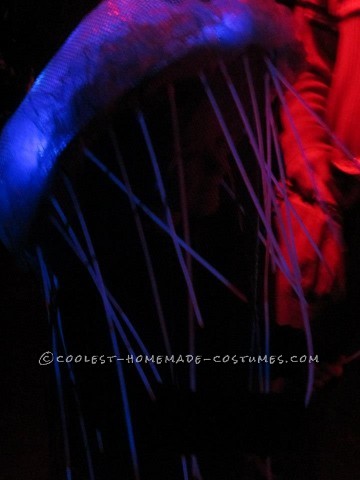
This is the very last part of the costume! Open up your packages of glow sticks and only hot glue the plastic inserts onto the underneath rim of the hat right now. I wanted my glow sticks on the outside of the mesh laundry bag but I saw in the original instructions they were on the inside. This is going to be a matter of preference for you. I felt my son had more room to move with them on the outside. Once the inserts are dried completely with no sign of falling off can you crack the glow sticks and start inserting them. I used the long one then medium one type of pattern as I went around the rim. My glow sticks fit snuggly into the plastic inserts so I did not need to do any reinforcing. My son walked for 5 hours with them and not one fell out.
Trust me when I say trying to insert the glow sticks without them cracking is impossible.
Your awesome blue Glow In The Dark Jellyfish child’s costume is ready to go! We took our glow sticks with us to the costume contest and left them in their protective packages and then cracked them open and inserted them right before we went in. The glow sticks will glow for at least 10 hours.


Related costumes:
 Coolest Homemade Glowing Jellyfish Costumes
 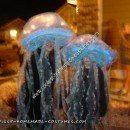 Coolest Homemade Glowing Jellyfish Costume Ideas
 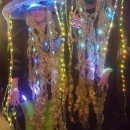 Cool DIY Glowing Jellyfish Costumes
 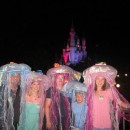 Coolest Homemade Jellyfish Group Costume
 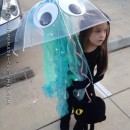 Easy Light Up Child’s Jellyfish Costume
 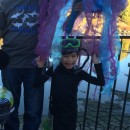 Scuba Diver Trapped by a Jellyfish Costume
 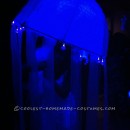 Coolest Jelly Fish Costume for Anyone
 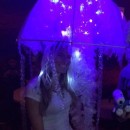 Glowing Jellyfish Halloween Costume
Your comment has been sent successfully.