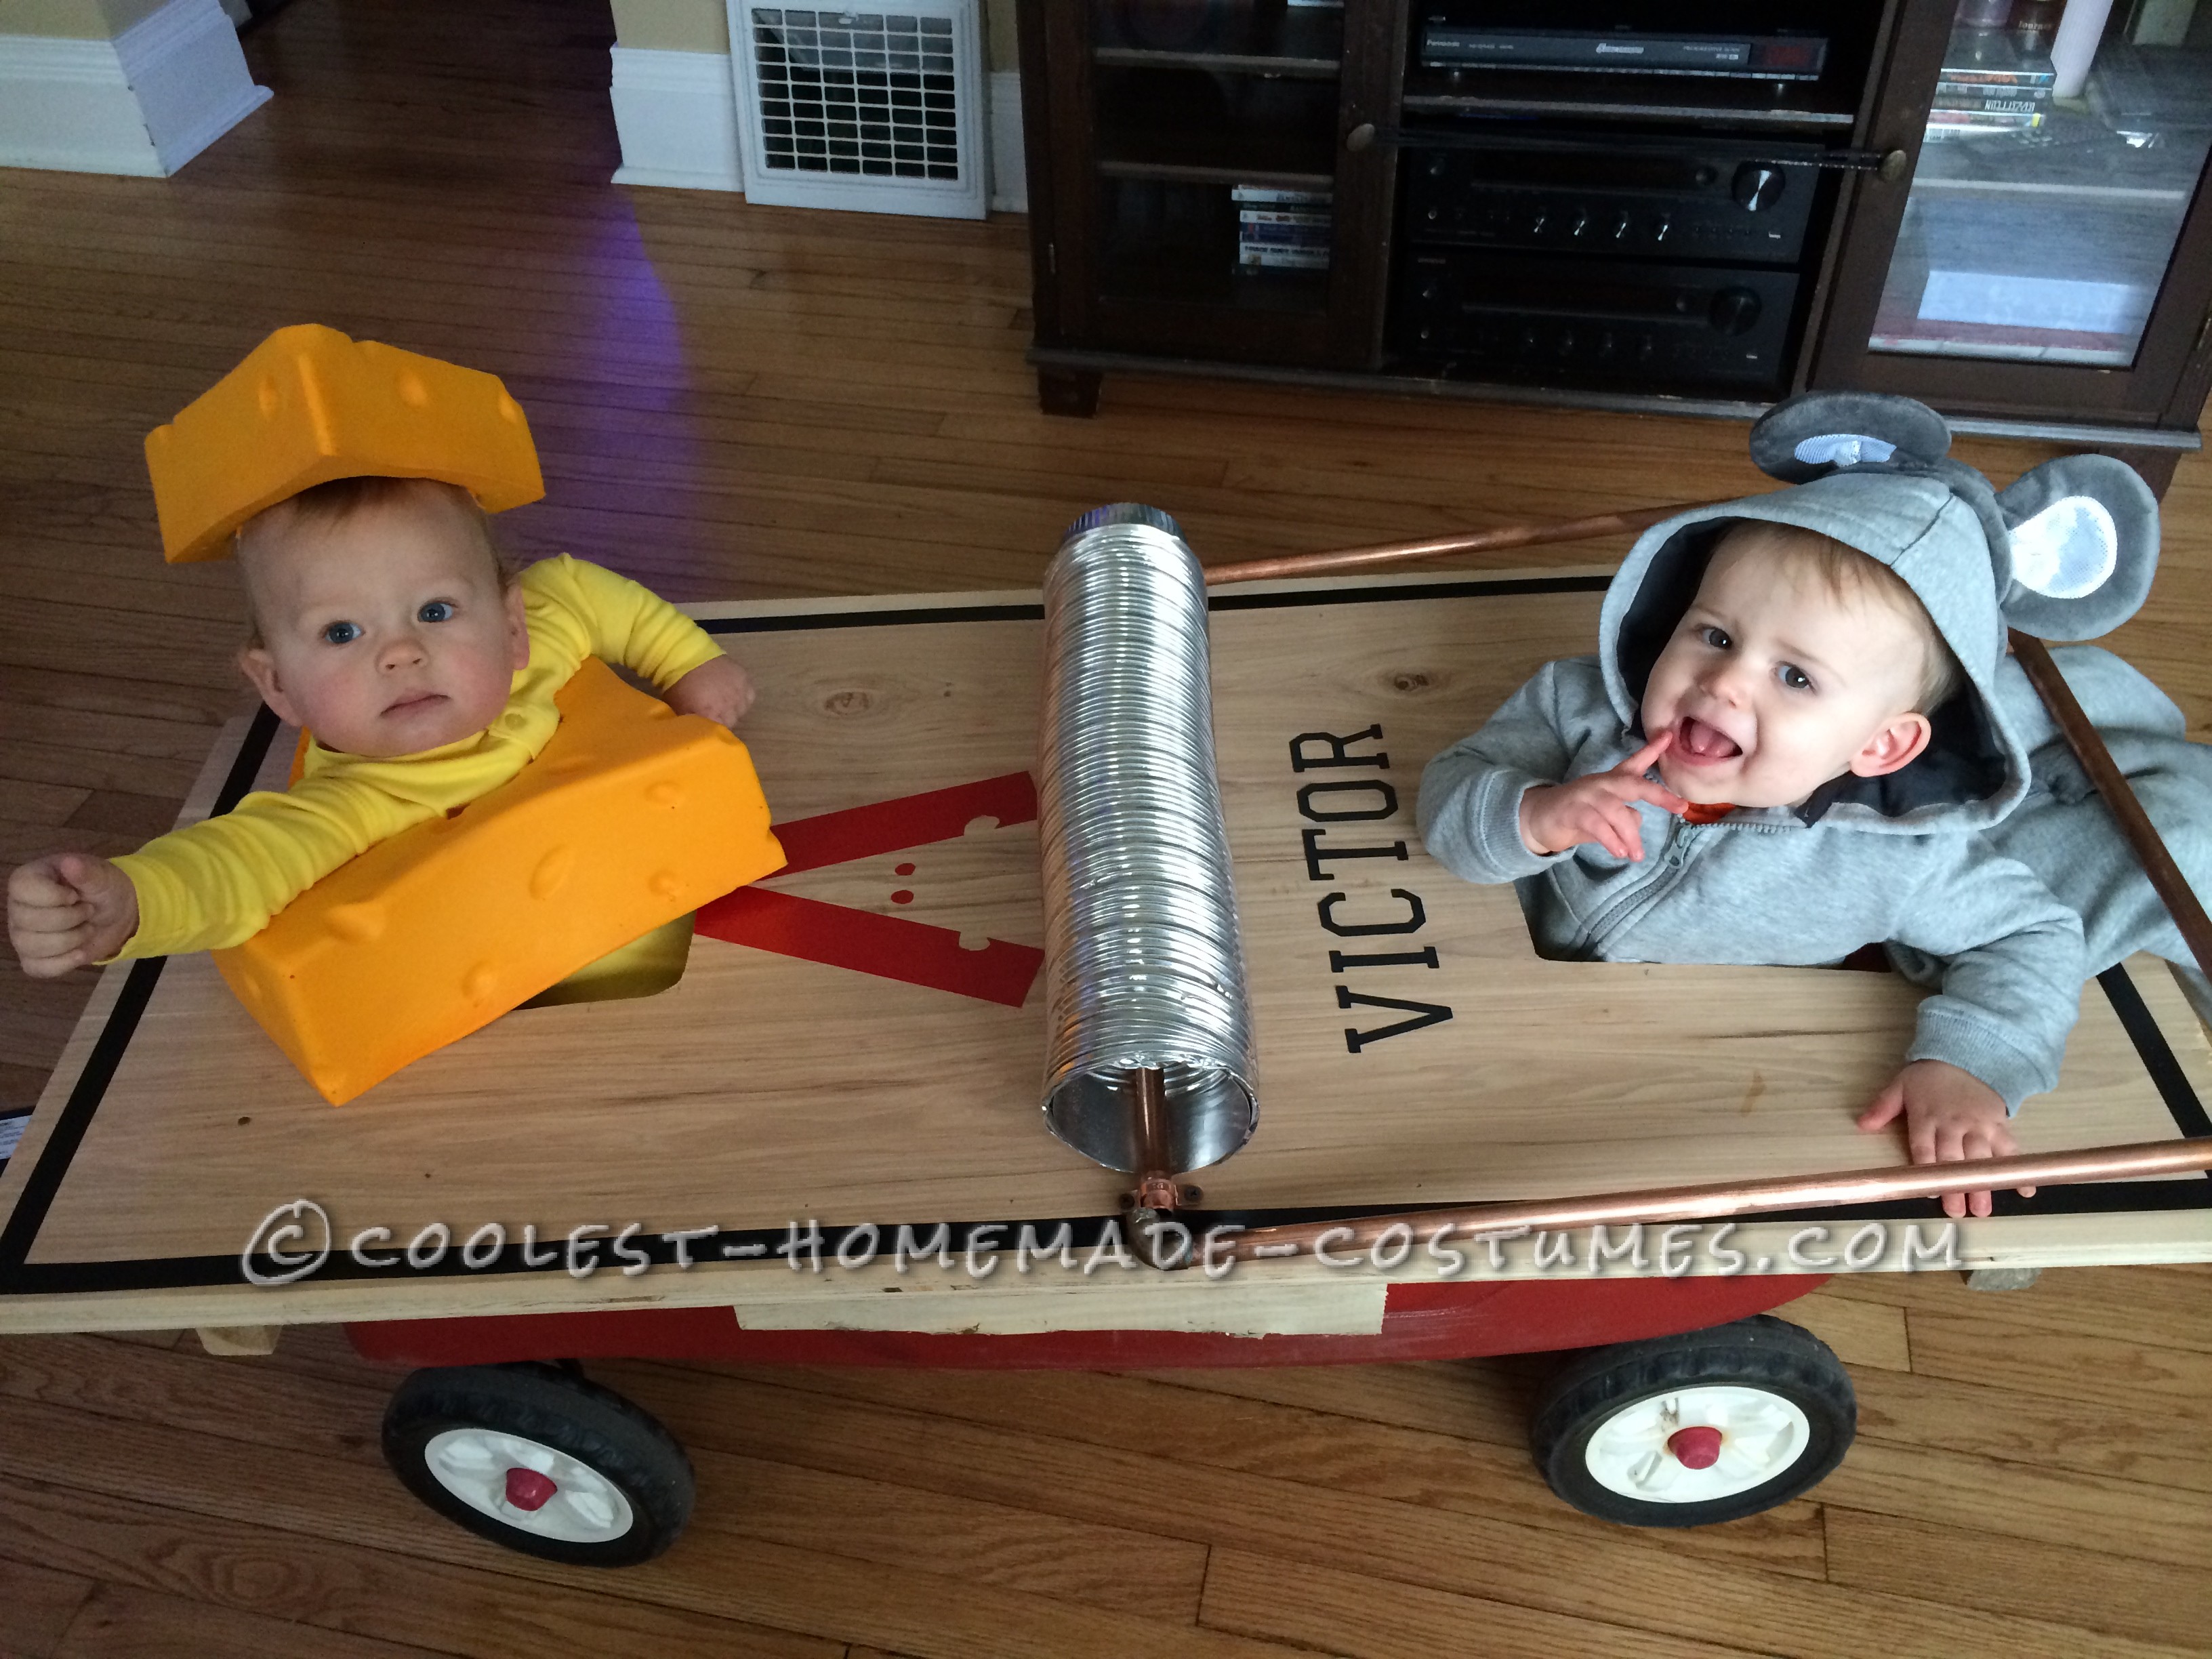
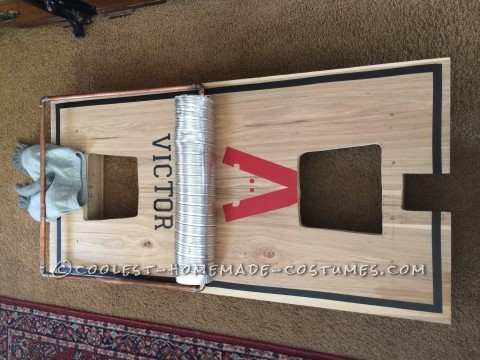
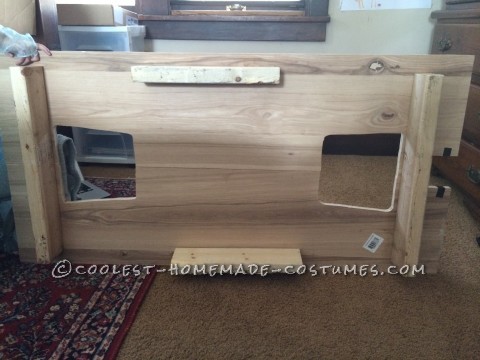
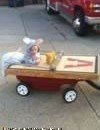
To get started on the mouse trap costume base, you will need a wagon. We used our Radio Flyer Pathfinder wagon. We are doing a lot of home renovations and had some extra lumber that was used to create the base of the trap. You can find cheap lumber at any local home improvement store. The base is 48 inches by 24 inches.
To ensure the trap was secured to the wagon, we used 2×4’s on the back of the base. A four by four notch was cut into the top of the mouse trap base to allow the wagon handle to move with more ease. Two trapezoids were cut into the top of the base so the kids could be placed in the wagon. The children who were used in the mouse trap are 14 months and almost 12 months. The opening was approximately seven inches by eight inches by nine inches. This was probably the hardest part of the project; it was a trial and error process getting the kids to fit into the openings.
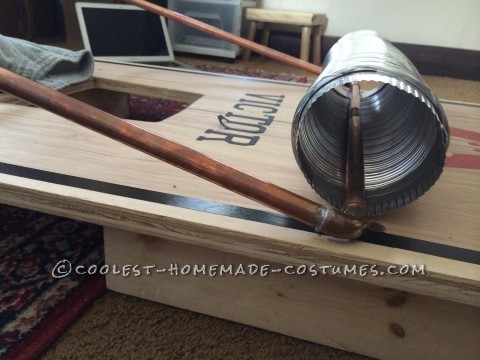
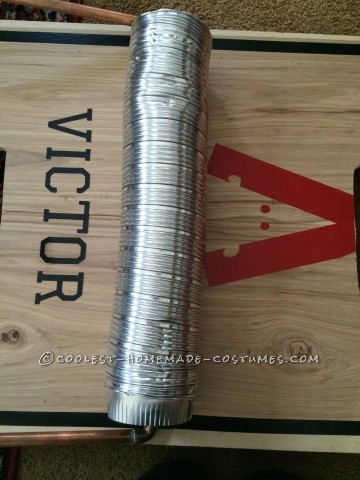
Once the base was fitted properly to the wagon, we purchased an eight foot piece of copper pipe, four 90 degree connectors, two braces, 20 inches of dryer vent, a piece of black paper, a roll of black electrical tape and a roll of red duct tape from a local home improvement store. Grey gloves, sweatpants, hoodie and the mouse tail and ears were from Walmart. The foam cheese and yellow sleeper were ordered on Amazon.
The pipe was cut into four pieces, each about 22 inches long. We soldered three of the pieces to the 90 degree connectors. Before soldering the fourth piece, insert the pipe in the dryer vent. Solder the final piece with the dryer vent to the connectors. Place the pipe and dryer vent in the center of the trap base. Use one brace on each end of the dryer vent to attach the pipe to the trap base. The pipe should be able to move, allowing you to attach the mouse legs and tail at a later step.
Once the dryer vent and piping were secured, it was time to add the details of the mouse trap! Line the perimeter of the trap base with the black electrical tape. I used my Cricut to cut the letters VICTOR. We used super glue to attach theses letters to the trap base. Next, we cut the red duct tape to create the red “V” and mouse head and placed on the opposite side of VICTOR. There are many variations of a mouse trap, but the VICTOR brand seemed the most common and easiest to replicate.
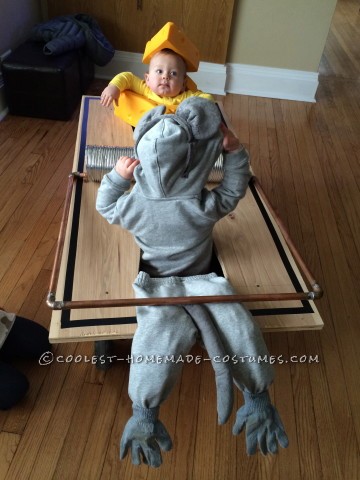
The mouse legs and tail are very easy and a great detail to the mouse trap! We used 12 month grey sweatpants stuffed with tissue paper and attached grey gloves and a mouse tail. Lift the copper pipe and place the waist portion of the sweatpants on the trap base flush with the child opening. We attached the sweatpants and tail to the trap with a stapler.
The trap is now complete!
For the Mouse, we removed the headband from the mouse ears (my 14 month old wouldn’t keep that headband on for more than 30 seconds!) and stitched the ears onto the hood of the sweatshirt. He wore grey sweatpants but they were not visible when he was sitting in the wagon.
For the Cheese, my nephew wore a yellow sleeper. We attached some elastic to the foam cheese so it would stay on his cute little face!
Adults and kids alike were stopping us to take pictures while we were out Trick-or-Treating. This was by far the most popular costume in our neighborhood! The pressure is already on for next year’s costume. : )

Related costumes:
 Coolest Homemade Mouse Trap Toddler Costume
 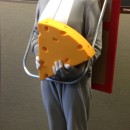 Cool Homemade Costume – Mouse in a Trap
 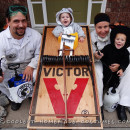 Coolest Pest Control Family Costume – Catch that Mouse!
 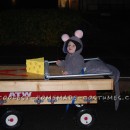 Mouse in a Trap Toddler Halloween Costume
  Coolest Homemade Mouse in a Mouse Trap Kids Halloween Costume
 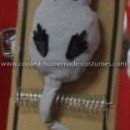 Coolest Mouse Trap Costume
  Coolest Pest Control Family Costume
 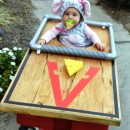 Cutest Baby Mouse/Mousetrap Costume
Your comment has been sent successfully.