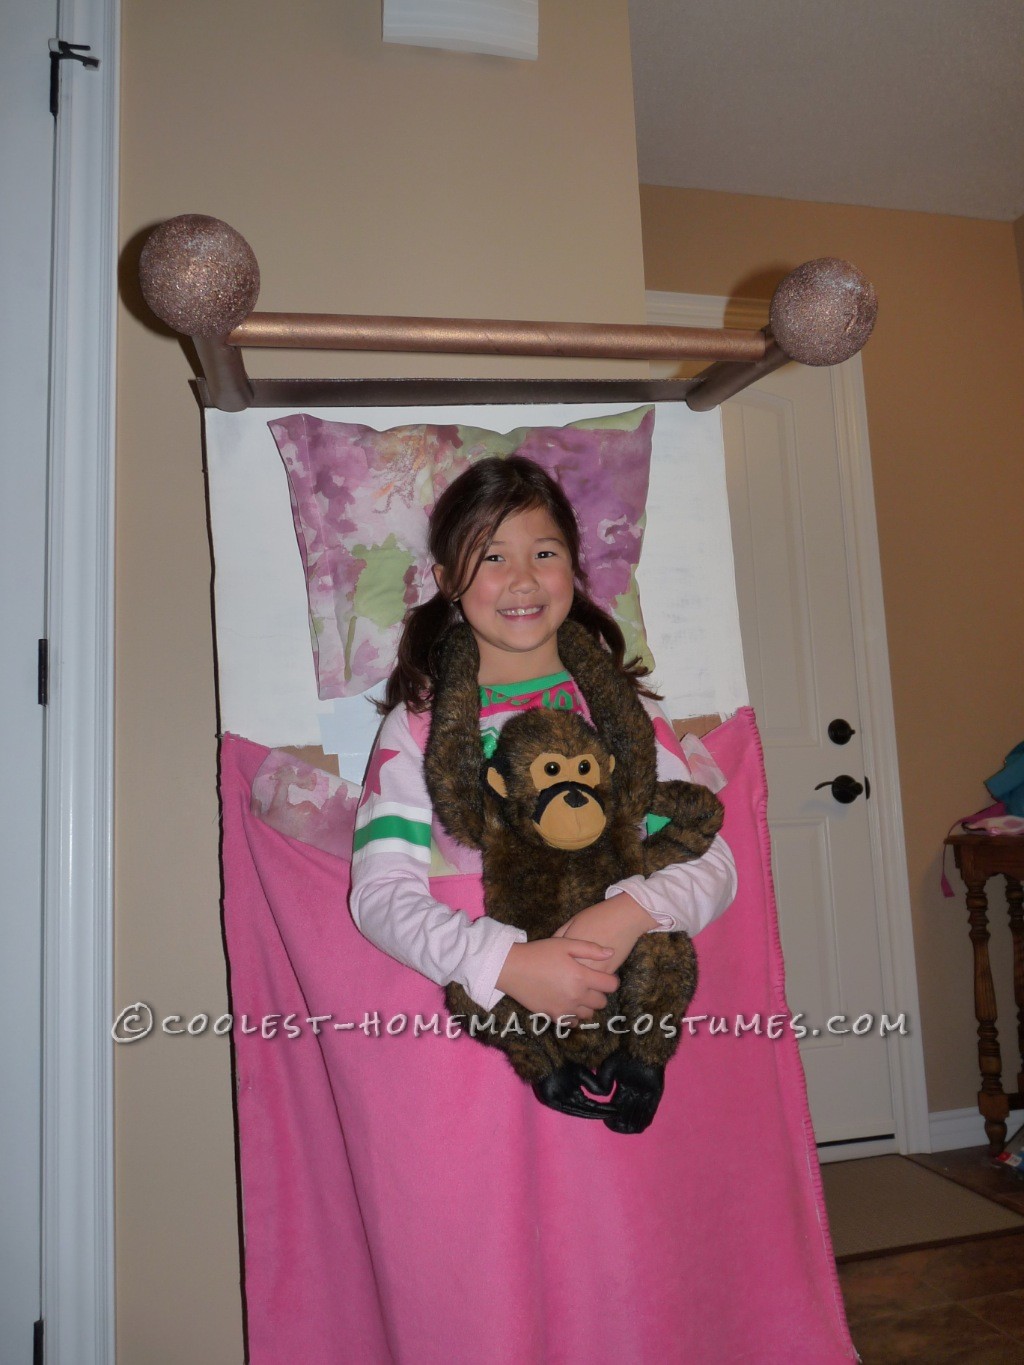
This “Sleeping Beauty” costume took a fair bit of thinking which is hard to do these days with 2 kids running about the place! The easiest part of the costume was spray painting the 4 styrofoam balls, and 3 wrapping paper rolls gold. My daughter was able to take some ownership of this costume making process by doing the spray painting.
Once the pieces were spray painted, we went to work on painting the bed part white. This was supposed to be the bottom sheet. Then, came the tricky part of actually putting it all together. The gold-painted wrapping paper rolls were cut into 4 pieces (2 long and 2 short) to make up the bed posts. We glued the styrofoam balls on top of the bedposts. The third gold wrapping paper roll was used to attach one bedpost to the other, serving as a headboard.
We cut out a piece of cardboard the same width as the bed. The bedposts each had a vertical slit up the side and they fitted over the top of the cardboard and glued into place. (Gosh.. this is sounding complicated already!). We used corner brackets to secure the cardboard and bedposts to the bed. With the bottom bedposts, we simply glued them directly onto the bed.
Now it was time to make up the bed. We hit the thrift store and got sheet big enough to sew up a pillow case and matching sheet. The pillow was glued directly onto the bed. We also added a very light blanket which was sewn to the sheet. Then, we got some velcro strips. I tried to make it easy for myself and got the adhesive kind. It worked very well on the cardboard but I learned that the adhesive didn’t work so well on the blanket/sheet and kept pulling away from the velcro. So, we pulled out the sewing machine and sewed the velcro strips on. This was where things really started to get complicated! The glue from the adhesive was wreaking havoc with my sewing machine needle and I broke the sewing machine. Now, panic mode was setting in!!
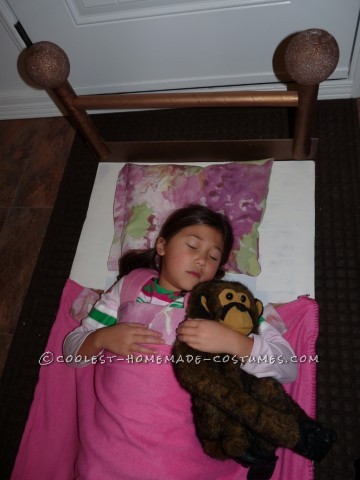
It’s the day before Halloween and it’s still not done!! We ended up using safety pins to secure the velcro strips to the blanket/sheet and the costume was finally done. My daughter just needed a pair of pyjamas and her stuffed animal and she was set! I was drained but my daughter was full of energy and happiness as she paraded around the school and her neighbor as Sleeping Beauty!

Related costumes:
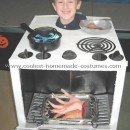 Coolest Homemade Toaster and Oven Costume Idea
 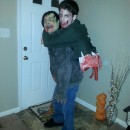 750+ Horrifyingly DIY Spooky, Gory, Dark and Scary Halloween Costumes
 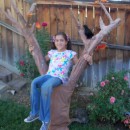 Original Girl in a Tree Illusion Costume
 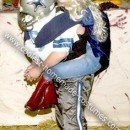 Coolest Homemade Jessica Loves Tony Romo Optical Illusion Costume
 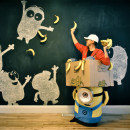 Coolest Homemade Minion Carrying a Box Illusion Costume
 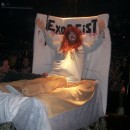 Original Homemade Exorcist Halloween Costume
  Coolest Box Fan Costume
 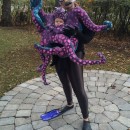 Crazy Baby Octopus Costume With Moving Tentacles
This is fabulous! My daughter wants to be a sleeping person for Halloween. Can you tell me what the white bed part is made of and how she kept it on? I’m wracking my brain trying to figure out how to keep that headboard up there without the whole thing falling over.
Hi!
I only got a notification now! So sorry! I’m not sure if you’re still interested but for next year but the white part is just painted cardboard. I had an old backpack where I cut off the whole back of the backpack and turned it around so that I glued the inside of the backpack to the cardboard and the straps were facing out.
The headboard attached to the white board with corner brackets or L-brackets. The bottom (horizontal) of the bracket is glued to the white cardboard while the vertical part is glued inside the tube.
I hope that makes sense!