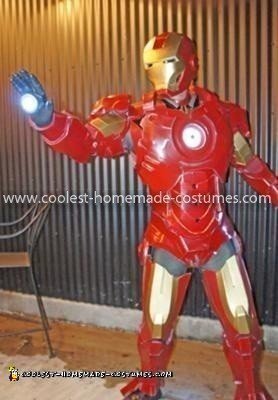
This is my second attempt at BIG costuming (the first was my son’s War Machine suit also posted on this site).
This build took 6 weeks of build time (7 days a week all day everyday!). I am very happy that it is done and believe me so is my wife. This suit is made entirely by the pepakura method modified to use the templates for 1/2 inch thick EVA foam floor mats. This was the most difficult project that I have ever tried and I have built whole houses start to finish before.
All you need to do is get the Pep templates and your floor mats with a big case of all temp hot glue. Fast forward three weeks and order some good hardener, I used StyroSpray 1000. Four coats.
I will warn you that at this stage you WILL believe that you have ruined all of your hard work, but I promise you haven’t, just get out your 60 grit sand paper and an orbital and sand all the drips off your suit. One more sand with 100 grit, then prime with Hi-Build auto primer three coats. Switch to wetsanding with 220 grit, then final wet sand with 1200 grit.
All that’s left is to pick your colors and your rattle cans and spray your trim colors, wait a day, tape off trim and coat your body color. When all looks good apply your spray clear coat and weather your suit with blackwashes and silver Rub-N-Buff.
You do need to design some kind of harness and rigging system to make the suit wearable. I tried my hand at fabricating aluminum hinges for the knees with carriage bolts and nylon washers, and some thrift store suspenders for most of the rest.
It is hard to find a start to finish tutorial that really includes all the details and the fact is this long writing didn’t cover half the info needed to do one of these but it really is a good start! Thank you for looking at my suit!

Related costumes:
 Creative Tim Burton’s 9 the Movie Costume
 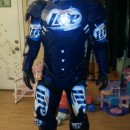 What if Iron Man Needed Sponsors? The Iron Can Costume!
  Coolest DIY Iron Man Costume
  Coolest Homemade Mrs. Nesbitt/Buzz Lightyear Costume
 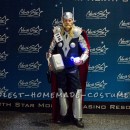 Homemade Thor Costume: He Who Wields This Hammer Commands the Lightning and the Storm
 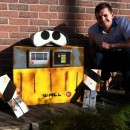 Homemade Wall-E Halloween Costume
  Amazing Jack Skellington Nightmare Before Christmas Costume
  Amazing Lego Movie Couple Costume
Your comment has been sent successfully.