
This Homemade Master Shake Costume took about 10 hours total with my girlfriend helping me. First I bought a 4×8 piece of wall liner from Home Depot. The wall liner is white with a textured and smooth side (use the smooth side for the outside of the costume). It feels like a stiff piece of plastic.
First I bent it into a large tube with one end smaller than the other for a “cup” effect. Then I drilled holes along the seam and bolted it together with bolts, nuts and washers (3 should do the trick).
When you make one end of the cylinder smaller than the other, there will be excess at the top to trim. But first make some markings while it is still a cylinder:
Mark where you want to cut the eyes, where you want the arm holes, and draw lines along where the 2 ends come together to trim the overlap. Also draw a line of where to cut the excess at the top to make it flat.
Now unbolt and re flatten the wall liner. Use a jigsaw to cut the holes for the eyes and arms. Also trim the excess off the overlap and top. Then reassemble into a tube.
Cut 2 1x2s for bracing at the top and screw to wall liner with drywall screws. These will help stabilize the costume and provide a place to attach the straw.
Cut out circles for the pupils and tape to the inside of the costume near the corner of the eyes. Then cover both eye holes from the inside with white fabric that you can see through (available at hobby store).
I attached poster board for the top with glue and tape. For the straw I used Styrofoam cylinders from a hobby store screwed together with drywall screws, then covered in pink construction paper. Screw the cylinder to the 1×2 bracing. I also used corner brackets for additional support.
Bolt 4 eye hooks to the inside and attach adjustable straps so that your head lines up with the eyes of the costume. Draw on a mouth with Sharpie, don yellow gloves, and you’re ready to go!

Related costumes:
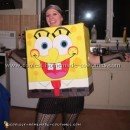 65+ Coolest Homemade SpongeBob Costume Ideas
 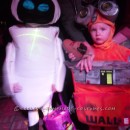 DIY Wall-E and E.V.E. Costumes for the Happiest Kids Ever!
 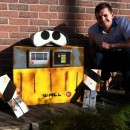 Homemade Wall-E Halloween Costume
  Creative Tim Burton’s 9 the Movie Costume
 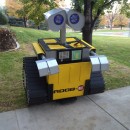 Awesome Homemade Wall-E Halloween Costume
 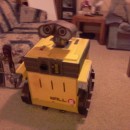 Coolest Wall-E Homemade Halloween Costume
 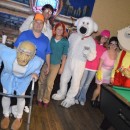 Awesome Family Guy Group Costume
 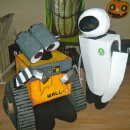 Coolest Homemade Wall-E and Eve Couple Costumes
Your comment has been sent successfully.