
Being huge fans of the show, both of my daughters wanted Doctor Who inspired costumes this year. My oldest was determined to be The Doctor, complete with TARDIS! We brainstormed and came up with a fabulous Doctor outfit, easily assembled from trips to the thrift store (jacket, suspenders and boots). We made the bowtie and fez out of felt and, of course, already had a sonic screwdriver (as should every self-respecting Whovian <:-) “All” that was left was to make the TARDIS. I figured “what’s so hard about making a box”. Well, I should have known myself and my daughters a little better. We started to sketch out some plans. She wanted something that she could step out of and we needed it to be lightweight. It’s funny, in all of our sketches, the box just seems to hover over her. No one actually address es HOW it is going to hover over her. The plans looked good enough to me, so off we went. Luckily, so as to not break the bank, there is an excellent Planet Improvement Center here in Eugene, OR. They sell recycled home improvement items of all types. We were making not just one costume, but two. My youngest was determined to be a Dalek….if you can just imagine the headaches involved in making a Dalek you’re welcome to read my other entry entitled Coolest Homemade Doctor Who Dalek Caan Costume. My girls and I had so much fun sorting through all varieties of construction items to see what would fit our criteria and imagining the possibilities. Here is what we came up with…
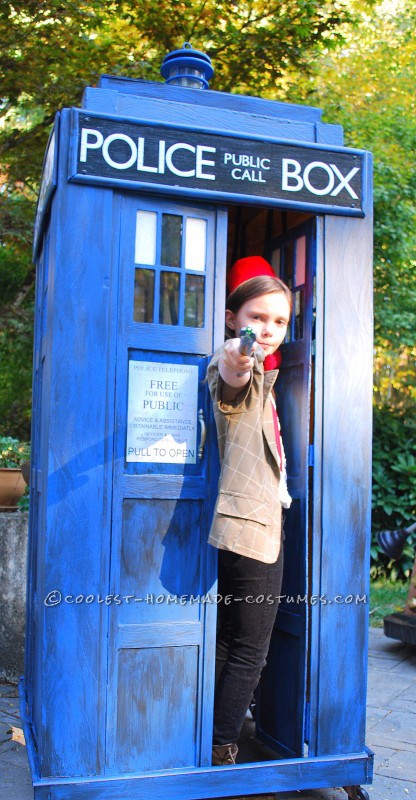
The Doctor and her TARDIS
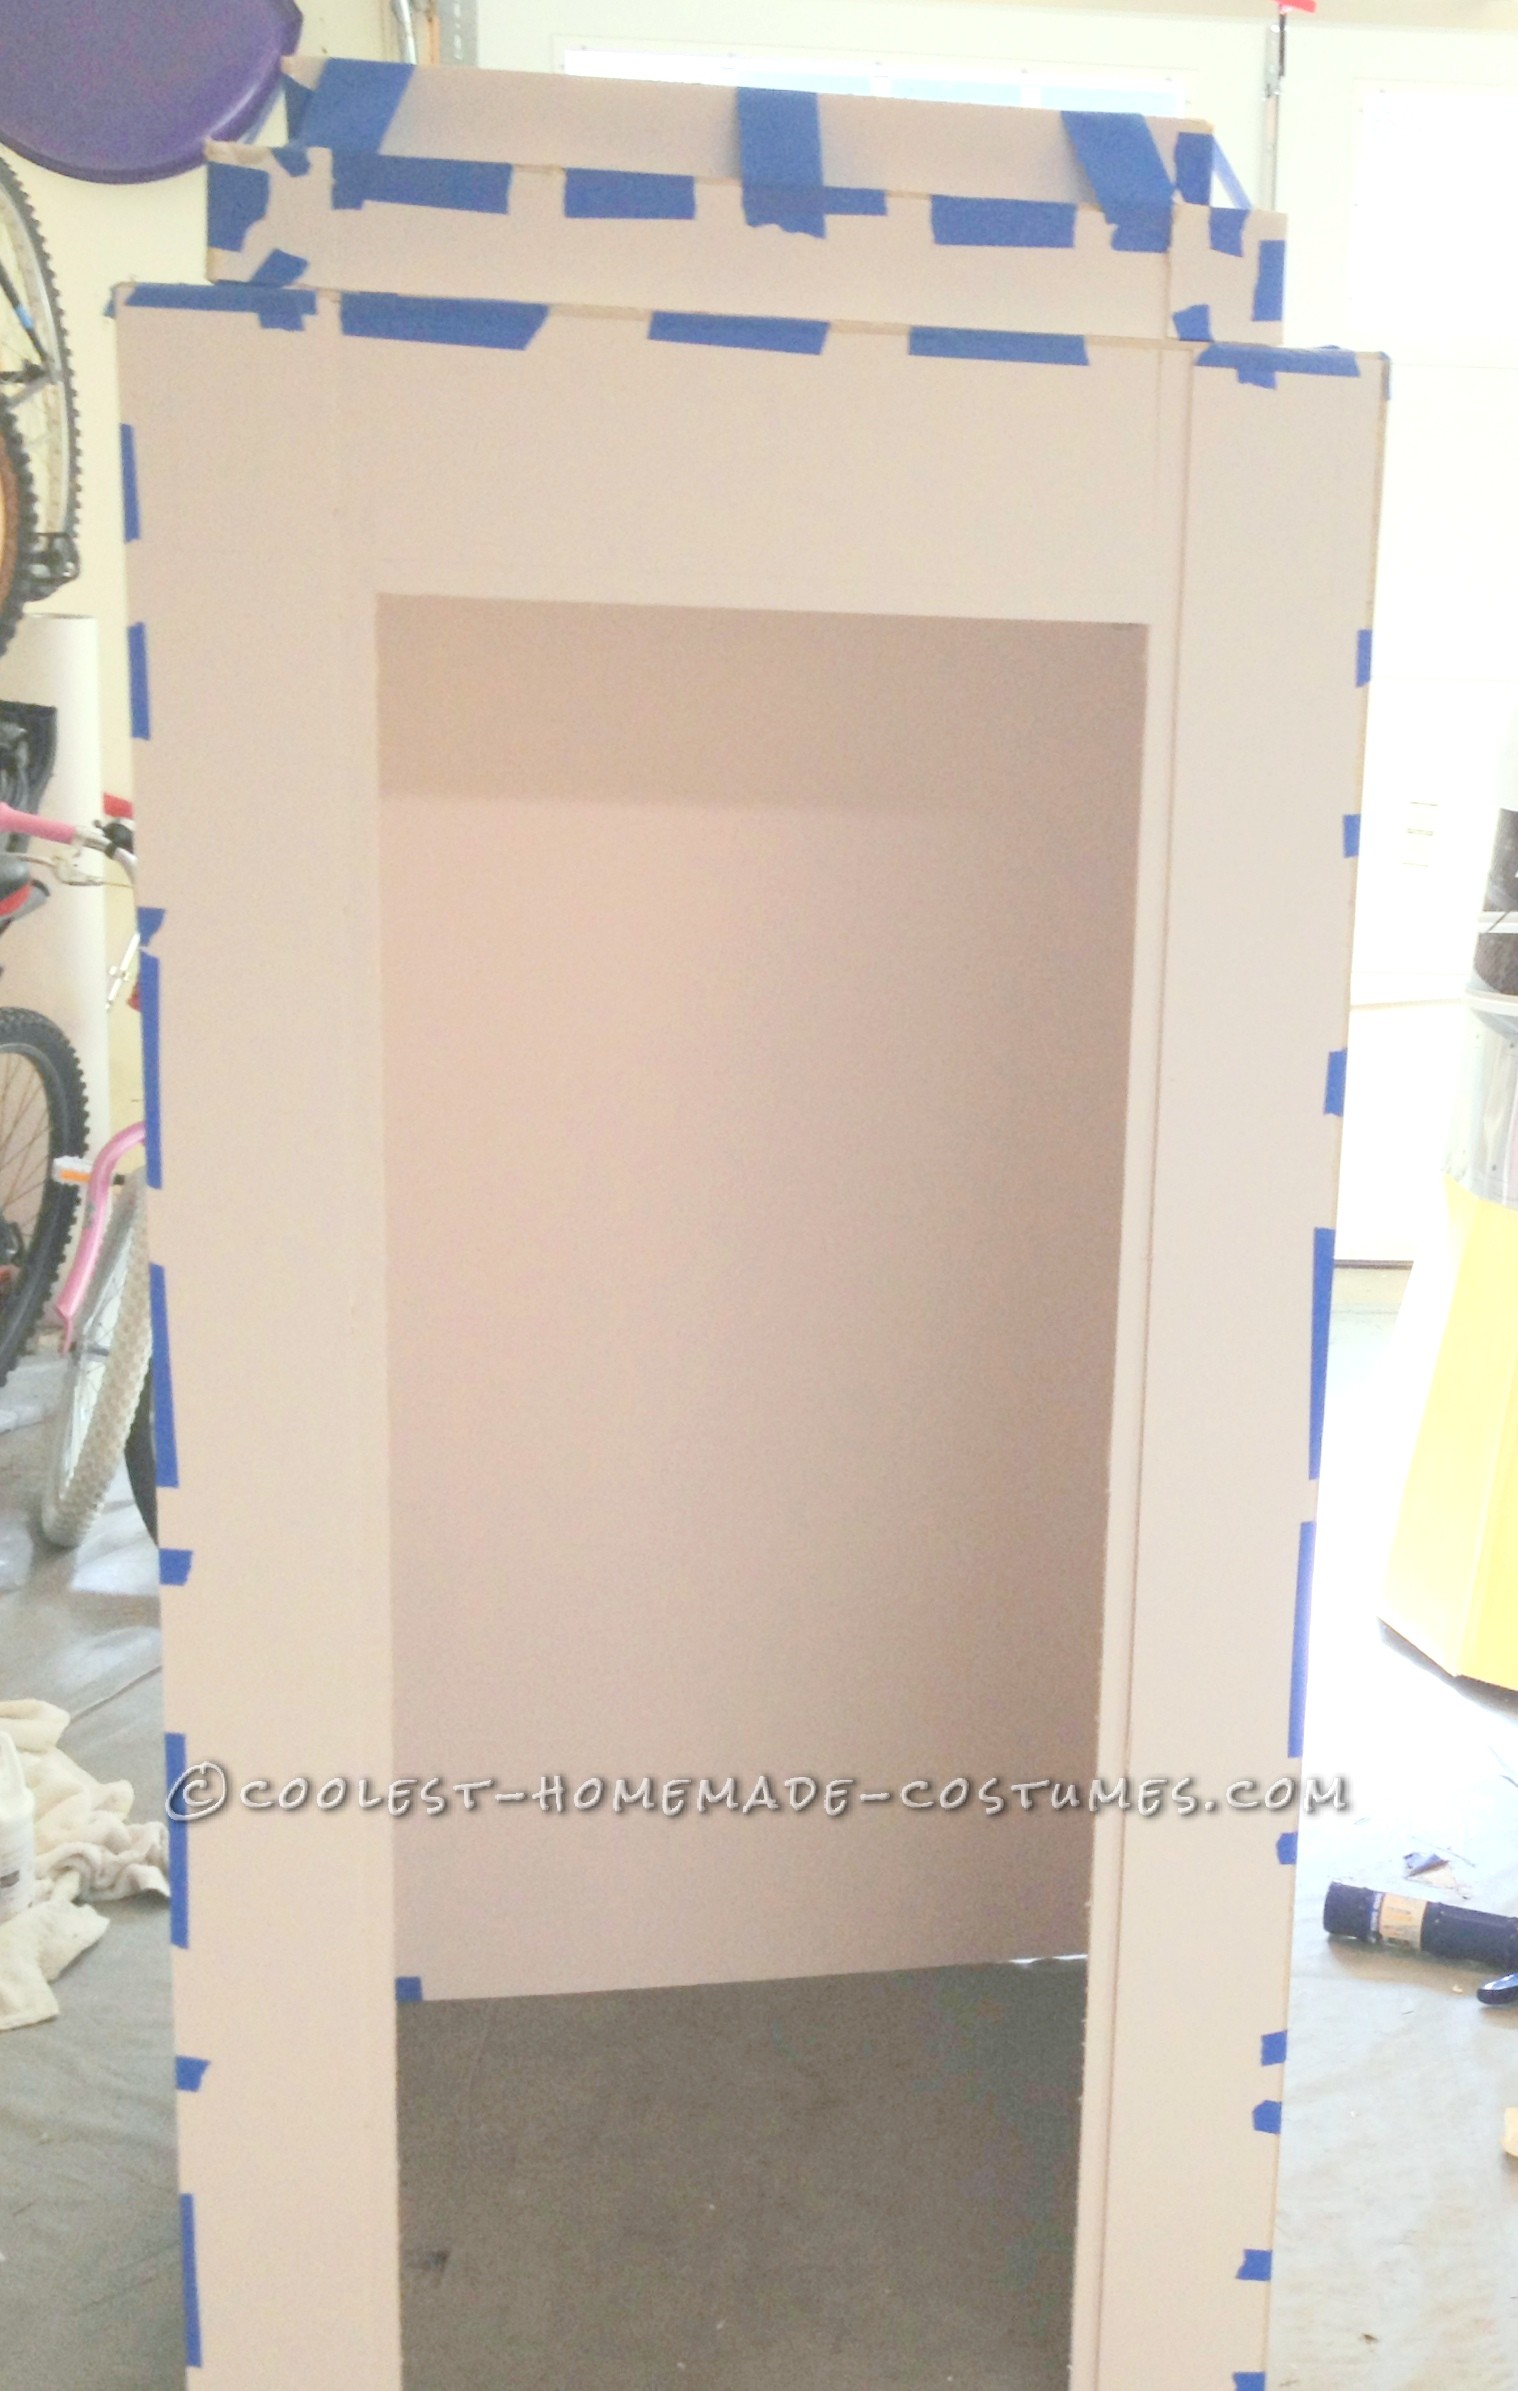
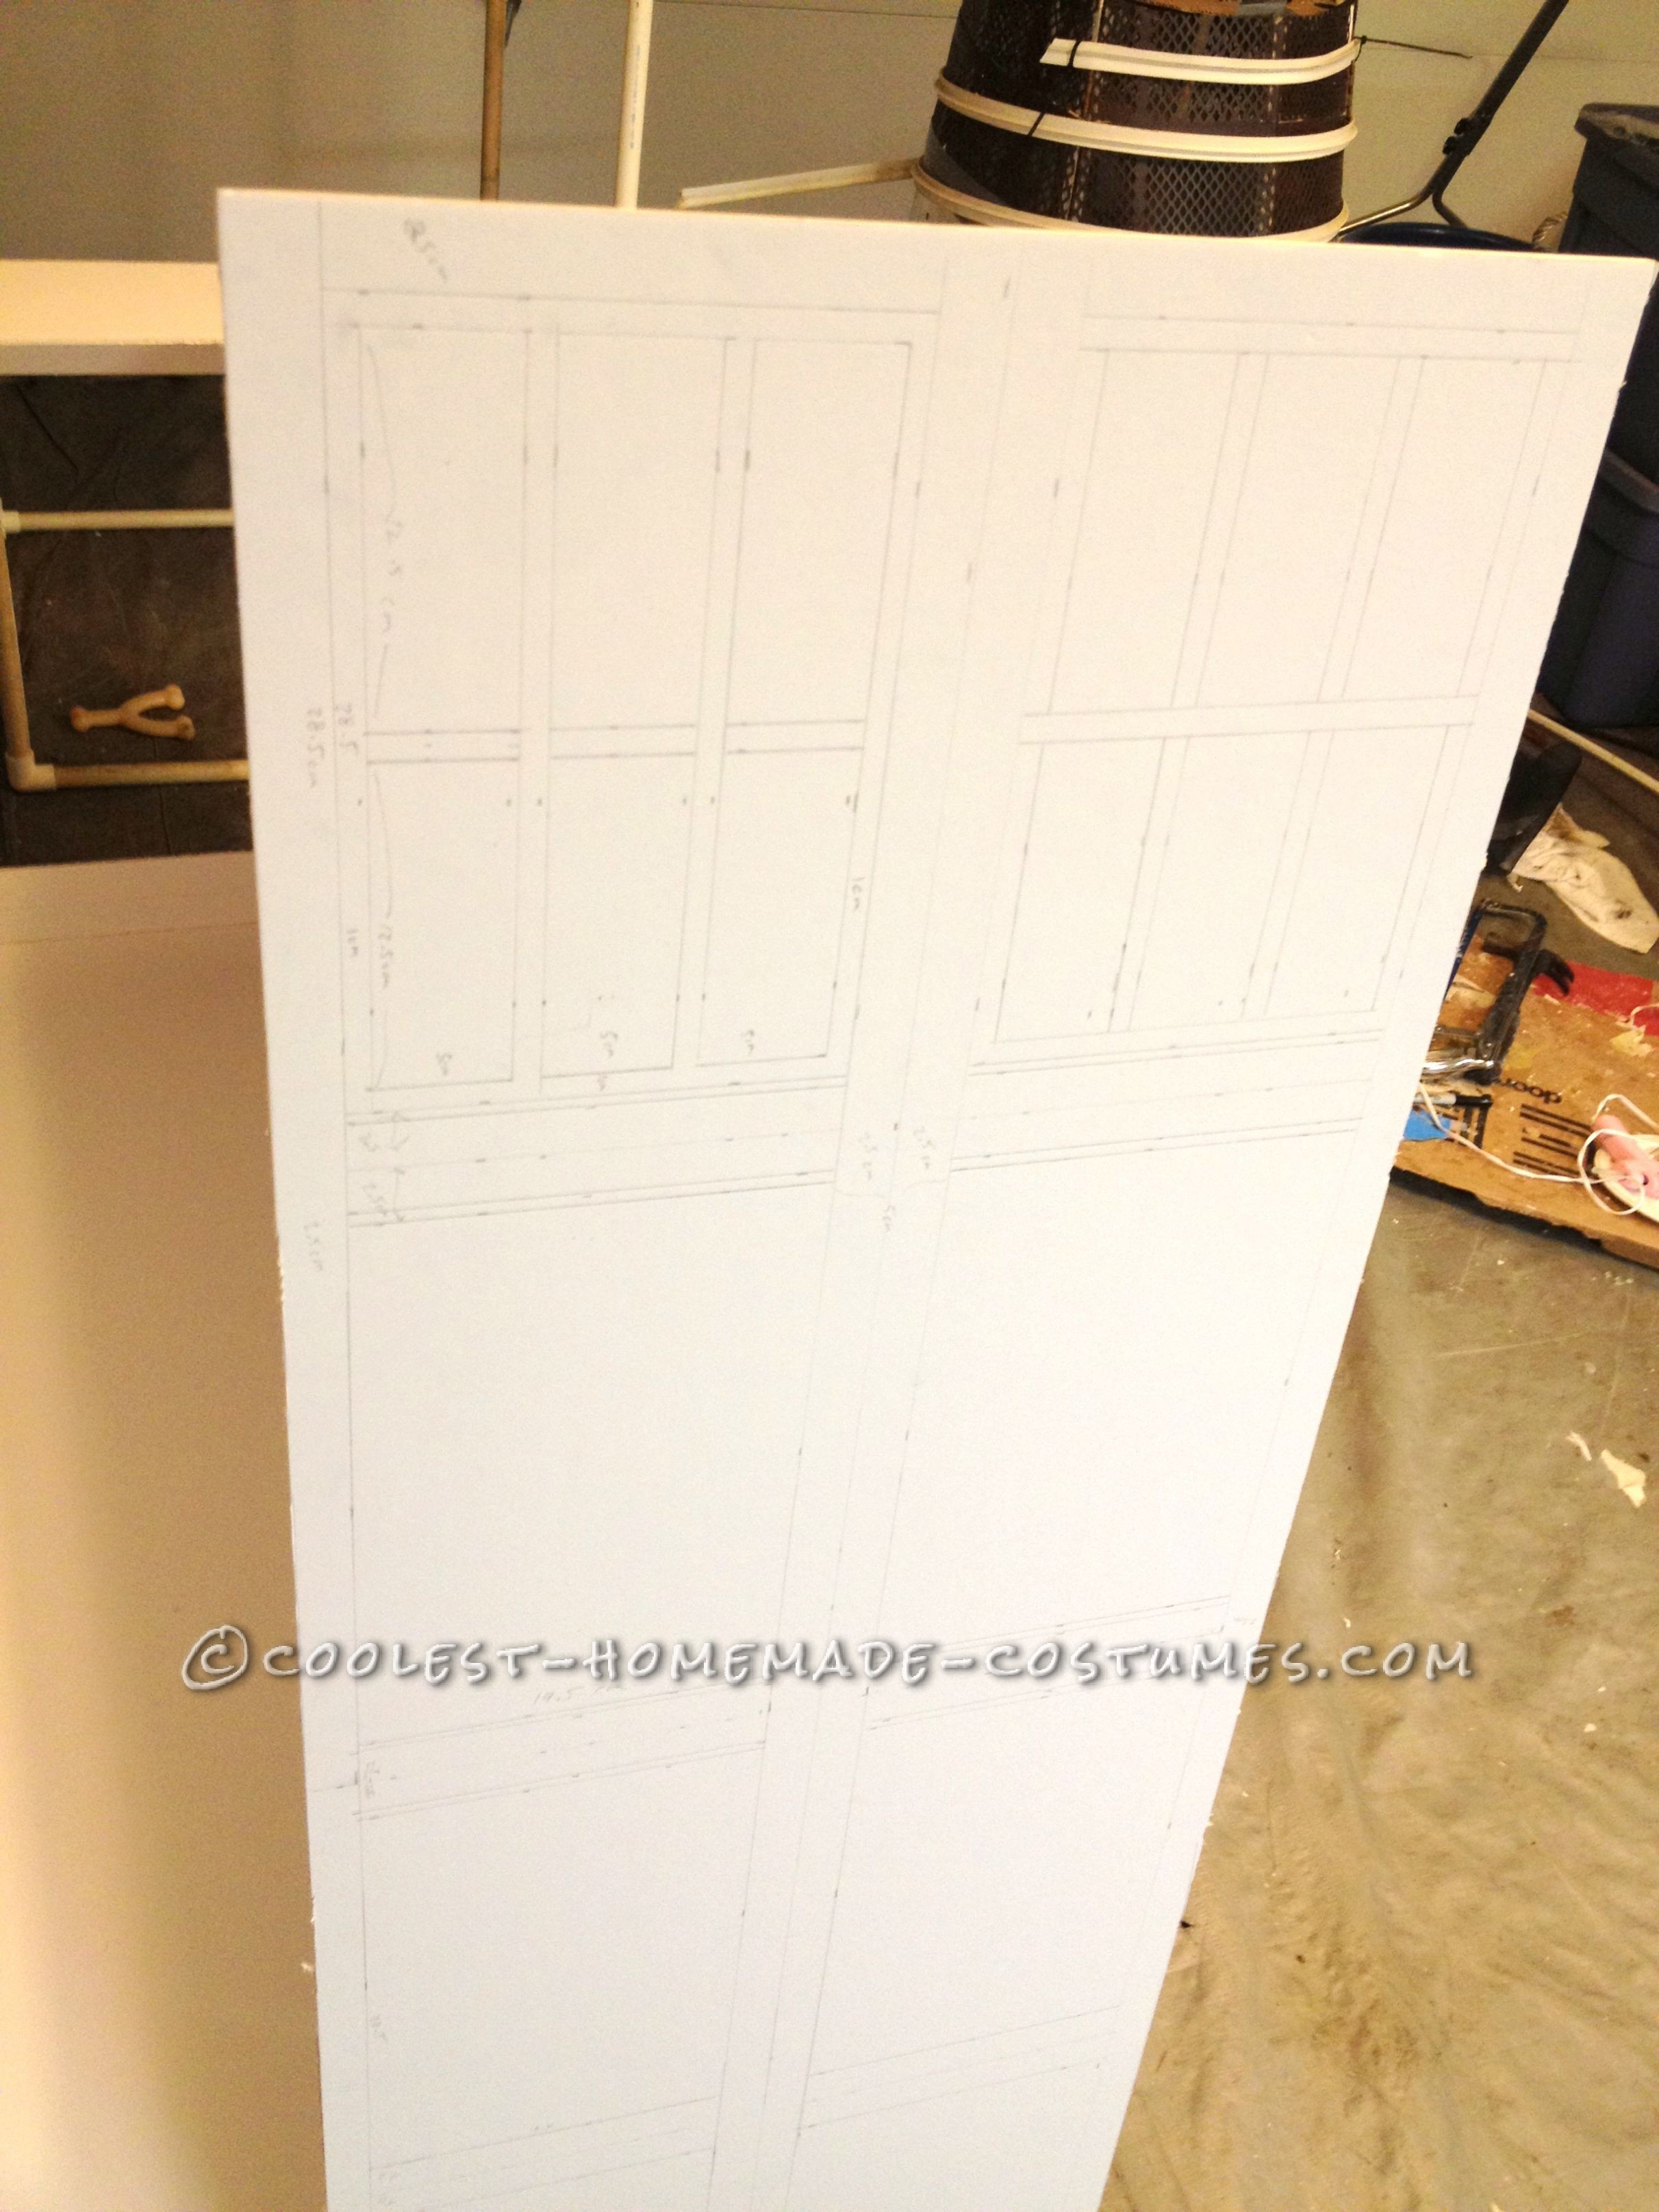
The Build
We came home with, among many other miscellaneous items, about 6-7 long pieces of ¾”white PVC piping. This was the smallest size that seemed sturdy enough to be a frame. They even had the 3 way connectors for the corners. We needed 8 corner pieces since we were making a rectangular box. We picked up a gallon of recycled paint in each of the perfect shades of blue and black. As we were leaving we also found a wonderfully shaped old pathway light to adorn the top of the TARDIS. Since we needed the TARDIS to be as light as possible yet sturdy and straight enough to resemble wood, I purchased about 5 sheets of large 40”x60” pieces of foam board, along with various other sizes. This was by far the biggest expense. I fit the large boards to size around the TARDIS frame and used them for the long elevated corner pieces and elevated strip down the center of the doors. It would have been nice to be able to finish each side unassembled, put them together and they would match up perfectly….only in my dreams. I had absolutely NO trust in the fact that our frame was square and that our measurements would align. So, what I had to do was to hang each panel first, then draw, cut out and glue the door and window panels in place while it was already attached. I’m not sure that this sounds as difficult and frustrating as it truly was. I am absolutely sure that there is a better way to do this. With four sides finished I finally gathered up the nerve to cut the opening door pieces out. Just a note here: slightly trim before reaffixing so that they do not scrape when they open. We used clear scrap plexiglass pieces in the windows and sponged on some cream colored paint to frost certain panes. We cut out the door panels and added slightly larger panels so that they had depth. 6 solid panels on each side x 4 sides equals an awful lot of that expensive foam board going to waste. Not to worry, I am a ridiculous scrap saver. We will find good uses for them.
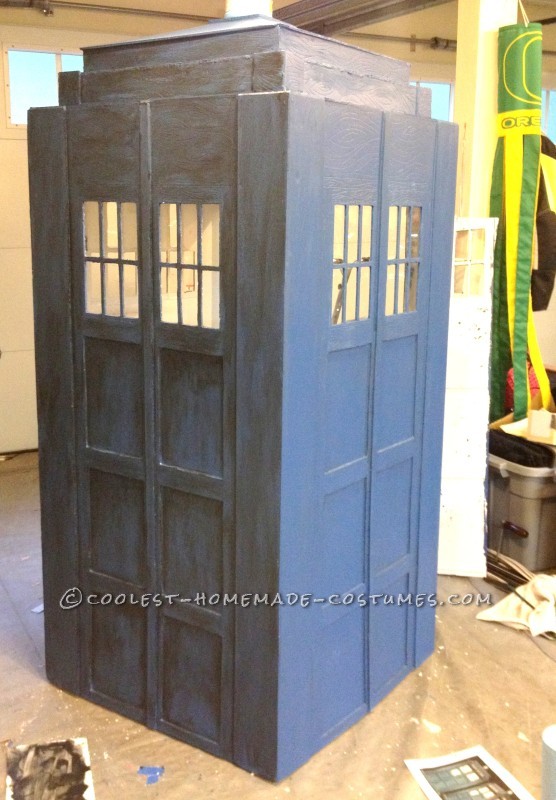
Adding Texture
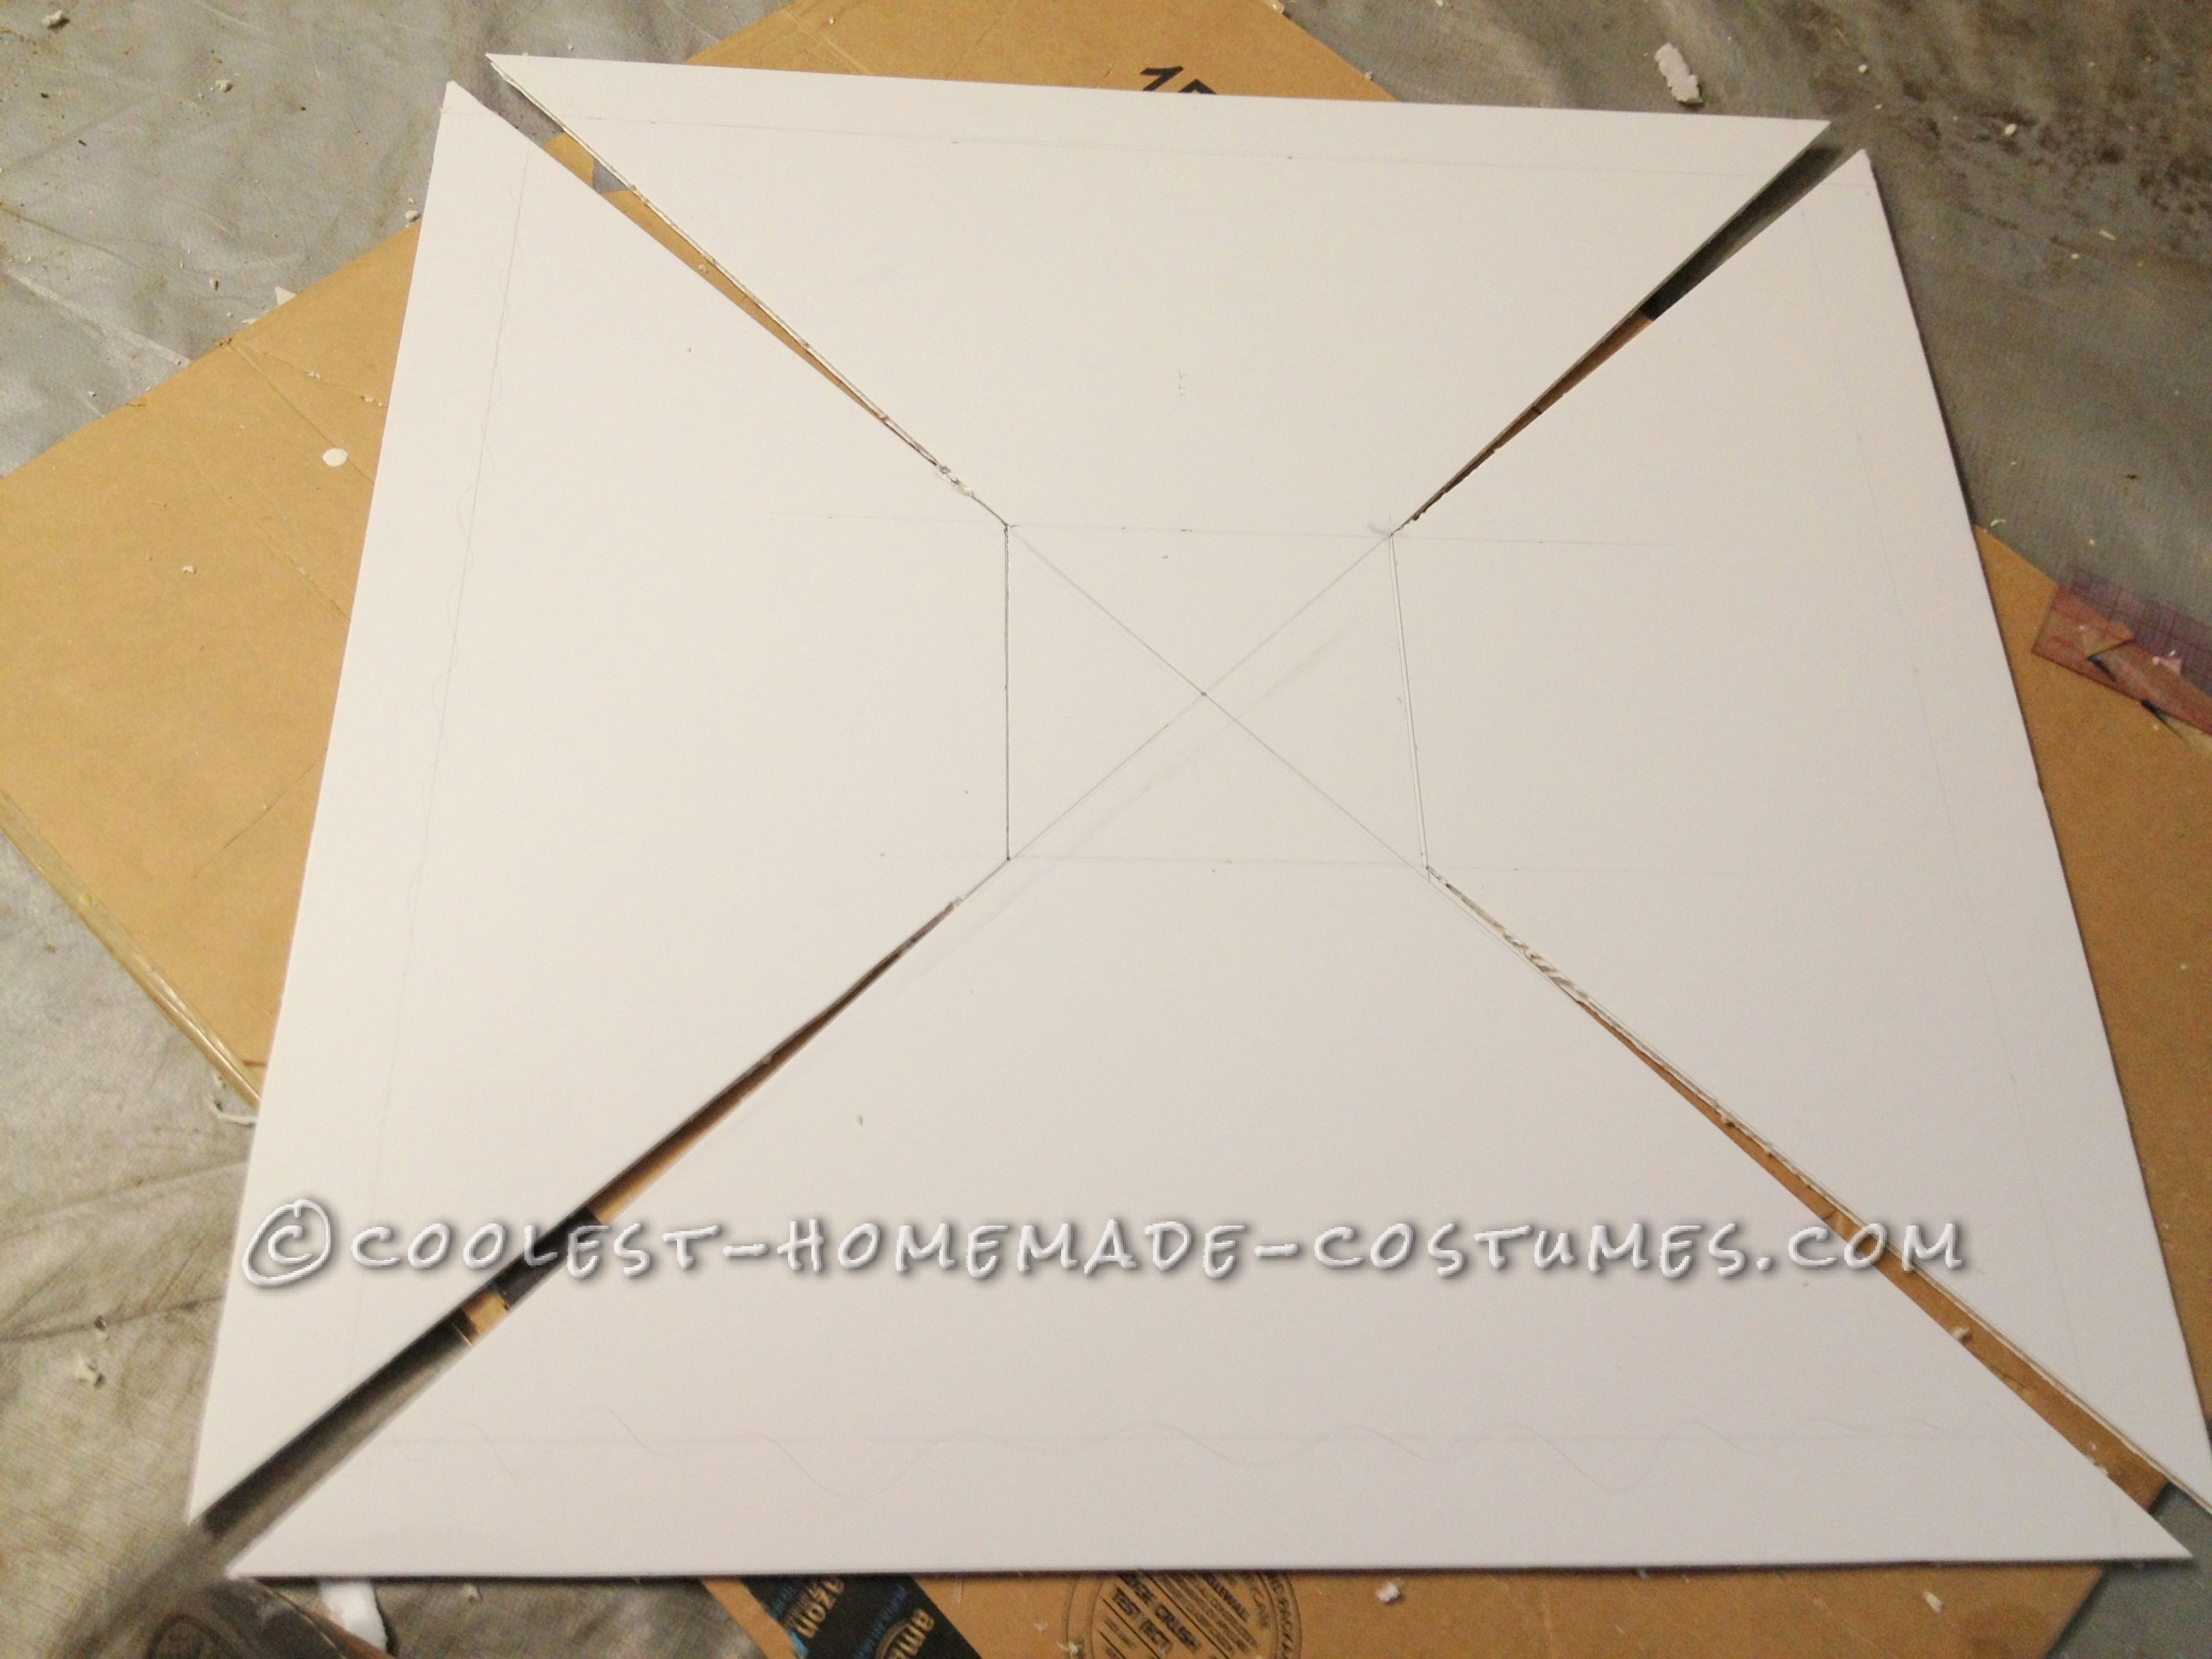
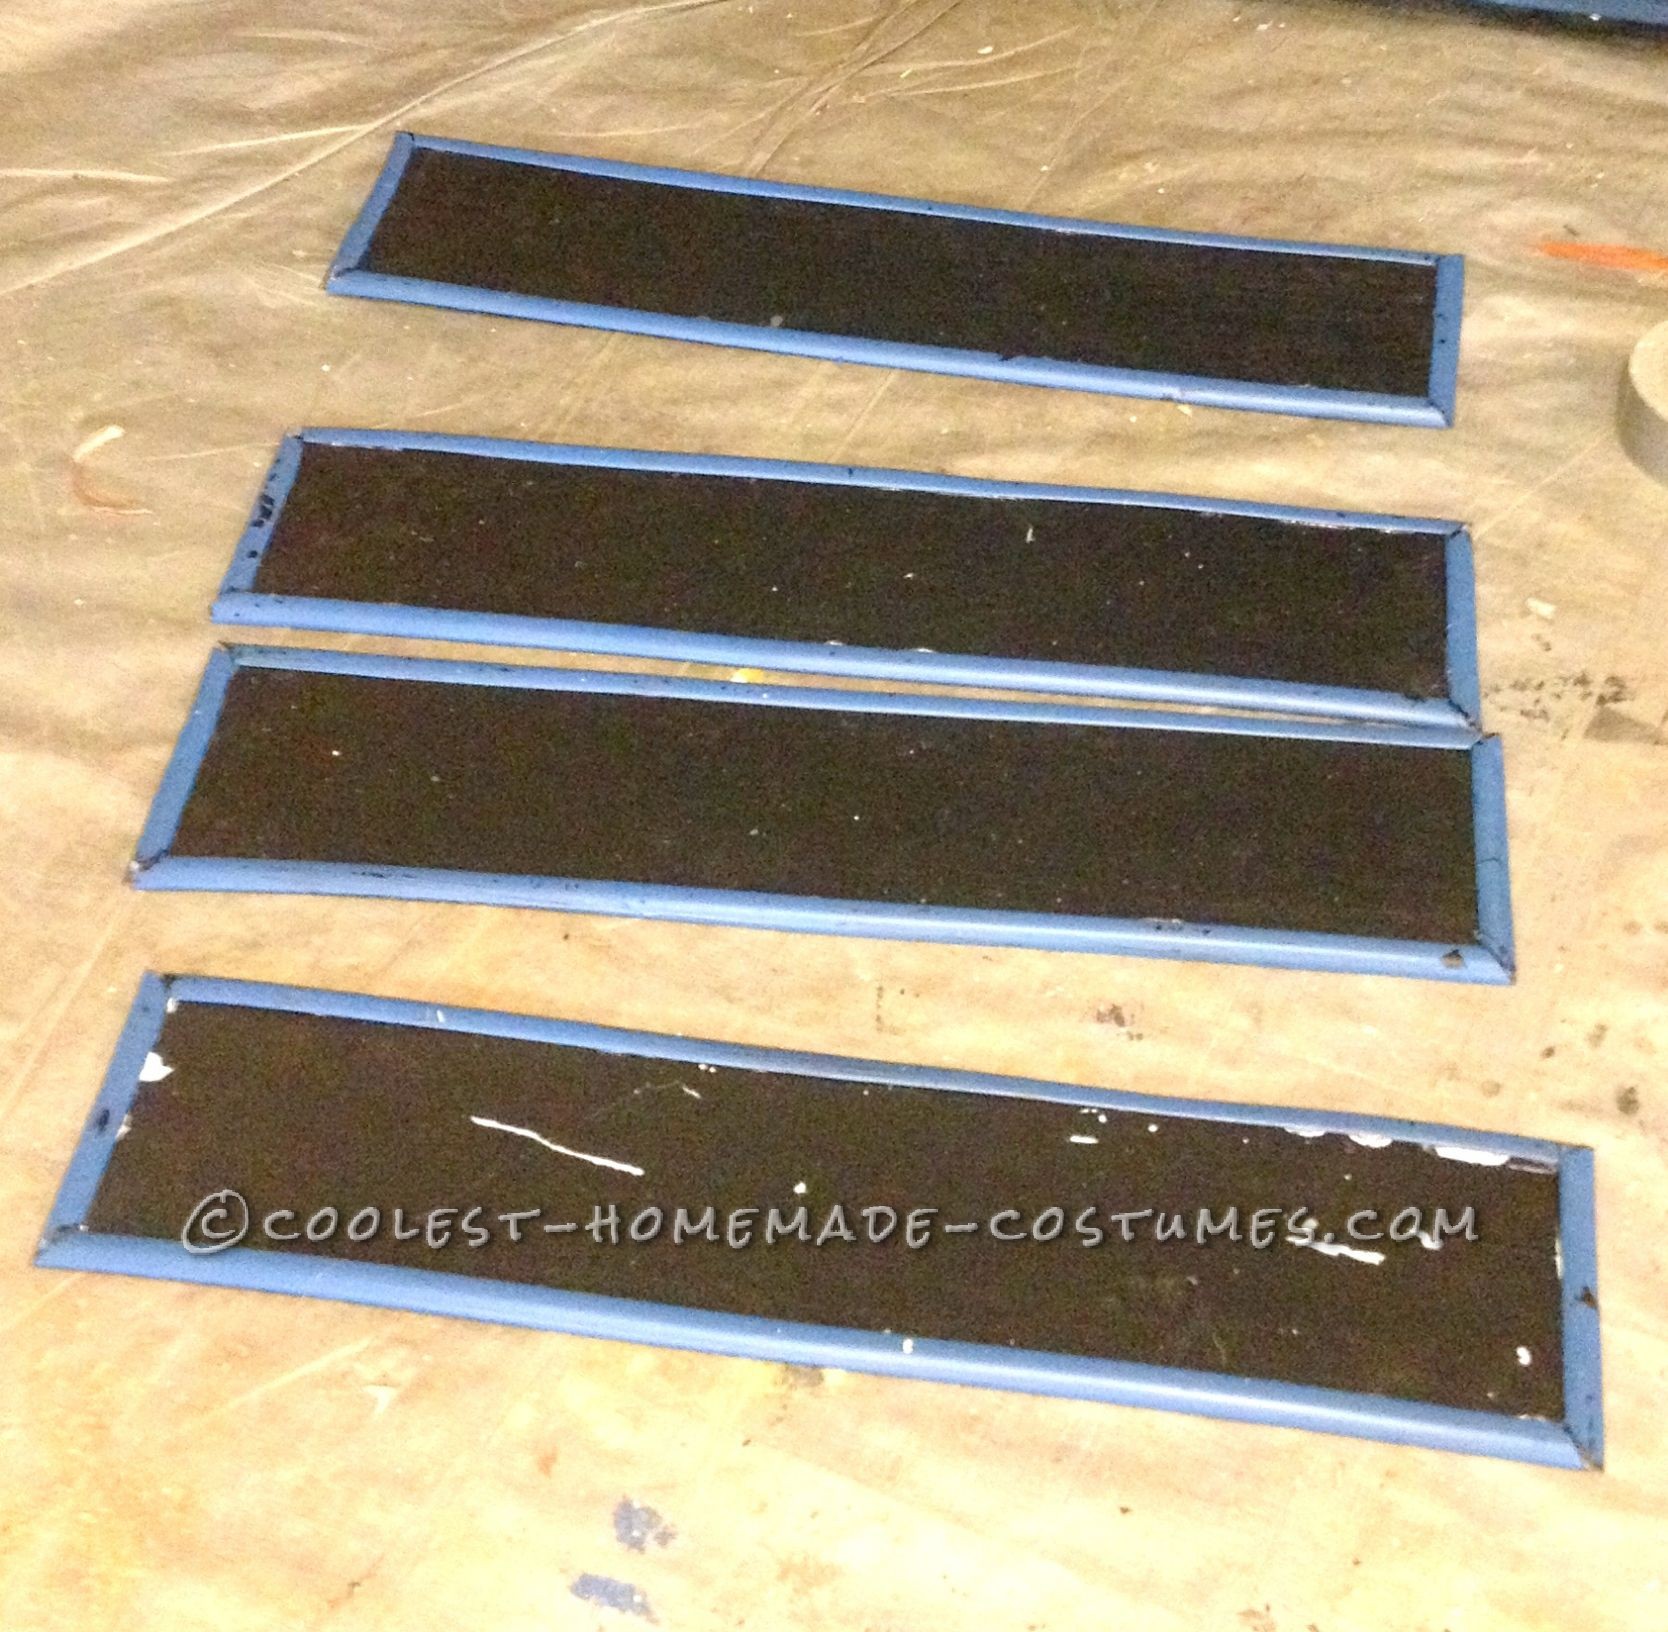
Once I finished all of the cuts we thought the texture looked a little too smooth. Using my X-Acto knife I lightly etched some wood grain into the foam board, being careful not to cut all the way through the board. I tried to keep the grain in the direction that planks of wood might go. This was a good idea, as it added that extra dimension to the wood look that I was going for. The baseboard panel is topped with half round pieces of semi hard weather stripping. The top was cut and slowly glued in layers. I found a really good way to make the cap piece from another TARDIS costume maker. It took days to glue the top together, having to wait for each layer and tier to dry before moving on to the next. I will note here that up to this point my hot glue gun was not even on my radar, I have no idea why, and it would have made this whole process MUCH quicker, grrr! I then covered any exposed foam board edges with a light coating of lightweight spackle in order to blend them and not look like cut pieces of foam glued together. After drying and a light sanding we painted the entire piece with that perfect shade of recycled blue paint. It is called Crater Lake Blue by MetroPaint. Still thinking that it lacked that “old police box” look and feel, I decided to shade the whole thing using the black paint. I did this by lightly brushing black paint on top of the blue and using a slightly damp crumpled rag to blend it. There we go, that was the look I was after! It was coming together!
Transforming
Finishing Touches?
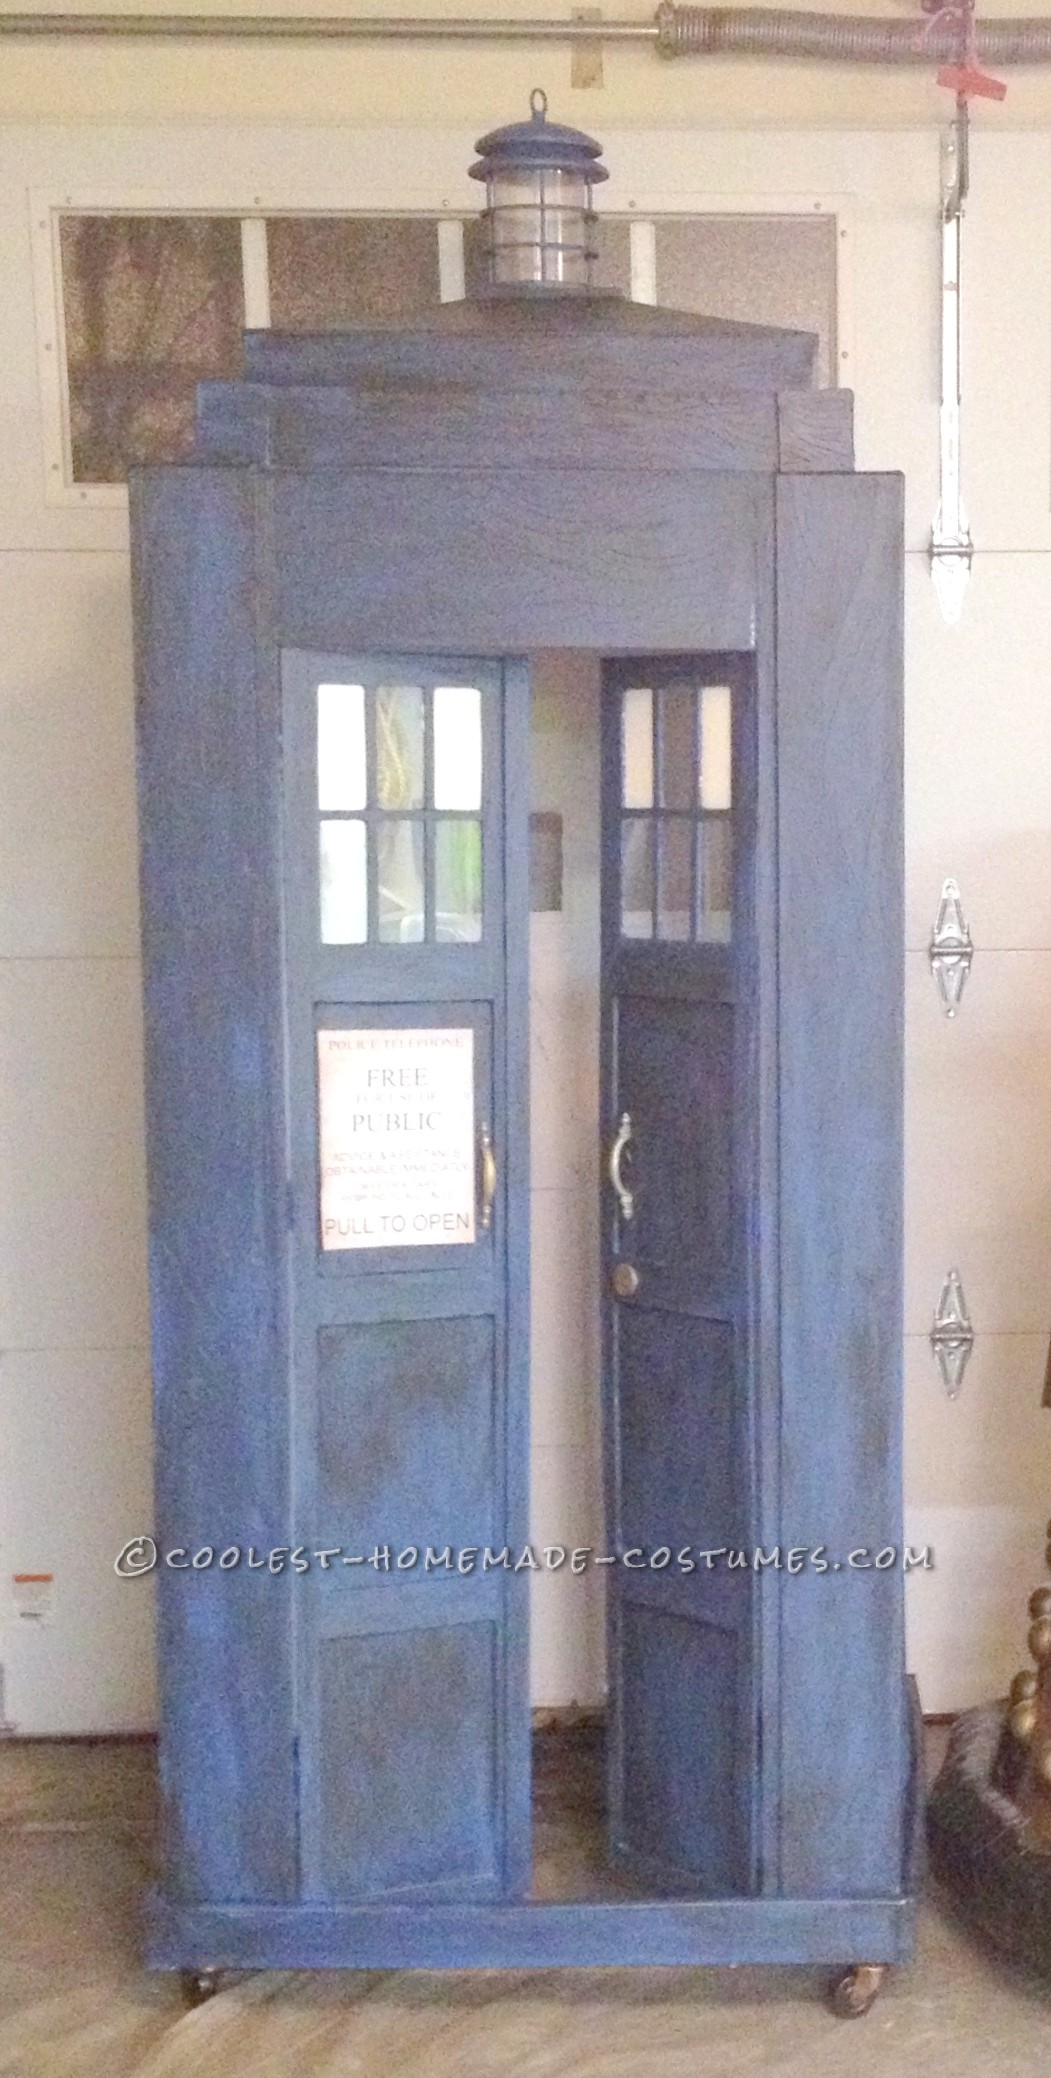
Add a few hinges and door handles with some hot glue (don’t forget the inside handles), add wheels to the bottom, also found at the recycling center, adhere a keyhole, glue on the painted light fixture, and we’re almost there! Please note here that most of the story has changed, from the plural “we” to the singular “I“, fairly quickly. This was definitely a great family project that I am sure we will all remember for years. However, after doing ridiculous amounts of fractions and measuring and tedious amounts tiny little detail work, I started to feel like ”I am definitely a mad (wo)man with a box”. At this point the kids only joined me for some of the larger steps, like painting, sawing and became my biggest source of encouragement and praise. Honestly, if I can get them planning, thinking about the possibilities, and excited about seeing it come to life, my job is done. Their attention spans and capabilities will one day develop. When they do, my girls will know the satisfaction of their dreams becoming reality. Until then, I will happily help them figure it out.
The Signs
The signs at the top were made by painting pieces of miscellaneous Plexiglass and vinyl. I had to scuff them up with fine grit sandpaper before painting them black. Even then, it was difficult to keep the paint on. I would have to think on this. They are framed with that same black weather stripping that I used on the baseboard, painted blue with a wood grain brushstroke. On the computer I found the size and font that we wanted to use for the lettering. I sized them to fit the signs and printed out the letters onto sticky backed paper, cutting out each one with an X-Acto knife. I touched up the paint and peeled the back off of each letter as I stuck them to the painted Plexiglass sign, carefully spacing. They did not stick as well as I had hoped, and the paint was a nightmare, so I decided to coat the whole thing with a clear drying decoupage glue sealer in a gloss finish. That seemed to do the trick. I also attached the front “PULL TO OPEN” door panel sign with the decoupage glue. Yes, I know that the door sign says “PULL TO OPEN”, however, the Doctor always opens the doors inwards, so keeping with tradition, so do ours. I attached all of the top signs with screws and used hot glue to act as a nut on the inside. At this point I thought I was finished, phew! No one is going to check the inside anyway…right?
Bigger on the Inside
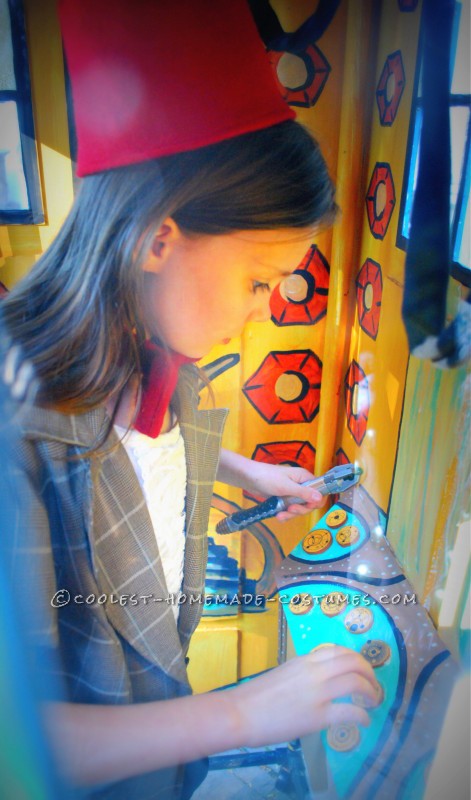
I couldn’t ignore it; I had to address the inside. I wanted to surprise the girls with a console but didn’t want it to take up too much room, as it would make walking around in it cumbersome. If you haven’t figured it out by now, the way that we solved the issue of how it would attach to her was not to attach it to her at all. We added wheels so it could now be pushed around. Instead of a full console I decided on just adding an angled corner. I cut this from foam board scraps and it sticks out 3 dimensionally. I then painted the inside in a golden orangish tone, created some hexagonal windows, added some stairs and an organic shaped pillar, and integrated the console and floor. Something was missing. I sewed strips of black fabric into thin tubes and hung them from the ceiling….finished! …Not quite. The inside top was just begging to be adorned into a space scene, which I made by painting the very top black and dark blue, adding some planets and comets and splattering on some brighter colors by blowing paint through a straw. At this point I carved out a hole in the top and added a flickering LED votive taper candle so that the top light could flash. Done, done, done, I was so excited! My girls would LOVE this, I thought. I couldn’t wait to show them when they got home from school. I had them close their eyes and walked them into the garage. “OK, open them!” The first words out of the mouth of my youngest were….”You know what it needs? Some buttons”. Sigh… she was right, it did need some buttons. The Doctor’s console has tons of buttons and gadgets. I found some circular gallifreyan-ish looking art online from DrawlingNell on Devianart and printed them out on yellow cardstock. I cut the circular words out with a matching sized piece of foam board. I painted the board pieces, set the pictures on top and coated it all with the decoupage sealer. Once dried, I attached the buttons to the console with hot glue. Aaaannnndddd… DONE!
Both our TARDIS and Dalek Caan builds took us about 3 months to complete. I would say that the TARDIS was a good month + of work, having to wait for most steps to dry in between. It was a fun and exciting project to work on, the girls are definitely excited and I learned a TON of new techniques.
Insert one Doctor and one Amy Pond “So… all of time and space, everything that ever happened or ever will – where do you want to start?”
Post Halloween Note: We got about three houses in to trick or treating and the girls decided to abandon their “shells”. It took us 30 minutes to visit those three houses due to gathering large crowds after each one My girls decided that this was not conducive to optimal candy collection. I thought it was a great way to reduce the amount of candy collected. They won and the TARDIS and Dalek adorned our front porch for the rest of the night. It’s OK though, they were appreciated by the trick or treaters that came to our house. Now, where to store a 7 foot TARDIS and 5 foot Dalek…???
A Mad (Wo)man with a Box

Related costumes:
 Cool Mom and Son Couple Costume: Tenth Doctor and Weeping Angel from Doctor Who
  Coolest Homemade Doctor Who (The Fourth Doctor) Costume
  Whovian Doctor Who Couple Costumes
  Original Dalek Costume the Evil enemy from Doctor Who
  The Tenth Doctor Costume from Doctor Who
  Awesome Father and Son Costume: Doctor Who in his TARDIS and Dalek
  Doctor Who Alien Family Costumes
  Coolest Homemade Doctor Who Dalek Caan Costume
This is FANTASTIC! I love the details. :)
This is FANTASTIC! I love the details. :)