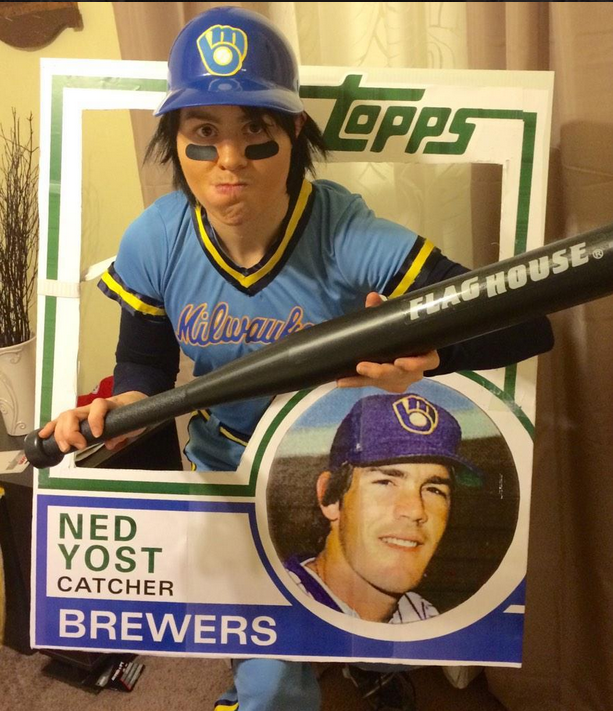
As a HUGE Kansas City Royals fan, I instantly fell in love with the idea of creating a tribute to our head coach Ned Yost by recreating his 1983 Topps Milwaukee Brewers card of him bunting after reaching the World Series this year. As soon as I tweeted a picture of it, it became an internet sensation over the weekend. Yahoo sports, The MLB, CBSsports, ESPN have all mentioned it in some form or another.
Anyways, I LOVE creating costumes, and I’ll take you through step-by-step instructions on how to create this masterpiece.
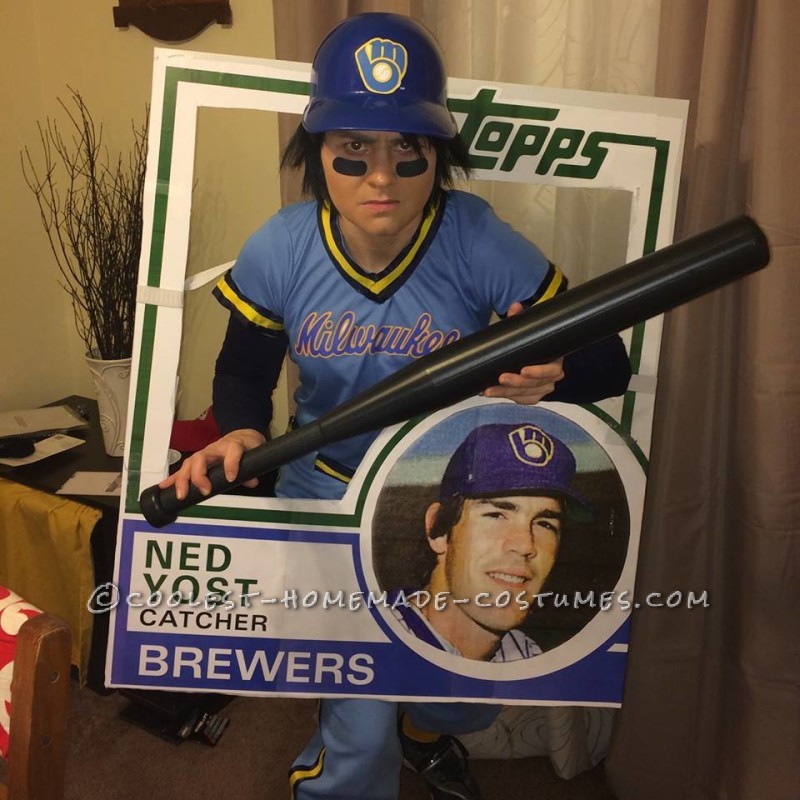
Ned Yost Bunting Card
The Inspiration & Supplies
I researched this project by seeking out the actual original card of Ned Yost’s from 1983 Brewer’s Topps collection. I also researched the actual color of the uniforms, and went from there. The uniform color was called “Columbia Blue” so I searched out blank items by that same color name in order to reproduce a similar look.
Craft Supplies Purchased:
- Columbia Blue Sweatpants
- Columbia Blue Athletic v-neck t-shirt
- Gold Socks and Belt
- Navy Blue long sleeve undershirt
- Gold and Navy Ribbon for the striped edging
- Blue Velcro strands from Hobby Lobby
- Iron-On Inkjet printable sheets
- Short Black Wig
- Big League Chew to make it official! :)
Items had on hand:
- 36″x30″- Missprinted Foamcore sign from work
- Elastic Strand in my craft supplies
- Replica Helmet I had on hand
- Cleats from Softball
- Plastic Bat from Wiffle Ball
- Makeup
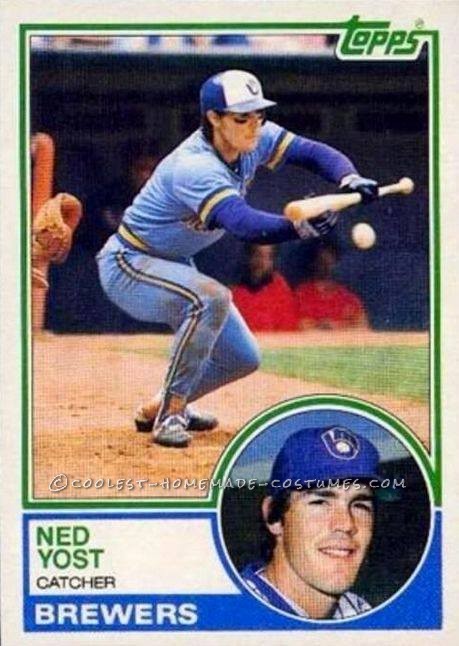
The original card
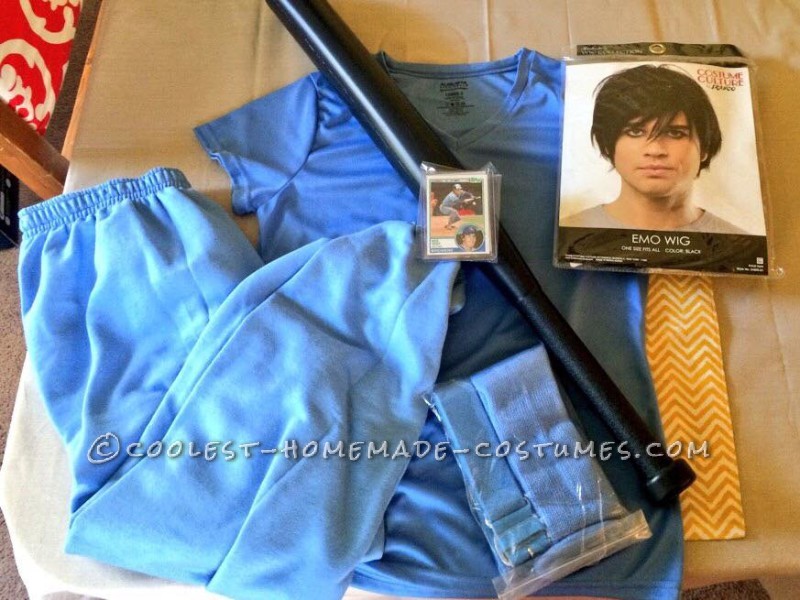
Blank Accessories
The Graphics
For the T-Shirt:
It was extremely hard to find a throwback jersey for cheap, so I decided to make it from scratch! I found the old logo online, and because I’m a graphic designer by trade, I was able to recreate the graphics in Adobe illustrator.
After re-creating the graphics, I printed them onto inkjet iron-on paper that you can find at Walmart or Target, or in my case, Amazon. It was easy to cut out and iron on the graphics on the front and back of the t-shirt.
For the Hat:
I found the original logo from the 80’s online on the original helmet, and just printed it on a piece of paper and glued it to the helmet I had on hand.
For the Card:
Since I don’t have a large format printer, I had to get creative with how to resize the original card to work.
I had a misprinted sign with a white back I could reuse from work.
I actually recreated the solid card graphics in Adobe Illustrator, and exported it in 11×17 pieces to fit together like a puzzle. Before cutting out the opening for my body, I pasted together the “puzzle” I had created with spray on adhesive.
I then cut out the opening for my body to come through with a box-cutter.
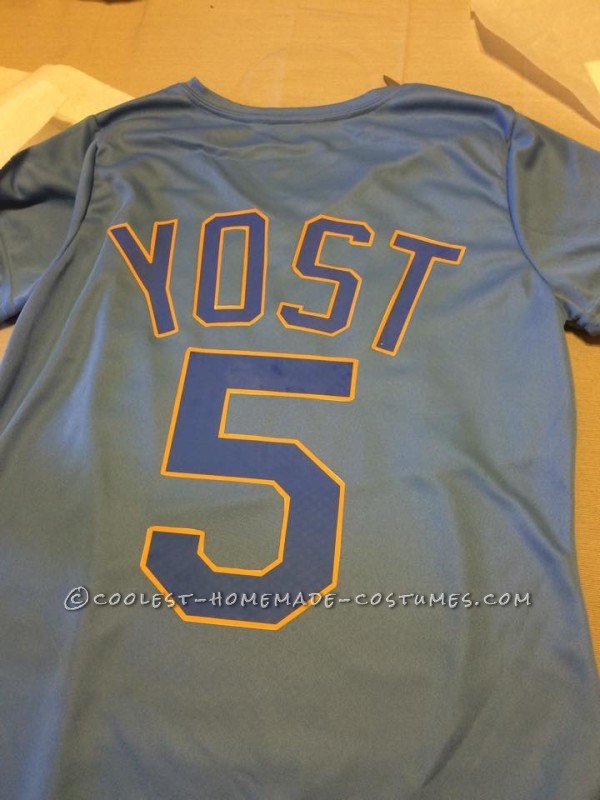
Back of Shirt
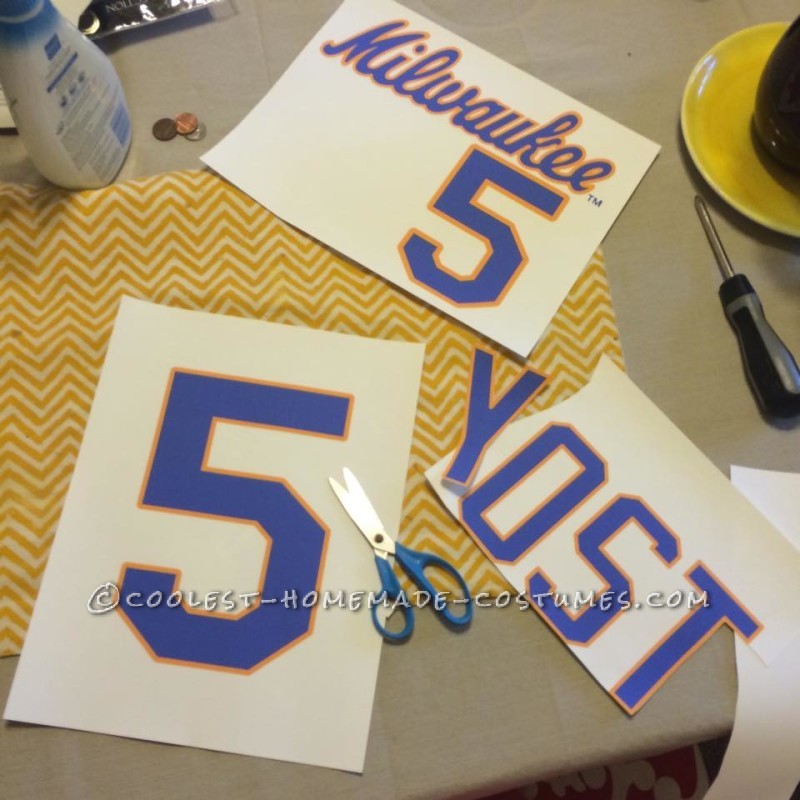
Printable Graphics
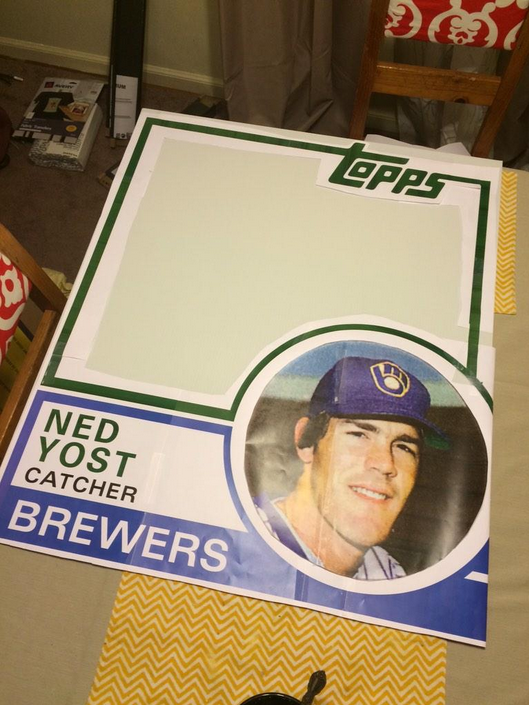
Foamcore
The Costume
The Edging:
My next test was the gold/navy edging on the uniform and the belt to look like the original card.
I got thick, 11/2 inch ribbon in each color, and started going to town.
I used a hot glue gun to attach everything together, and that worked really well.
I laid down the thick navy ribbon first, and then cut the yellow ribbon in half to save some money. It was a tad bit fraying, but the hot glue gun helped with laying it down.
I also used the cut golf ribbon and hot glued it to the navy belt I had as well. I folded down the top of the sweatpants to cut slits to make belt loops. This is a complete No-Sew project.
The Card Attachment:
I needed to figure out a way to not only make the costume so I could bunt in it, I wanted to make it removable too just in case I needed to. So I tied an elastic strap to the sides of the card, with one side of the Velcro in the middle with hot glue, then I attached the other side to the middle of the back of my “jersey”, It worked out so well. I could take the card part on and off through the night when I needed to, but still could be flexible in it.
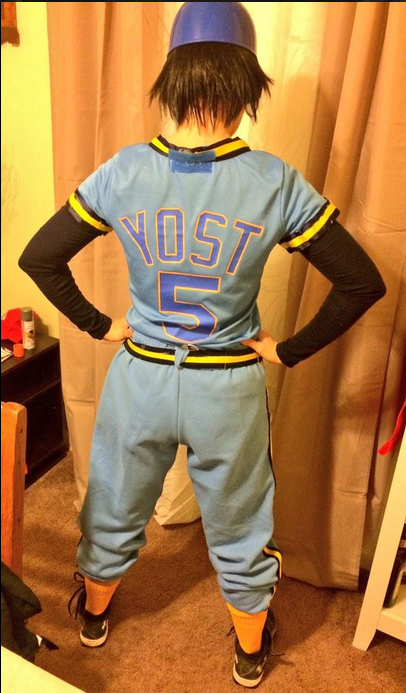
Velcro Attachment on Upper Back
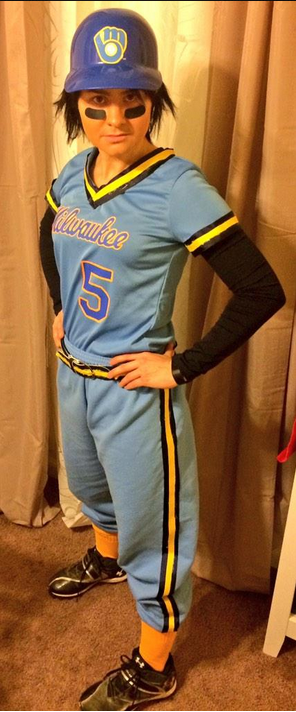
Front/Side view of Ribbon
The Makeup
I tried to mirror Ned Yost’s picture in giving myself his cheekbones, and chin. I tried to use contour affects with light and dark markup to look more like the real thing. I just went off of the picture for this.
I purchased a dark wig and wig cap for the hair on amazon, and also a set of eye-blacks.
Just for fun, I bought Big League Chew for the full funny affect.
This costume was a HUGE hit!
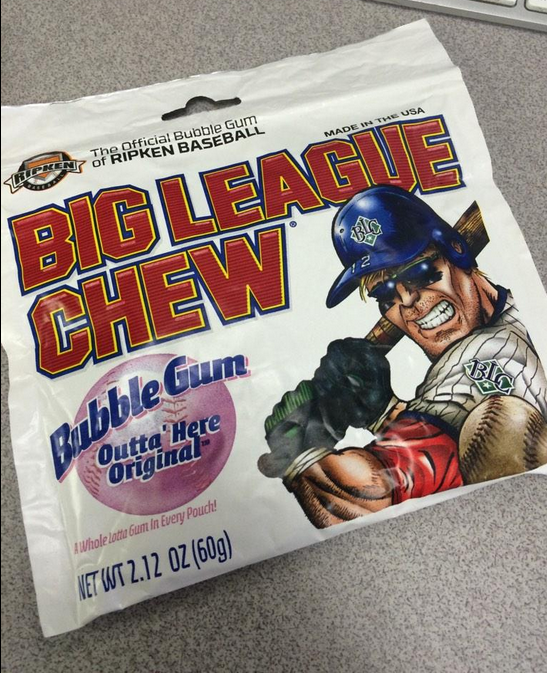
Got to have big league chew…
With my Chew in…
Here is one of the many articles posted about the costume…

Related costumes:
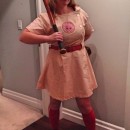 Coolest Rockford Peach Costume from A League of Their Own
 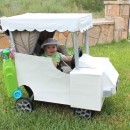 Coolest Baby Golfer in a Golf Cart Stroller Costume
 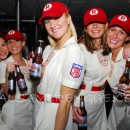 Awesome “League of Our Own” Girls Group Costume
 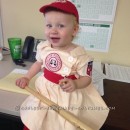 My Little Rockford Peach – League of Their Own Toddler Costume
 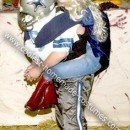 Coolest Homemade Jessica Loves Tony Romo Optical Illusion Costume
 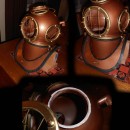 Awesome Homemade Deep Sea Diver Helmet
  Cosmic Key Couple Costume: Stardust and Goldust
  Scary DIY Headless Football Player Halloween Costume
Your comment has been sent successfully.