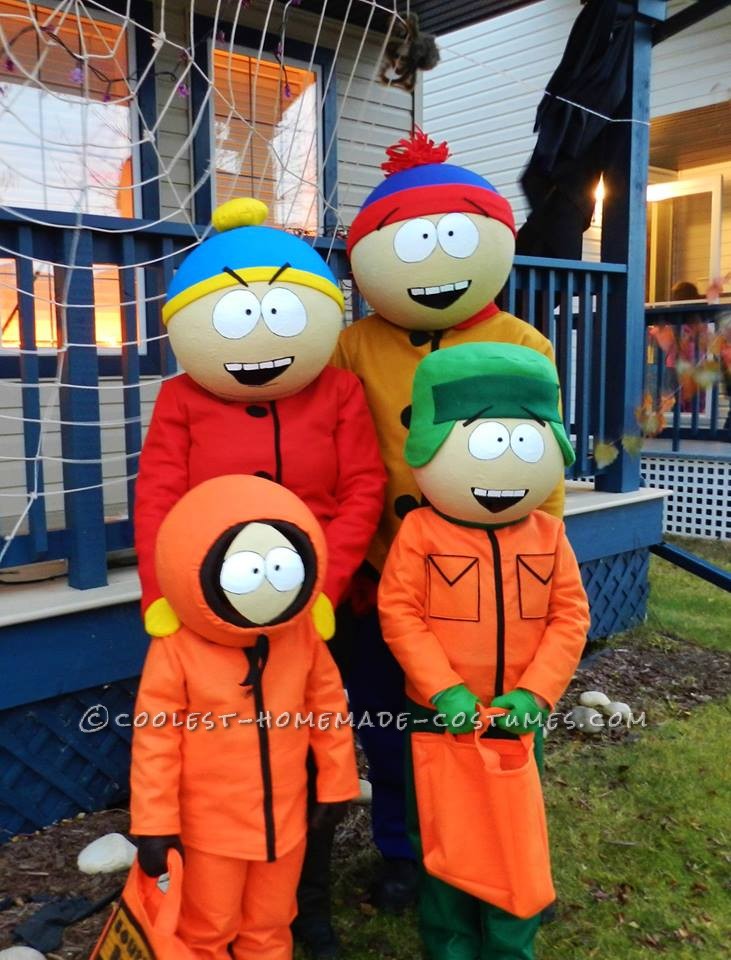
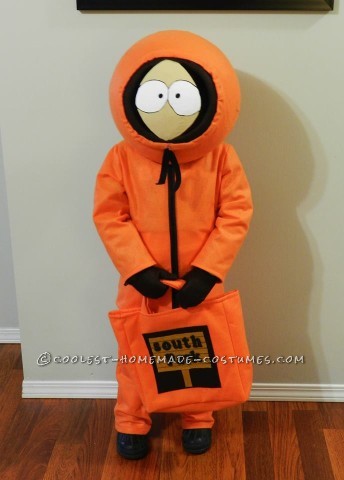
Here’s how our South Park family costumes were made…
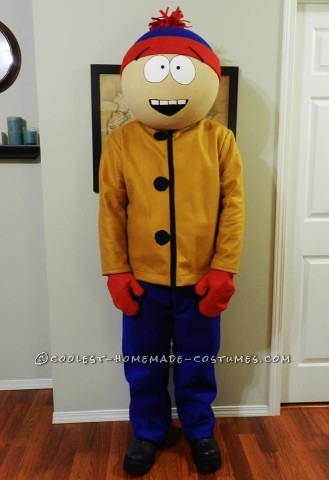
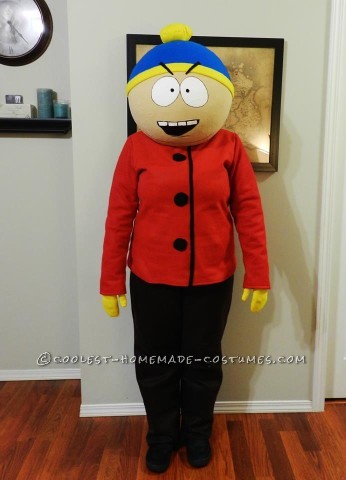
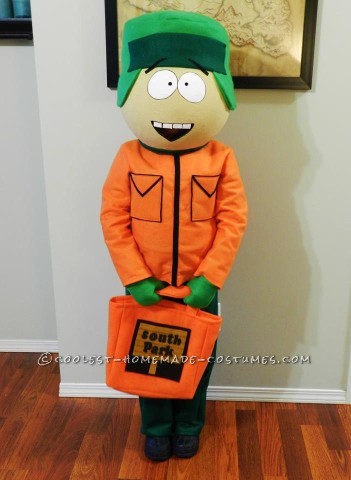
So this is the fifth year that I have been making our family’s costumes from scratch. I think that this year is not only the best one yet, but also the funniest! Why? Well first of all, we literally live on the south side of our local park haha! More importantly, two of the characters in our costumes are named Kyle Broflovski and Kenny McCormick……my two daughters names are Kyleigh and Kendall (but we call them Kyle and Keni!) So Keni was dressed as Kenny and Kyle was dressed as Kyle!! Pretty cute right?
All of the clothing for the costumes were made of felt for a more cartoonish look. It can get pretty cold where we live, so it also acted as a great insulator and kept us toasty warm! The Treat bags were also made of felt to match the costumes. I made the famous South Park wood sign applique on the front of the bags with a piece of light brown felt, drew wood line with a black sharpie and attached black foam letters spelling out South Park.
Now on to the heads! Those were really fun to make…but soooo messy. They are made out of paper mache wrapped around four large inflatable rubber balls. I added some cinnamon to my mache mixture so it would smell nice while we had them on and a bit of salt, in case of mold. When I first started I had a little set back. Apparently I failed to remember that if you put a rubber ball in sunlight to dry faster, it will expand….which in turn means, it will crack and all your messy work was for nothing. Day 3 of heads: Start over. I let each layer dry completely (OUT OF DIRECT SUNLIGHT) before adding the next layer. I didn’t really have a set amount of layers in mind. I just kept adding until I thought it was sturdy enough. Which happened to be the 25th layer. Day 3 was long forgotten around this time. After the heads were completely dried I deflated the balls, removed them, and starting sanding out the imperfections. This was NOT fun but it did give my arms a great workout! After sanding I painted on a layer of white glue to seal everything in before the painting began. I used regular acrylic beige paint for the heads and free-handed the eyes and mouths. The more layers of paint I used, the smoother the faces began to look. 10 coats of paint later, they were done! The black pupils of the eyes are actually holes that we used to see what was in front of us (I measured by putting them on whoever was wearing them and getting them to mark inside roughly where theyr eyes were.) The mouths were also cut out so we could see where we were walking. After the heads were painted and dried, I added hats by using felt and hot glue. And Yes, I did burn myself several times!
Finally done! My girls has such a great time Trick-Or-Treating and even though it was a lot of work, it was definitely worth it!


Related costumes:
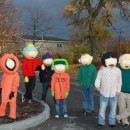 Coolest Homemade South Park Group Costume
  Original Towelie from South Park Halloween Costume
  Coolest South Park AWESOM-O Costume
  Awesome Awesom-O Costume from South Park
 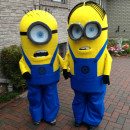 Homemade Kids Minion Costumes
 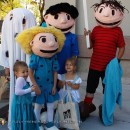 Charlie Brown Gang Costumes Welcome Great Pumpkin
 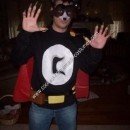 Coolest Homemade South Park “The Coon” Halloween Costume Idea
 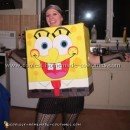 65+ Coolest Homemade SpongeBob Costume Ideas
Your comment has been sent successfully.