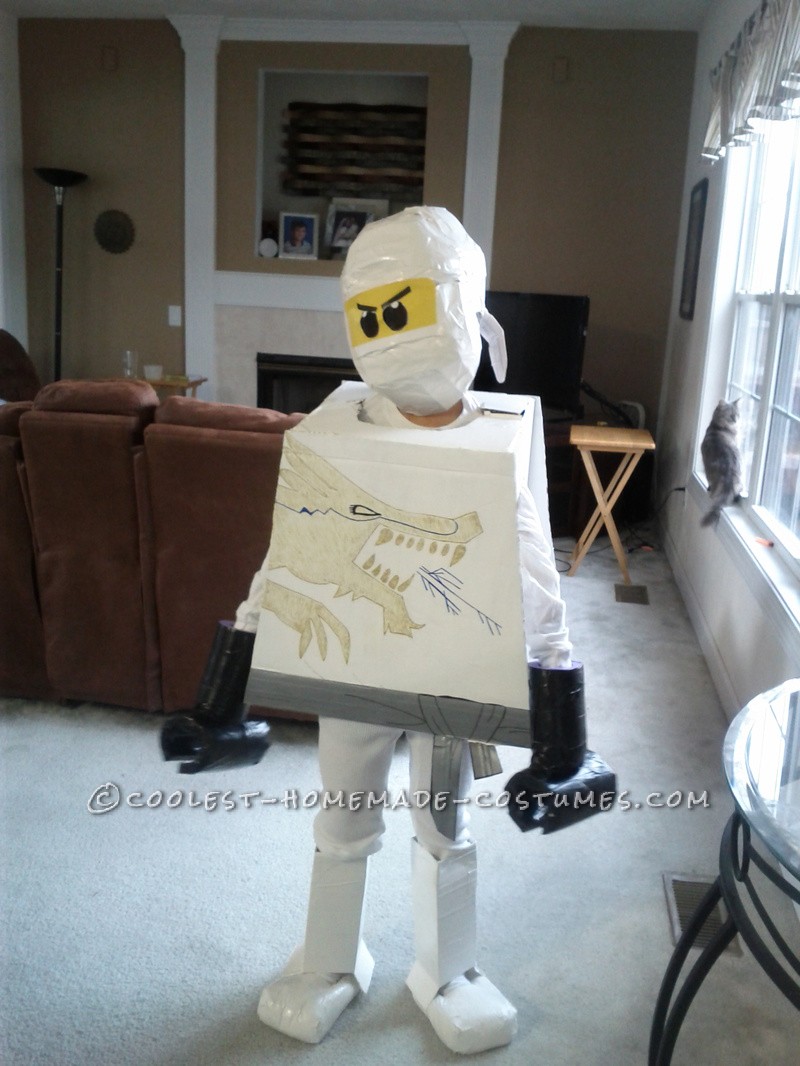
Erik, my ten-year-old son, wanted to be Zane the white LEGO NinjaGO character for Halloween. There was an awesome handmade costume on eBay that I was dying to buy but it was waaaay expensive ($150 for the head alone and $280 for the whole thing, plus shipping). The eBay seller had made Lloyd, the green NinjaGO character costume–but was willing to make a white Zane costume for me for the right price. I tried to “make an offer” for $175 but it was not accepted. Was sooo tempted to just buy it for the full price but I knew it was crazy to spend that money on it. So, I decided to try to make my own costume! I don’t know nutthin’ about making a NinjaGO costume. Lol! I have made costumes before–Erik was a box of popcorn one year and Erik and and Josh were Tom & Jerry. I searched for NinjaGO costumes online and came up with a few that people had made before (on Coolest Homemade Costumes)…which was good information!

Hands and Feet
First, I created the hands and feet for the costume. For the hands, I implemented an idea I read about using a foam pool noodle. Cut two small sections of the pool noodle that would go over my son’s arms and hands (about a foot) and covered that section in black duct tape on the outside (leaving the pool noodle hollow inside). Then, cut another two pieces of pool noodle (about 4-5 inches), and then cut it in half lengthwise so it split into a curve for the Ninja hand part and covered both of these curve parts completely with black duct tape.
For the feet, I purchased rectangular shaped Spongebob Squarepants slippers at Walmart for about $10 and covered them on the outside with white duct tape.
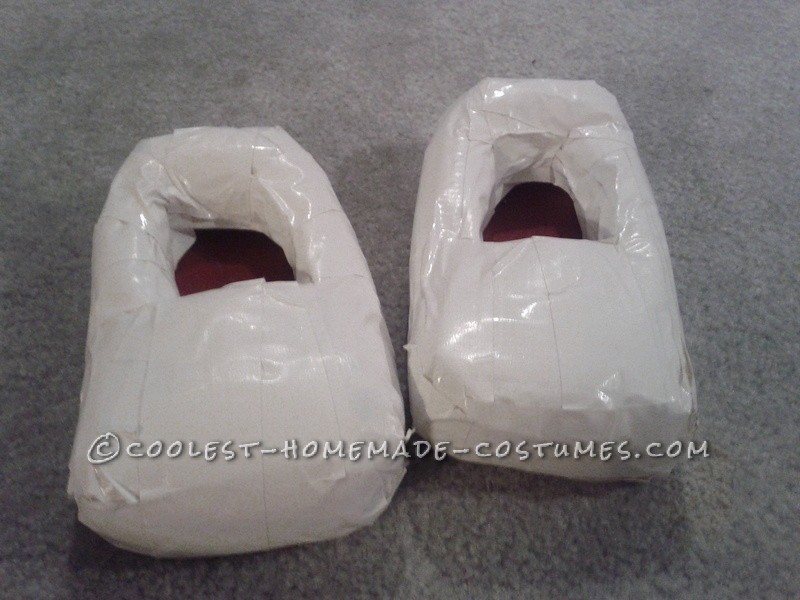
Feet
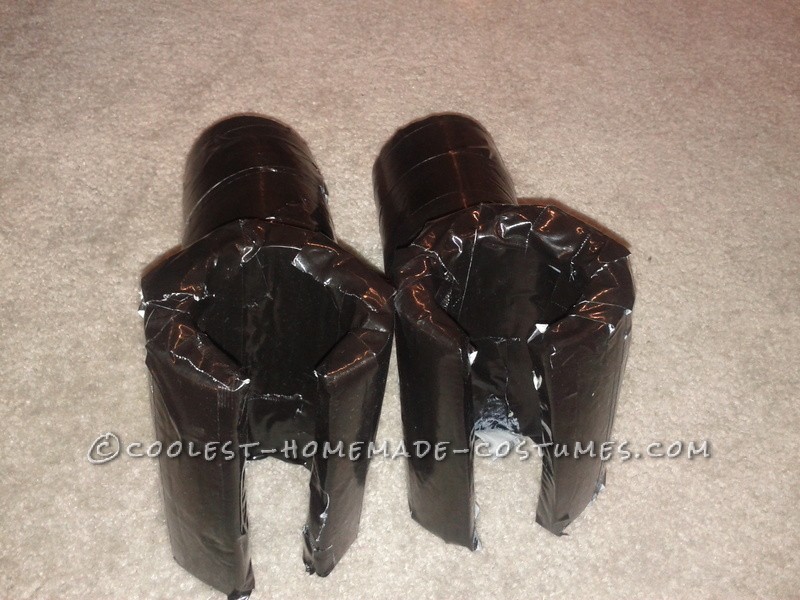
Arms/Hands
Head
The head was the tricky, time-consuming part. I purchased a baseball umpire helmet at a Goodwill store for less than $2 (I believe child’s size)…this seemed like a good shape (I decided after considering baseball and motorcycle helmets). When I tried it on my son’s head, honestly, it was a bit snug but I went with it (considered slicing down/taking out some of the padding if necessary for comfort). Did end up taking off all of the straps and chin guards and such. Used about two rolls of white duct tape sculpting the helmet, wrapping and layering the duct tape, into a Ninja-look. I left a space blank where I would be placing the eyes (with the well-known yellow background). At the back of the helmet I added two ties (for the Ninja headwear)…I made these by first folding up a piece of duct tape into a long, rectangular strip and then laying about two or three pieces of duct tape on either side of that strip; then, I cut each to size, rounding the bottom ends, and taped them onto the back of the helmet.
I also bought a bit of black netting at the Goodwill store (lucky find–nailed to some sort of wood box) and a piece of yellow poster board at a dollar store. I cut out a rectangular piece of the yellow poster board to fit across the eye space, which fell on the front of the umpire helmet where there were criss-crossed wires (spaces to see through). I then drew LEGO NinjaGO eyes onto the yellow poster board, consisting of a small white dot and black space. I cut out the black space and then placed the black netting on back of the poster board so that the black space still looked black but was now see-through. Taped the entire rectangular piece to the helmet using white duct tape, making sure to shape it so the yellow posterboard kept its proper shape and size.
Whew! When the head was done, I was quite proud of it!
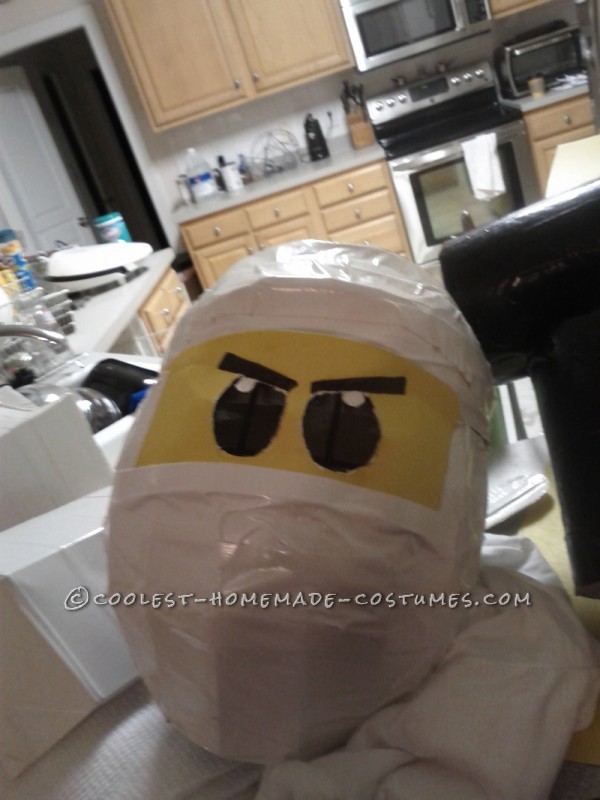
Front of Head
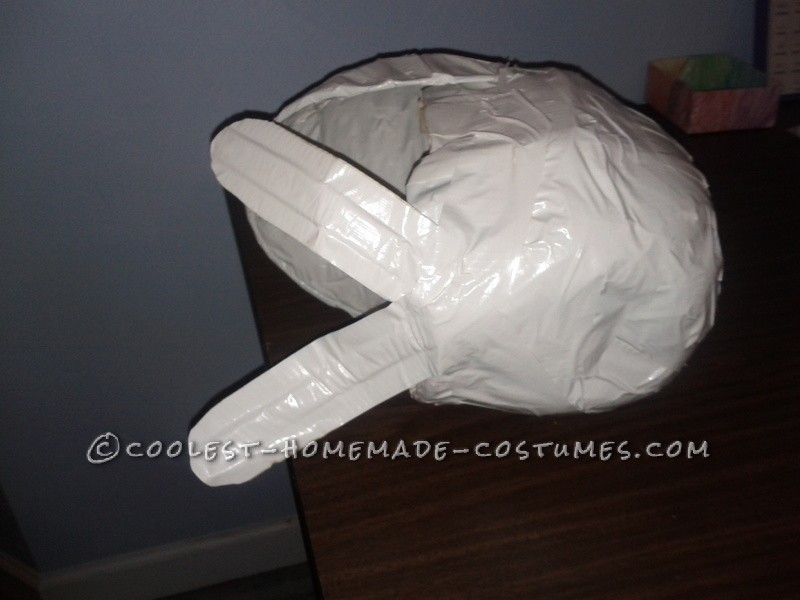
Back of Head
Body
It took me awhile to decide how to make the body. I started out wanting to make a cardboard cut-out that would exactly mimic the shape of a LEGO figure–however, this task proved daunting. I also considered finding a large basket (I believe I read about someone using a laundry basket) or box or bin that is the shape of a LEGO guy and then simply cutting a head hole and arm holes into it. However, that type of item proved elusive (I did find a basket that was the right shape but it was constructed with wires–really tough for cutting).
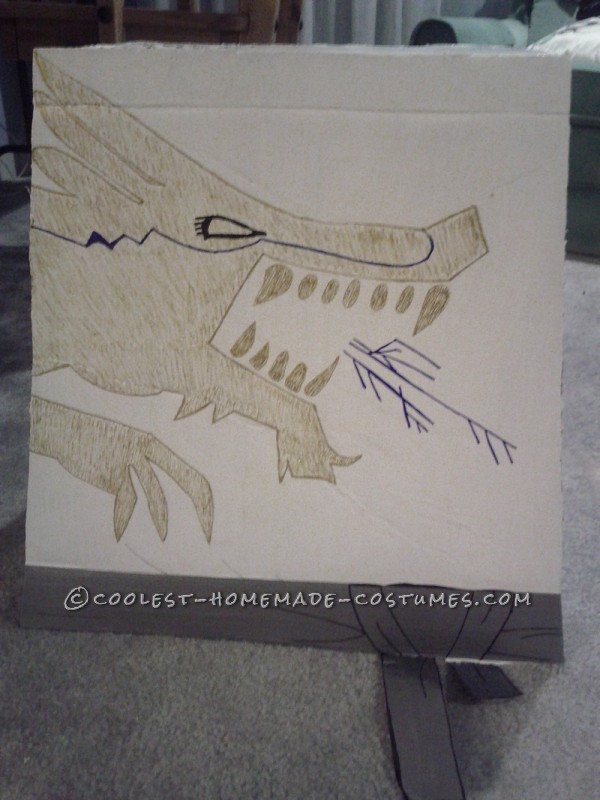
Ultimately, I painted a body-size box with white glossy paint. I cut a head hole in the top and two arm holes in the sides. That was easy enough. Then I cut out two triangular/trapezoid-ish shapes of equal size–one for the front of the box and one for the back. Painted each of these with white glossy paint as well. When the paint was dry, I drew Zane’s front design one one and Zane’s back design (including his name “ZANE”) on the other. I used a pencil for drafting, and finalized the drawing with gold and silver paint markers (these used up quickly so I would recommend paint instead or really big size markers), as well as a black and blue Sharpie.
To create the Ninja belt, I applied gray-color duct tape along the bottom edge of the front side and drew “markings” on with a black Sharpie. The “ties” of the belt I created similar to the ties at the back of the head. First, folded up a gray piece of duct tape into a long thin strip and then placing two to three pieces of duct tape on top and bottom of that strip. Once it was sturdy, I cut it to size and shaped the ends.
Body Front
Legs
I made legs but I have to admit that ultimately, when it came to trick-or-treating time, my son did not end up wearing them (cumbersome when walking around so much).
Basically, use one or two orange juice or milk 1/2-gallon size (I used Epsom salt) containers that are rectangular in shape. Cut open and/or off the flaps at the top and bottom of the containers (or leave the flaps on–which can give a different look/appeal). Wrap the outside of the containers with white duct tape. Done! Very easy. You can use one container per leg–to give the bottom of the legs the LEGO rectangular look, or add more containers to provide more rectangular look further up the leg as well. Leaving the containers unattached to each other can help increase mobility. One idea my son had was to duct tape the lowest containers to his feet (the duct-taped slippers).
Another thought I had, but did not do…for the upper legs, might want to also white duct tape a small (empty) juice can and add to the upper leg containers to give those upper legs a “rounded” look (which, if you study a LEGO minifigure as much as I did, you will notice that there does appear to be a rounding toward the top of the leg).
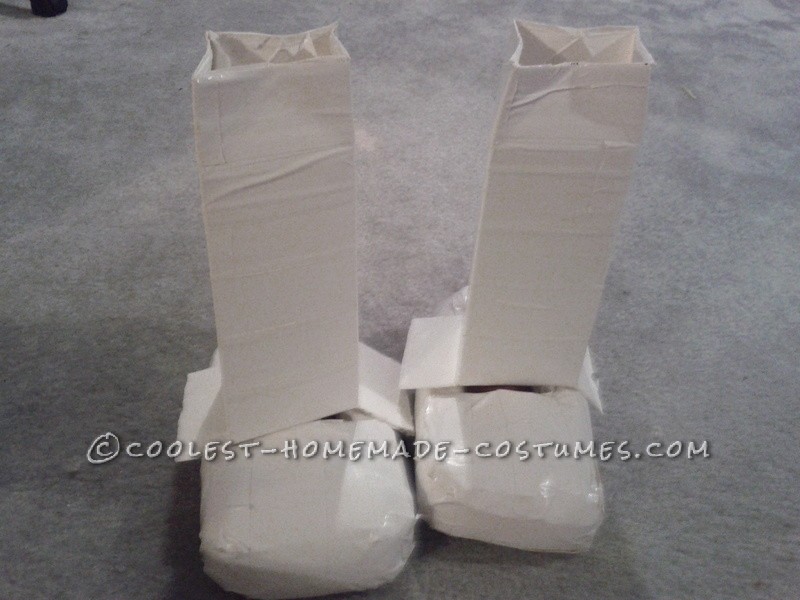
Legs with Feet
Underclothing
Underneath the costume, wear as follows:
1 white long-sleeved shirt, turtleneck recommended but not necessary (for cold weather wear, additional shirt or longjohns can be added)
1 white pair of pants, preferably long johns or tight-clinging (obviously underwear is recommended as well)

Related costumes:
 Cool Lego Minifig Costume
 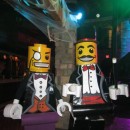 Coolest Lego Minfigure Costumes: LEGO Magician and Lego Sir
  Amazing Lego Men Horror Villians Group Costume!
 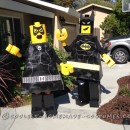 Homemade Batman Lego Couple Costume
 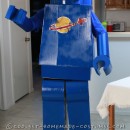 Awesome Lego Benny Costume from the Lego Movie
 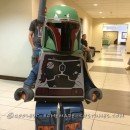 Coolest Lego Boba Fett Costume
  Everything is Awesome, a Lego Movie Group Costume Journey!
 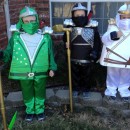 Awesome Lego Ninjago Minifigure Costumes
Your comment has been sent successfully.