
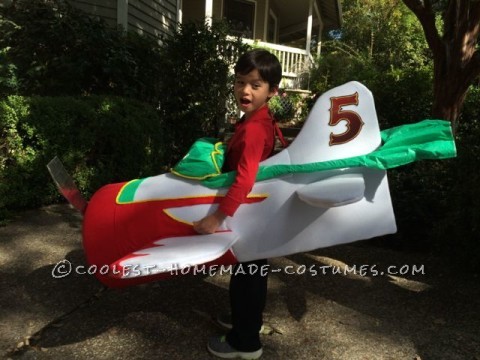
My son wanted to be an airplane from Disney Planes, El Chupacabra. My husband took one look at the toy and said “no way, that is too hard!” But I knew how much he loved El Chupacabra so I stepped up to the challenge (it really was a challenge.)
I started out at the Dollar Store looking for a bowl or something that I could use to make the nose of this plane. I stumbled upon a red plastic chip and salsa bowl, it was perfect except that it was not quite big enough.
After searching everywhere for something like it, I came up empty-handed and rummaged through the garage to improvise something up. I decided to try a pool noodle, wrapped around the chip and salsa bowl which gave it the right circumference. I glued the ends together in a circle and then glued it around the salsa bowl after I wrapped the entire noodle in red duct tape.
Next, I took my camping mat and eyeballed the size of the nose of the plane, I made a cylinder with it and glued it together, and then glued it to the nose of the plane. I struggled with figuring out the design of the back half of the plane, after studying the toy model I decided to sketch it out and then cut out my pattern in the camping mat and reinforcing it with cardboard glued to the back.
I proceeded to cover the body and the back half in white fleece, using duct tape and glue. I glued the front and back halves together to create the body of the plane.
Next I sketched the back wings and front wings, cut them out of cardboard and camping mat. After covering the entire plane in white fleece I sketched out the wing pattern and design on the front wings and nose of the plane. Then I cut out my pattern in red flannel and glued it to the plane.
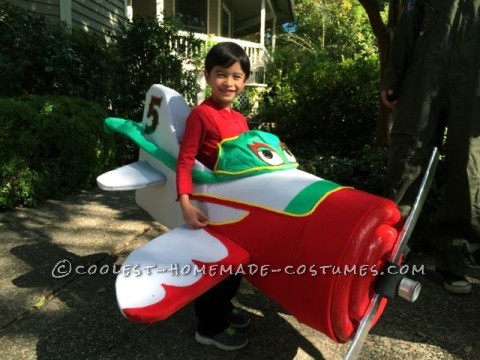
For the head and eyes of the plane I enlarged a picture of El Chupacabra’s eyes and cut them out, then I glued them to a green table cloth from the Dollar Store which matched the color of the toy’s head and cape. I used a plastic hanging container for the structure of the head. I removed a part of the back and glued it to the top of the plane, covered in the green table cloth and attached the eyes in front.
The cape was created using the foam for the structure of the cape so that it looked just like it was blowing in the wind (like the toy), I covered the structure in the green table cloth and added folds and glued it all in place just under the back top wing.
I purchased red suspenders and secured them to cardboard glued inside the plane, I measured where the strap needed to fall on my son’s shoulders and altered the back of the suspenders so that it would be short enough. It was difficult trying to balance out the front and back half of the plane.
Finally I sketched the propeller out of cardboard and glued it to one wooden paint stick from Home Depot. I then covered the propeller in silver duct tape and enlisted my handy hubby to add wood to the propeller, drill holes and add a screw and washers so that the propeller fit and spun.
The fun part, adding embellishments like the end piece of the propeller was fun. I used the pop up lid from the windex squirt/clean bottle and spray painted it silver, then I cut a section of pipe insulation and drilled a hole through it and the chip and salsa nose of the plane.
After trying it all on, I had to cut down the length of the propeller so it would not hit the ground when spun. The number 5 was created using pictures from El Chupacabra, enlarging them, laminating and then attaching with double stick tape.
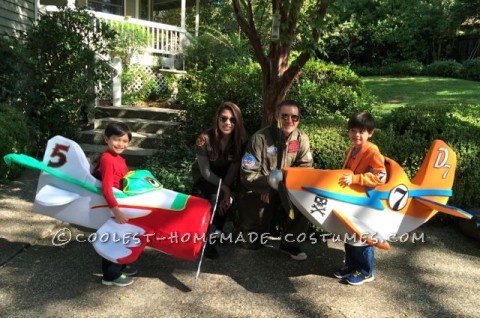
So happy that I was able to get it done and the twinkly smile on my son’s face made it all worthwhile!

Related costumes:
 Homemade Disney Planes Dusty Costume
 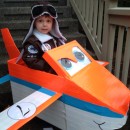 The Perfect Costume for a Boy – Plane and Simple!
 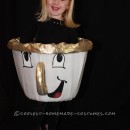 Cool Homemade Costume for a Girl: A Very Determined Little Chip
 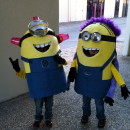 Awesome DIY Despicable Me 2 Costumes: Bee-Do Minion and Half Good Half Evil Minion
 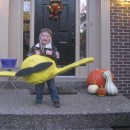 Coolest Pilot in a Plane Costume for a Boy
 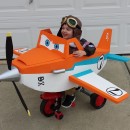 Disney Planes Dusty Crophopper Tricycle-mounted with Pilot Costume
 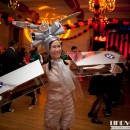 Women’s Vintage Bi-Plane Costume
 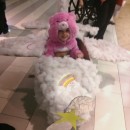 Cute DIY Toddler Costume: Care Bear Riding Her Very Own Cloud Plane
Your comment has been sent successfully.