My brother is a huge computer game fan and what more fitting way to celebrate his 30th birthday with a computer game character themed fancy dress party!!! I was on a budget so had to think of a good character, but I wanted to put a lot of effort in considering it was for his 30th after all!
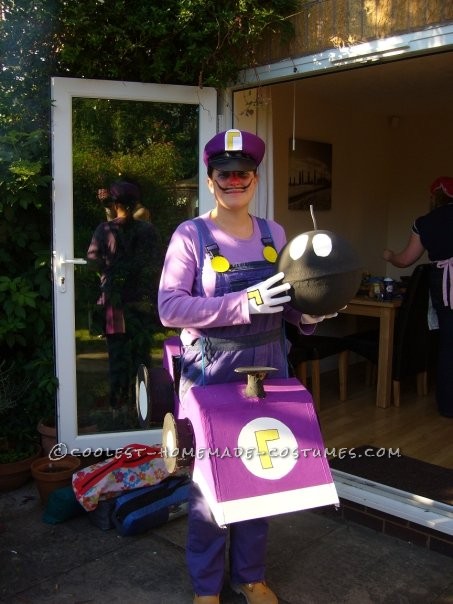
As kids (grown-up kids!!) we played Mario Kart for hours on end so I wanted to go as one of the characters with car and all!! I decided on Waluigi because I had some purple dungarees lying around (no idea why!!). They were just old builders dungarees but were perfect for the costume! For the hat, I found a purple hat on a well-known auction site for a very low cost and created a Waluigi badge from paper. I created “buttons” from card, painted them yellow and stapled them onto the dungarees. For the gloves, I found some white moisturising gloves for a very low cost in a supermarket. I painted the Waluigi upside down L from the same paint, and outlined in black paint. Topped off by some walking boots, my costume was almost ready, now for the hard part, the kart!!!
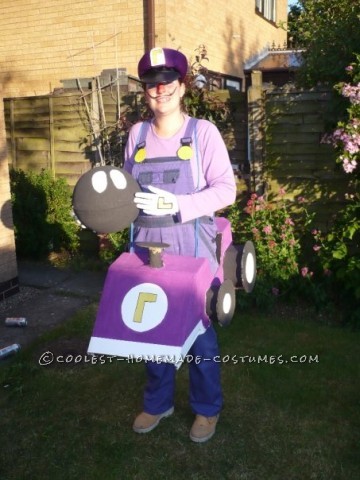
I decided I was going to make it from scratch from thick cardboard so started with a rectangle box that had some slightly rounded corners. I cut out the bottom and a hole for my body to go through leaving all 4 sides. I left a small strip at the back and on the front to maintain stability of the main body of the car. I then cut some also some sides to create “doors”. For the front section of the car, I cut three pieces of card:;two triangular shaped sides and a square front shape. I attached them to the main “body” of the car with duct tape and glue making sure they were both at the right angle and size for the square section to fit neatly on top.
For the wheels, I cut circular discs from the same thick cardboard and long strips of card formed into a ring shape. I painted the wheels and rings before adding to the car so I didn’t get black paint on the main body of the car. I attached the cardboard rings to the body of the car with duct tape, and then glued on the discs. It was pretty difficult to attach the wheels to the car!
I wanted the car to sit on my shoulders so I used some blue string doubled over, and attached it to either side of the car ensuring they were the same length. For the steering wheel I used a toilet roll tube and another disc, joining them together with masking tape and again painting before attaching to the car. I painted the car purple with general poster paint, using two coats altogether. I used masking tape to ensure a straight white line around the bottom of the car for the bumper and also used a paper plate to paint around for the white disc on the front. I then added the familiar upside down L on in yellow.
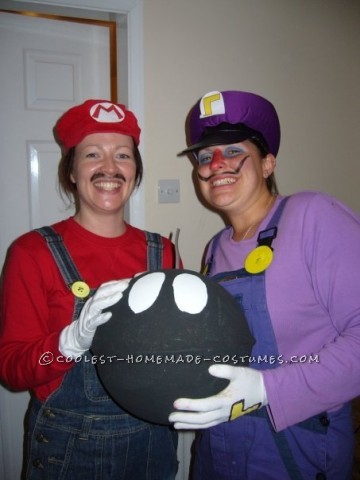
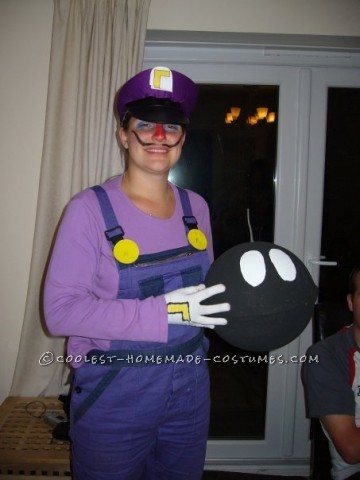
Of course, no Mario Kart costume would be complete without a bomb-omb!!! For this I used 2 hanging basket liners and duct taped them together, painted black with white eyes and an old piece of wire stuck in the top as a detonator!
With the final touches of a red nose and blue eyes, I was Waluigi complete with Kart and Bomb-omb!!! Altogether it took me quite a few days to complete the costume but was well worth it!! Everyone at the part loved my costume, especially Bomb-omb!! One of my friends also went as Mario and we had a great photo of us fighting for the bomb-omb!!!

Related costumes:
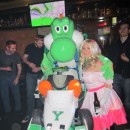 Amazing Yoshi Mario Kart Halloween Costume – Entirely Homemade!
 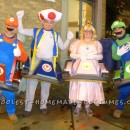 Awesome Mario Kart Group Costume
 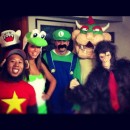 Awesome Live Action Mario Kart Homemade Halloween Costumes
 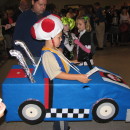 Cool Mario Bros. Toad Racing Kart Costume
 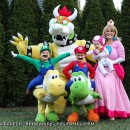 Awesome Homemade Mario Family Costume – Bowser, Mario, Luigi, Toad, and Princess Peach
 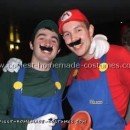 50+ Coolest Homemade Mario and Luigi Costumes
 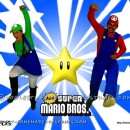 Super Fun DIY Mario Brothers Costume for Couples
 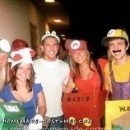 Cool Mario Kart Group Costume
Your comment has been sent successfully.