After dressing up as random, nontraditional Halloween costumes for the last couple of years (last year I was Raiden from Mortal Kombat), I decided to go for something more oldschool: I chose to transform myself into a mummy. It’s a simple costume, no complicated make-up needed (like zombies and others), and it’s cool. Also, as a college student, I do have a tight budget to spend on.
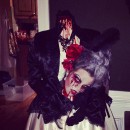
However, I wanted something creative at the same time, so instead of having white or dirty bandages, I decided to make some “bloody” bandages. Of course, now I need to explain why there is a bloody mummy in the first place, so here are the highlights of the story: a profane ritual, bandages soaked in blood, a poor victim eternally silenced…now that he is undead, the tainted blood amplifies his fearful rage. Go Hollywood…but all joking aside, the idea of bloody bandages was appealing.
Yeah, bloody bandages…getting those was quite a problem. See, the red cloth from the fabric store does not work because the color is too uniform; I wanted the bandages to look like they’ve been soaked in real blood, so I was looking for two things: a dark, brownish, red that looked like dried blood, and an uneven distribution of the color to look like splotches of blood. It probably would have been way too much trouble and money to find such an article, so I realized that I had to dye the bandages myself rather than purchase colored cloth. This was a trial, to say the least.
See, the problem was that I had never dyed before and a lot of dyes called for things I did not have or want to expend my efforts on, so I had a hard time finding a dye that was right for me, a lazy college student. A staff member at the art store pointed me to Dylon. He said, “Just add water.” Well, there was more to the dye than that, but it was simple enough to use, so I ended up using just that.
To create the bloody dye, I grabbed some red dye and some dark brown dye. Unfortunately, my tub was not large enough to dye all of my bandages, so I had to do two batches. Here I ran into trouble: my first batch did not have enough brown, and it ended up turning pinkish; my second batch had much more brown, and so it ended up with the nice, red-brown color I was looking for. The lesson here is that if you have to dye multiple batches, you should make sure you use the same proportions for each batch so that you don’t get the same awkwardness I did. I ended up using both batches because I did not have a lot of cloth to use. Surprisingly, the pink parts did not make me look as awkward as I feared (at some I joked that I was the Breast Cancer Awareness Mummy).
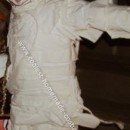
When it came to actually constructing the costume, I really just used the generic mummy costume procedure – I wrapped myself up. To make it easier to transform into and from this character, I used a base layer (pants, shirt, socks, gloves, mask) that I could sew the bandages onto. For the base layer, I made the shirt, gloves, and mask myself. Those articles had two layers: a solid grey inner layer and a see-through black outer layer made of a sheer fabric – the see-through type. I did this to create a sense of depth to the base; for the areas not covered by the bandages, I wanted it to seem like there was something deeper under the black areas. I did not make the pants or socks because I was too lazy to (I did say that I am a college student).
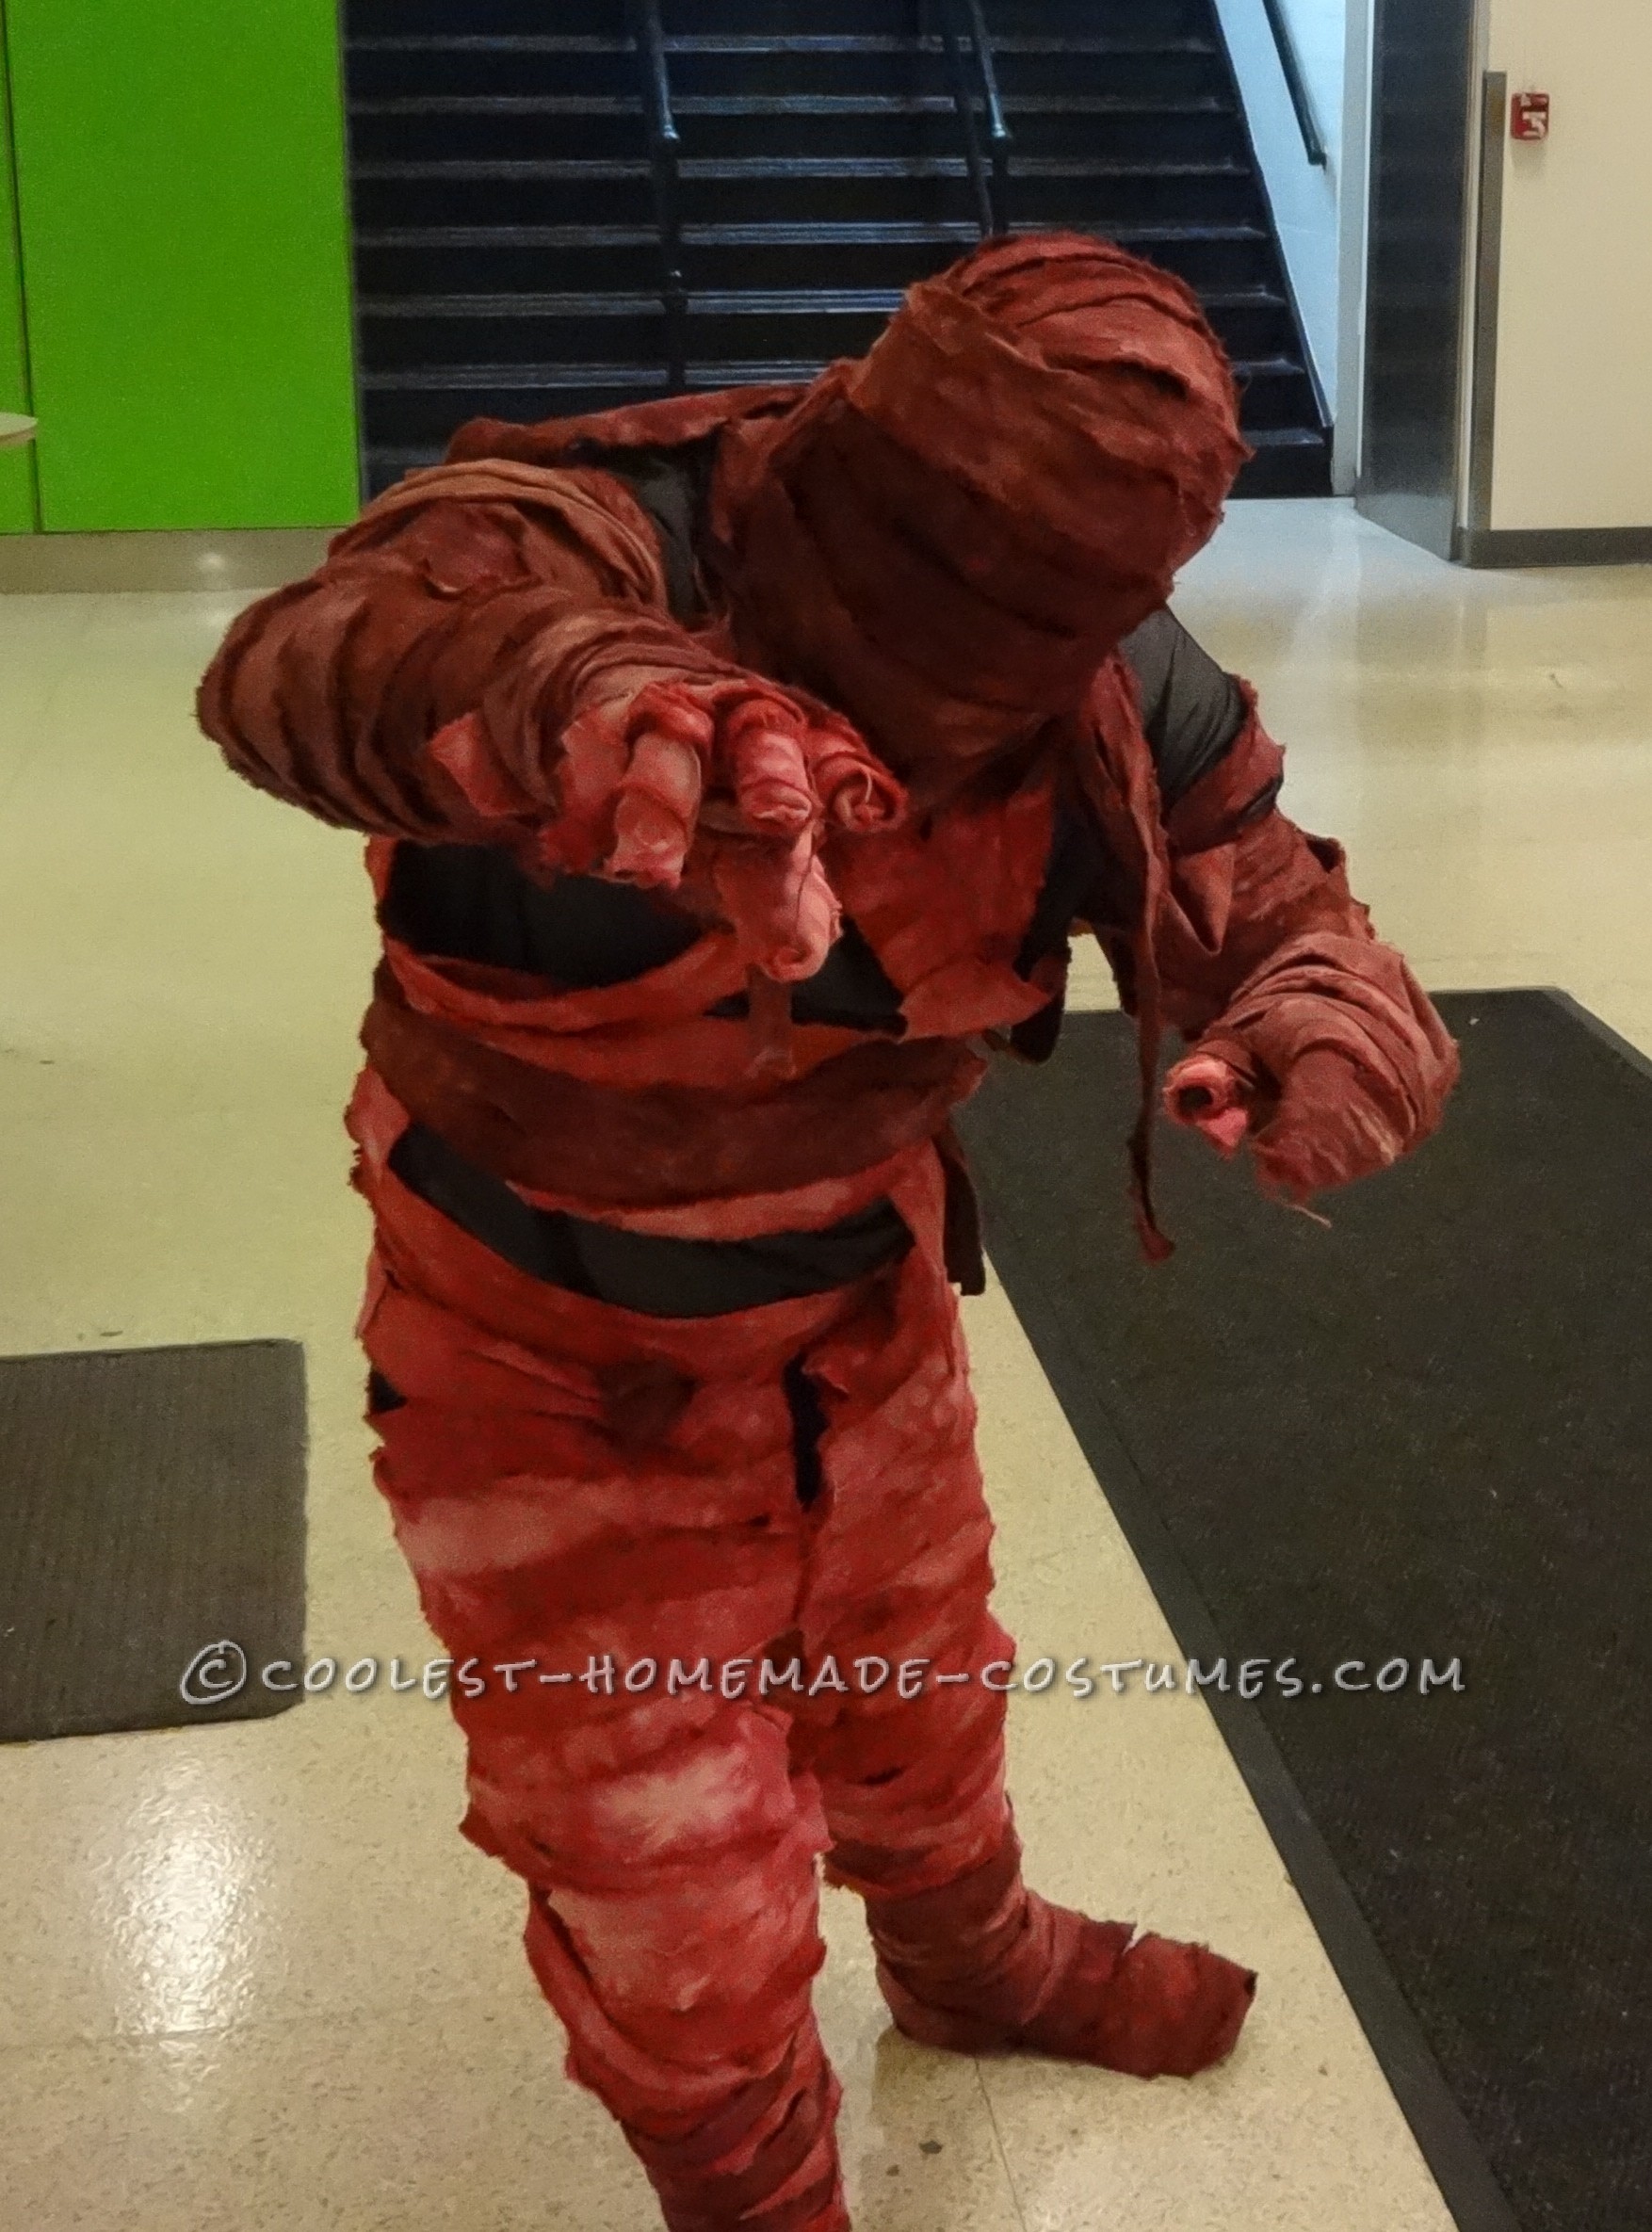
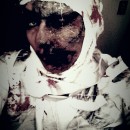
An important detail about my costume was with the mask. I wrapped my entire face with bandages, leaving only the eyes visible. However, the eyes were concealed under eerie yellow eyes, so no one was actually able to see any of my face (before you get confused, I will say that I wore a morph mask with yellow patches for eyes under the bandages). This detail was extremely important because it erased the last trace of human identity from my character. No one could read me because of my character’s apparent lack of a face. That creeped out some of my colleagues, but they thought it was pretty awesome and cool.
I did run into some problems while making my costume. For example, I ran out of bandages, so my upper body wasn’t fully covered. It was a good thing that my base layer complemented the bandages so that nothing really seemed off. Also, some of my bandages kept falling off (the ones that weren’t secured). I don’t think anyone really minded, though. It was a nice Halloweeny distraction from our otherwise uneventful college school day. Word of caution to dorming college mummies: beware of roaming around in this costume at your dorm; you might get tackled. Fortunately, that was a friendly tackle, so I came out of that encounter unscathed. I did receive a lot of compliments on my creativity; they thought the blood was a nice touch to a classic costume.
I think, however, that the most important thing for my character was actually being the character. The silent mummy without a face, shambling along aimlessly, responding to no one; these are things that make the character come alive, make it more than just a costume to wear. The anonymous factor also played a key role as well. Everyone was wondering who the mummy was. I was unknown, but known. I was an enigma. I was…THE MUMMY (cliché ending to story).How to Create a Bloody Mummy
Below is a list of things I used to make my costume. The purpose of each item will be explained so you’re not left wondering things like “what? Why’d he use that?” Oh, yes. Before I go on, you should know that I am 160lb/72.5kg at 5’3”/160cm so that you can adjust the amount of material you will use accordingly.
So…the materials:
- 4 yards of white cloth for the bandages. Stretchy would have been nice, but I used a stiffer material instead, and I did not have enough. At least 6 yards would have been better. Also it is important that the cloth is made of natural fibers so that it dyes easier.
- A dark grey or black long sleeve shirt. I made this myself. This covers the areas of the upper body that the bandages don’t cover (due to movement, shortage of bandages, etc.).
- An old dark grey or black pair of trousers. I just used an old pair of dress pants that I owned. This serves the same purpose as the shirt.
- A black morph mask/hood with yellow patches for eyes. I made this myself. This covers areas of the head that the bandages don’t, and it also hides any hair from the rest of the costume.
- A black pair of gloves – the stretchy kind. I made this myself because I wanted one hand to have three fingers (including the thumb) and the other to have all five. This is important because it gives something to sew the bandages for the hand onto to anchor them. The hands usually work themselves free too quickly.
- Two or three yards of grey stretch fabric for the base layer items. I originally intended to make the trousers as well, so I bought three yards. However, I think I only used a total two yards for the mask, gloves, and shirt.
- Two or three yards of black sheer fabric – the type you can see through. I ran into the same situation here as I did above with the grey fabric.
- About 6”- by – 8” of yellow sheer fabric for the eye patches on the mask. This I folded in half to double layer it, which would make it harder for others to see my eyes while I could still decently see. I cut eyeholes into the mask where this would go over so that I would only have to look through the yellow fabric.
- A large pair of crew socks. I wore these over a small pair of comfortable shoes. This would enable me to travel around without getting sore feet. I used white socks because I did not have black or grey socks. To get past this, I covered them completely with bandages so that no white would show.
- Fabric dye – for the amount of cloth I had (probably a pound or more), I used three packets of Dylon dye. I used two colors: red and dark brown. I did not mix the dyes evenly between my batches, but I was intending my mix ratio to be 2:1, meaning two units of red dye for one unit of brown dye.
If you already have the shirt, the pants, the hood, the socks, and the gloves, you won’t need the grey and black fabrics.
Also, the dyeing process for each type of dye may differ. Check the instructions for your dye; you may need to do extra things depending on your dye. I would recommend looking online first for your best way to dye before rushing to the store. That way, you know what you are looking for.
Another thing about dyeing is that you will probably want to tear your white cloth into strips before dyeing. It seems to make the dyeing process a little easier, especially when it is time to dry the fabric (if you are using Dylon dyes). An important thing when dyeing is that you want to keep the fabric in clumps. You also will not stir the fabric around because stirring evens out the absorption of the dye. Prep, set, forget. That will make your bandages have interesting patterns on them. However, don’t forget to take them out to finish the dyeing process.
Okay, so dyeing aside, the process of making the mummy is simple: we sew the bandages onto the clothes. The mask should be left alone, however, because we will wrap the face up after putting on the mask. Anywhere where a fit may be unusually tight or uncomfortable should also be left alone, as it can be wrapped up after it is worn. The gloves will be wrapped and sewed in one finger (or group of fingers) at a time. This marks the end of the preparation process.
There is a certain way I liked to put on my costume. I would first put on the trousers. Then, I would put on my shoes and wear the socks over them. I would wrap bandages around the socks until they blended into the trousers. I would then put on the shirt and wrap any areas that were bare. I would then move onto my head.
The wrapping of the head is kind of important. I tried to cover every inch of my head without having odd angles to the bindings. When finished with the head, I loosely wrapped the extra ends around my neck as a kind of scarf or collar.
After finishing with everything else, I then wore the gloves. The gloves I put on last because working with big, bandaged fake hands is cumbersome.
Done! Now transformation time is just around the corner…
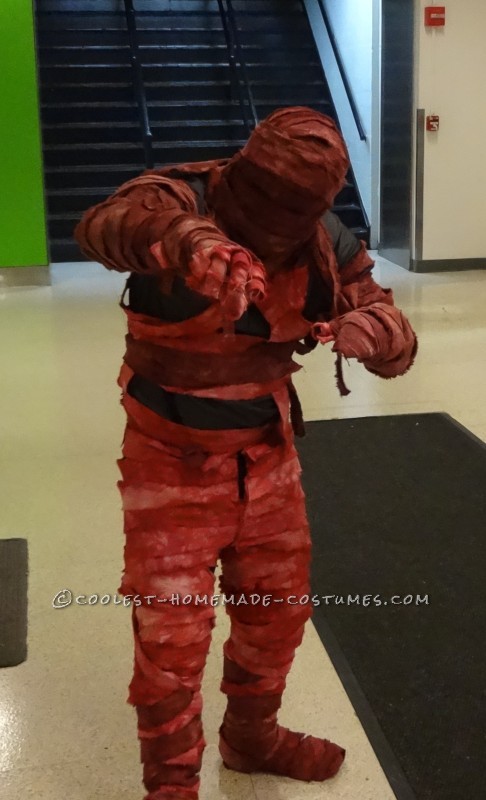
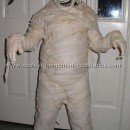
The finished product should be a bloody mummy.
Will Your Wallet be Mad at You?
Now, awesome costumes are great; they’re awesome! But at the same time, we need something affordable. So, how much does the bloody mummy cost to animate?
Well, this is how much I spent to bring this character to life. Note that your costs may vary based on where you obtain your materials.
- $16 for 4yd white fabric
- $3 for 3yd grey stretch fabric
- $3 for 3yd black sheer fabric
- $1 for 1yd yellow sheer fabric (I had to buy by the yard)
- ~$13 for 3 packets Dylon dye
I spent around $36 for the materials. Extra costs, including subway fare, new equipment, etc. bring this up to about $60. If the items for the base layer are already made, then the cost would be about $29. If material cost is the only consideration, then this costs about the same or a little more than a generic store-bought costume, but the results are something that even a novice designer like I can be proud of. Store-bought costumes feel a little…cheap at times.
Let’s Be Creative: A Few Extra Considerations
This recipe is for constructing a bloody mummy, but the dye choices can be altered to create blue mummies, green mummies, any color of mummy. However, the story behind the mummy still has to make sense…maybe the blue mummy came from a cold place.
In the case that the bandage color is changed, an extra consideration is to compare the standard grey/black base to a darker tone of the bandage color. Grey is neutral, so it won’t really conflict with the other colors, but shades of color may reveal hidden complexities in the costume.
For my bloody mummy I used yellow eyes. Red eyes are also another consideration as they can also create an evil, sinister look. Red on red, however, doesn’t really work because the eyes do not stand out from the rest of the costume. When changing bandage or eye color, it is important that they are different colors so that the eyes don’t get lost in the bandages.
If you do decide to create a mummy, be sure to explore your options. There are many ways to breathe new life into a classic.
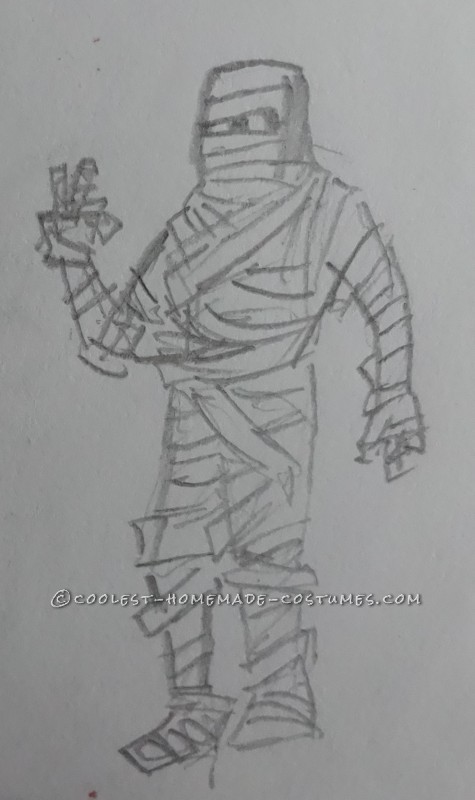
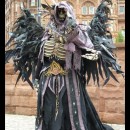
What color should I be?

It\’s a mummy…wait, it\’s a BLOODY mummy!!!
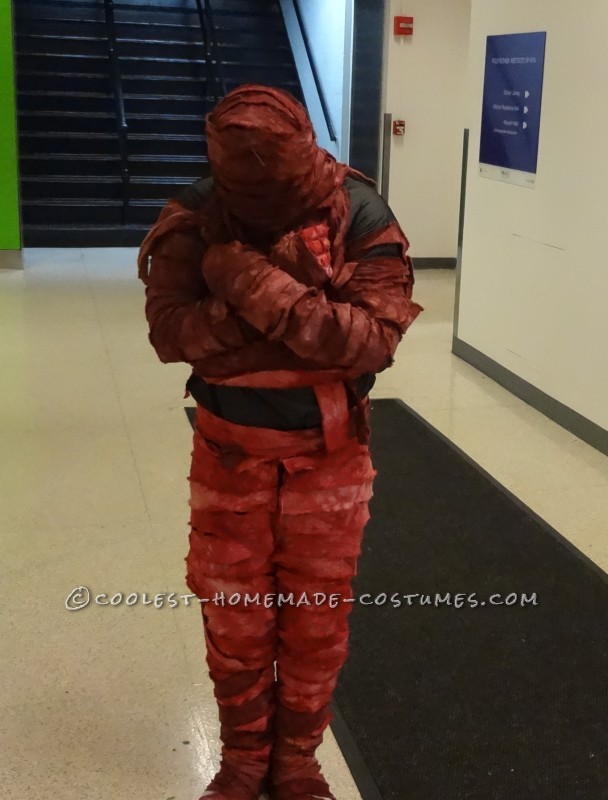
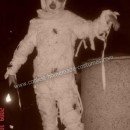
The bloody mummy goes to sleep.


Your comment has been sent successfully.