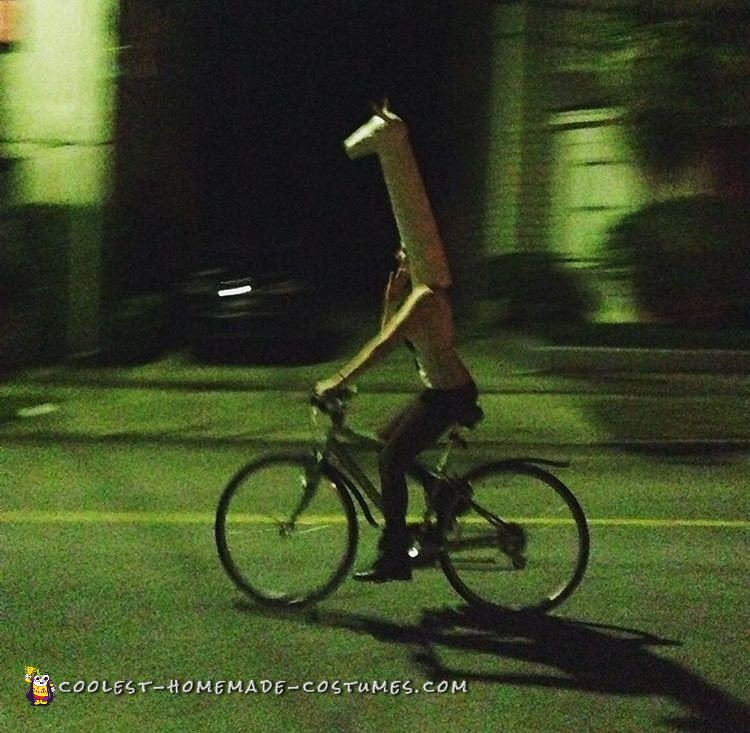
Becoming a llama for Halloween is a surprisingly easy transformation! The reason I choose to be a llama this year was because I didn’t want to spend a lot of time going from store to store finding the perfect clothing in the perfect size. I wanted something that I could make myself at home that didn’t break the bank and was unique. Plus, I feel that llamas have always been somewhat of a kindred spirit to me… equally as awkward but also, equally not really giving a damn. ;)
Overall, the llama took about 3 hours total to make. You need some time in between sessions for the paper mache and paint to dry, but it’s that easy!
The llama was a big hit to everyone. We attended a large party held in the yard of an old jail. People were coming up to me throughout the night wanting pictures or info on how I made it. Since the head towered over the crowd, a few people told me that they used me as a beacon of how to find their friends in the chaos, others told me they used it as a scope on how long it took to get a drink at the bar, etc, etc… So, along with putting a smile on people’s faces, it also turned out to be quite the utilitarian costume!
Materials:
- 2 poster boards (for the neck)
- 1 large Styrofoam ball (for the head)
- Tape (preferably heavier duty than Scotch tape)
- Scrap cardboard
- Scrap newspaper, flour, water, and salt (for paper mache)
- Rubber cement and/or hot glue gun
- Scissors
- Paint/paintbrushes
Steps 1 & 2 & 3
Making the neck:
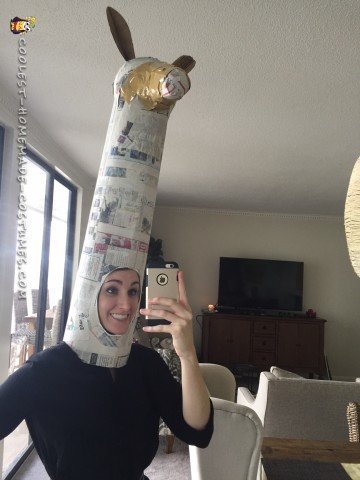
Tape the two poster boards together, slightly overlapping each other. Roll them around your head and mark where you need to tape them together so that it fits snugly. Before taping them together, you’ll need to make sure the large Styrofoam ball that you’re using as the head fits snugly in the top, so you may have to roll out more of a cone shape than a column shape.
Forming the llama
After you tape them together, cut a hole where your face is going to go and divets for your shoulders. Get your scrap cardboard and cut out the llama ears. Roll a separate piece of cardboard into a cylinder for the nose. I used scissors to cut into the Styrofoam ball to determine where the cardboard was going to be stuck. Use some rubber cement to seal the bond and push the cardboard into the Styrofoam where you made the cuts. If you want, use a hot glue gun to further seal the bond.
Paper Mache
Paper mache the whole thing to get rid of seams in the posterboard, and make it an overall similar consistency.
Step 4
Complete the Head
Half-way in, I realized that llama heads are somewhat triangular. So I went back and cut out a piece of cardboard that I used to bridge the forehead and the end of the snout together. The only reason I’m putting this as step 4 is because I think the face was structurally sound enough (with all the paper mache and dried glue) to add this part without messing up your progress, so I recommend waiting to do this step for now. Cut out the cardboard piece, and use packing tape, tape it on, and then paper mache it.

Step 5
Paint
Paint it! The $17 tube of tan acrylic paint at Michaels was the most expensive part of the whole project. All you need is 1 coat over the whole llama. To paint the face requires plain black paint for the eyes and nostrils. For detail of the features, I mixed the two paints together for shading of the lips and eyelids.
And voila! You have llama.
Now just wear a tan, fuzzy something-or-other and you’re done!

Related costumes:
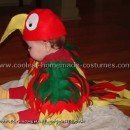 12 Coolest Homemade Parrot Costume Ideas
 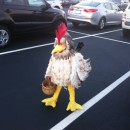 A Chicken So Realistic, She Almost Laid an Egg!
 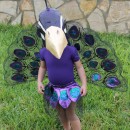 A Very Original Homemade Peacock Costume
  Top 10 Stunning Homemade Peacock Costumes to Inspire Your DIY Costumes
  Super Cute Lion Toddler Costume
 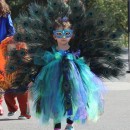 Beautiful Peacock Costume for a 3 Year-Old Girl
 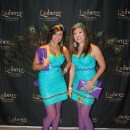 Original Duct Tape Peacock Costumes
 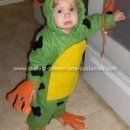 Coolest Homemade Red Eyed Tree Frog Costume