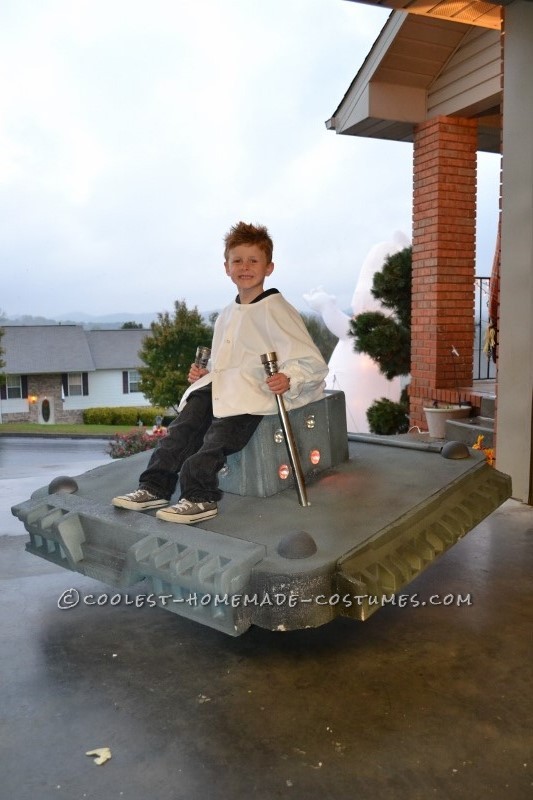
This costume was relativity inexpensive to make but I would put it as a moderate level of difficulty. We always want to outdo last years costume so this year we went with this. We thought it was pretty cool :) It took us about 5 days to complete just working a couple hours a day on it.
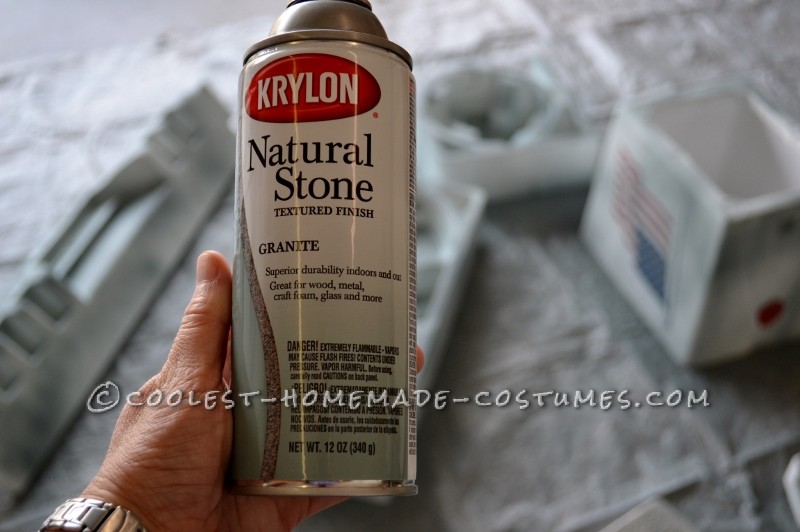
Our first thing was to find a piece of Styrofoam that was big enough for the main base. We found out that Styrofoam is expensive if you purchase it online. We found a local company that produces it for packaging companies and had them make us a solid sheet for $28. It was for a 4×6 at 6″ thick. We should have just went with the 4×4 and it would have only been $16. We got extra just in case we messed up something. I then went to 2 local appliance stores and got free random pieces to use as trim. I purchased 2 foam craft balls from Joanne’s and used a coupon which made them $2.50. The paint is what was expensive in this project. You have to buy foam safe paint which was nearly impossible to find. You can hand paint it with acrylic paint if you have the time and it will be much cheaper. We finally found some paint at Walmart which ran about $7.25 a can. We bought 4 cans of gray and 1 black. We had to purchase adhesive as well. We used the spray foam called Great Stuff. It was $3.25 from Lowes. We added lights which we already had from a previous costume and sound which I used my cell phone to record off of YouTube. We added a small speaker to the phone so you could hear it well. The handles were made of keg pumps. (Don’t ask). They were free, looked cool and were very light weight. There was a thin piece of MDF board which we added adjustable straps so he could wear the costume. We also purchased a Styrofoam cooler $5, which served as the base we sat the fake legs on. Also used were pants, socks, belt, lab coat, and shoes.
Here’s a simple list:
- Large piece of Styrofoam 4’x4’x6”- $16
- Accessory pieces from appliance store-free
- Craft foam balls $2.50 with coupon
- Paint $36.25
- Great Stuff $3.25
- Bars for control arms – free
- Pants, socks, shoes, belt- free
- Pool noodle- already had- free
- Lab coat, borrowed- free
- Lights already had but had purchased after Halloween one year. –Free
- Sounds effects- recorded from YouTube on my phone and used speaker we already had- free
- Styrofoam cooler $5
- Styrofoam hot knife borrowed but can be purchased at a craft store. free
- MDF board –small scrap piece we already had. – free
- 2 adjustable straps- already had- free
Making the base:
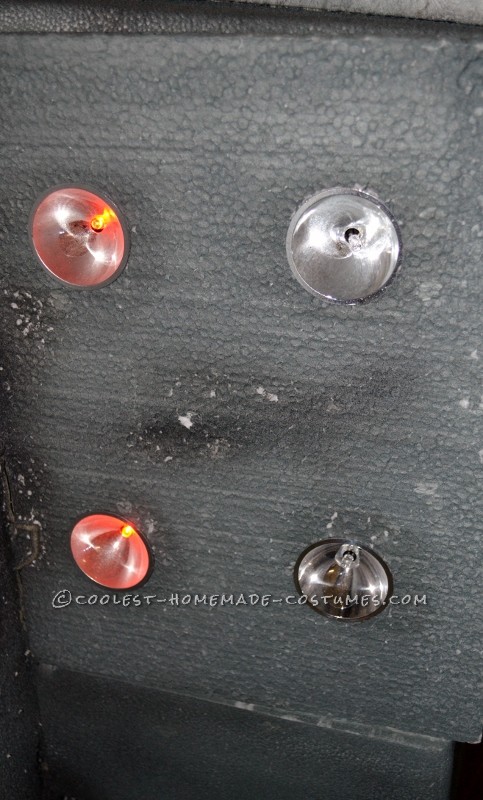
The first thing we did was cut the large base of Styrofoam down to a 4×4 piece. We used a Styrofoam hot knife that we borrowed. We rounded the corners for a better look. We then used the cooler and cut the bottom out of it and glued it to the center of the large piece. We then cut out below the cooler on the large piece to make a hole that his body would go through the entire costume. We glued the accessory pieces to the sides of the main base and also on the sides of the cooler. The glue takes about an hour to dry completely. After that, we began to paint the Styrofoam with the gray paint. While that was drying I cut the 2 balls in half and painted them black. After all the paint dried, we glued the half pieces of the balls to the 4 corners. We simply stuck the control arms (keg handles) down in the Styrofoam about 2 inches and they stayed fairly well. My husband cut out a piece of MDF board that went around the hole at the bottom of the main base to hold the straps. He cut 4 small holes in the corners of the board to attach the straps to. We put the 2 straps on the corners and had my son step into the costume and adjusted the straps around his shoulders. We wanted to have it off of the ground just enough to look like it was floating but comfortable enough for him to walk around in. We added the lights last by cutting holes in the top part of the base and hot gluing them in.
Making the legs:
I used my son’s pants, socks, shoes and my belt to attach it to him. I cut a pool noodle long enough to fit the pants legs. I cut it where the legs needed to bend as well. I stuffed the shoes with dishtowels and put into the shoes. I put the socks around the pool noodles and put the pants over them. (See pictures if this is confusing). I had a belt with it to attach around my son when we put him in the costume so that the pants would not fall down.
Putting it all together:
We had our son step into the main base of the costume and put the straps on his shoulders. We then put the legs to sit on the front of the base and put the belt on the front 2 belt loops of the pants and put the rest of the belt around his waist. He put the lab coat on and we simply laid the phone and speaker box on the back of the base. We discovered last minute that the costume was a little heavier on the front so we went to the basement and got a small piece of pipe and used metal wire to attach them to the back to even out the weight.
Cutting and creating the base
We cut the main base down to 4’x4′ using a Styrofoam wire cutting tool.
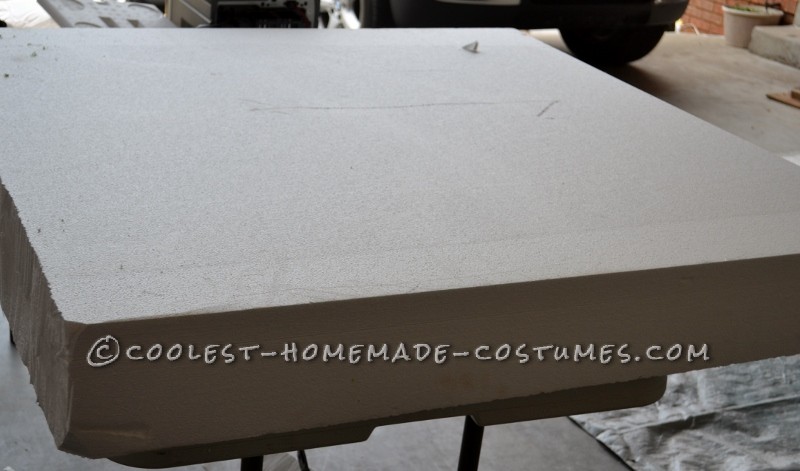
full block of Styrofoam
We cut pieces to fit and painted them lightly
After cutting the main base, we cut the accessory pieces to fit and sprayed them lightly before gluing them all together.
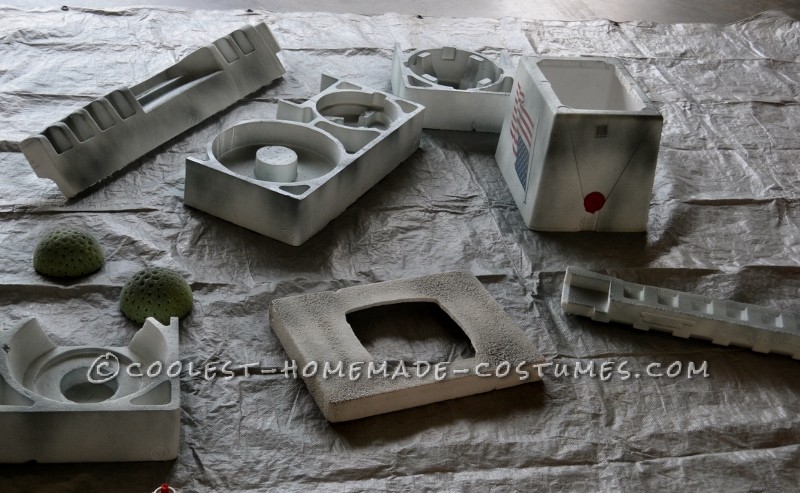
After cutting the accessories and spraying them lightly with paint
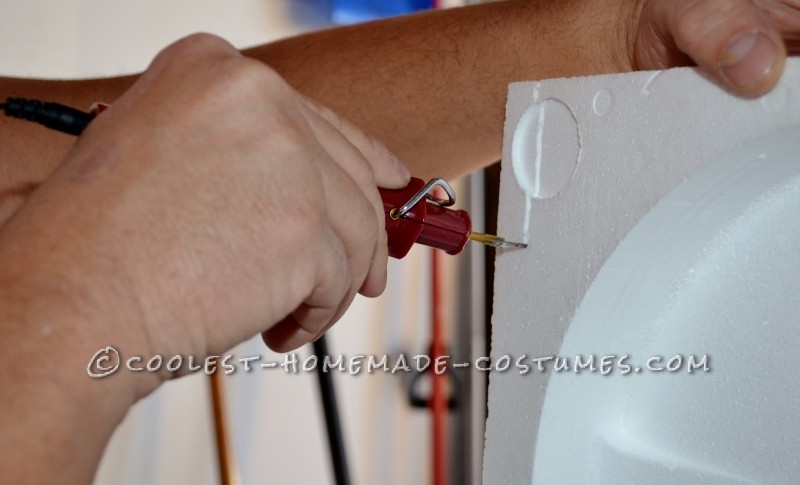
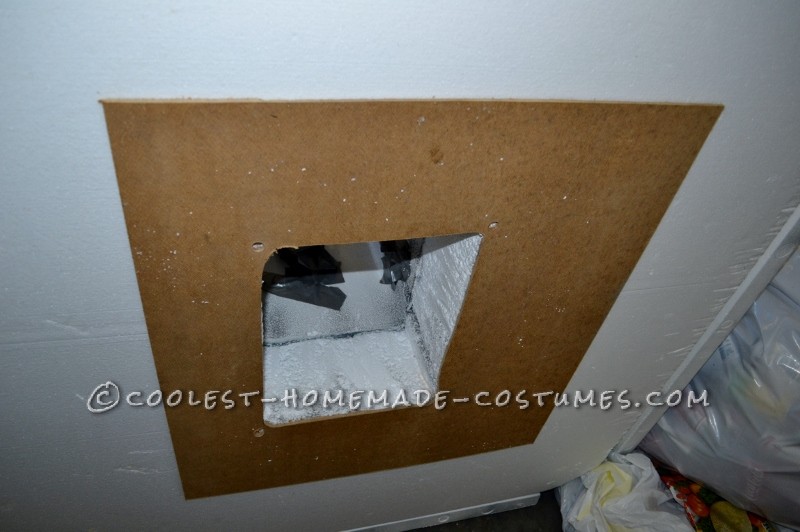
We glued all the pieces together and cut a hole in the bottom
We cut a hole in the bottom of the base and glued all the pieces together. We added a piece of MDF board so we could attach the straps to the bottom. The glue, Great stuff, took about an hour to dry completely and held very well. You have to be careful because it expands. Wipe off any excess that may squeeze through.
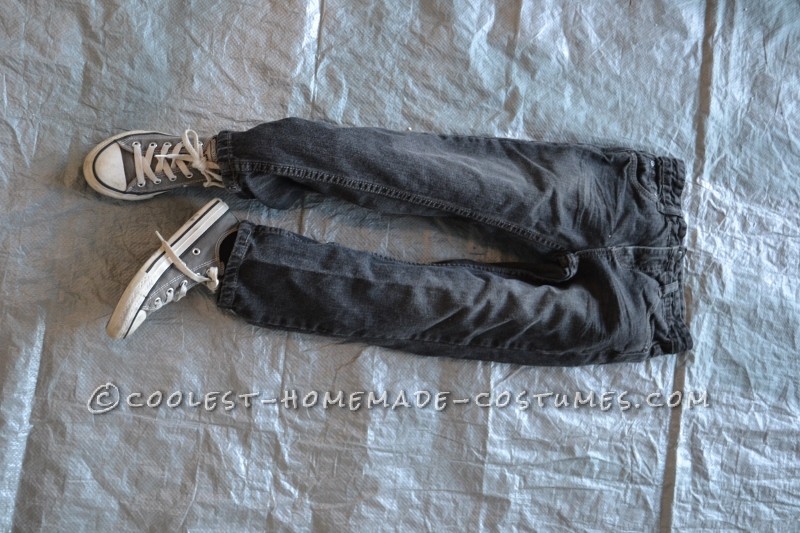
Making the legs
Put the pool noodles in the legs, cut them so that they will bend at the knee. Use taller socks and stuff them with a rag or paper and put into the shoe. Attach the socks around the pool noodle and cover with the pants legs.
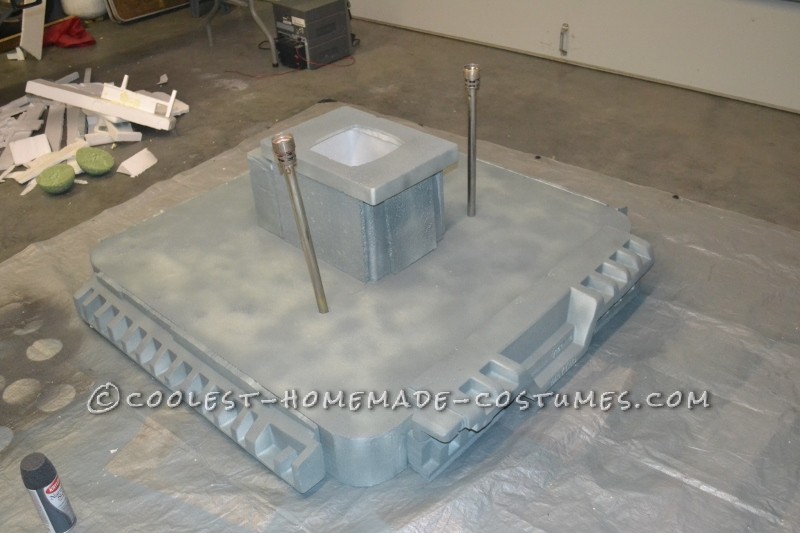
Final paint job
Paint the assembled craft completely, add the half round pieces and control arms. After it dries, do a test with your child and have them step into it so you can add the straps and adjust them to their height and comfort. This was the hardest part. The child has to get the straps on their shoulders and you have to be underneath it adjusting the straps. we rolled up the excess strap and put a rubber band around it.
Complete the project! WooHoo Thank the Lord!
We added the lights on the last step and duct taped them to the inside and hotglued them to stay put. We added the legs on the front of the costume and attched them to his waist for security with a belt. After he was ready to go in the costume we added the sounds by simply laying my cell phone and speaker on the back of the costume. The front was leaning forward so at the last minute we went to the basement and found a small metal pole and tacked it on the back with small pieces of wire to even out the weight. He was ready to go trick or treating!

Related costumes:
 Creative Tim Burton’s 9 the Movie Costume
 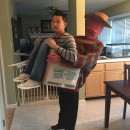 Cool Freddy Krueger’s Victim Illusion Costume
 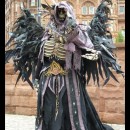 Scary Undead Necromancer Costume
 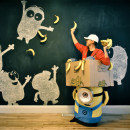 Coolest Homemade Minion Carrying a Box Illusion Costume
 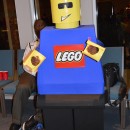 Not-So-Mini Lego Minifigure Homemade Halloween Costume
  Awesome Homemade Cthulhu Costume with Full Latex Body Suit
  Awesome Homemade Sauron Costume from Lord of the Rings
  Original Girl in a Tree Illusion Costume
Your comment has been sent successfully.